


The Latest
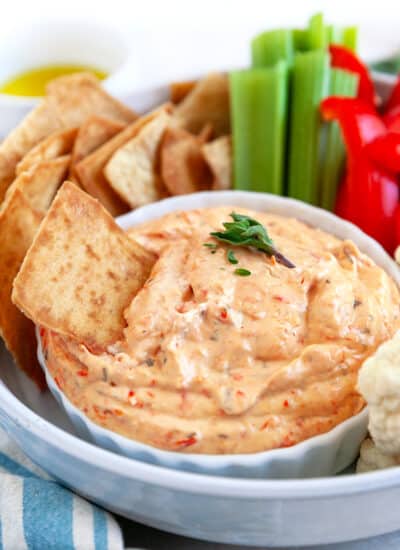
Feta Roasted Red Pepper Dip
Not only is this mouthwatering Feta Roasted Red Pepper Dip a delicious appetizer, but it’s also super simple to make. With onlyContinue Reading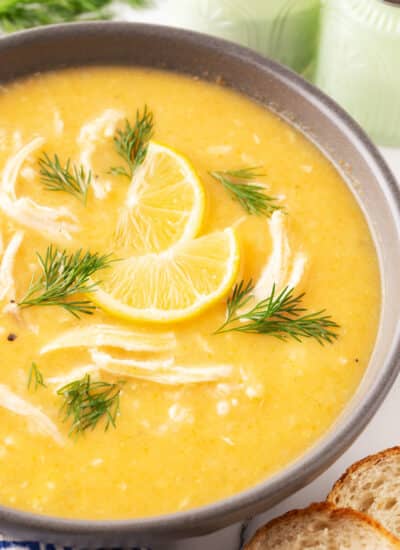
Avgolemono Soup – Greek Lemon Chicken Soup
Avgolemono Soup is a traditional Greek soup but is now made quick and easy. This soup is chocked full of chicken andContinue Reading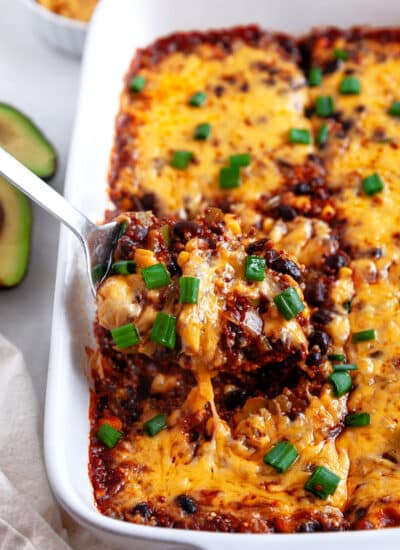
Mexican Casserole
This healthy and deliciously easy Mexican Casserole is a perfect weeknight meal that the whole family will love! Enchilada flavors combined withContinue Reading
Shrimp Bisque
If you love shrimp, then you will certainly adore this gorgeous, creamy, dreamy Shrimp Bisque recipe. It is an elegant soup toContinue Reading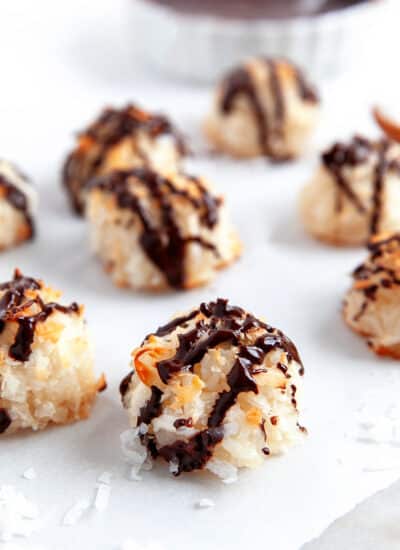
Macaroons
These delightful coconut Macaroons are super easy to make and taste like a high-end bakery treat! Made with only a handful ofContinue Reading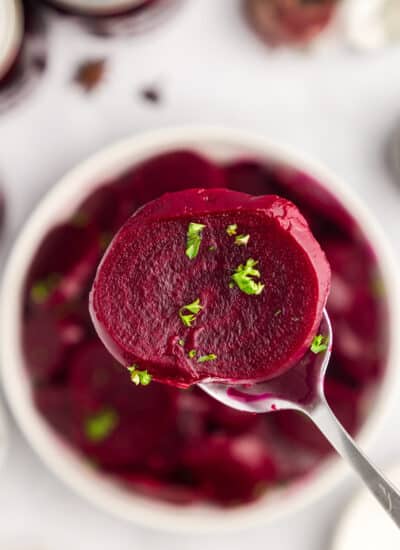
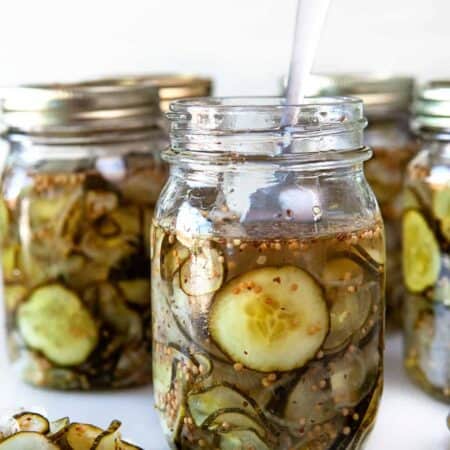
Easy Pickled Beets Recipe
Want to make beets like grandma used to make and have no idea how? Then this Easy Pickled Beets Recipe is forContinue Reading
Hi, We’re The Nolands!
Noshing With The Nolands is a collection of wonderful family recipes that we love to make for ourselves, family, and friends. Come and dine with us as we go on our culinary journey around the world while bringing you easy recipes to enjoy.


Seasonal Favorites
FOR THE LOVE OF RHUBARB!!
Do you have a garden full of rhubarb and need great recipes to use it? You have come to the right place!!