Cooking + sharing what we love
Candy Recipes
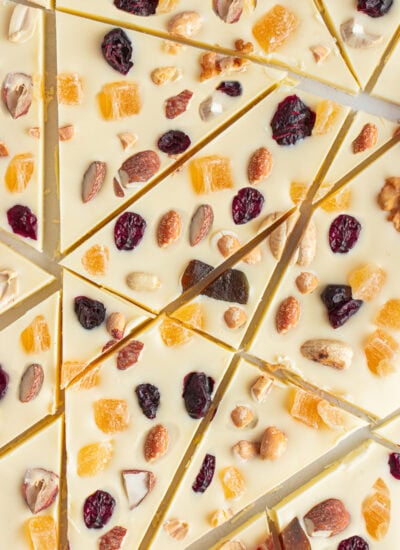
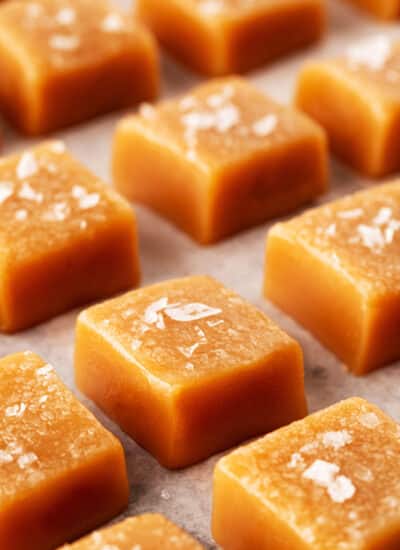
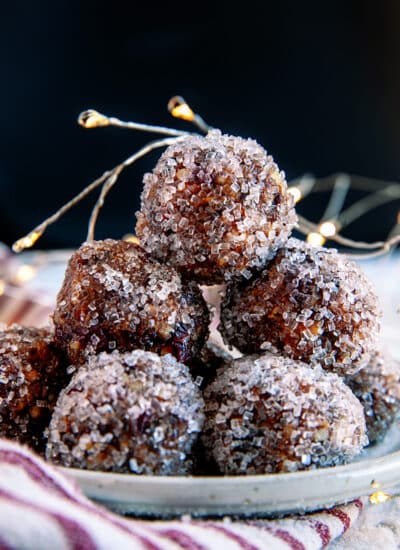
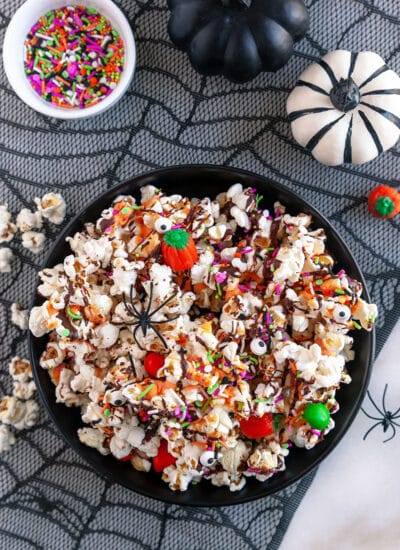
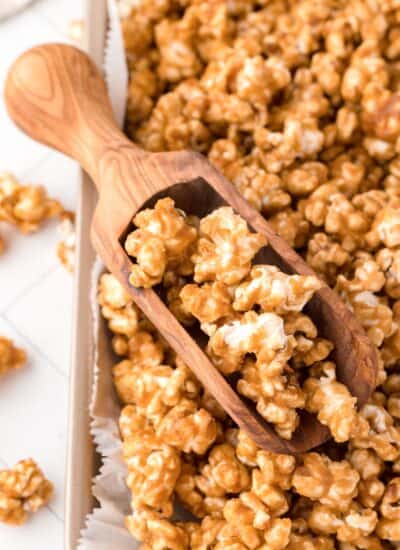
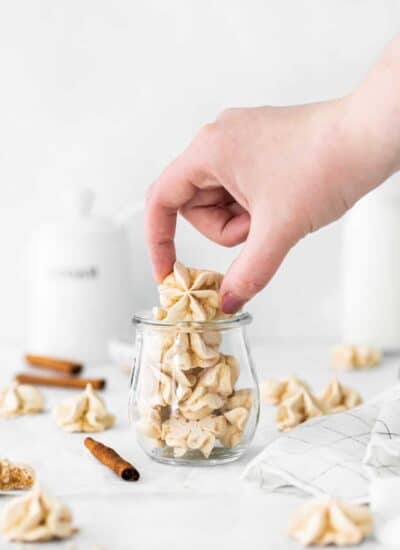
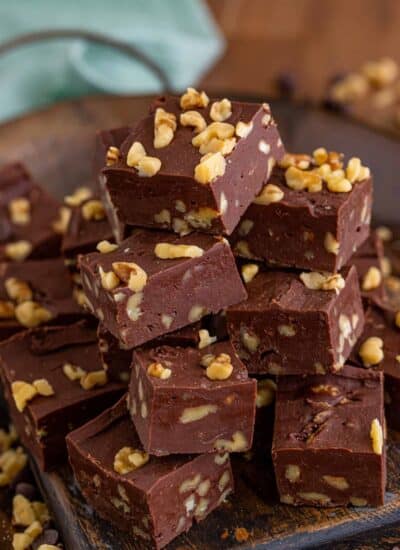
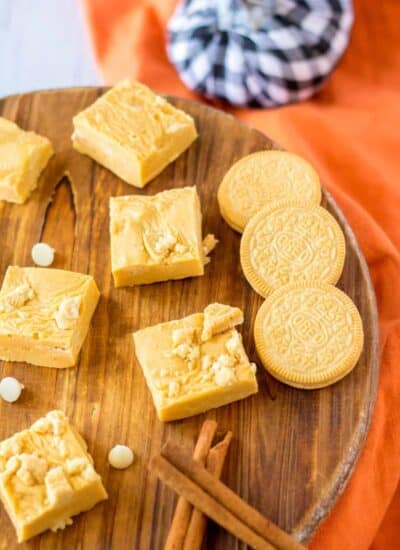
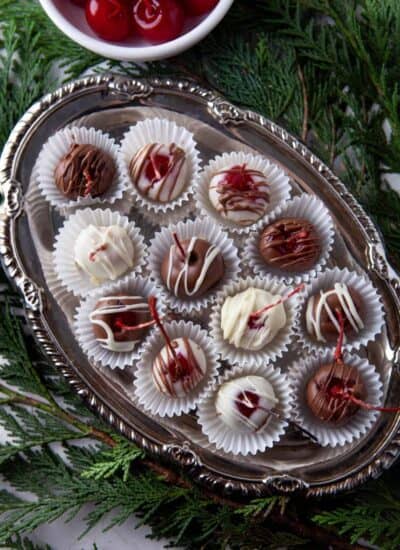
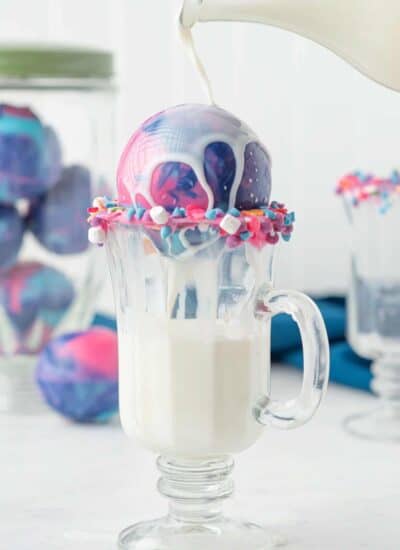
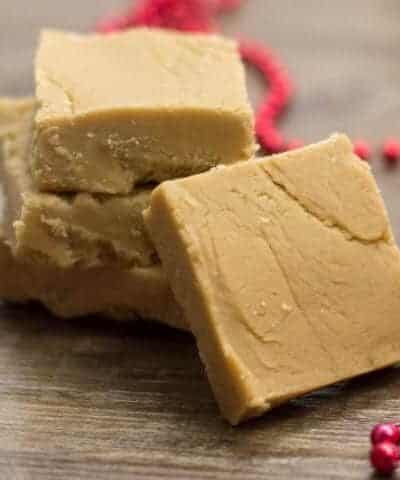
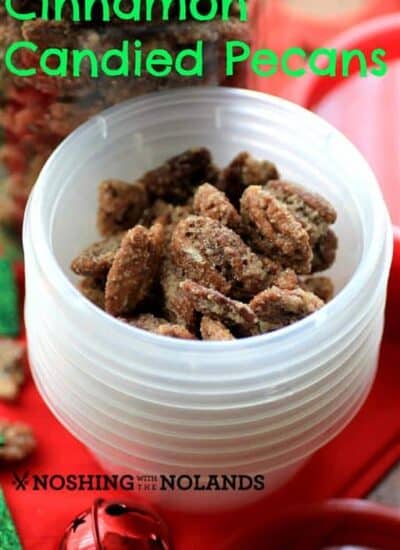
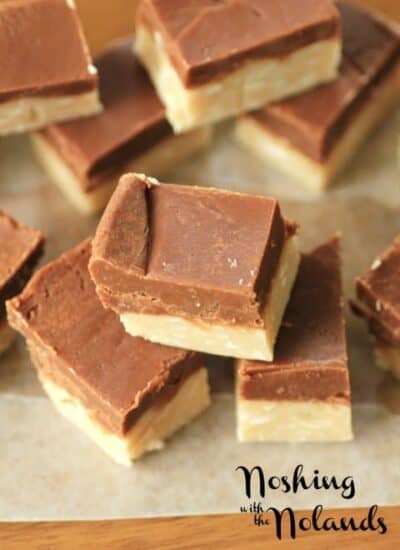
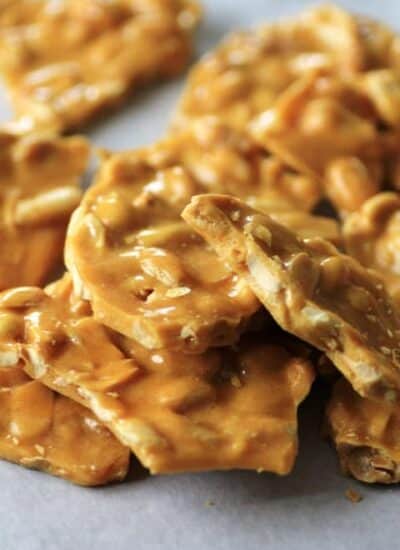
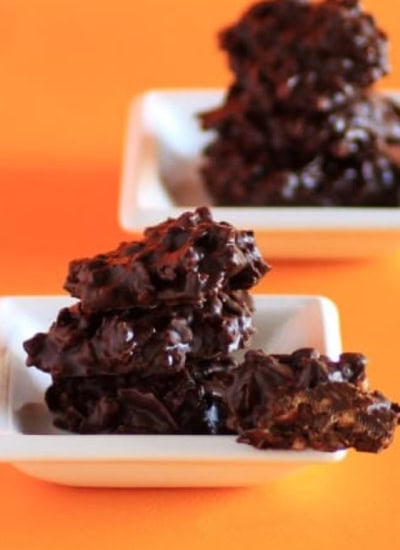
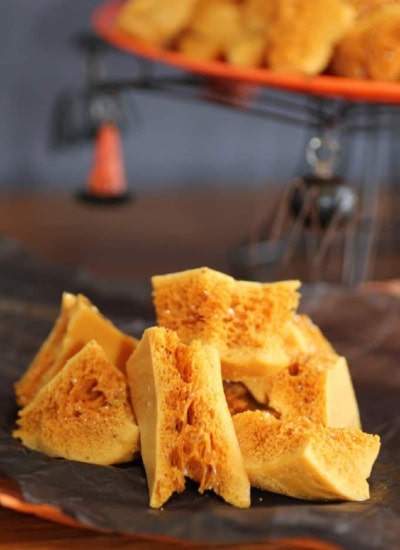
Candy and chocolate recipes are loved by many for the holidays or just every day. In our collection, you will find not only seasonal treats but also caramel corn, poppycock, chocolate bark, fudge, sponge toffee and more.