Cooking + sharing what we love
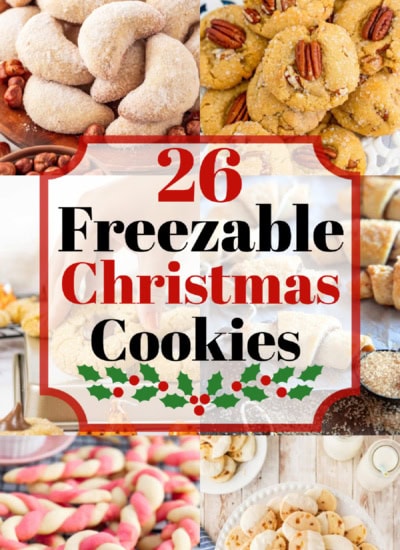
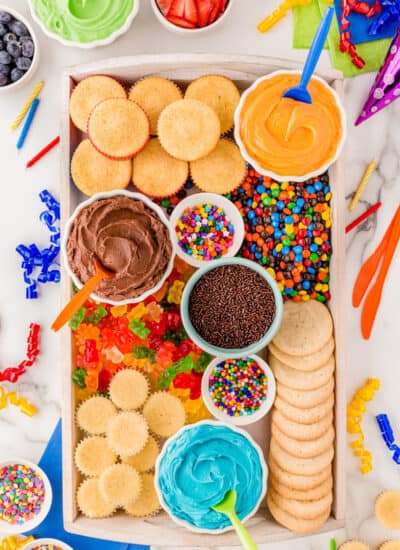
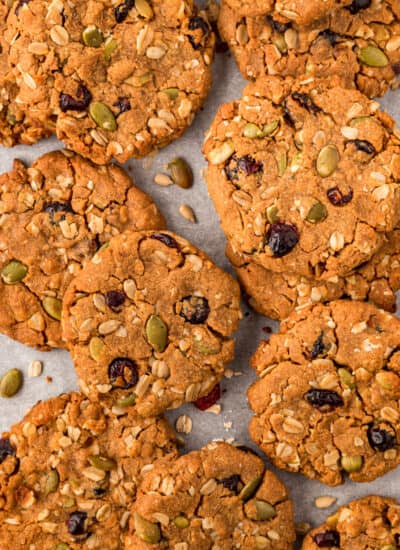
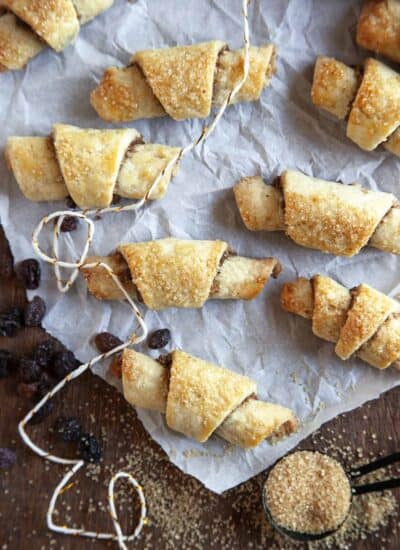
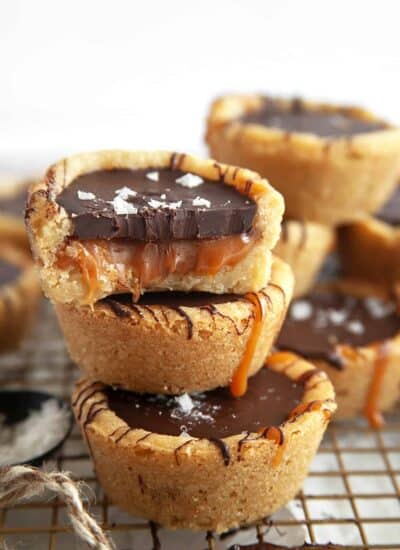
Cookie Recipes
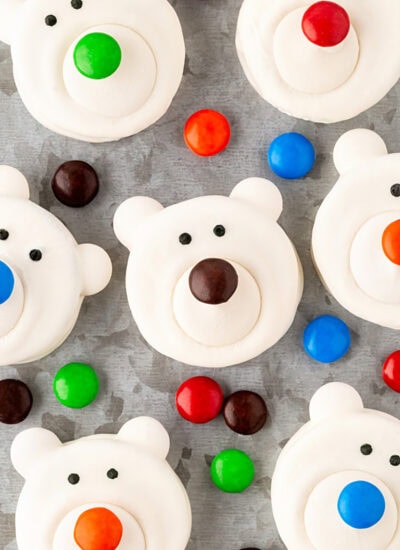
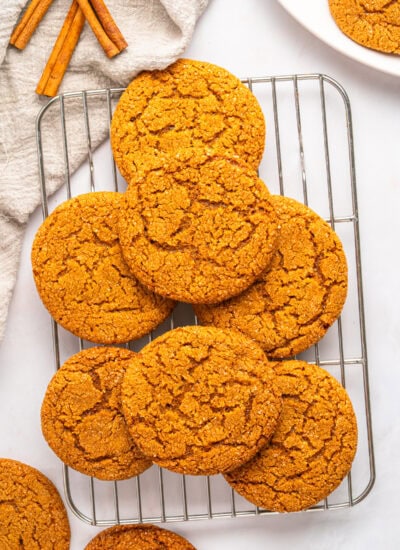
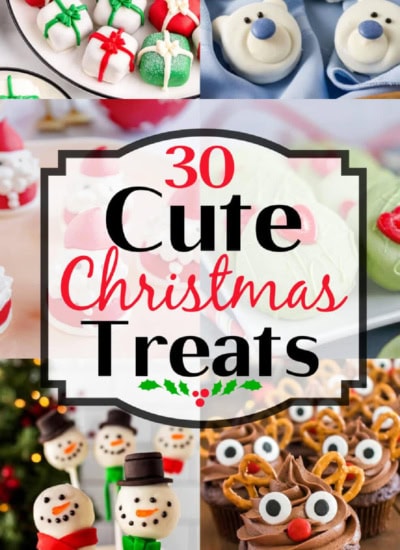
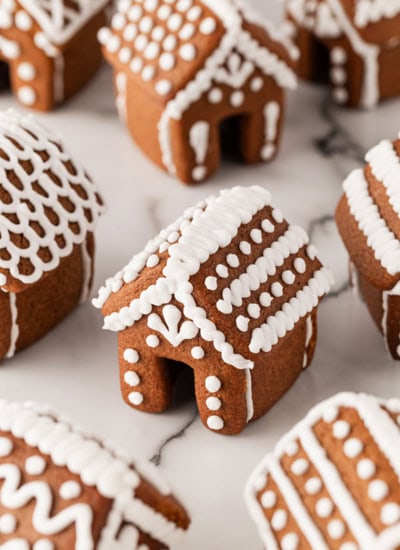
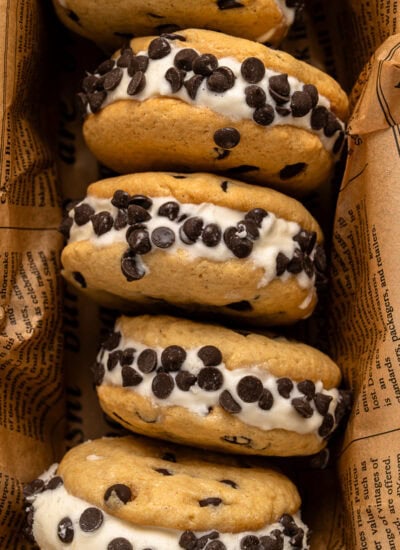
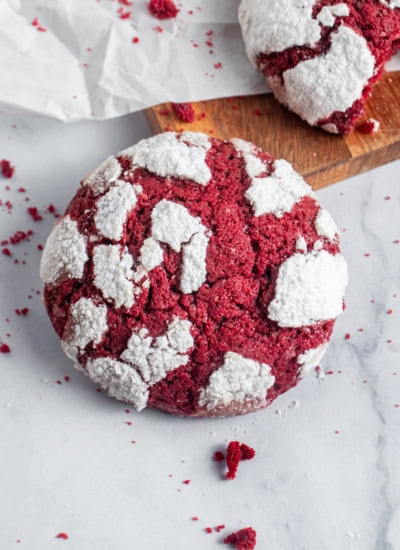
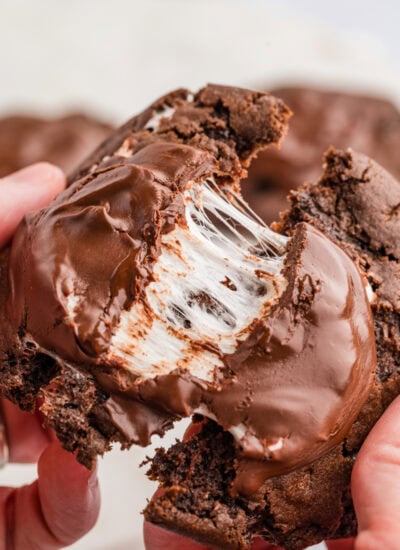
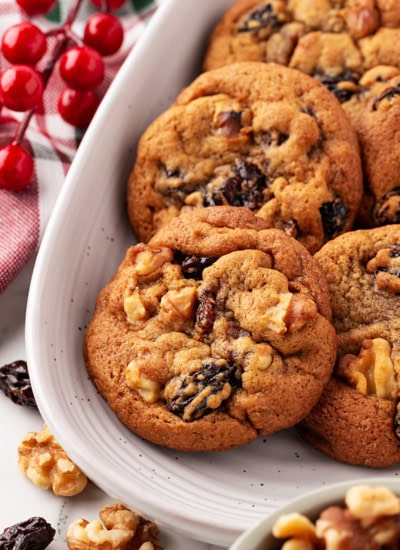
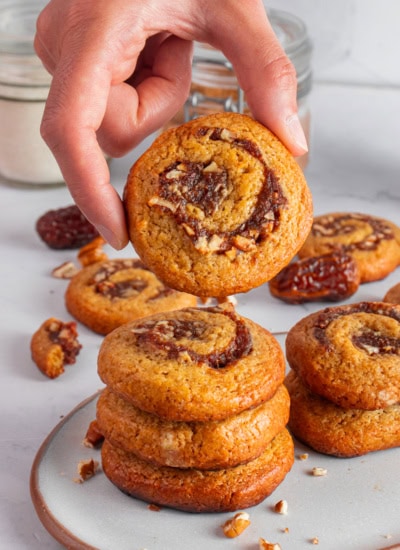
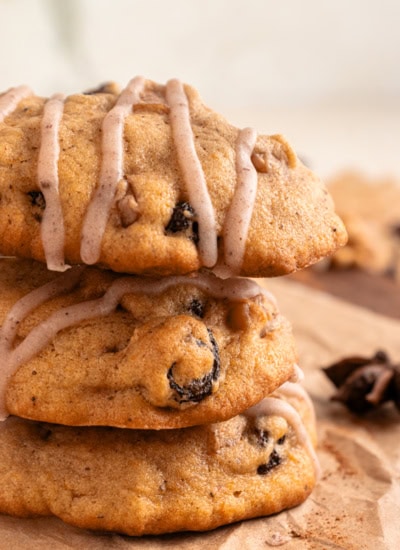
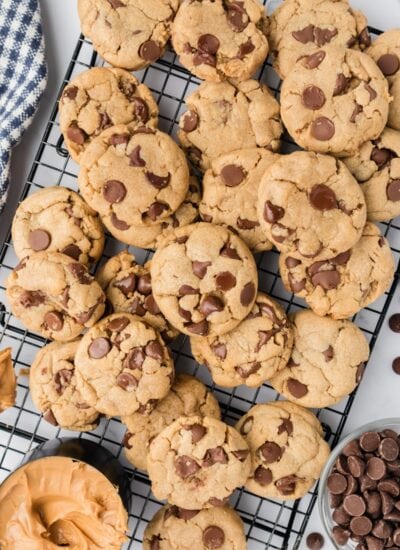
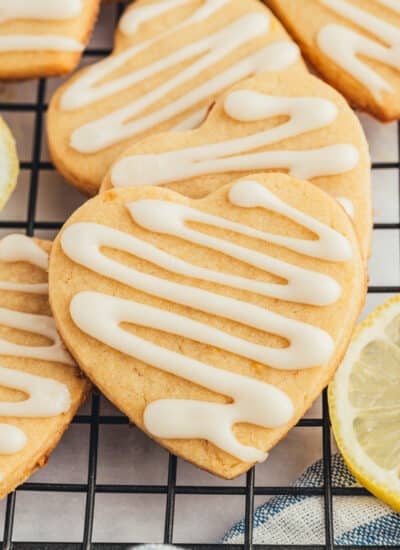
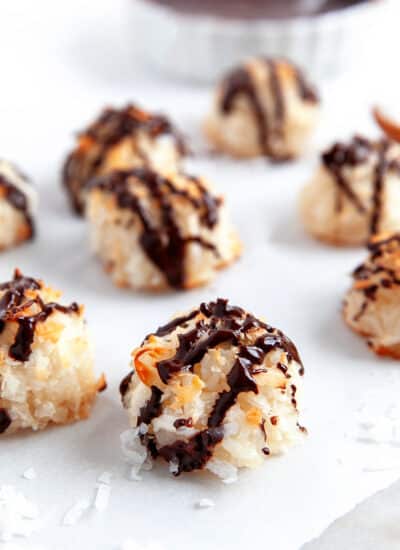
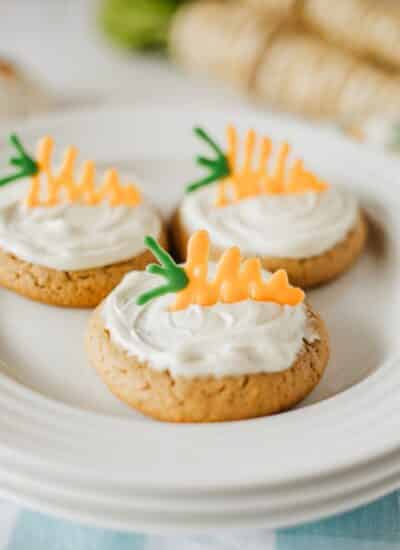
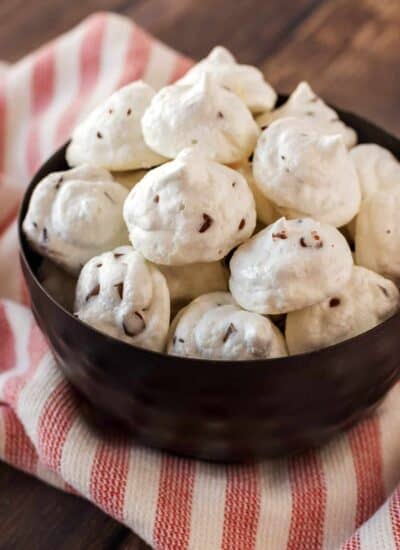
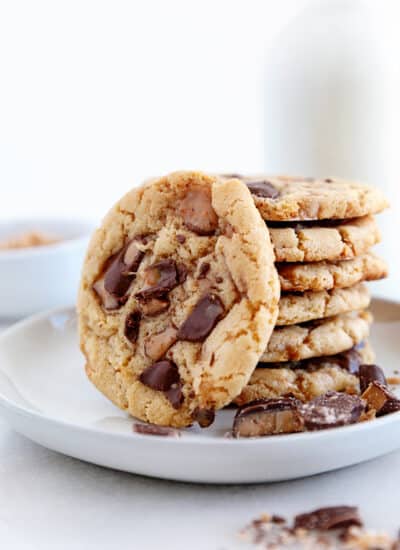
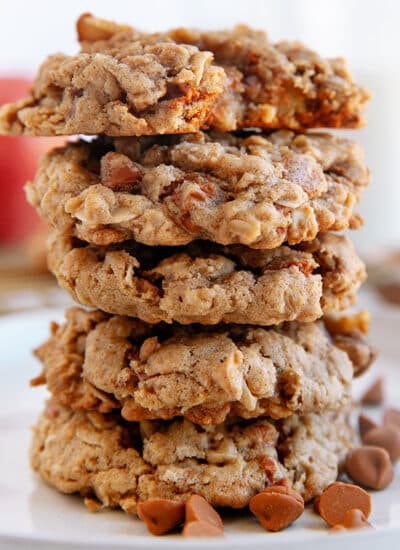
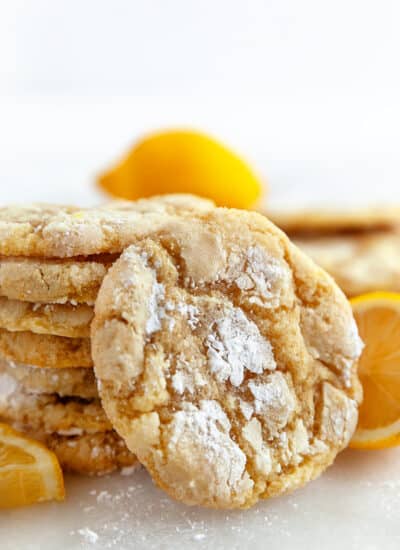
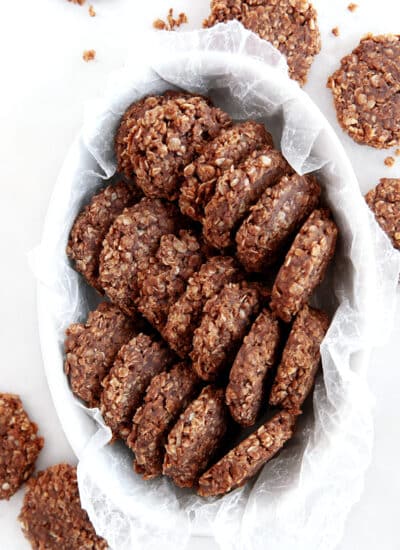
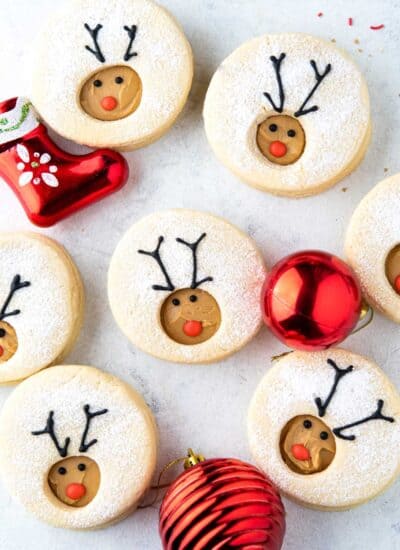
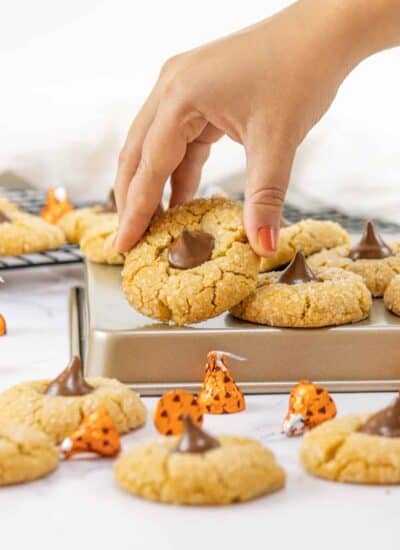
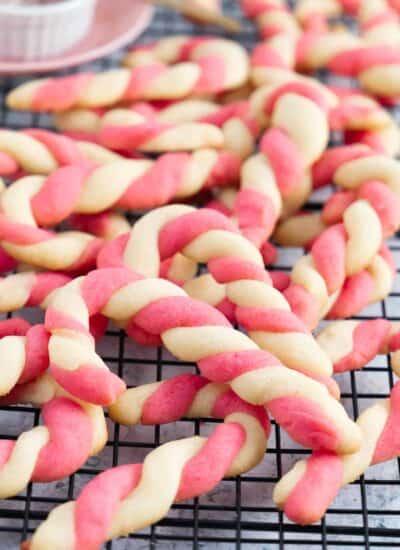
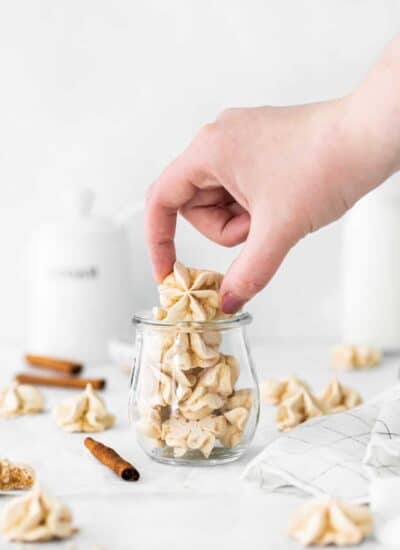
Cookies are one of our favorite treats for any day snacks but we also love to make so many for all of the holidays. From a great chocolate chip cookie to unforgettable oatmeal to peanut butter cookies and more. Sugar cookies have also been one of the favorites for baking and decorating for all of the holidays.