Cream puffs are deliciously fluffy and creamy bites! This is an absolute crowd-pleaser. Easy Mini Cream Puffs are filled with sweet whipped cream, a winning combo. You might have to do a double batch as they will disappear in a flash!
This recipe for homemade cream puffs is a great option for buffet-style desserts, potlucks, or just a small treat to go with your coffee or tea. Although we all love a good homemade gooey cookie or a delightful pie, no one will deny this perfect little choux.
Hi there, It’s Melanie from Bon Appét’Eat. It’s been a lot of fun to be part of the Noshing with the Nolands team. Please come by and say hi on my blog if you have a chance! I’m so excited to demystify a French recipe, my goal is to inspire you to bake at home and show you that it is not always as intimidating as it might be. My French crème brûlée and its video is proof of my whole philosophy.

Helpful Items For This Recipe
This post contains affiliate links. As an Amazon Associate, I earn a small portion from qualifying purchases at no extra charge for you.
What Does Cream Puff Mean?
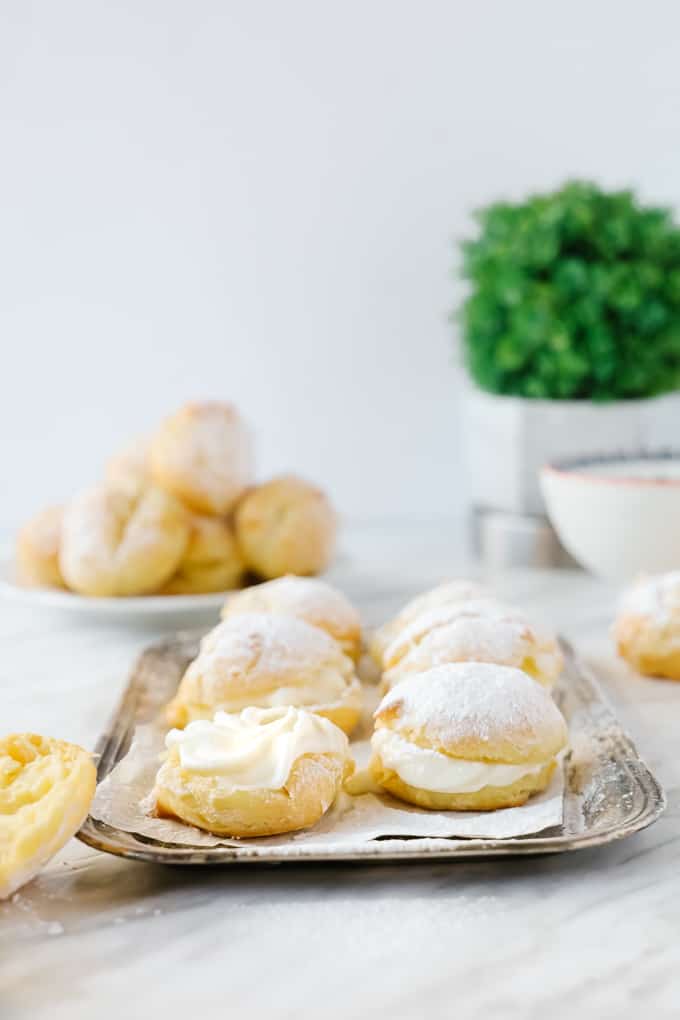
Cream puff is literally description of the dessert. It is a light pastry puff filled with whipped cream.
It is a very popular recipe in France as the dough recipe is used for a few other desserts such as chouquette, éclair, or Paris-Brest.
How Do You Make Cream Puffs From Scratch?
The steps to make these delicious cream puffs are divided in two. First, you will need to make the ‘pâte à choux’ which means choux pastry, this dough is one for the puff. Next, we will prepare the whipped cream.
First, cut the butter into cubes and put it in a saucepan over medium heat with water and the sugar. It is great to have the butter at room temperature so it will melt at the same time that the water comes to a boil. No worries it is not. It will work out too.
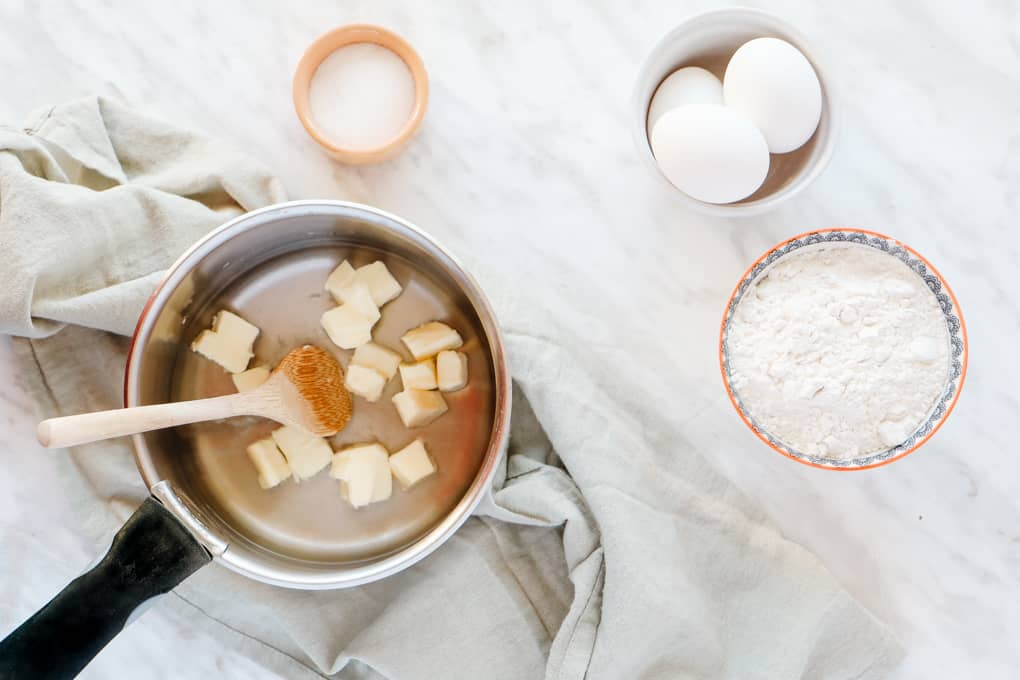
Next, on the stove, add all the flour at once. Now, roll your sleeves as you will need to work your muscles. Stir constantly the dough with a wooden spoon. This is a very important step as you need to let the humidity and allow the steam to escape. You need to stir until your arm hurts! Maybe not but do not rush this step, you need to stir for a good 5 full minutes on the stove.
Baking note: The dough should not be sticky.
Now, transfer the dough into a bowl or if you wish your stand mixer. I have mostly done it by hands over the years, so no worries if you don’t own the big tool.
Adding The Eggs
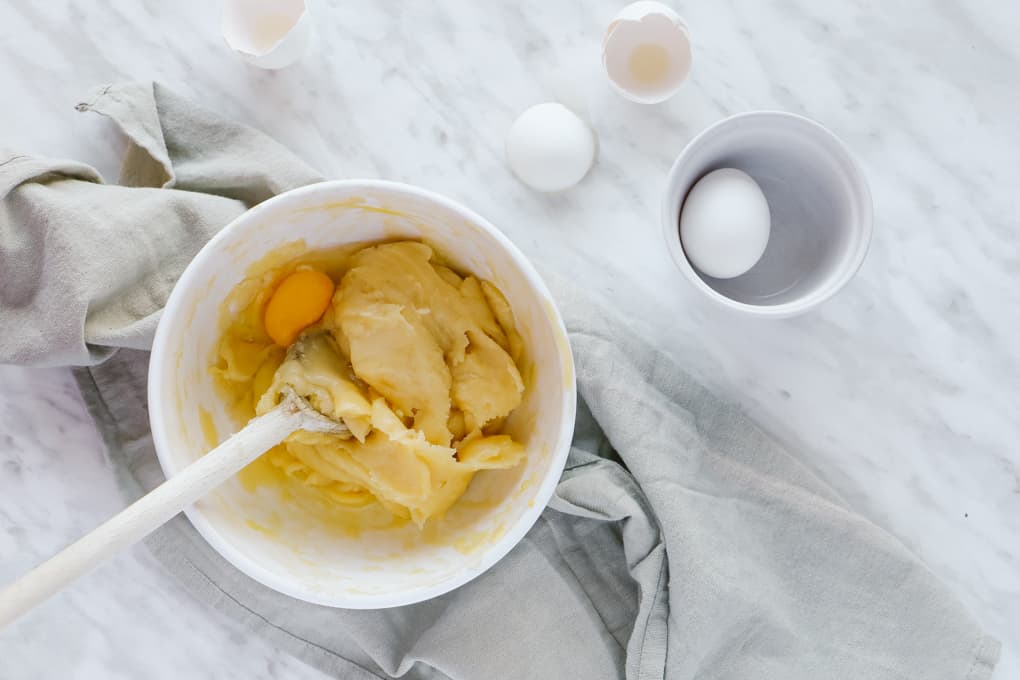
You don’t need to let it cool completely but do wait 10 to 15 minutes before starting the next step. Then, add one egg at a time, stir, and repeat until you have used all the eggs. Your dough will be slimy at first when you add a raw egg but it should be smooth as you work it.
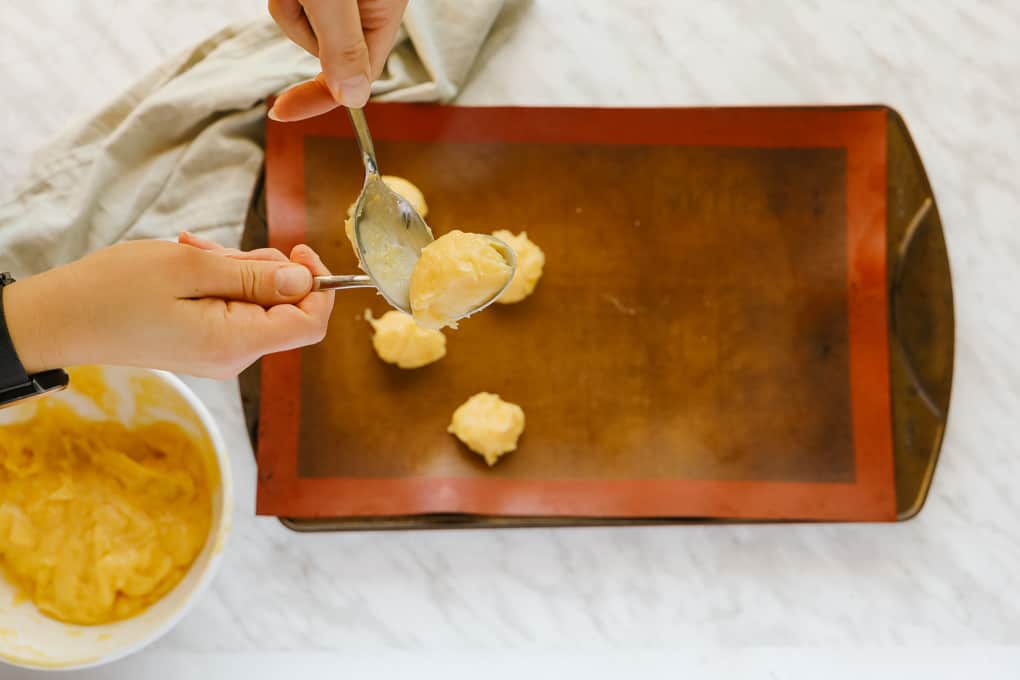
Grab a pastry bag, if you don’t have one, you can use a freezer bag or 2 spoons, I prefer the latter for practicality. Scoop the dough with one spoon and with the other one, scoop it out from the first one. Repeat 2 or 3 times until the dough has a nice shape. (see picture below).
Baking note: You can brush the puffs with egg wash (egg yolk and a teaspoon of water). It will add a shiny look to it. I skipped this step as I intended to dust it with icing sugar and therefore cover the pastry.
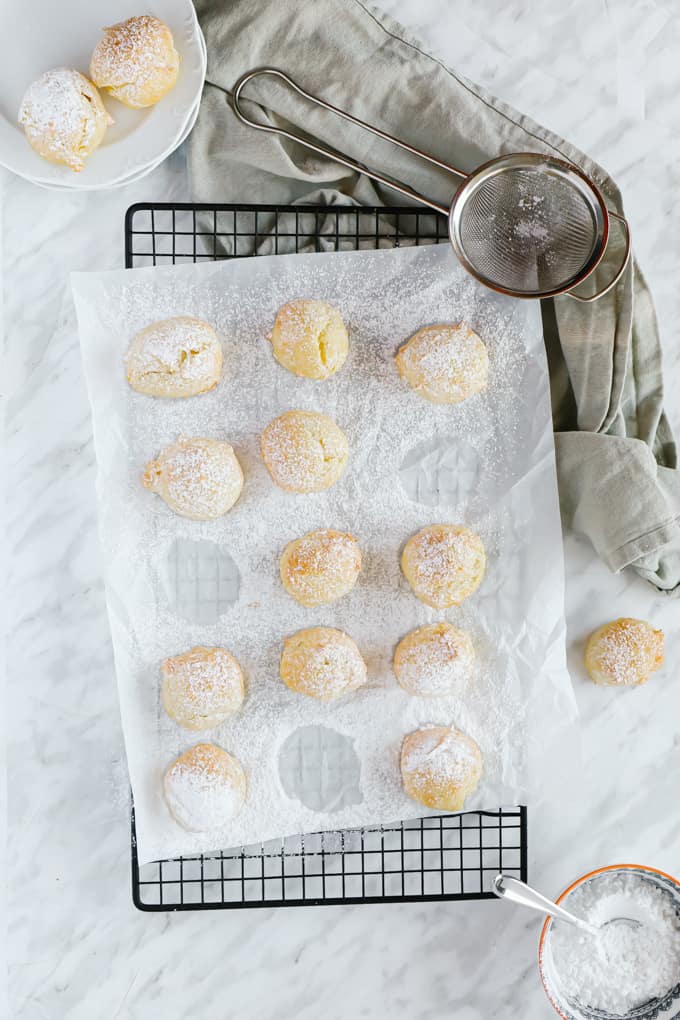
Bake until golden brown or for 25-30 minutes. The first 15 minutes will be a little higher in temperature to bake and we will turn it down to release the moisture of the pastry. Do not open the oven door, your puffs will fall right down. Now that this is taken care of, you need to prepare the whipped cream. In the meantime, put your pastries to cool on a wire rack.
Baking note: You can use store-bought whipped cream if you are in a rush but making it from scratch is quite easy and more delicious. I like that I can control the sugar I’m adding to it.
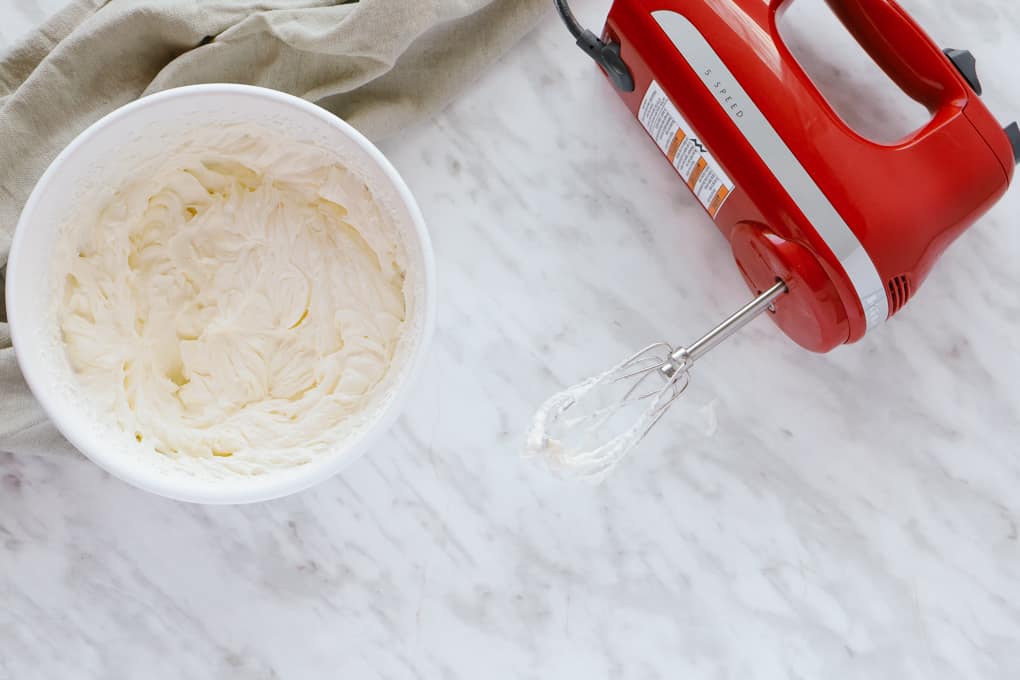
To prepare the whipped cream, pour the heavy cream into a large bowl. Using a handheld mixer (or a stand mixer if you wish), whisk the cream until it starts getting fluffy. Add the icing sugar gradually (one-third at a time). Keep whisking until the cream is stiff. Reserve in the fridge until you use it.
Baking note: you can add some vanilla extract if you wish! I also always have my bowl and whisk very cold, your cream will whip faster.
That’s it! You have your pastries and filling. You are ready to assemble!
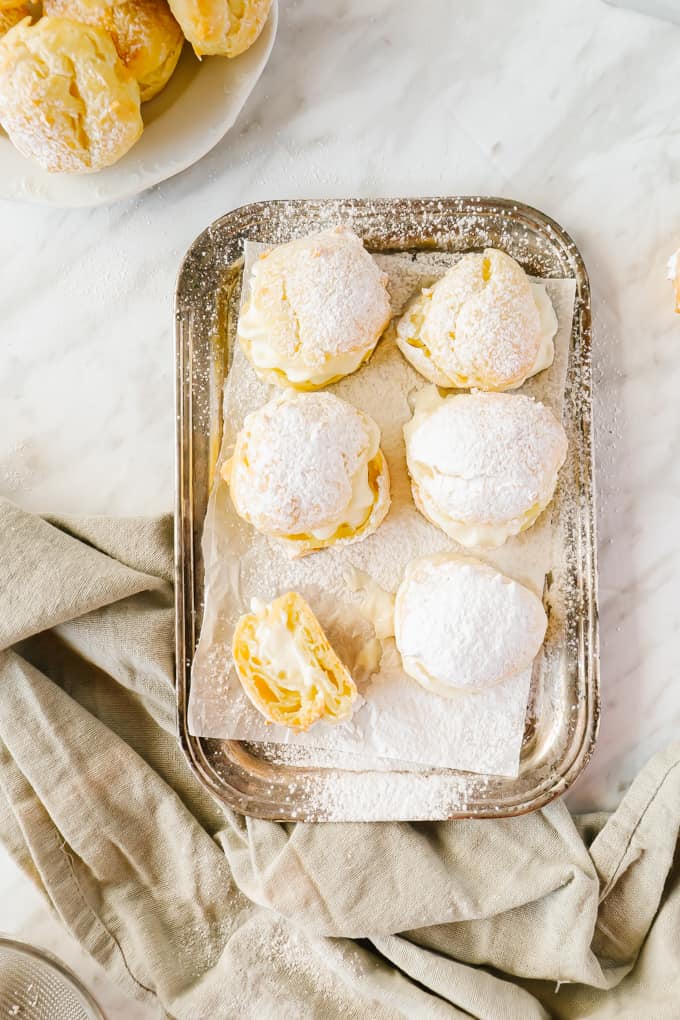
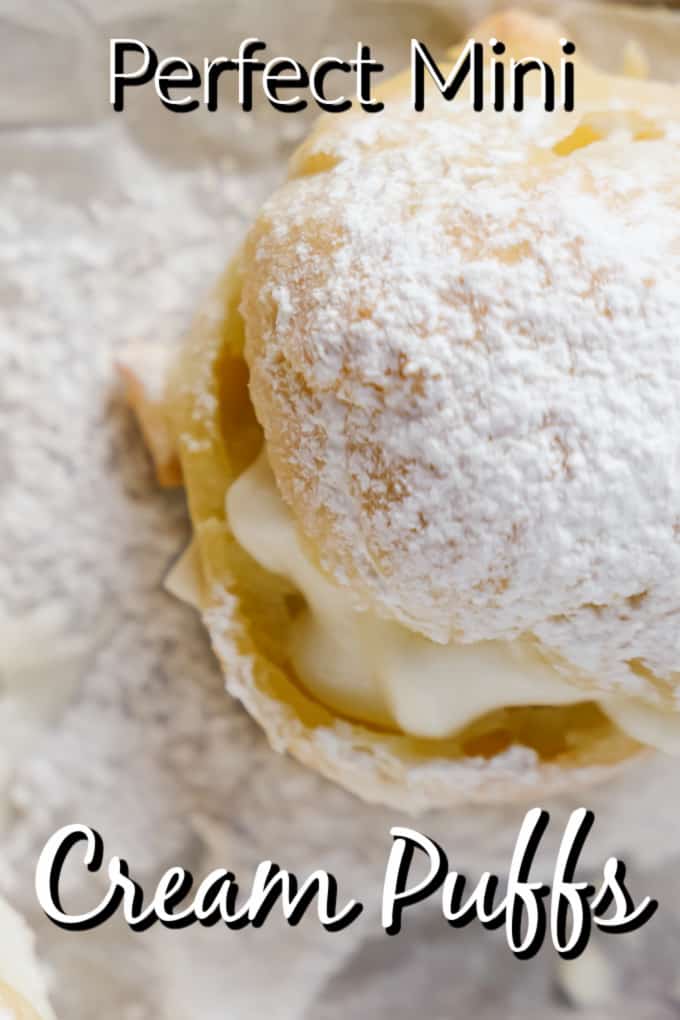
Delicately cut the pastry and pipe or scoop in some whipped cream.
How Do You Keep Cream Puffs From Getting Soggy?
If you are making this recipe ahead of time, you will need to keep the assembling step for last. You can make the puffs 2 or 3 days ahead and store them, in an air-tight container in a cool place. Your pastry needs to be completely cooled down when you close your container, otherwise, you will get moisture in.
Also, you can make the whipped cream 3 or 4 days before you need it and store it in a closed container in the fridge.
Assembling in the last minute is key to avoiding any sogginess.
When Should I Fill The Cream Puffs Then?
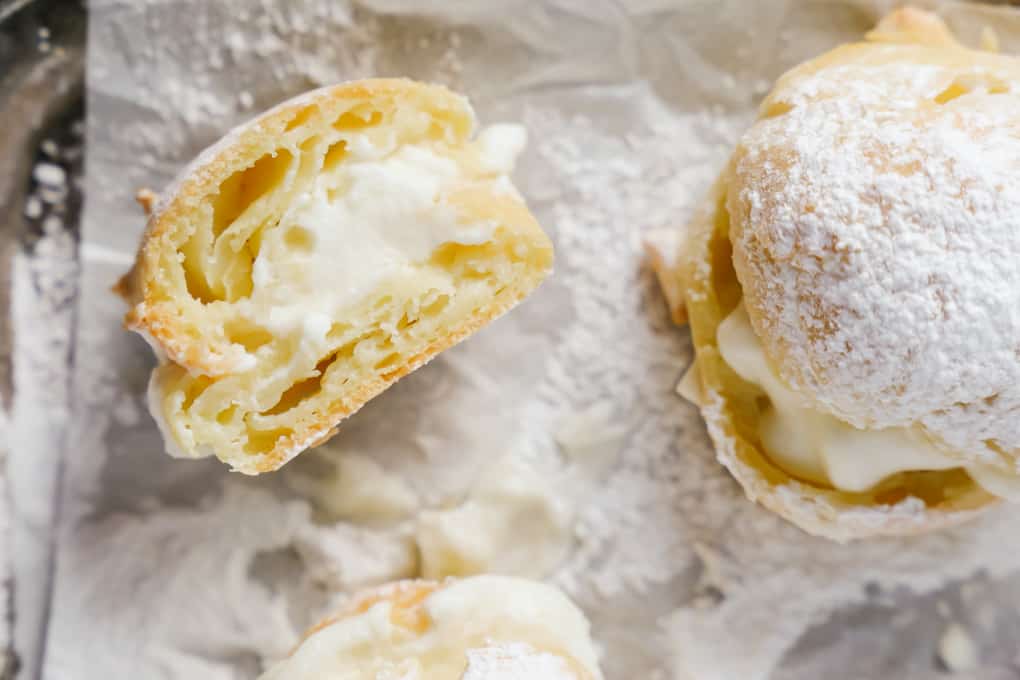
The best would be to wait as long as you can to fill your puffs. You can assemble your dessert for an hour to 2 maximum and store it in the fridge until your guests enjoy it.
How Can I Vary The Flavor Of My Puffs?
There are a lot of different versions of cream puffs recipes. Instead of whipped cream, you can fill your puffs with ice cream. It is a fun way to change it up as you can choose from such a wide variety of ice cream flavors. In my opinion, a Salted Caramel Ice Cream would be a great way to go.
You can also pour some chocolate or caramel sauce on top. A fruity sauce is also an option. If you choose the combo ice cream and chocolate sauce, it is then called profiteroles.
Pin it HERE!!
Pin it HERE!!


DELICIOUS AND EASY MINI CREAM PUFFS
Ingredients
- 3/4 cup water
- 1/3 cup butter cubed
- 1 Tbsp granulated sugar
- 1 cup of flour
- 3 eggs medium size
- 1 cup heavy cream
- 1/2 cup icing sugar
Instructions
- Pre-heat the oven at 375F.
- In a saucepan over medium heat, bring the water with the butter and sugar to a boil.
- Add the flour all at once into the saucepan. On the stove, stir constantly the dough with a wooden spoon for about 5 minutes. This is a very important step as you need to let the humidity go and allow the steam to escape.
- Transfer the dough into a bowl or if you wish your stand mixer. Allow to cool down for 10-15 minutes.
- Add the eggs one by one. Your dough will be slimy at first but it should be smooth as you work it.
- Prepare a baking sheet with parchment paper or a silicone mat.
- Using a pastry bag or 2 spoons, pipe or scoop the dough into 2-inch balls. Repeat until you have used all the dough.
- Bake for 15 minutes, it will be slightly golden. Turn down the heat to 350 for another 10 minutes. Keep an eye in case your oven is too hot. But DON’T OPEN THE OVEN DOOR!
- Next, prepare the whipped cream: pour the heavy cream into a large chilled bowl. I always chill the whisk too. Using a handheld mixer (or a stand mixer if you wish), whisk the cream until it starts getting fluffy.
- Add the icing sugar gradually (one third at a time). Keep whisking until the cream is stiff. Reserve in the fridge ready to use.
- Assembling: Delicately cut the pastry and pipe or scoop in some whipped cream. Serve within an hour or two. I like to serve them immediately.





Let us know what you think!
We’d love to know what you and your family think! Make sure to leave a review below and follow us on your favorite social network!