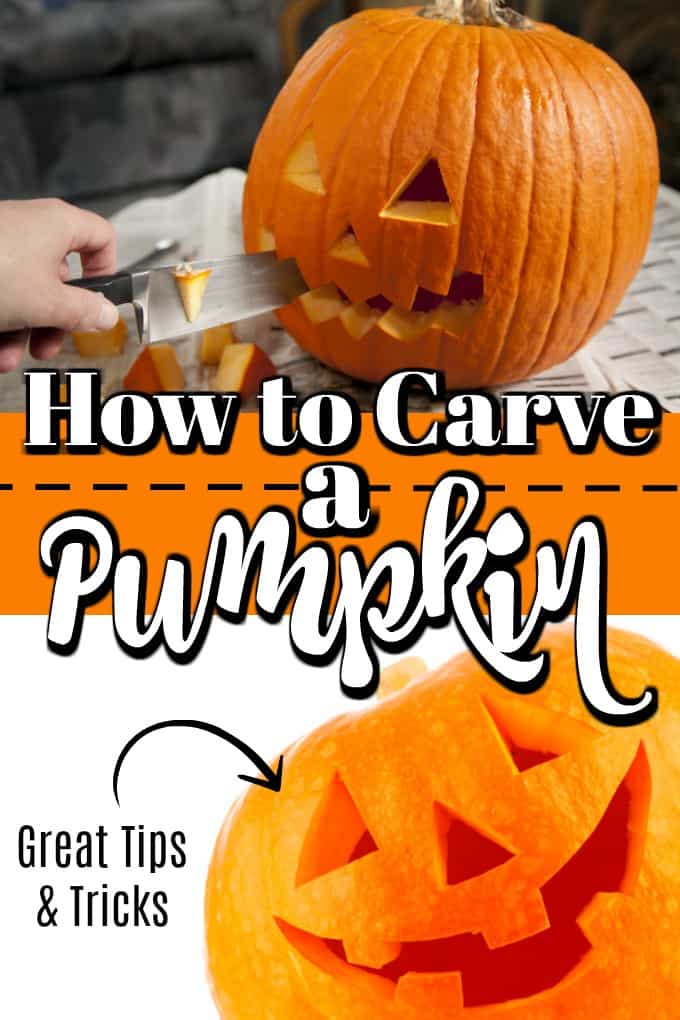
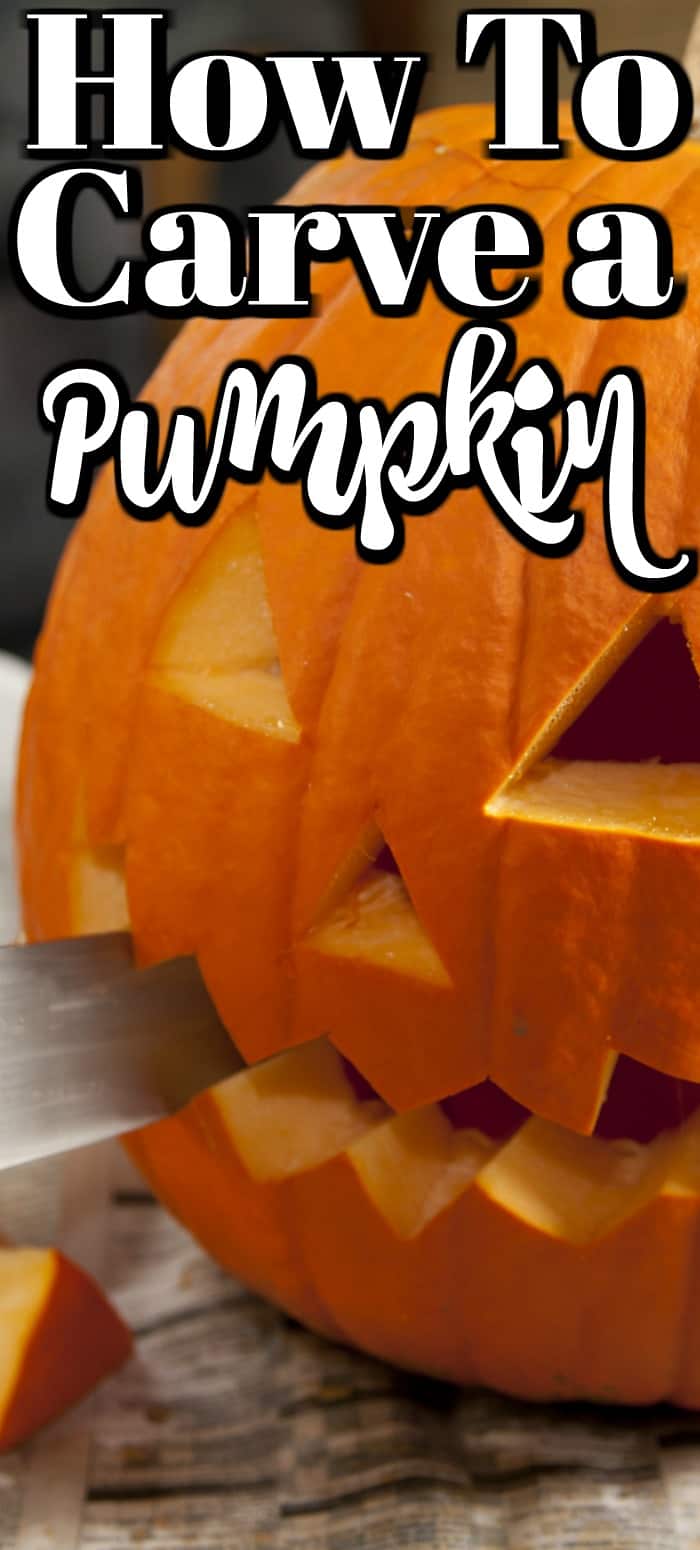
Fall is here and that means it’s time to start thinking about Halloween. Beyond the costumes and the candy, there’s one other important part of Halloween prep and I would like to show you – How to Carve a Pumpkin!
Trick or treaters delight in seeing home carved pumpkins that are part of your Halloween decorating when they are going door to door.
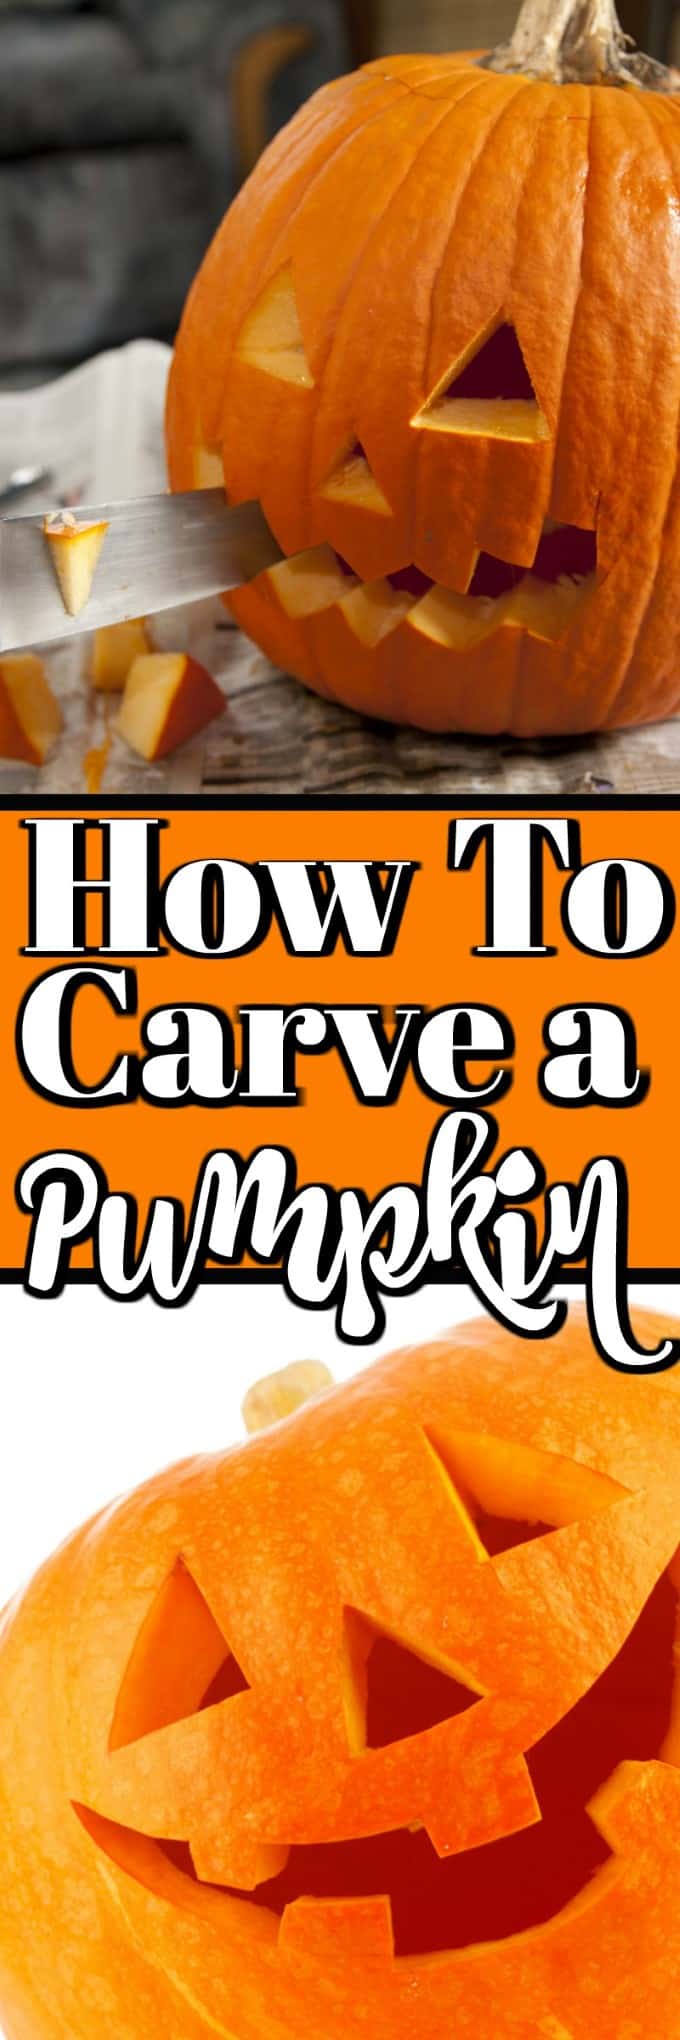
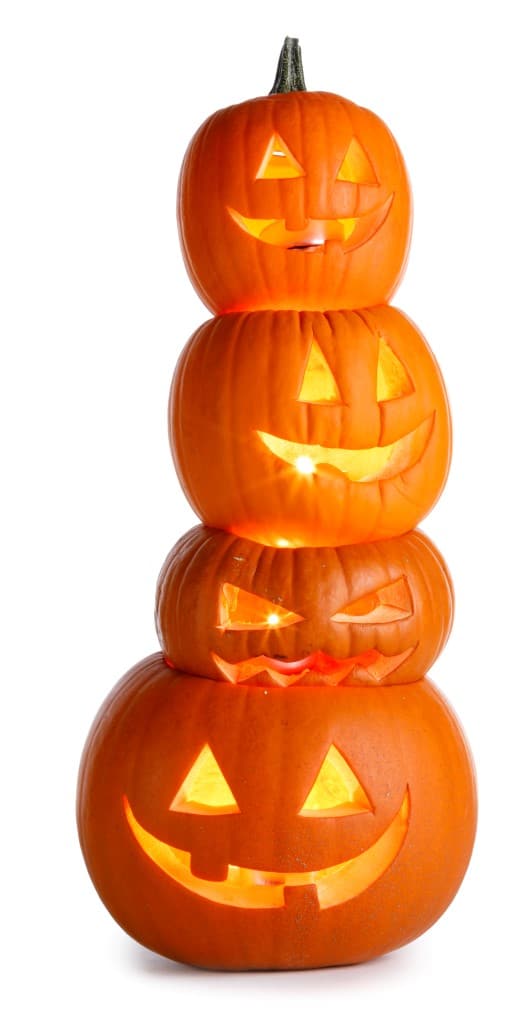
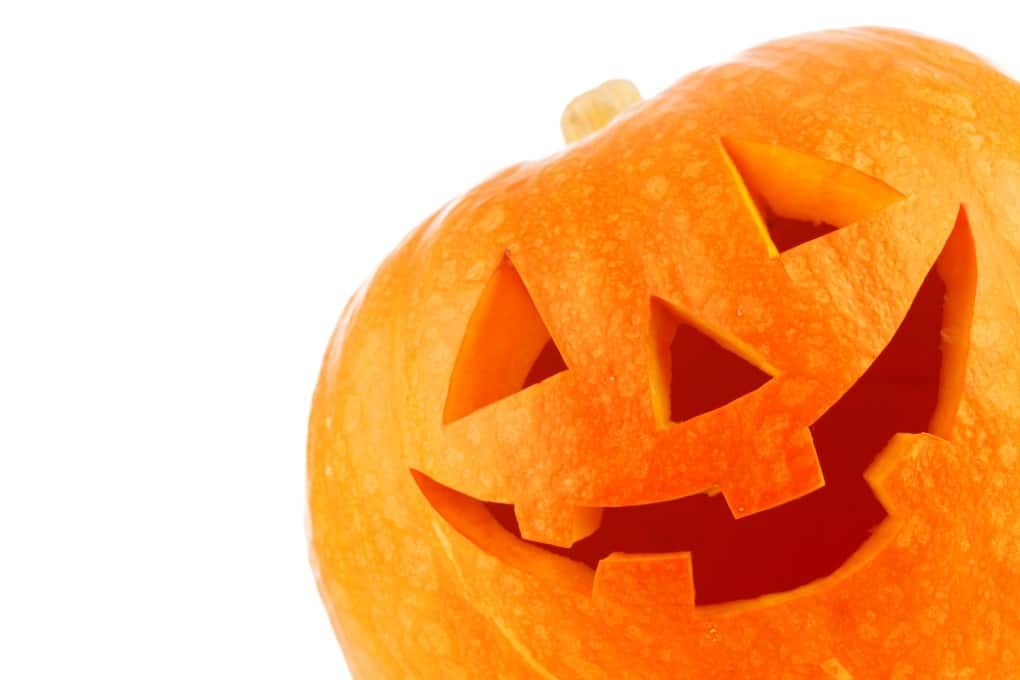
Your carvings can be just as effective with a small pumpkin as they can be with a large pumpkin. Don’t be afraid of a smaller pumpkin to work with; you can still give him a great toothy grin!!
Do you think you already know this? I just might show you a trick or two. Or if you’re not sure how to carve a pumpkin or what you need to carve a pumpkin, you’ve come to the right place.
Helpful Items for This Post
This post contains affiliate links. As an Amazon Associate, I earn from qualifying purchases.
10 Pieces Professional Wooden Pumpkin Carving Tool (great price!)
When Should You Carve a Pumpkin for Halloween?
The first thing you need to know to ensure pumpkin carving success is to know your timing. Pumpkins are good for between 8 and 12 weeks after they’re picked so if you pick it up in October you should be good.
Look for a pumpkin that is firm to the touch – especially around the base and the stem.
The clock starts when you make the first cut through – once the outer skin is pierced, the pumpkin starts to decay.
Once cut, a pumpkin will last between 5 and 8 days. So about a week as long as it’s kept cool. Keeping it inside the house would speed up decomposition as cold helps preserve it. You can refrigerate them too if you have a large space.
The closer to Halloween you can carve the pumpkin the better. One thing you can do to give yourself a little extra time is to scoop out the insides of the pumpkin. Then rinse the inside with a 50-50 vinegar and water mix to stop bacterial and fungal growth.
What are the Steps to Carving a Pumpkin?
Choose a Pumpkin
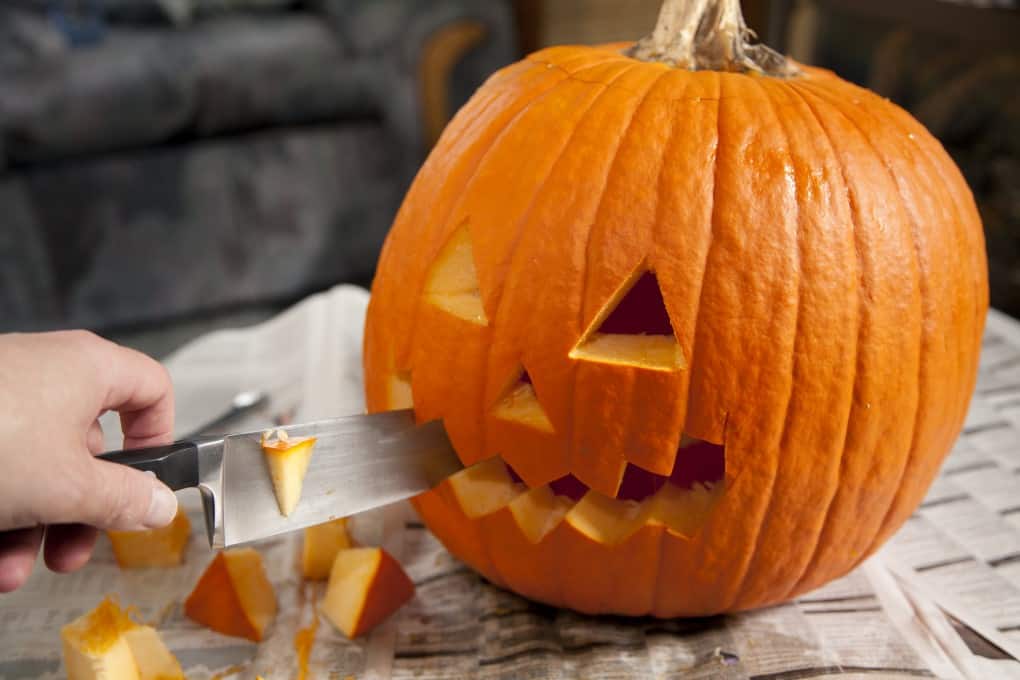
Some of this will be personal choice, but you should look for one with a flat bottom so it sits evenly. Your design will dictate whether you get a taller pumpkin or a more round one.
There is some great pumpkin carving ideas in magazines and books on the subject. They can be purchased through our links that I have chosen for you above!!
Prepare the Carving Area
Carving a pumpkin is messy. You should have a vinyl tablecloth that can be rinsed off under the pumpkin if you’re carving indoors. If the weather permits, carve outdoors.
Get Your Tools Together
You can get fancy and use a Dremel, keyhole saw, pumpkin carver tools or battery-operated pumpkin tool but you don’t need them. You can use the tools that come in a pumpkin carving kit (especially useful if you want the stencils that come with them).
Or you could use a good knife to cut from your kitchen. A filet knife, paring knife, and a small serrated knife should do the trick. No matter what you use to carve, you’ll want an ice cream scoop or a large spoon to scoop out the insides.
If you’re using a template (there are lots online for everything from Minecraft to Minions to 3D effects) make sure you’ve got it and some clear tape close by.
If you’re doing your own design, sketch it out on paper first to make sure the scale is correct. A tack or other pointed object that can poke holes will also be handy.
Cut Your Lid
This brings up the question of whether you should cut the top or the bottom of the pumpkin. Some experts recommend cutting the ‘lid’ from the bottom because it lessens the chance of the side collapsing.
This is what I like to do and then lighting it is so much easier as you just place the pumpkin over the light as opposed to reaching your hand down inside.
Others argue the lid cut from the top works just fine. If you cut from the top, make sure the lid is cut on an angle so it doesn’t fall inside the pumpkin.
Scoop Out Your Pumpkin
This step is the one that can prolong or shorten the lifespan of your pumpkin. You need to remove all the seeds and pumpkin ‘guts’ completely or they’ll start rotting.
You can use a metal spoon to scrape the inside of the pumpkin a bit to make sure you get all the guts out. If you thin the side you want to carve down to make it easier to cut, make sure it’s at least an inch thick or you risk collapse.
Start Cutting
Tape your pumpkin design to the pumpkin and poke holes around it. These will tell you where to cut when you remove the stencil. Make bigger cuts first and then add the detail.
If you have a helper, get them to hold the pumpkin (making sure their hands are away from the knife). If a cutout piece doesn’t come out, try pushing it back into the pumpkin and removing it through the lid.
Preserve the Pumpkin
You can use petroleum jelly to ‘seal’ the cut surfaces. You can also spray the mixture with a bathroom cleaner that has bleach in it but you need to make sure you air it out before you put a light in it.
Light it Up
You should use a battery-operated or plug-in light for safety. If you can’t resist a candle, make sure you cut a chimney hole for the smoke and have an adult watching the jack o lantern carefully. One year I did a polka dot pattern on a pumpkin using a drill and then pushed lights through from the inside to create an awesome effect.
Carving a pumpkin is one of the Halloween traditions I look forward to each year. Do you carve a pumpkin? Where do you get the design ideas? Let me know in the comments.



Comments & Reviews
Kathy Barrera says
This is a favourite moment for my child, but not for me! Thank you for these helpful hints!
Annemarie LeBlanc says
I will try that tip with the petroleum jelly. Washing the insides with water and vinegar mix is what we usually do every year. These carving tips you shared are very useful. Hopefully this year we can carve our pumpkins better!
Rachel says
Thanks for the tips. I am terrible at carving pumpkins.
Jennifer says
We have a carving contest in our family every single year. This is some great tips! I will be sure to use some when I beat my kids with my design this October.
Catalina says
My kid loves this moment, but not me! Thanks for these useful tips!
Ruth I says
It must be super fun to try this! I never tried doing it by myself before but I think it’s worthwhile. I am pretty excited for the Halloween.
Stefani Tolson says
Thanks for the tips! Even after carving pumpkins for years mine still never look as good as I wish they would.
Brianne Tursi Manz says
Pumpkin carving is such a fun time to spend with the family. We’ve always wanted to carve more detailed designs, and never could figure out “how do they do that?”. Your post is very informative, and, even though we don’t “need” them, it may be time this year to get battery operated tools!
Amy says
We typically carve our pumpkins the same week of Halloween. These are great tips to keep in mind.
Liz Mays says
This is great advice. I wouldn’t mind having a couple for my porch. Being able to bake the seeds is always nice too. I’ll have to try that petroleum jelly trick.
Tara Pittman says
With these tips my pumpkin is going to look awesome. I need to buy some pumpkins.