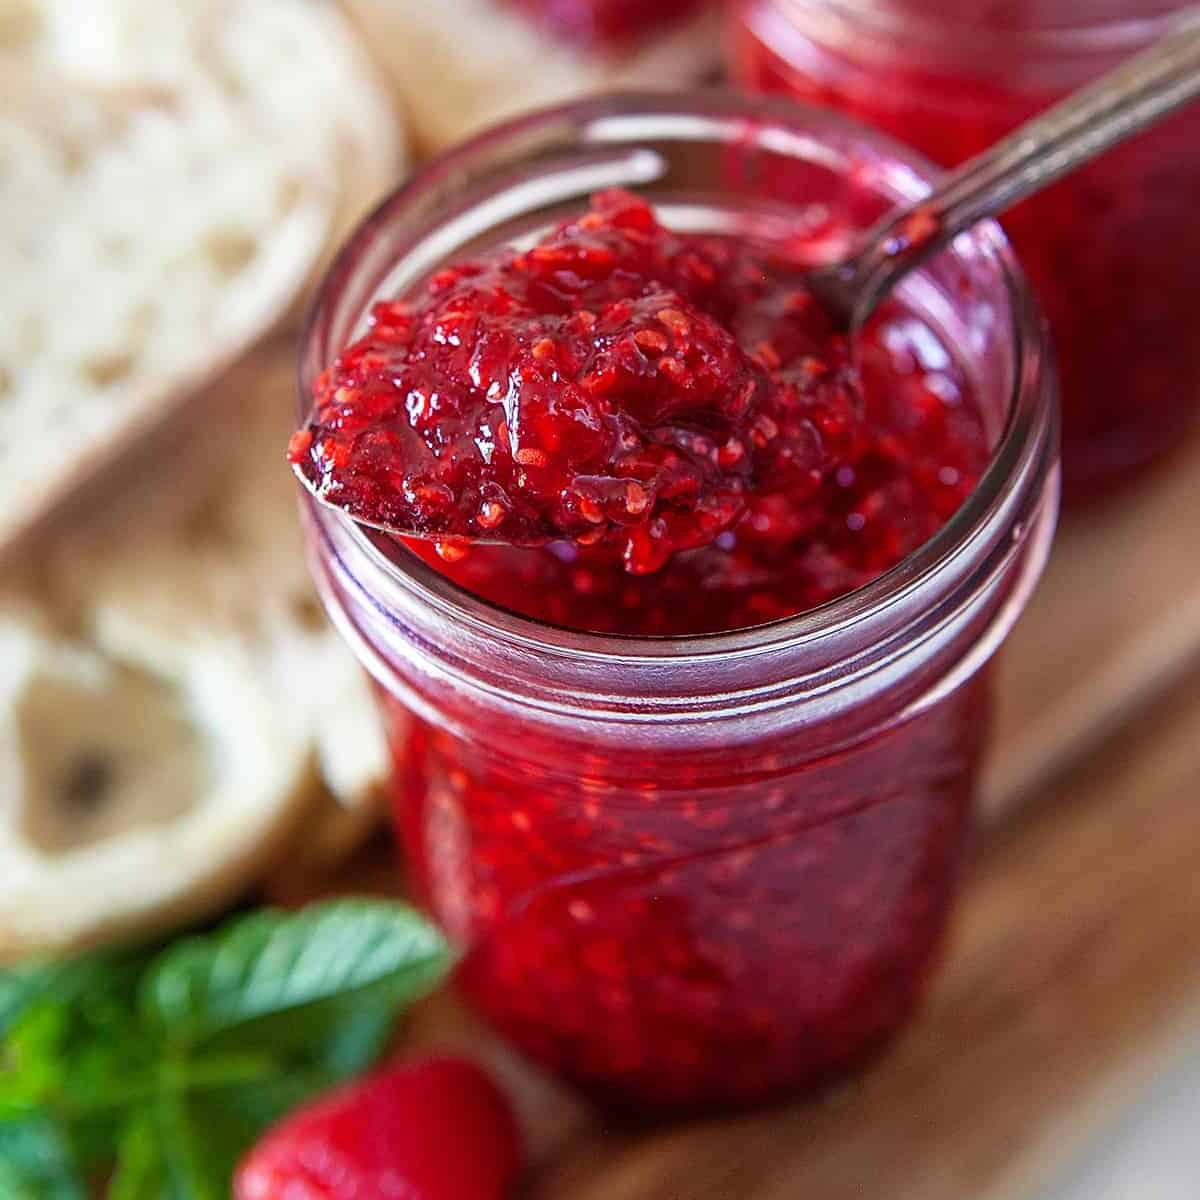
There is no better way to preserve summer’s sweet bounty of berries than to make a delicious jam to be enjoyed year-round. This super simple No-Pectin Raspberry Jam Recipe only requires three ingredients and can be made in small batches. There’s nothing quite like a spoonful of home-canned raspberry jam on your morning toast!
This No-Pectin jam like our Small Batch Strawberry Jam is really easy to make, even if you’ve never made a canned jam before. But, if you’re looking for an alternative to canning, try this delicious Peach Freezer Jam or a quick batch of this Blackberry Freezer Jam.
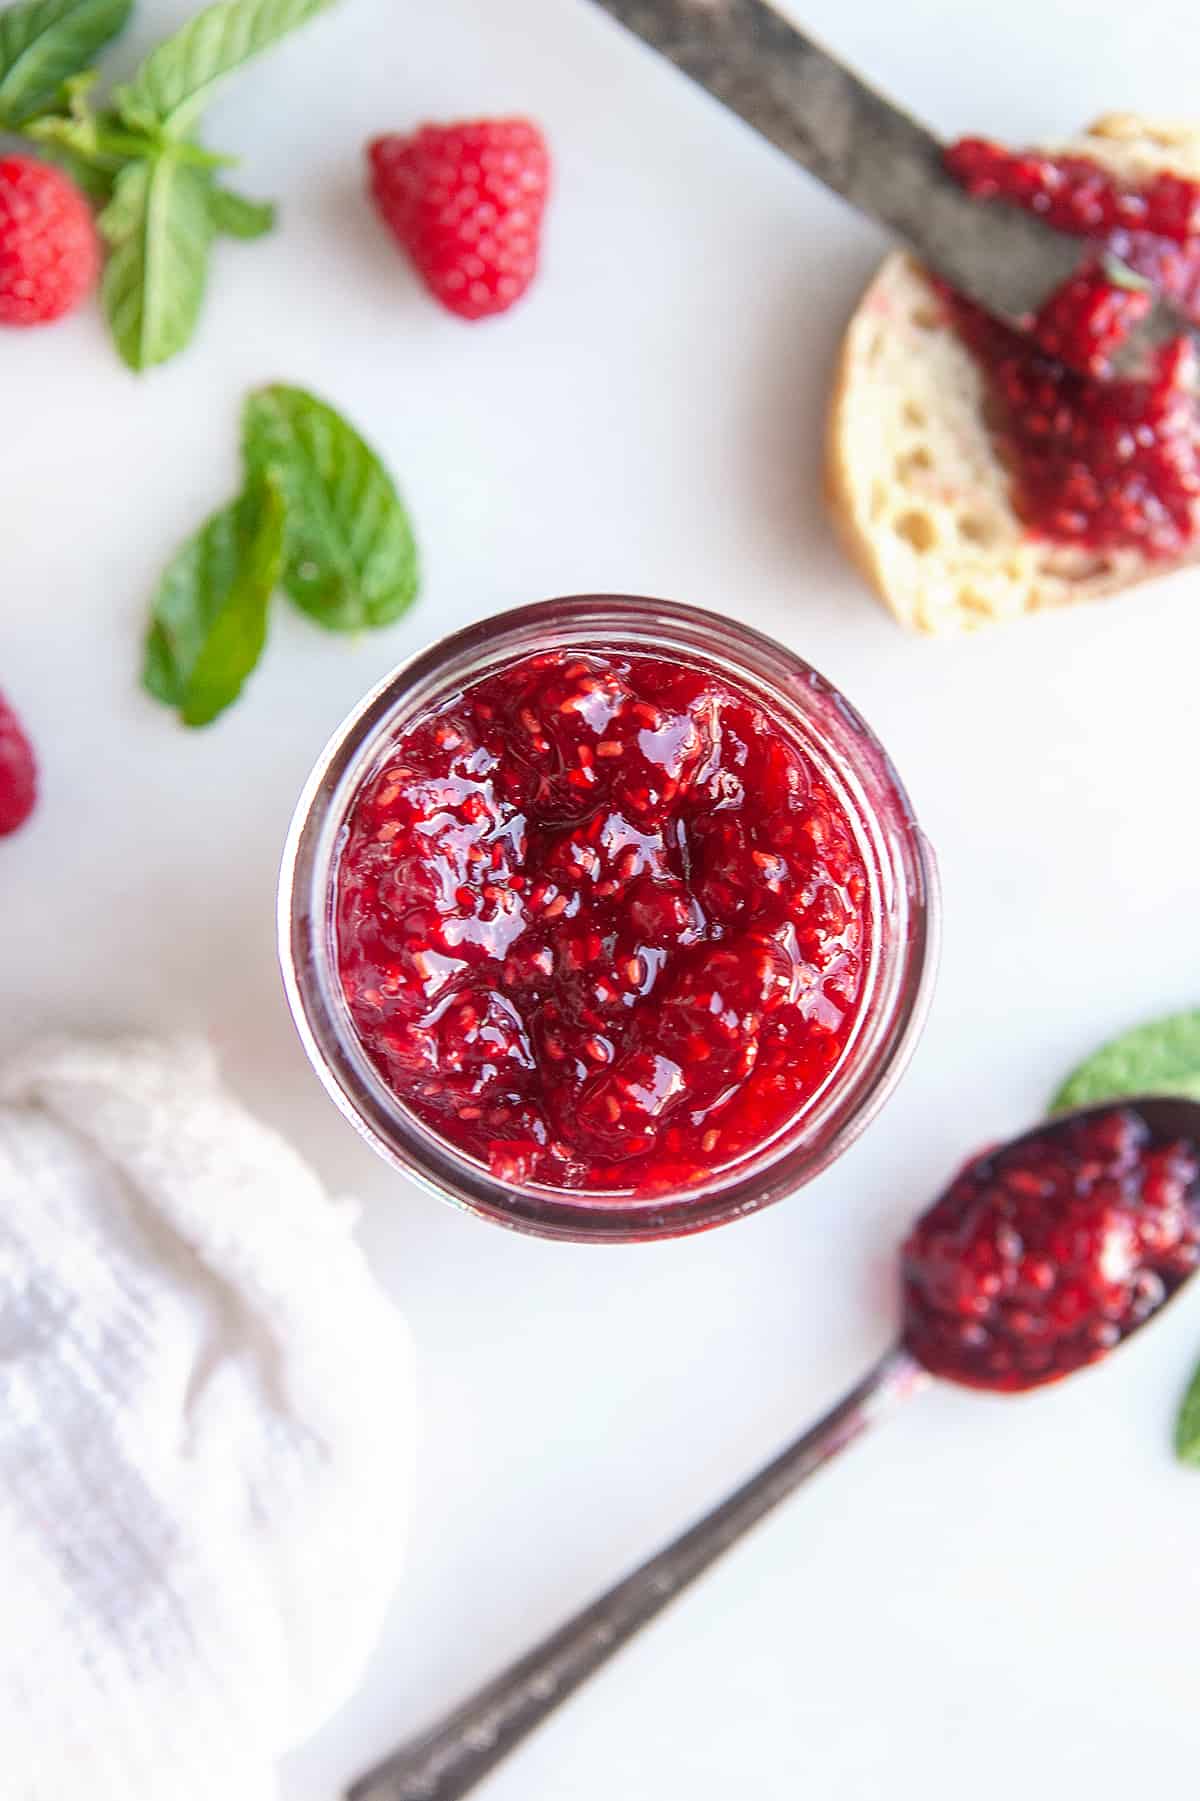
I love making a no-pectin jam, and you will find many on our site. I like them for their ease and that you can use a vastly decreased amount of sugar. You will fall in love with this homemade raspberry jam like we have.
HELPFUL ITEMS FOR THIS RECIPE
This post contains affiliate links. As an Amazon Associate, I earn a small portion from qualifying purchases at no extra charge to you.
What is in Raspberry Jam?
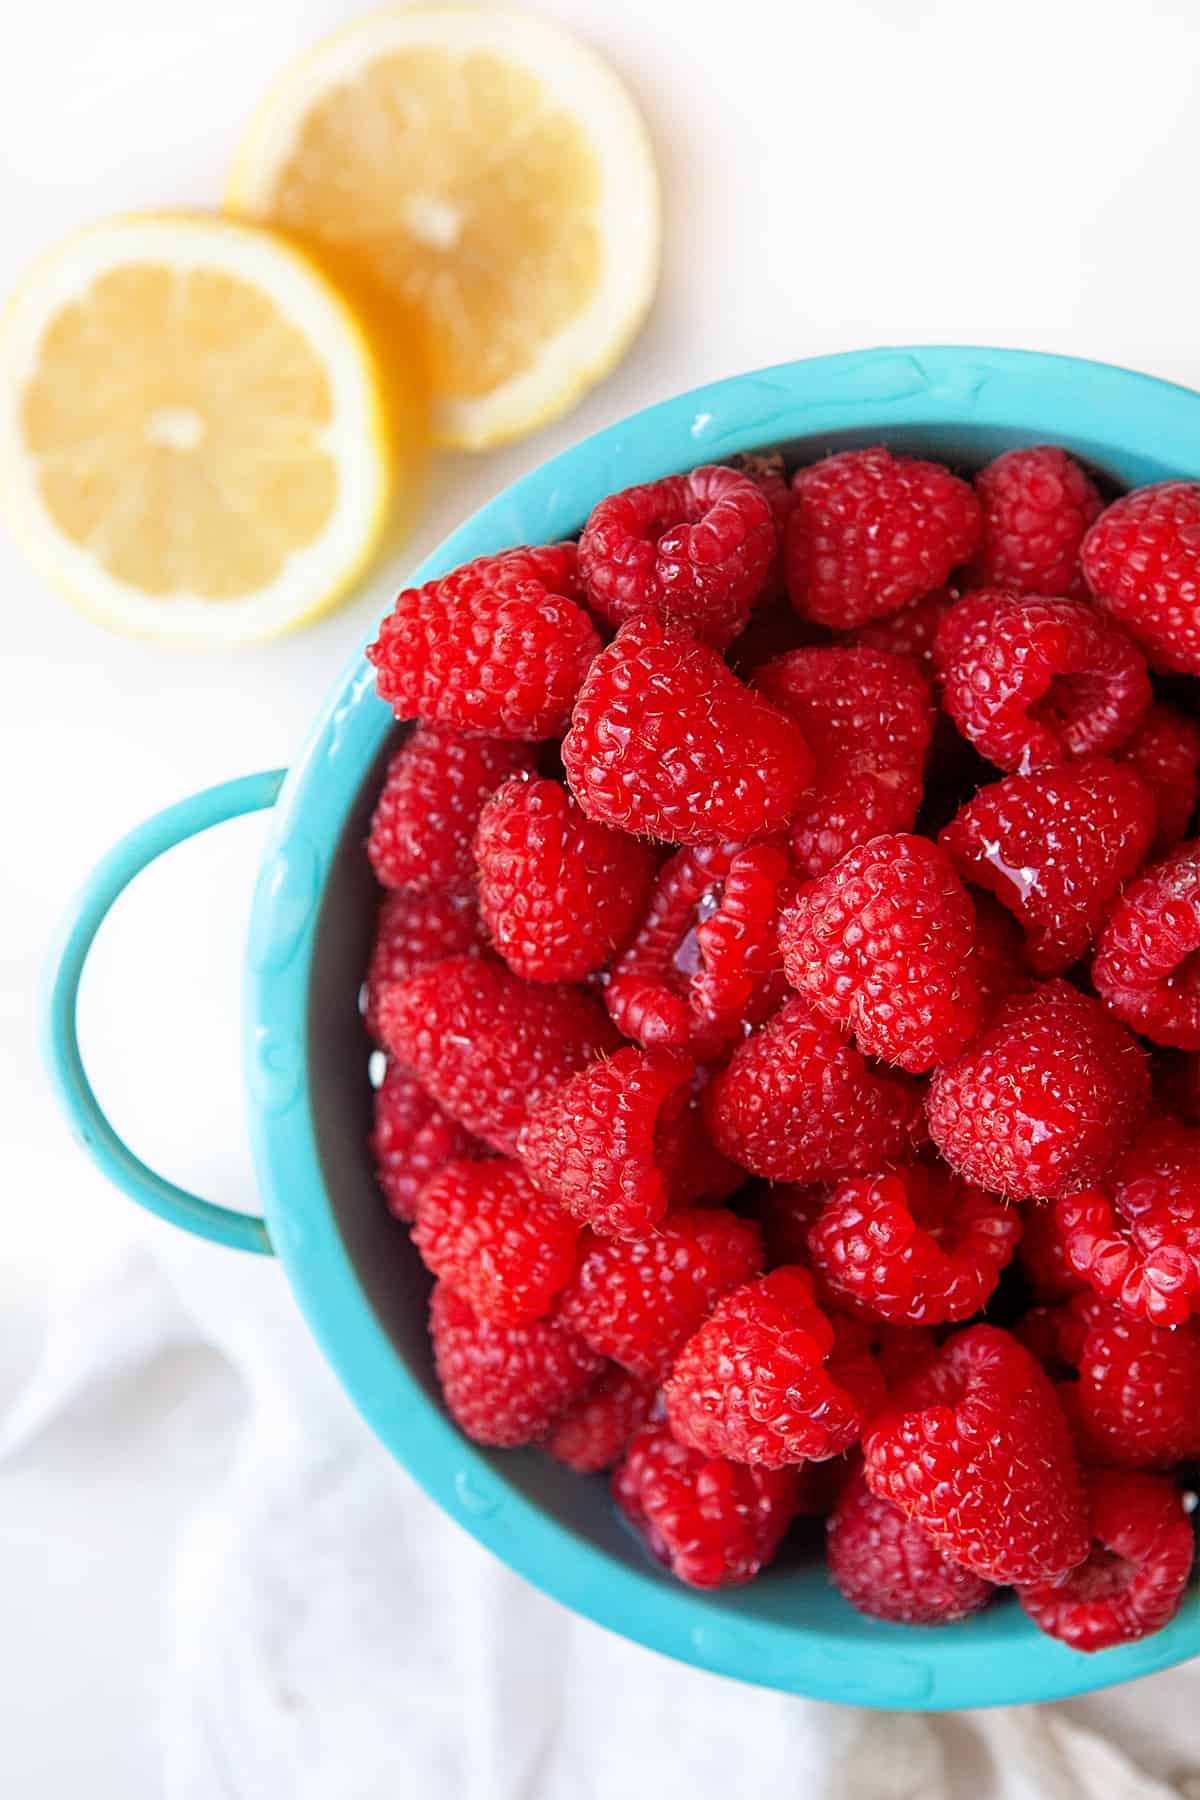
This No-Pectin Raspberry Jam recipe is so simple and only has three ingredients. Honestly, what could be easier, fresher, or more natural. Plus, you aren’t then on the hunt for pectin, which at times around canning season can be hard to find.
INGREDIENTS
- fresh raspberries
- sugar
- lemon juice, bottle preferred
Hard to believe it’s so simple, but it’s true!
Why do you put lemon juice in a raspberry jam?
The lemon juice adds acidity, helping to bring out the fruity flavor of the berries. It also lowers the pH of the jam mixture and helps it achieve its setting point, even without adding pectin. This is a must for making jam without pectin. It is natural and easy. I also like to use bottled lemon juice for jam making as it is much more consistent and will give you the best results each time.
How to Make Raspberry Jam
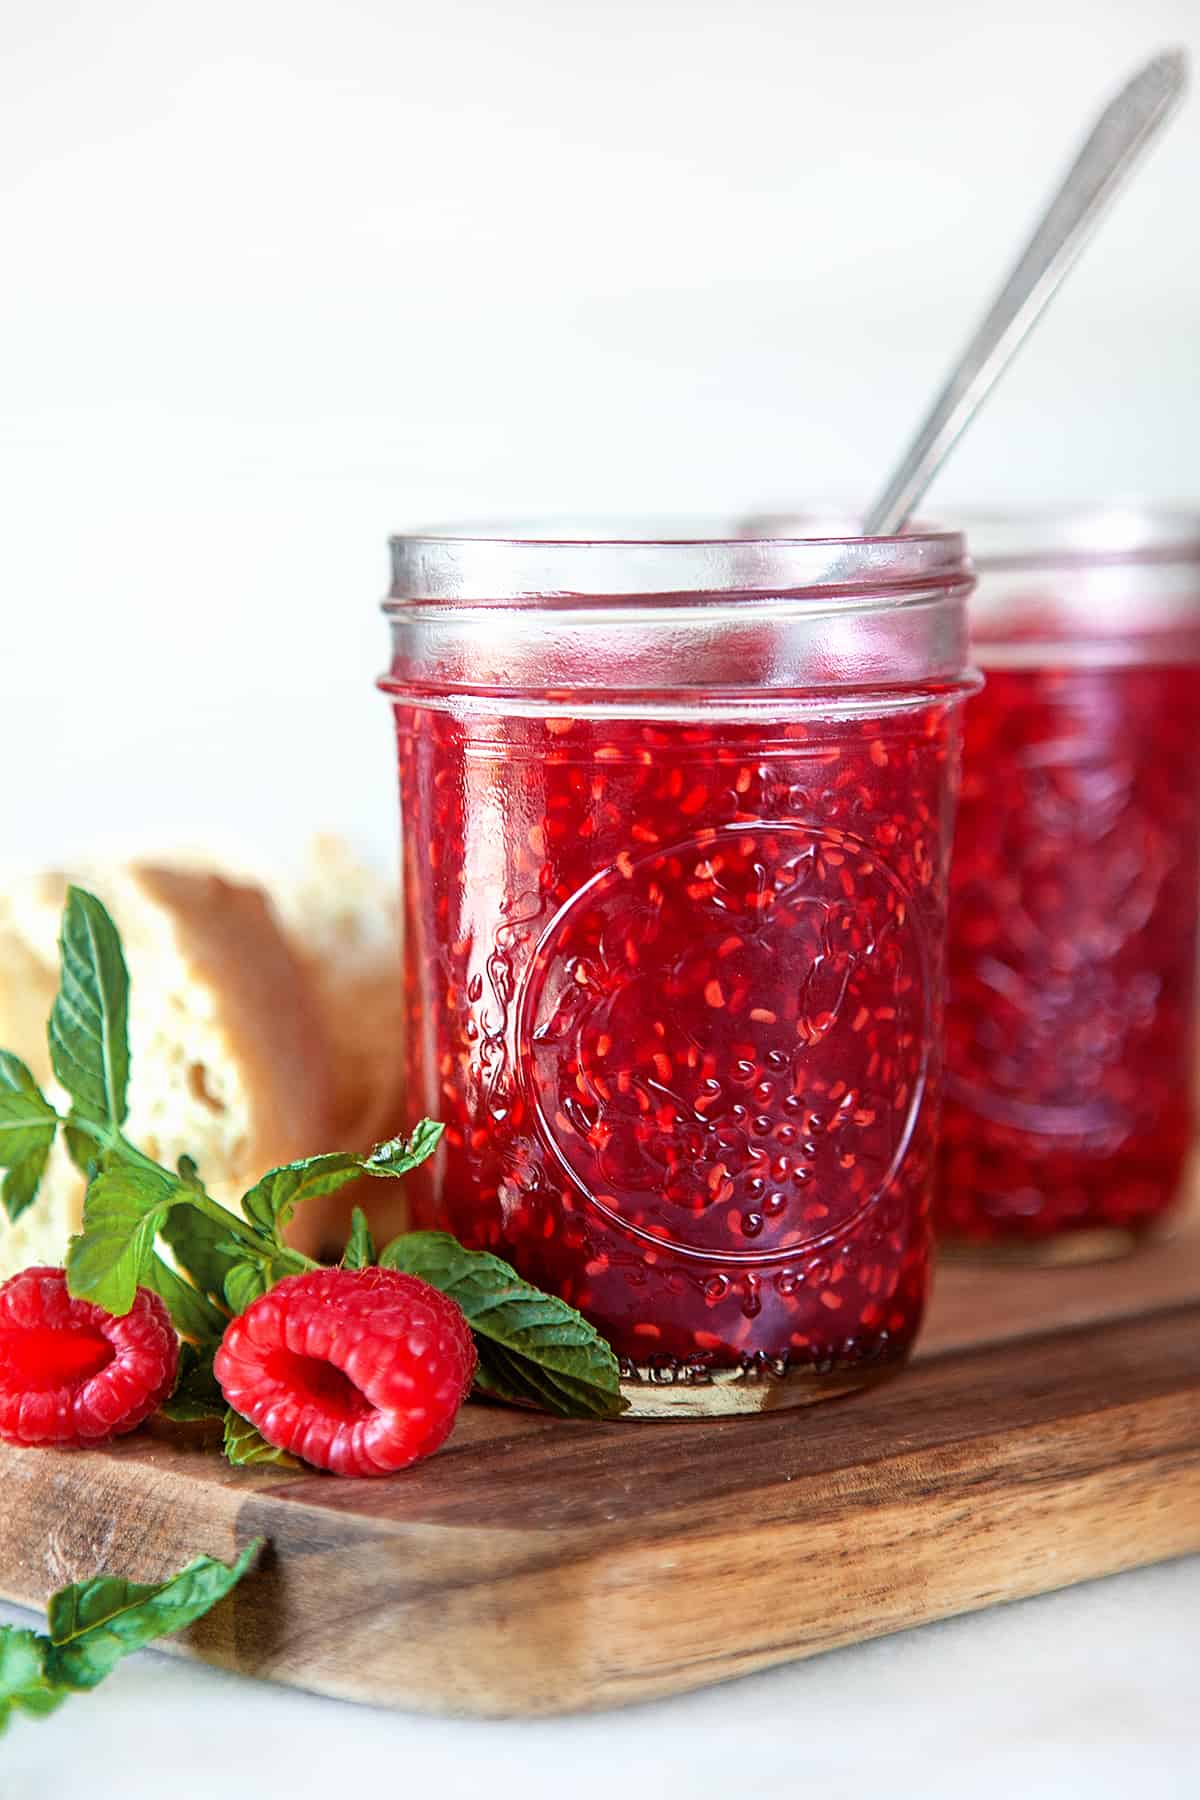
This recipe for easy raspberry jam makes a small batch of 4 half-pint jars (8 oz. jars).
Be selective when you pick raspberries for jam. You don’t want any berries that are discolored, bruised, or moldy. Using the best berries always results in the best-tasting jam.
Once you’ve selected the best raspberries, rinse them well and drain them well in a colander. Make sure you don’t leave them sitting in water too long because the raspberries will start to absorb water.
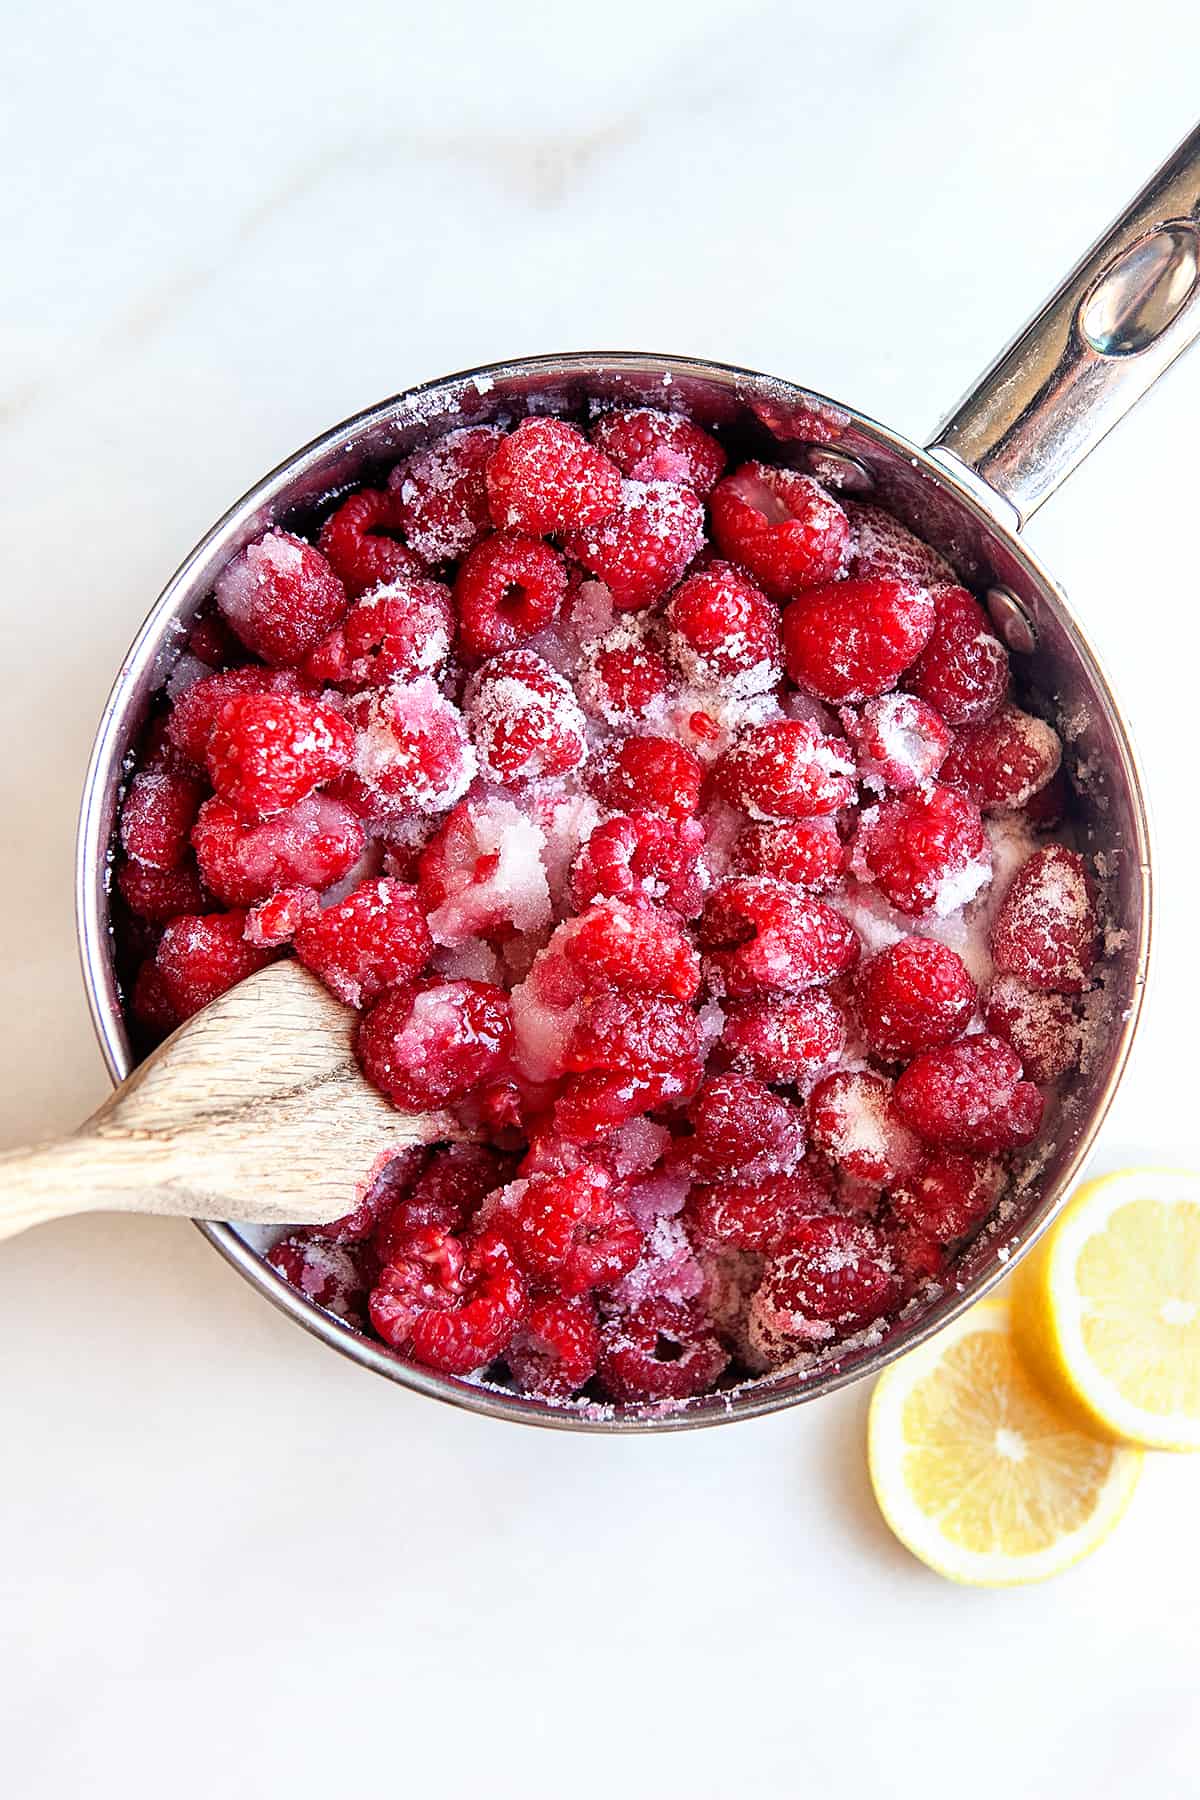
Combine the sugar, lemon juice, and rinsed/drained raspberries in a heavy-bottomed saucepan (as pictured above). Cook over medium heat until the sugar is dissolved.
Cooking The Jam
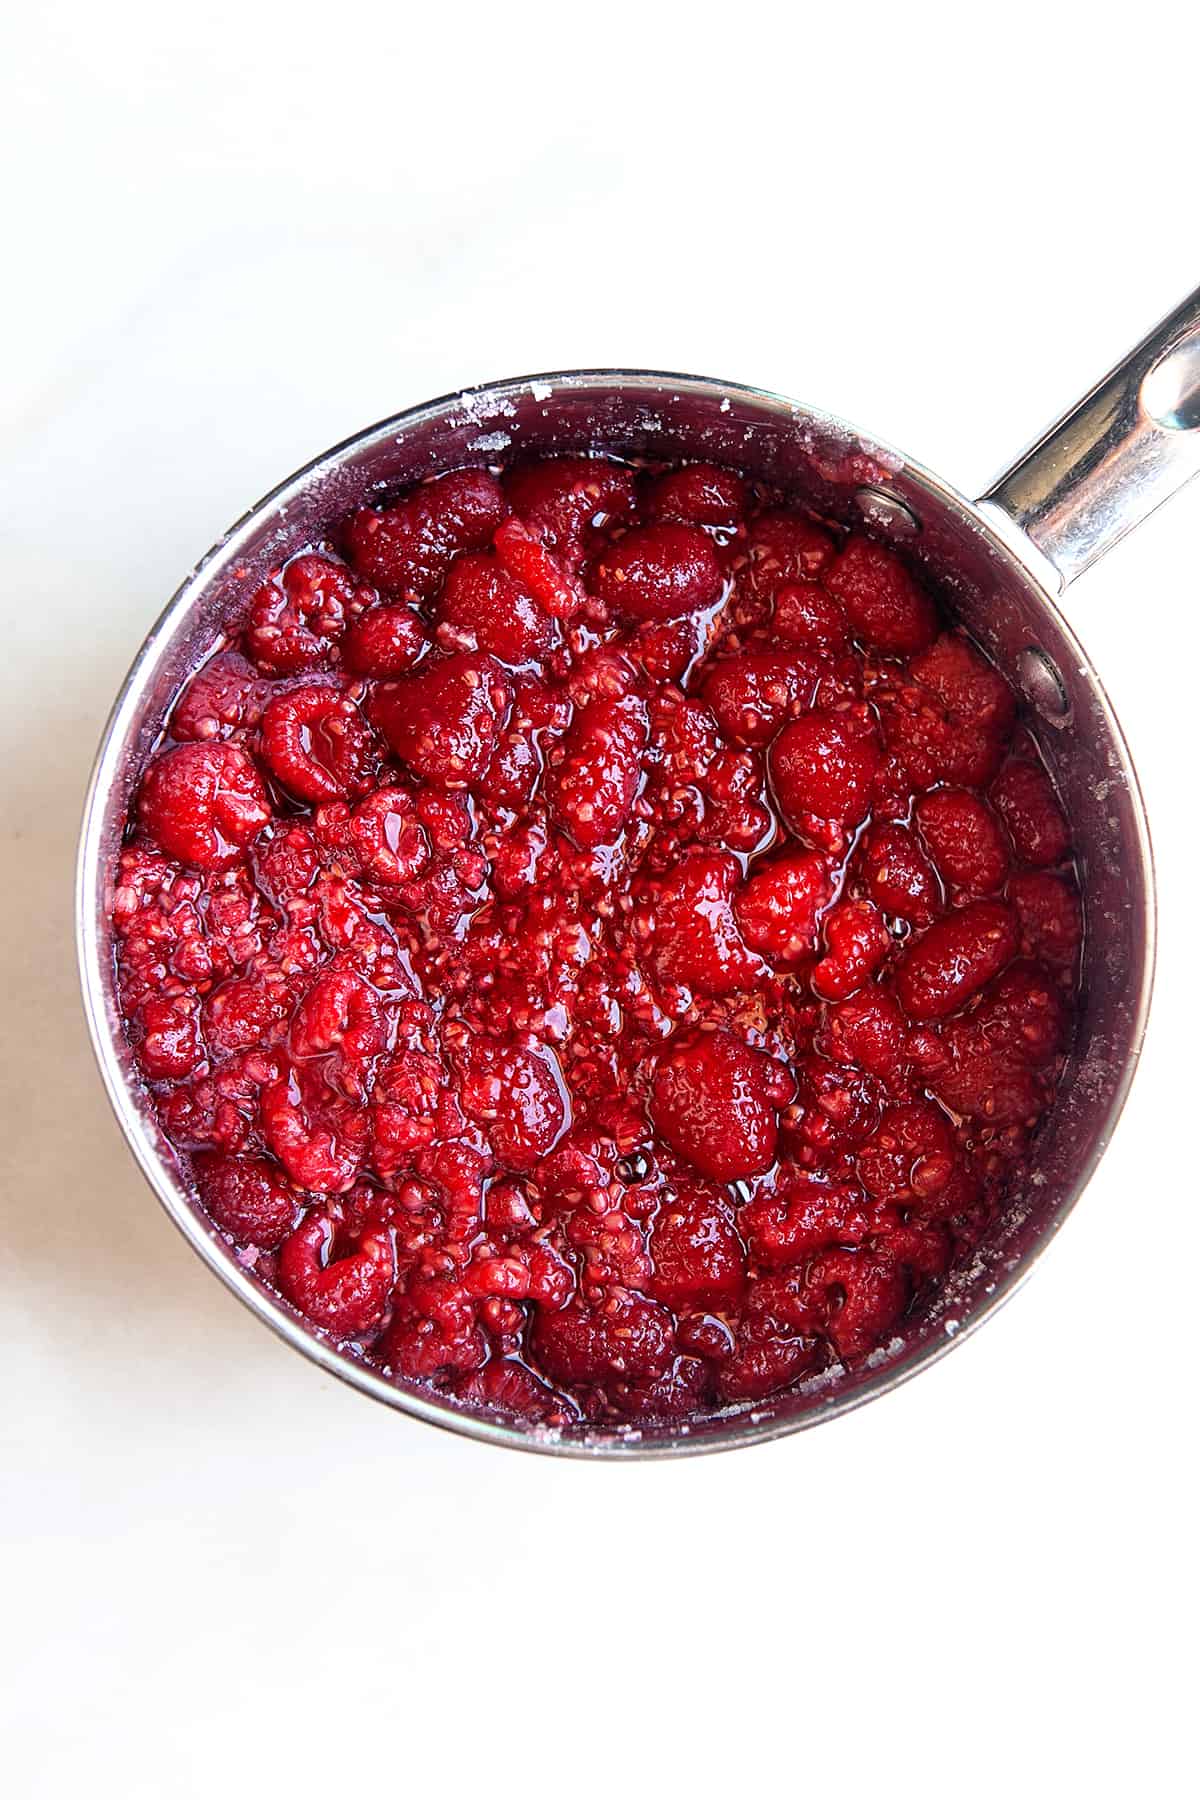
Once the sugar is completely dissolved (as pictured above), increase the heat to medium-high and bring it to a rolling boil. Boil for two minutes, stirring constantly (it will foam up as it boils). Then, turn the heat to medium-low to maintain a simmer.
It is important to keep the mixture continuously simmering for 20 minutes to 30 minutes so that it will thicken or until a candy thermometer reaches 105 C / 221 F. Stir often, scraping the bottom to avoid the jam sticking. Use the back of a large wooden spoon to gently smash the raspberries to a smoother jam-like consistency as you stir.
If you don’t have a candy thermometer, then place a plate in the freezer to get very cold. Place a small amount of the jam (1 tsp.) on the freezer plate and place the plate back in the freezer for a few minutes to cool. If the jam seems very close, then remove it from the heat while the plate is in the freezer to wait to see if it is done. If the jam wrinkles when pushed with your finger, the jam is done; if not, return to a boil for 5 min. and repeat. Careful as the jam thickens, it can start to burn, so stir more frequently.
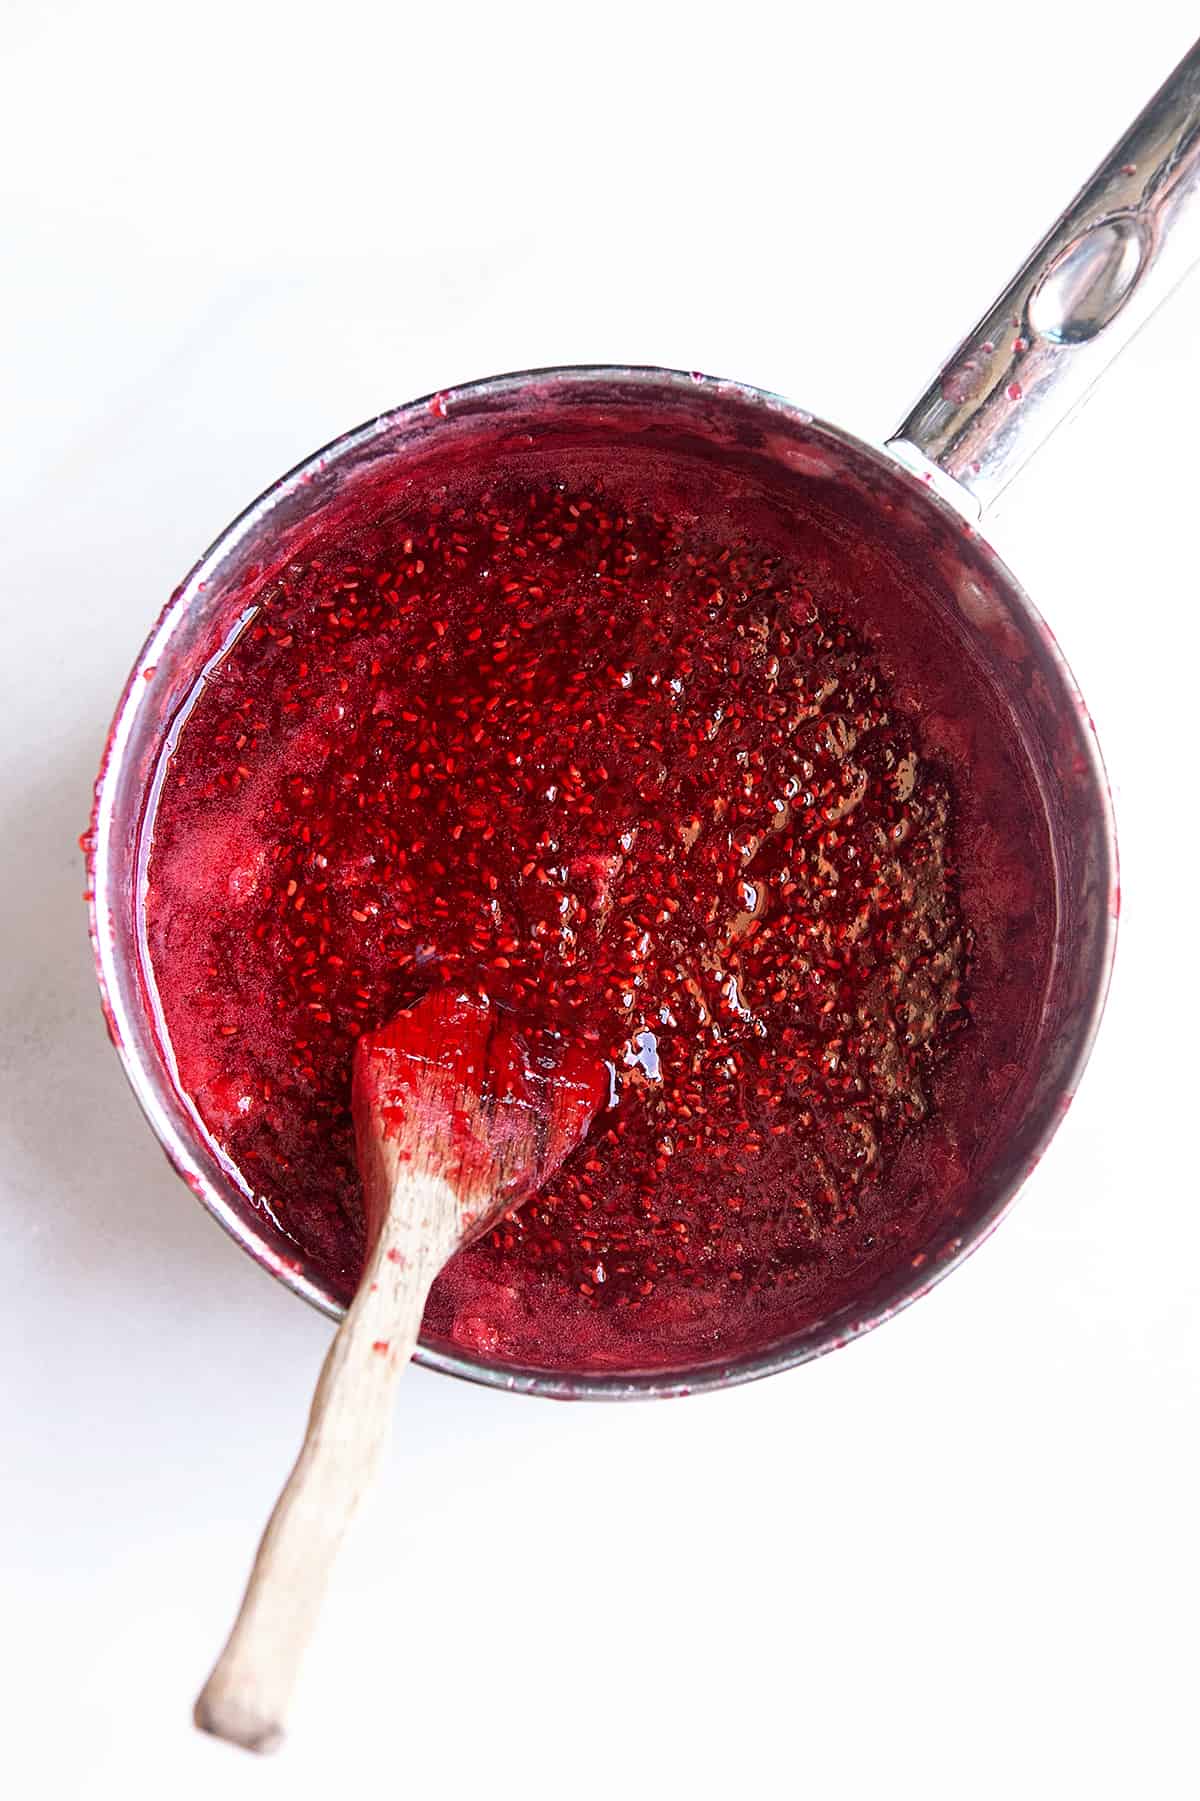
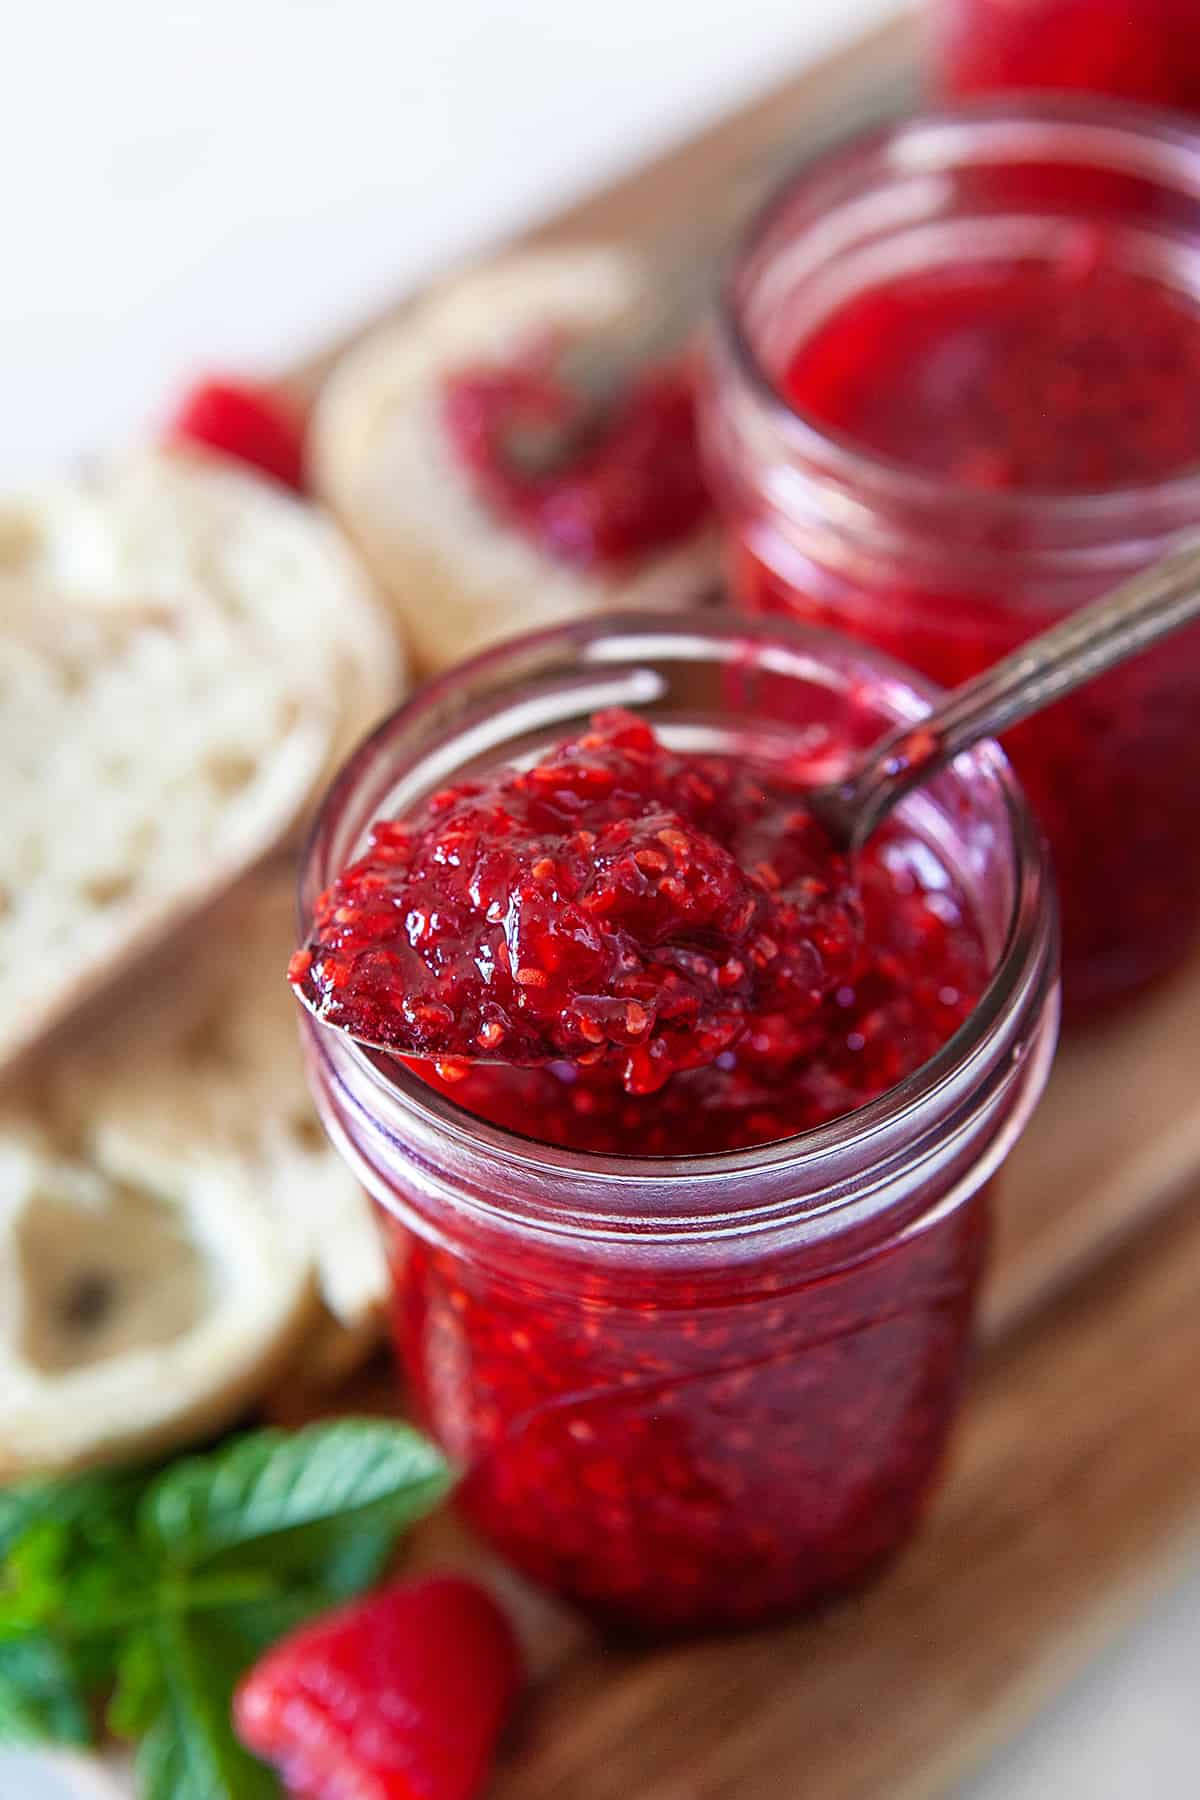
When the jam has reached 105 degrees C / 221 degrees F, it will be thicker and darker in color. Carefully pour the jam into warm sterilized jars leaving 1/4 inch headspace from the top. Use a sterilized metal spoon or knife to stir the jam in the jar just a bit to make sure there aren’t air pockets.
How to Can No-Pectin Raspberry Jam
Once the jam is ready in the sterilized jars, you’re ready to can the jam! For this No-Pectin Raspberry Jam, you don’t need to pressure can. Water bath canning is perfectly safe for jams and jellies.
To begin, wipe the jar rims with a clean cloth. Place lids on and screw to tighten until finger-tip tight only.
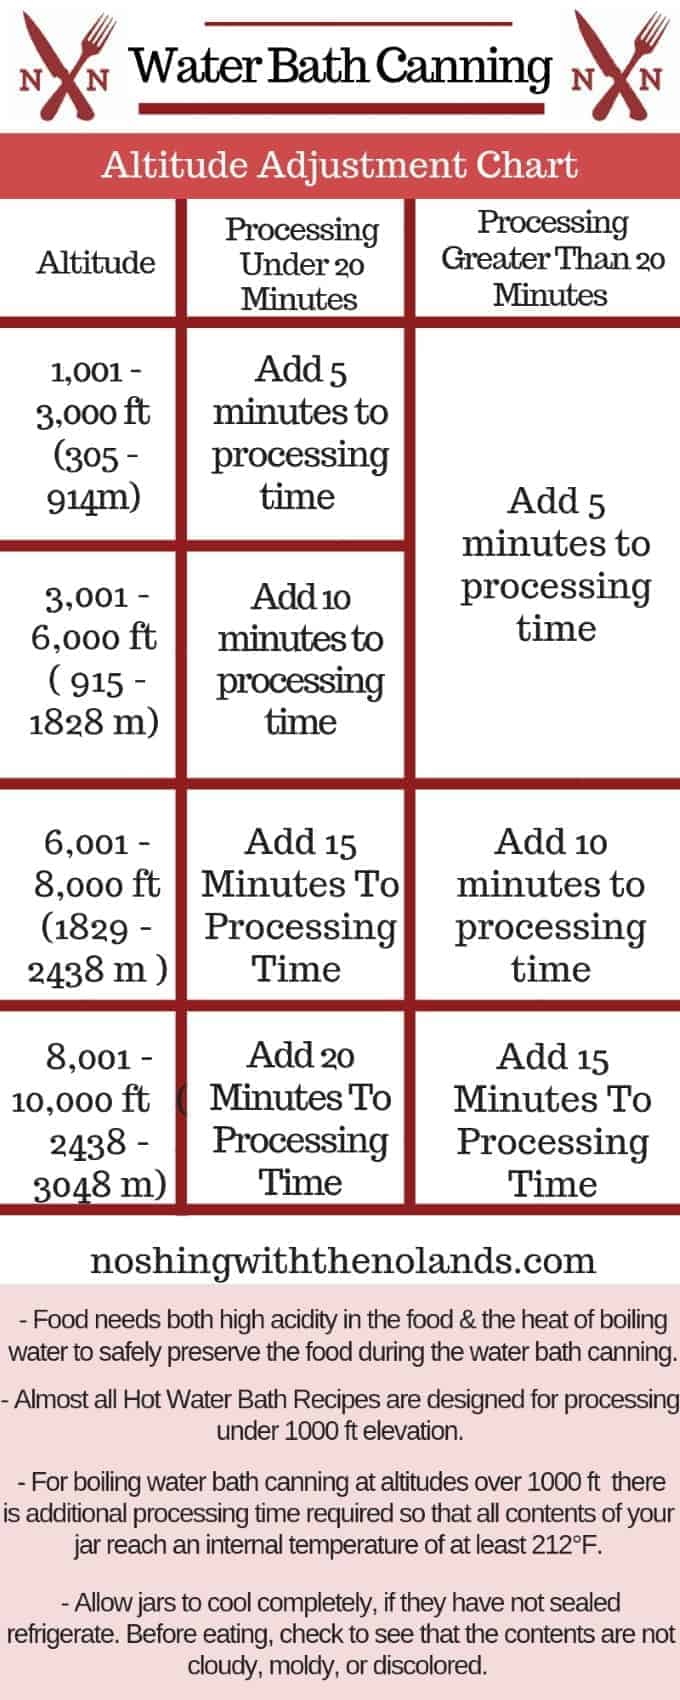
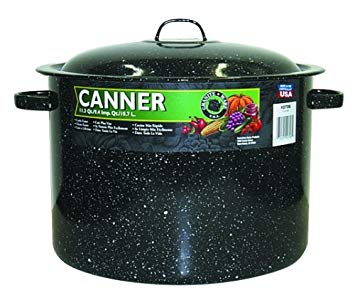
Place in a boiling water canner and process for 10 min. or according to altitude. Use a jar lifter to safely lift the jars in and out of the boiling water.
Use our handy printable (get it below!) to see altitude adjustments if you need them. When the jam has cooked for its allotted time, remove the jars to a towel-lined counter to cool (do not stack the jars or they may not seal properly). You should hear the popping of the lids as they seal. If any jars don’t seal, refrigerate and eat right away.
Pin it HERE!!
Pin it HERE!!
No-Pectin Raspberry Jam
Ingredients
- 2 pounds fresh raspberries
- 2.5 cups sugar
- 2 tablespoons lemon juice
Instructions
- Pick through the raspberries and remove any that are discolored or bruised. Rinse them well and drain them well in a colander. Make sure you don't leave them sitting in water too long because the raspberries will start to absorb water.
- Combine the sugar, lemon juice, and rinsed/drained raspberries in a heavy-bottomed saucepan. Cook over medium heat until the sugar is dissolved.
- Once the sugar is completely dissolved, increase the heat to medium-high and bring to a rolling boil. Boil for two minutes, stirring constantly (it will foam up as it boils).
- Turn the heat to medium-low to maintain a simmer. It is important to keep the mixture continuously simmering for 20 to 30 minutes so that it will reduce and thicken. Stir often, scraping the bottom to avoid the jam sticking. Use the back of a large wooden spoon to gently smash the raspberries to a smoother jam-like consistency as you stir.
- When the jam reaches 105 degrees C / 221 degrees F, remove it from heat. If you don’t have a candy thermometer, then place a plate in the freezer to get very cold. Place a small amount of the jam (1 tsp.) on the freezer plate and place the plate back in the freezer for a few minutes to cool. If the jam seems very close, then remove it from the heat while the plate is in the freezer to wait to see if it is done. If the jam wrinkles when pushed with your finger, the jam is done; if not, return to a boil for 5 min. and repeat. Be careful as the jam thickens, it can start to burn, so stir more frequently.
- Pour the jam into warm sterilized jars leaving 1/4 inch headroom at the top. Use a sterilized spoon or knife to gently stir the jam in the jars to remove air pockets.
- Clean the rims of the jars with a clean, warm, wet cloth. Place lids on and screw to tighten until finger-tip tight only. Place in a water bath canner and process for 10 min. or according to altitude.
- When the jam has cooked for its allotted time, remove the jars to a towel-lined counter to cool. You should hear the popping of the lids as they seal. If any jars don't seal, refrigerate and eat right away or freeze.




Comments & Reviews
Carlene says
Can I use frozen raspberries
Tara Noland says
I haven’t used frozen, you may have to just cook them longer.
MmzHrrdb says
1
Diane says
would this work with other berries such as blackberries?
Tara Noland says
We have done this recipe for blackberry jam, https://noshingwiththenolands.com/blackberry-freezer-jam-small-batch/
Katja says
This sounds great. I wonder if this will turn out I’d I use Erythritol/Monkfruit instead of the reg sugar as I need a keto version. Has anyone tried?
Tara Noland says
I am sorry I have not tried it with sugar substitutes.