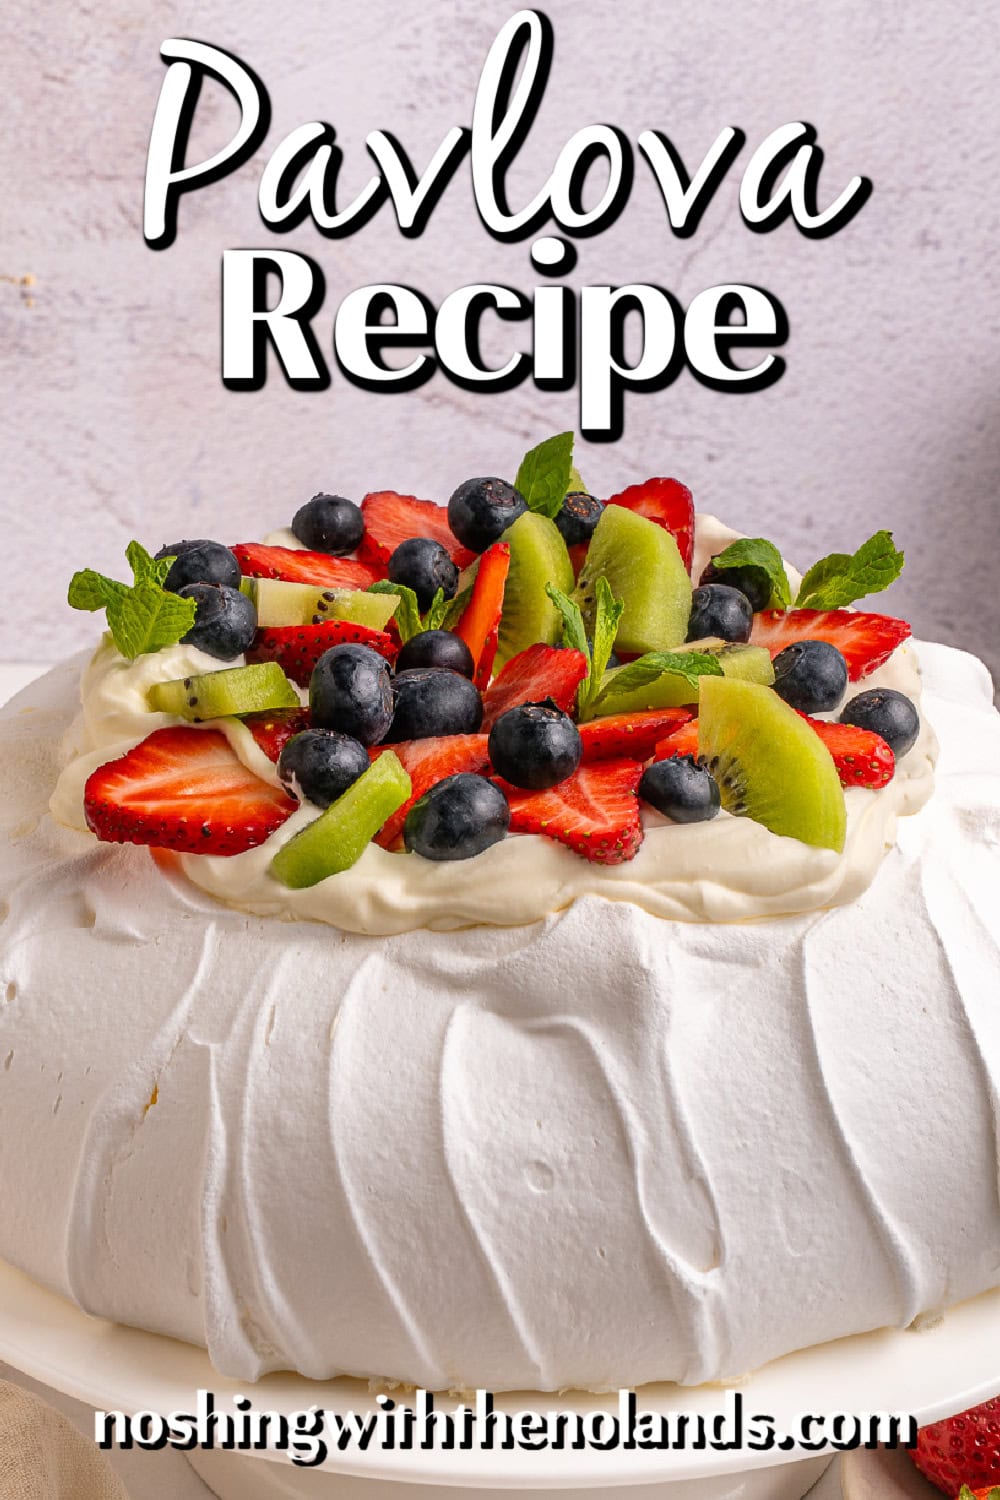
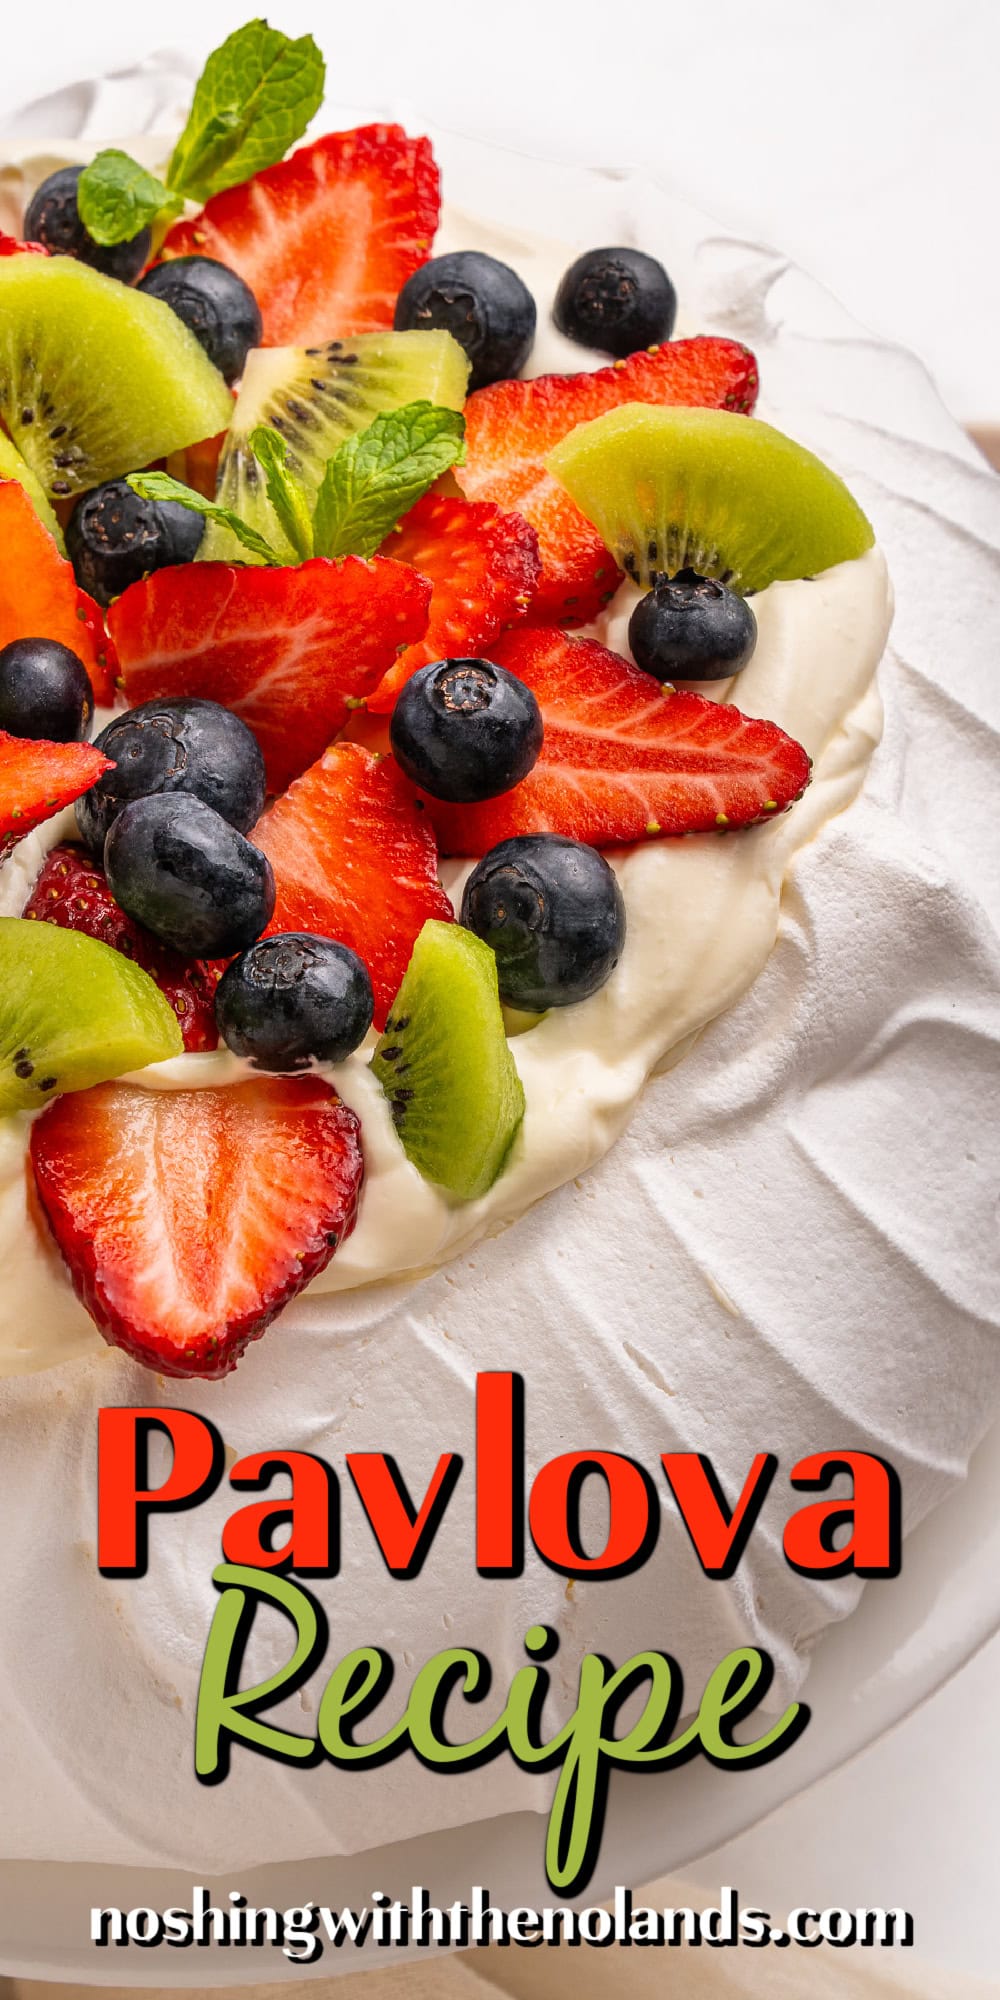
This Pavlova Recipe is a meringue-based dessert with a crisp shell and a soft, marshmallowy center. It’s on the sweeter side, which is why it’s traditionally topped with fresh fruit and a mix of whipped cream. We also added Greek yogurt to balance things out. This pavlova recipe walks you through the process step by step, with tips along the way to help you bake it with confidence. The steps themselves are simple, but getting the details right is what makes the difference.
Are you a meringue lover? Then you should try these recipes as well: Cinnamon Meringue Cookies, Lemon Meringue Cheesecake and Easy Eton Mess Recipe.
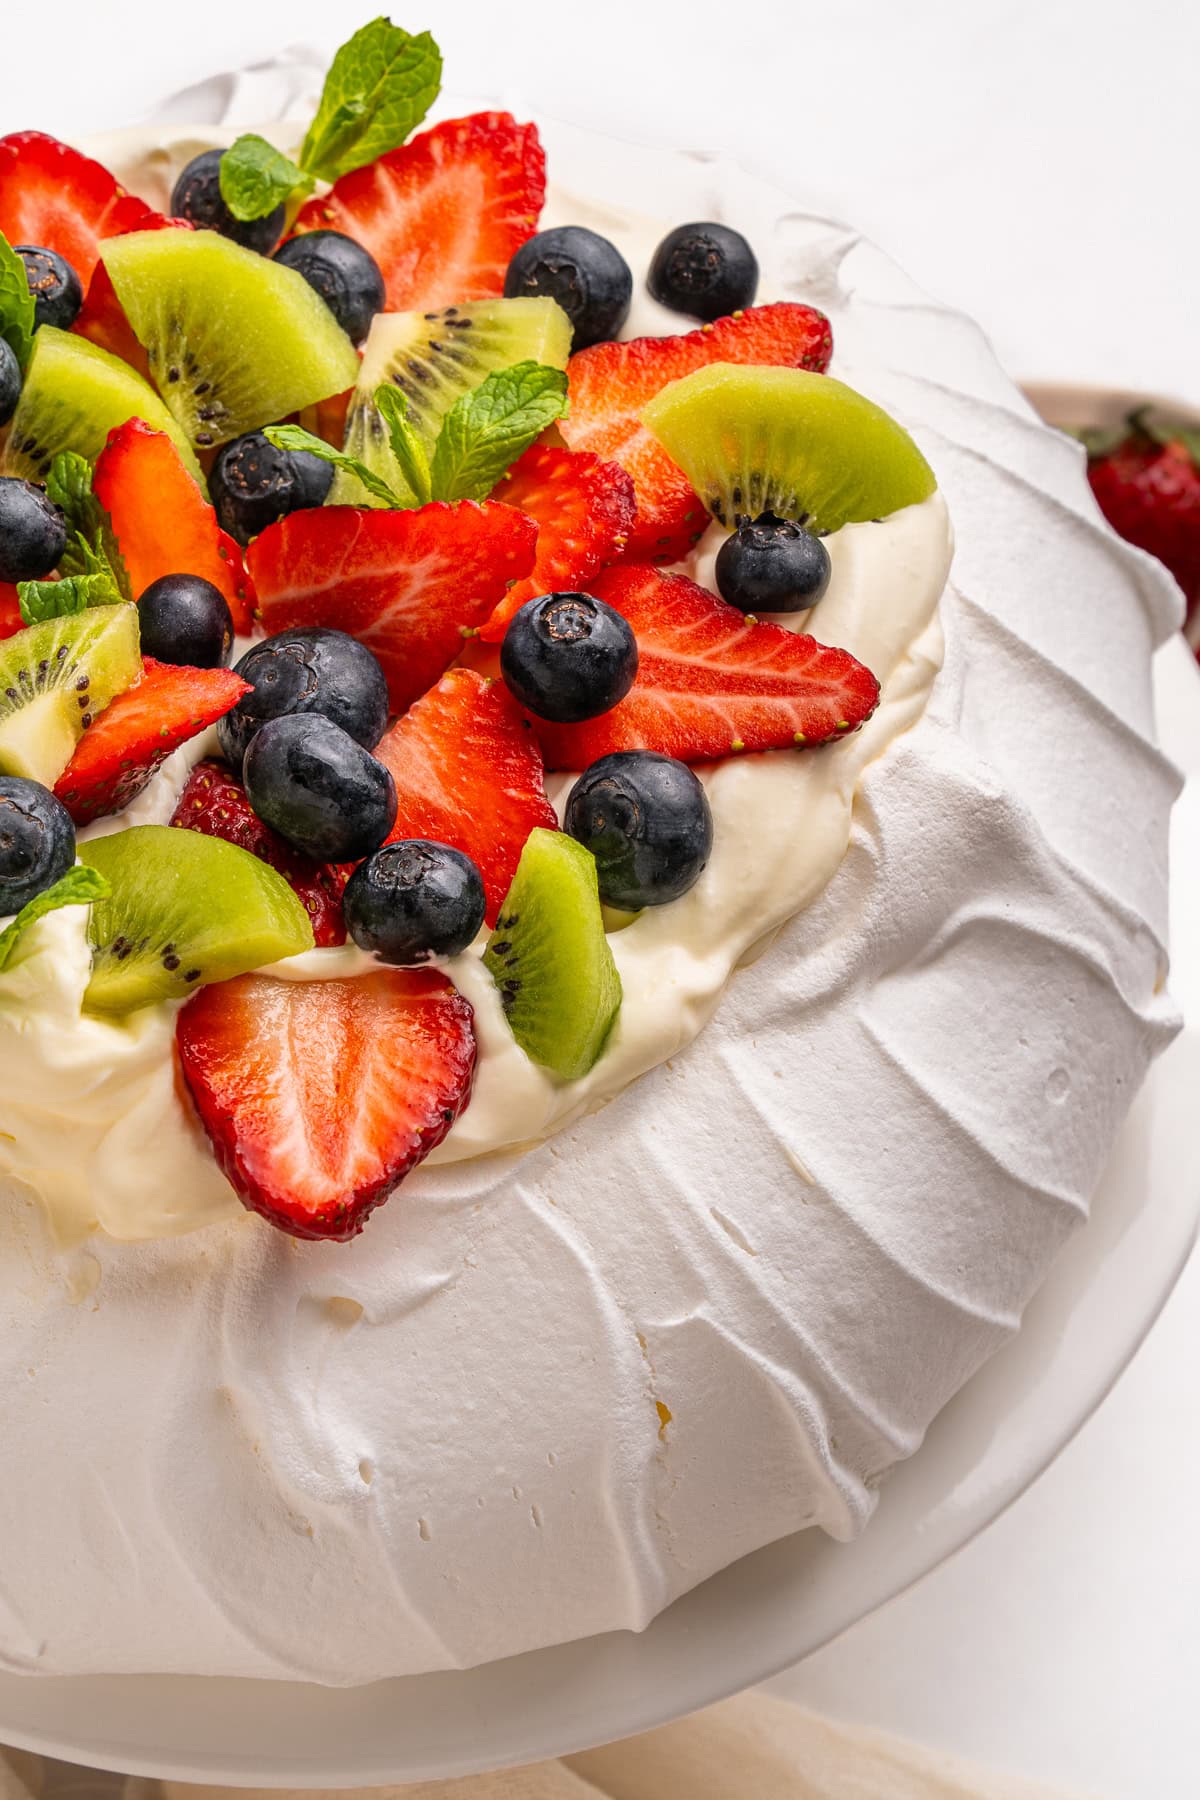
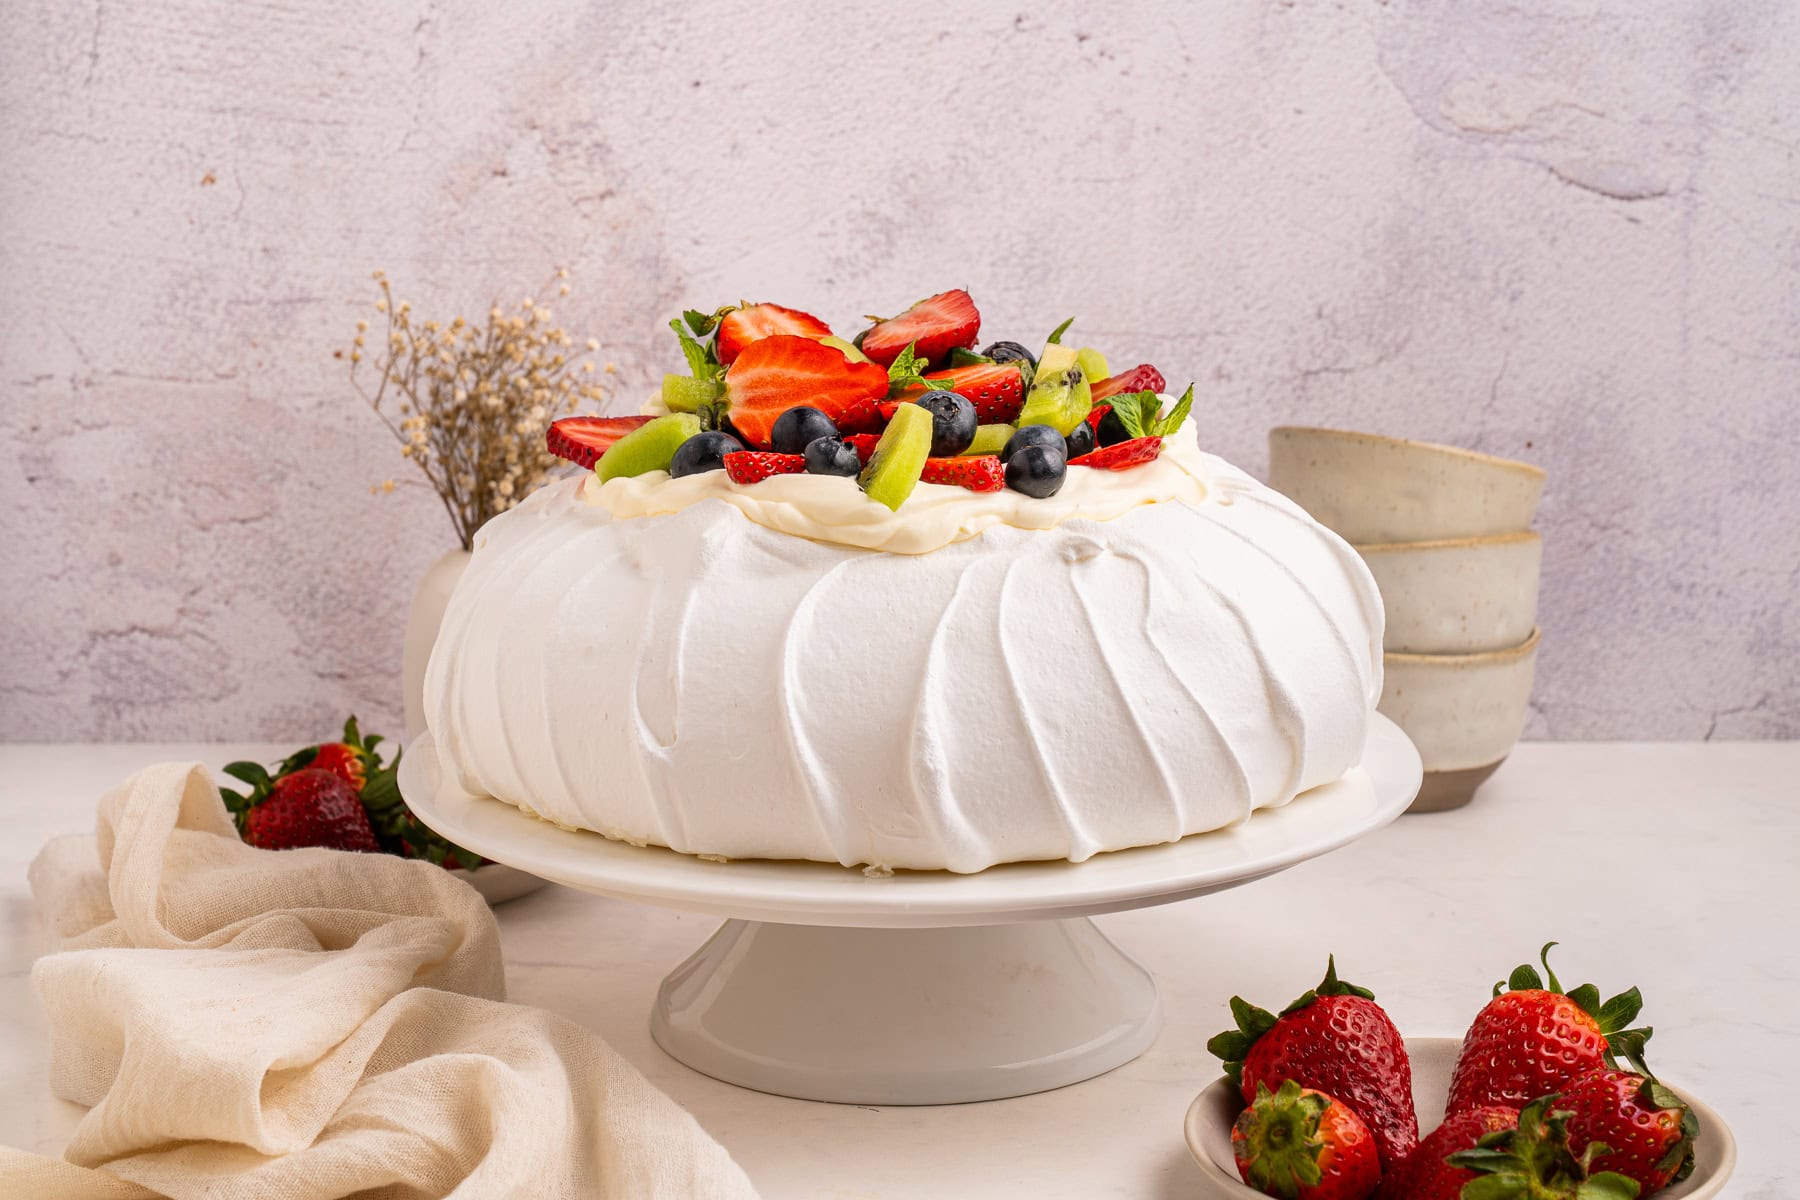
Pavlova is a meringue-based dessert traditionally associated with Australia and New Zealand and named after Russian ballerina Anna Pavlova. Unlike a traditional crisp meringue, pavlova is baked to create a crisp exterior while keeping the center soft, light, and marshmallow-like. It’s typically topped with freshly whipped cream and fruit such as strawberries, raspberries, blueberries, kiwi, passion fruit, or peaches.
Why I Love This Recipe
- Crisp exterior with a soft, marshmallow-like center
- Light and airy rather than heavy
- Beautiful enough for special occasions
- Easy to customize with seasonal fruit
- Can be partially prepared ahead of time
Helpful Items For This Recipe
This post contains affiliate links. As an Amazon Associate, I earn a small portion from qualifying purchases at no extra charge to you.
Angled Icing Spatula, Stainless Steel Offset Spatula, Cake Spatula Set of 2
200 Pcs White Parchment Paper Sheets, 10×15 Inches, Non-Stick
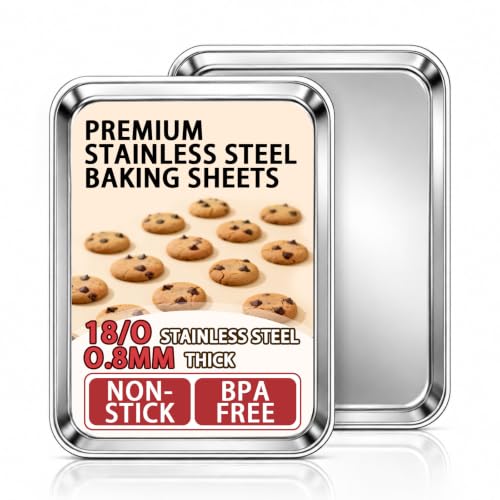
Baking Sheet Set of 2, 18 Inch Stainless Steel Cookie Sheets, 0.8mm Thick
Ingredients for Pavlova
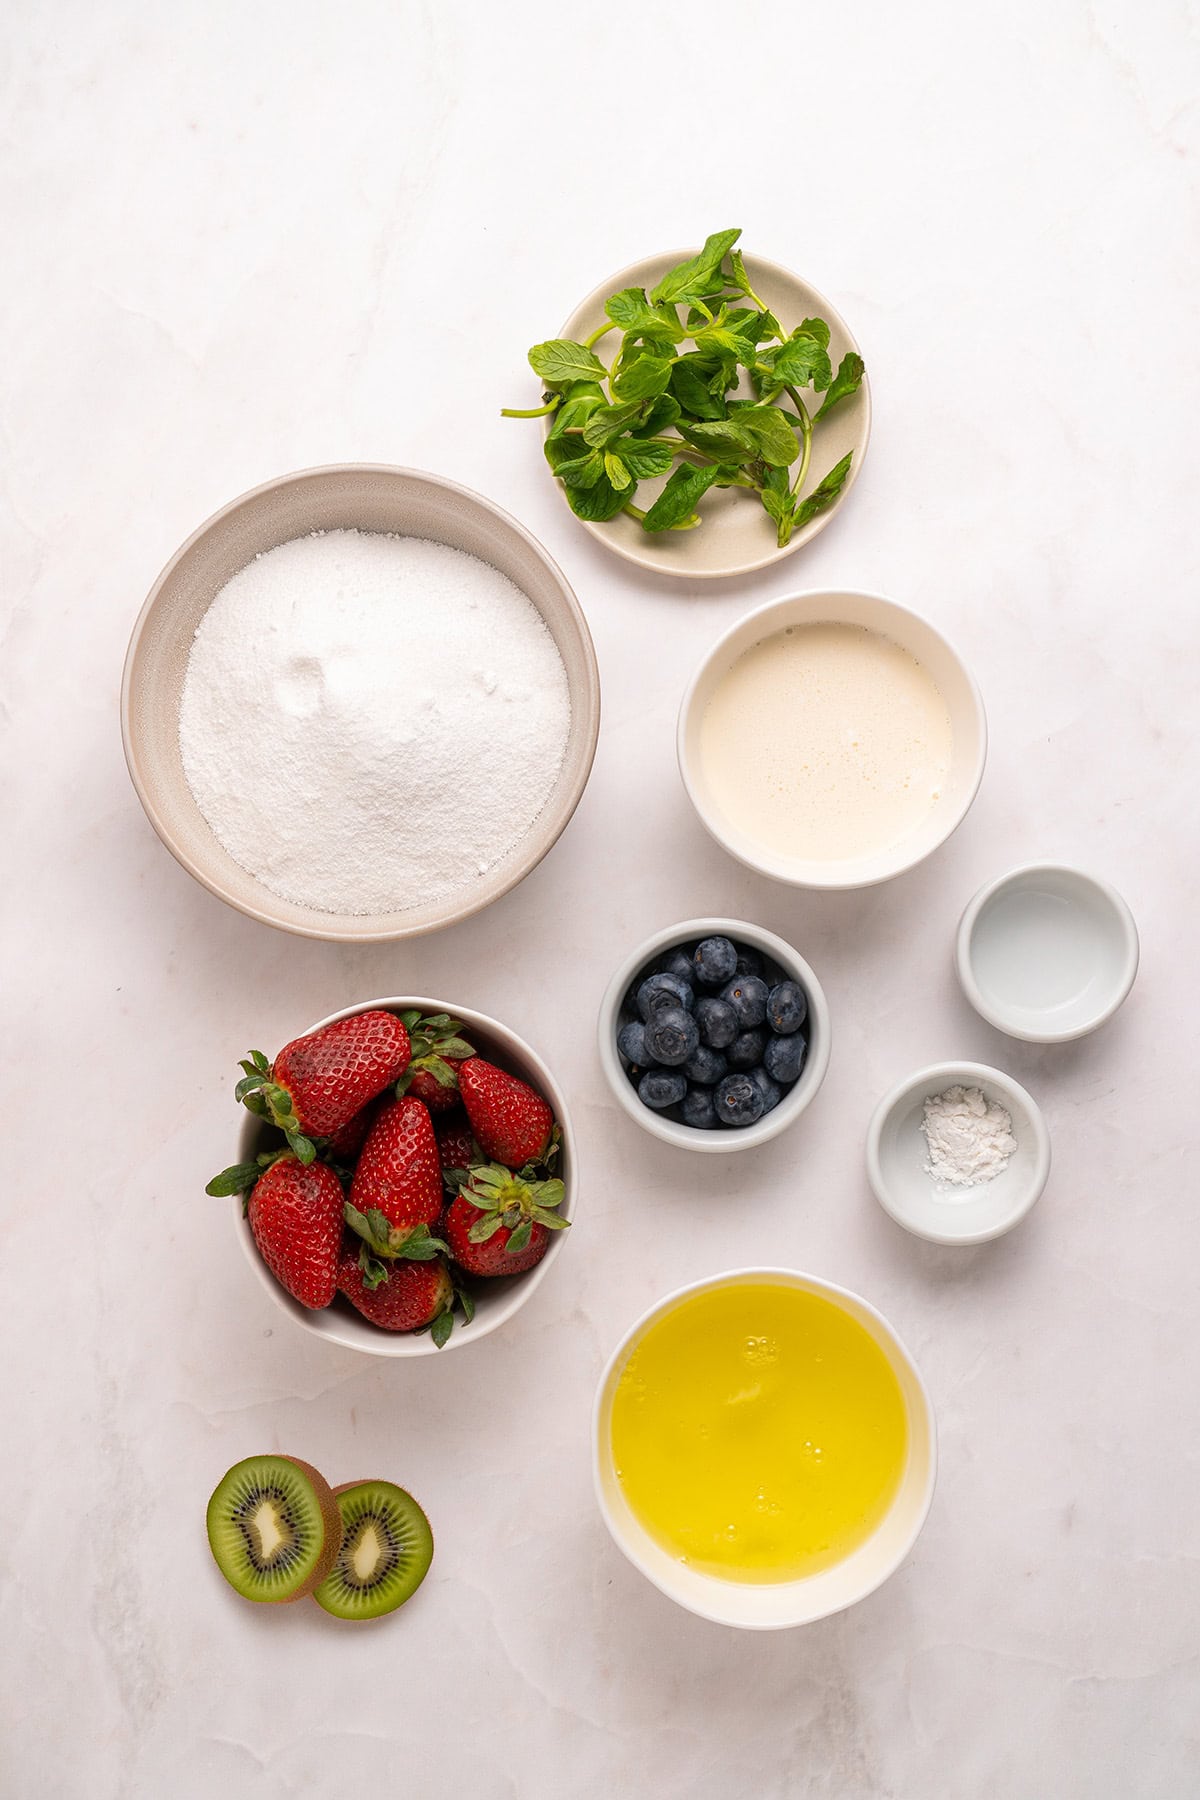
Recipe Ingredients
For the meringue
Egg whites – Use fresh, room temperature egg whites.
Caster sugar – This is the best sugar to succeed with your pavlova. If you can’t find caster sugar, simply blend granulated sugar with a hand blender for a few seconds, then sift it through a fine-mesh sieve to eliminate any sugar grains.
Cream of tartar – This is key for the egg white structure to stabilize as you whip them up.
Cornstarch – This is the difference between regular meringue and a pavlova. Cornstarch helps in achieving the marshmallowy center, so typical in pavlovas.
White vinegar – It helps in the drying of meringue as it bakes and also keeps it white all the way through.
For the topping
Heavy cream – Use full-fat, cold cream to get stiff peaks.
Greek yogurt – It helps to balance out the sweetness from the meringue.
Powdered sugar – This is optional; the pavlova is sweet enough, so you may or may not sweeten the cream.
Fresh fruit – You can put any fruit you love on top of a pavlova, but in my opinion, tart and not so sweet fruits work best as a way of complementing the meringue sweetness. This time we used strawberries, blueberries and kiwi fruit.
Fresh mint leaves – These look great and provide a refreshing contrast to creamy and sweet pavlova.
How to Make Pavlova
Preheat the oven to 245°F. On a sheet of parchment paper, trace a 6- to 7-inch circle using a non-toxic pencil, then set the paper aside.
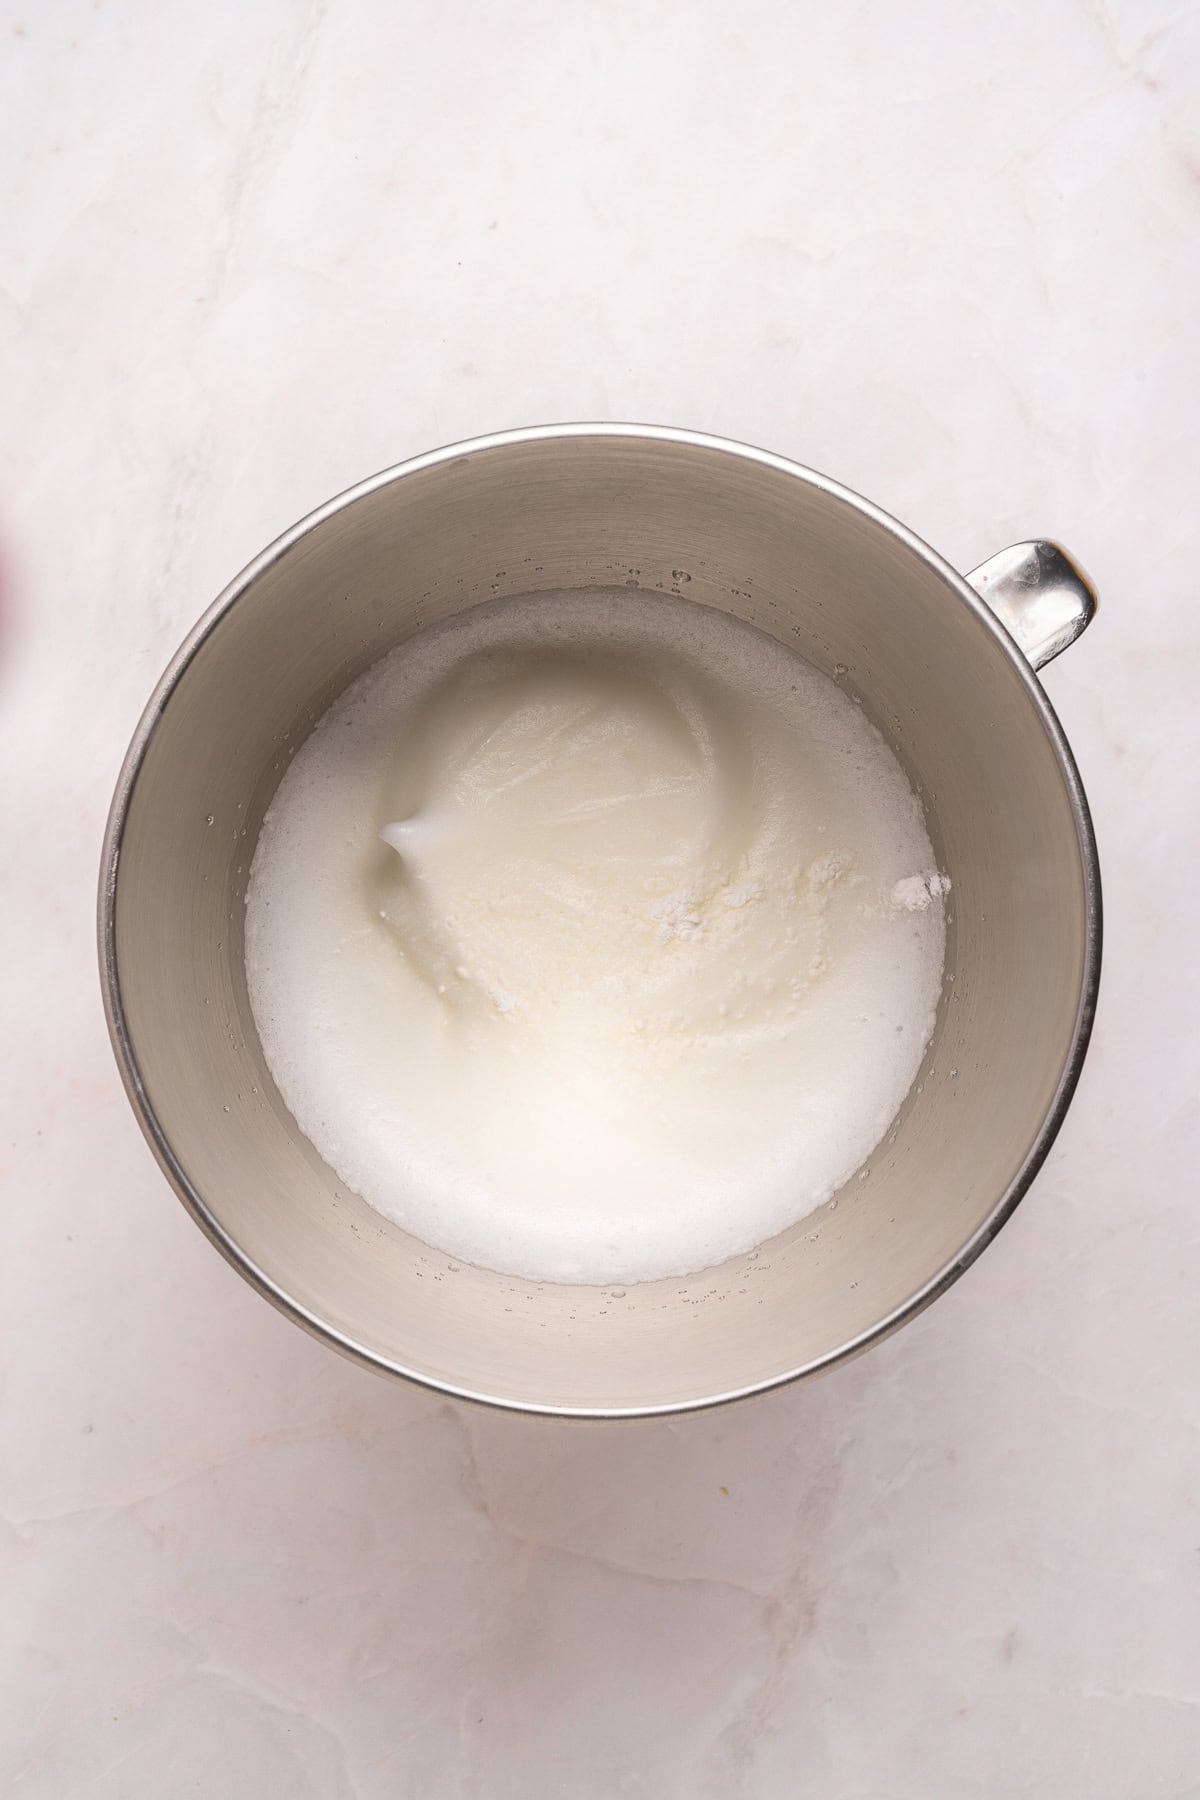
Using a stand mixer fitted with the whisk attachment, beat the egg whites on low-medium speed until soft peaks form, about 5 minutes. Mix in the cream of tartar.
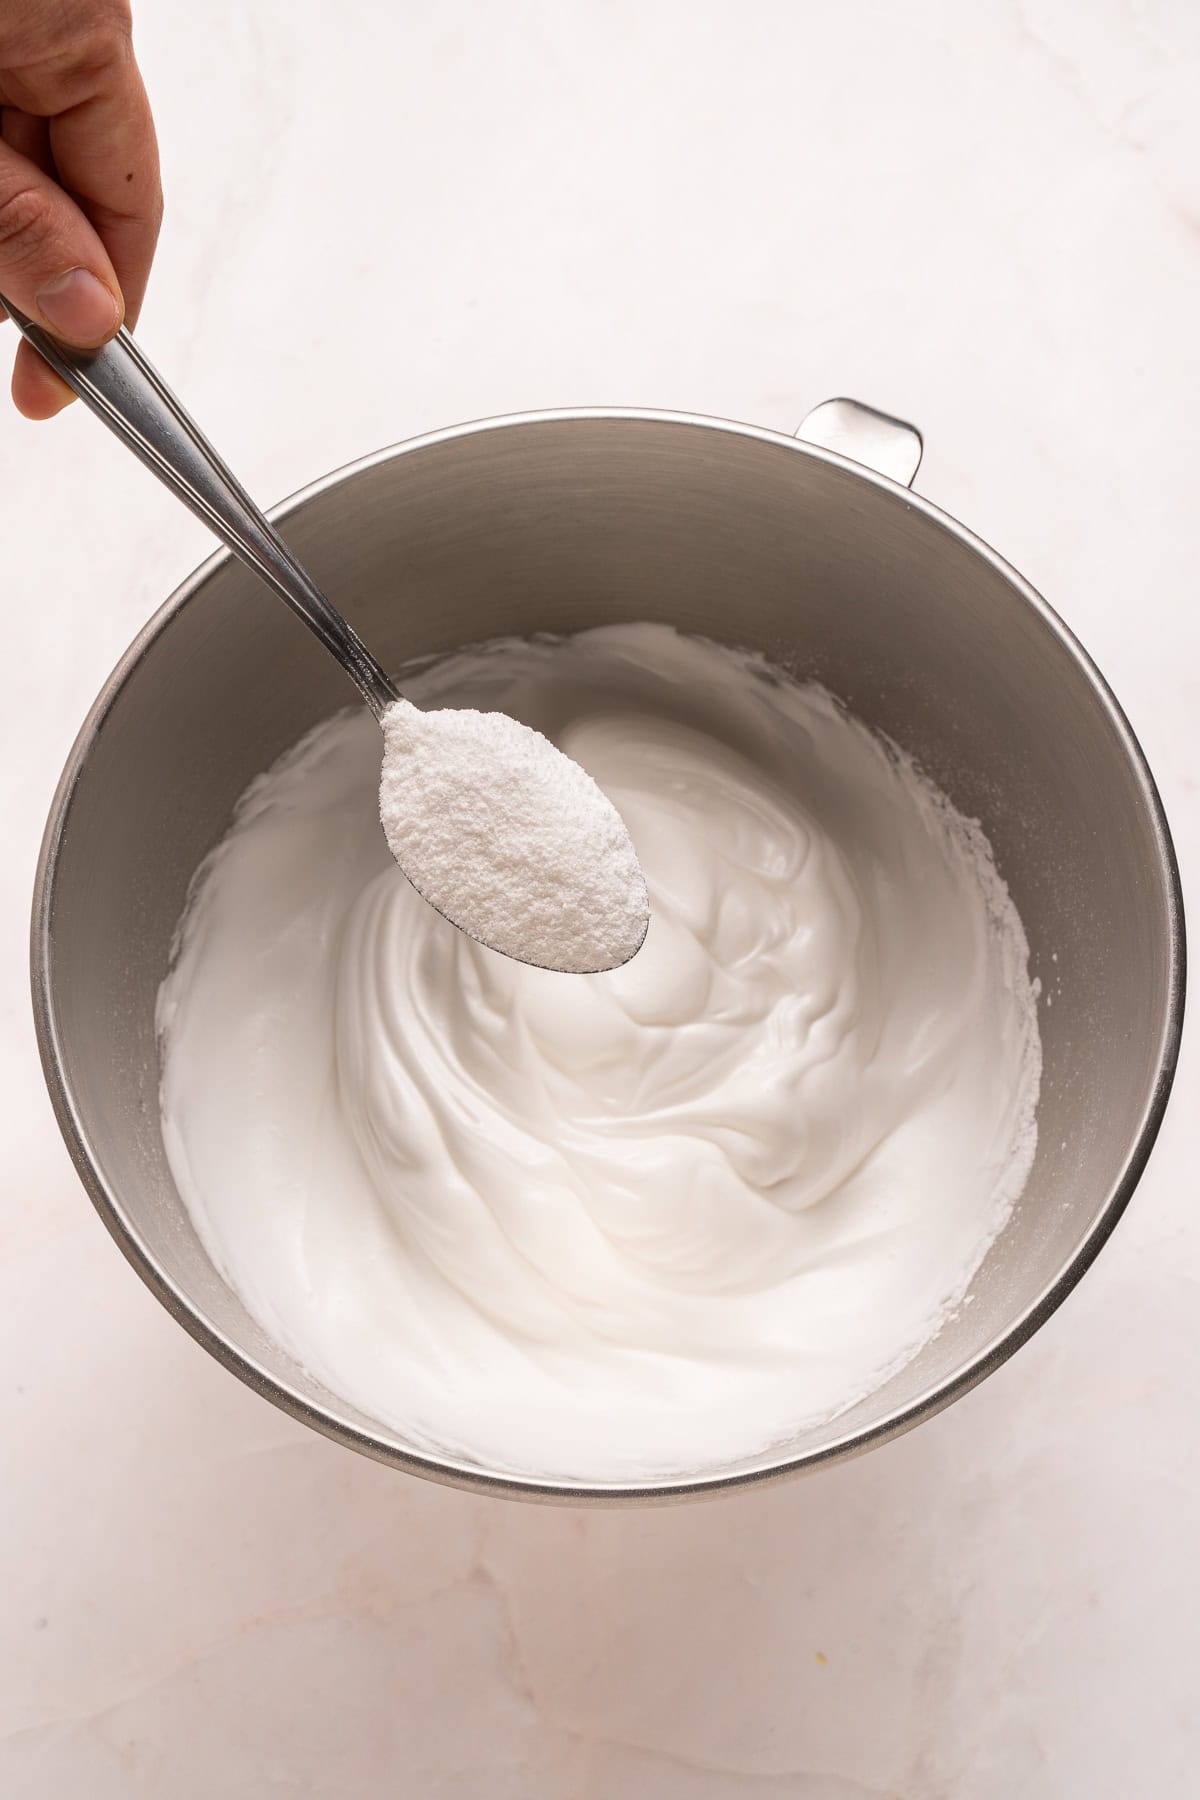
Increase the speed to medium-high and begin adding the sugar a tablespoon at a time, allowing each addition to fully dissolve before adding more. Continue whisking until the meringue turns thick, glossy, and holds stiff peaks. Test it by rubbing a bit between your fingers; if you feel any grittiness, keep beating until it’s silky smooth. But don’t overbeat.
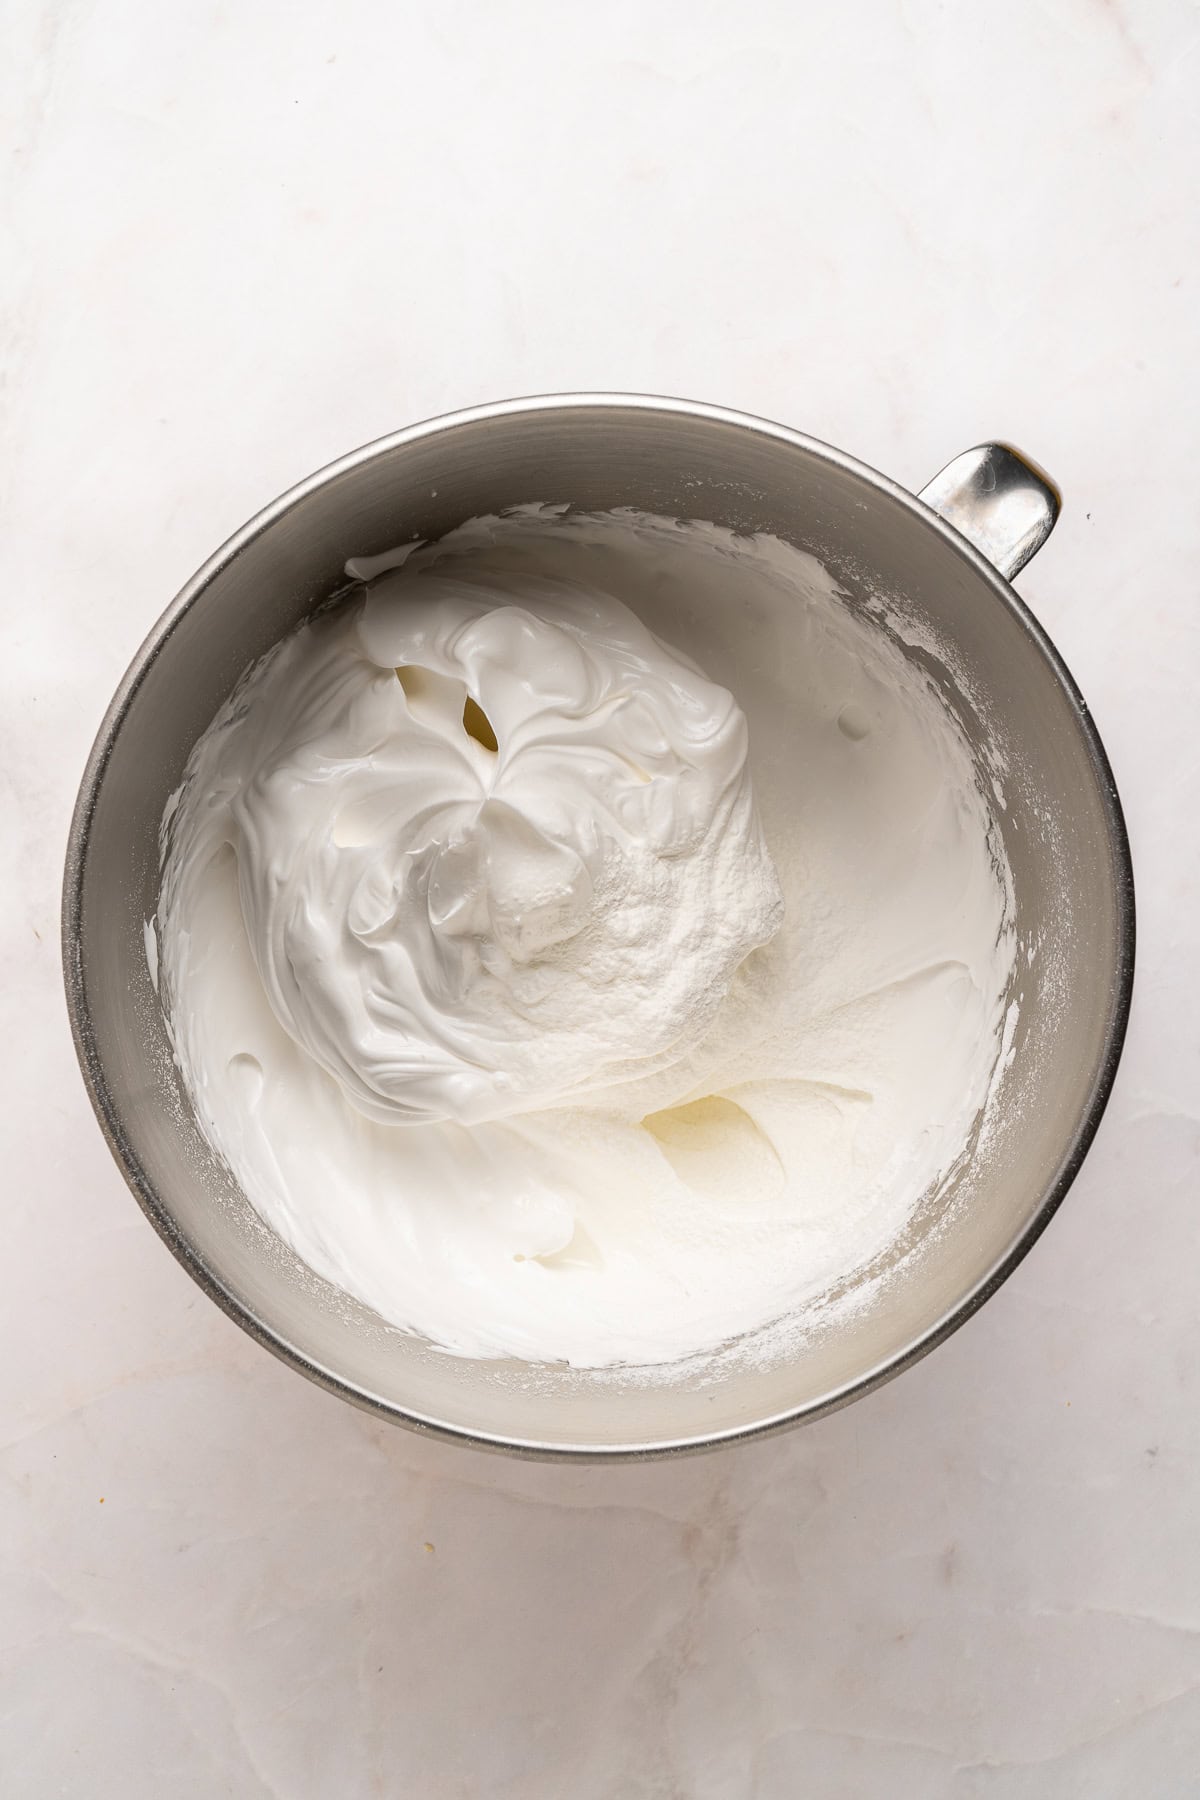
Lower the mixer speed. Sift in the cornstarch and add the vinegar, whisking just briefly to combine; a few seconds is enough. Overmixing at this stage will deflate the meringue.
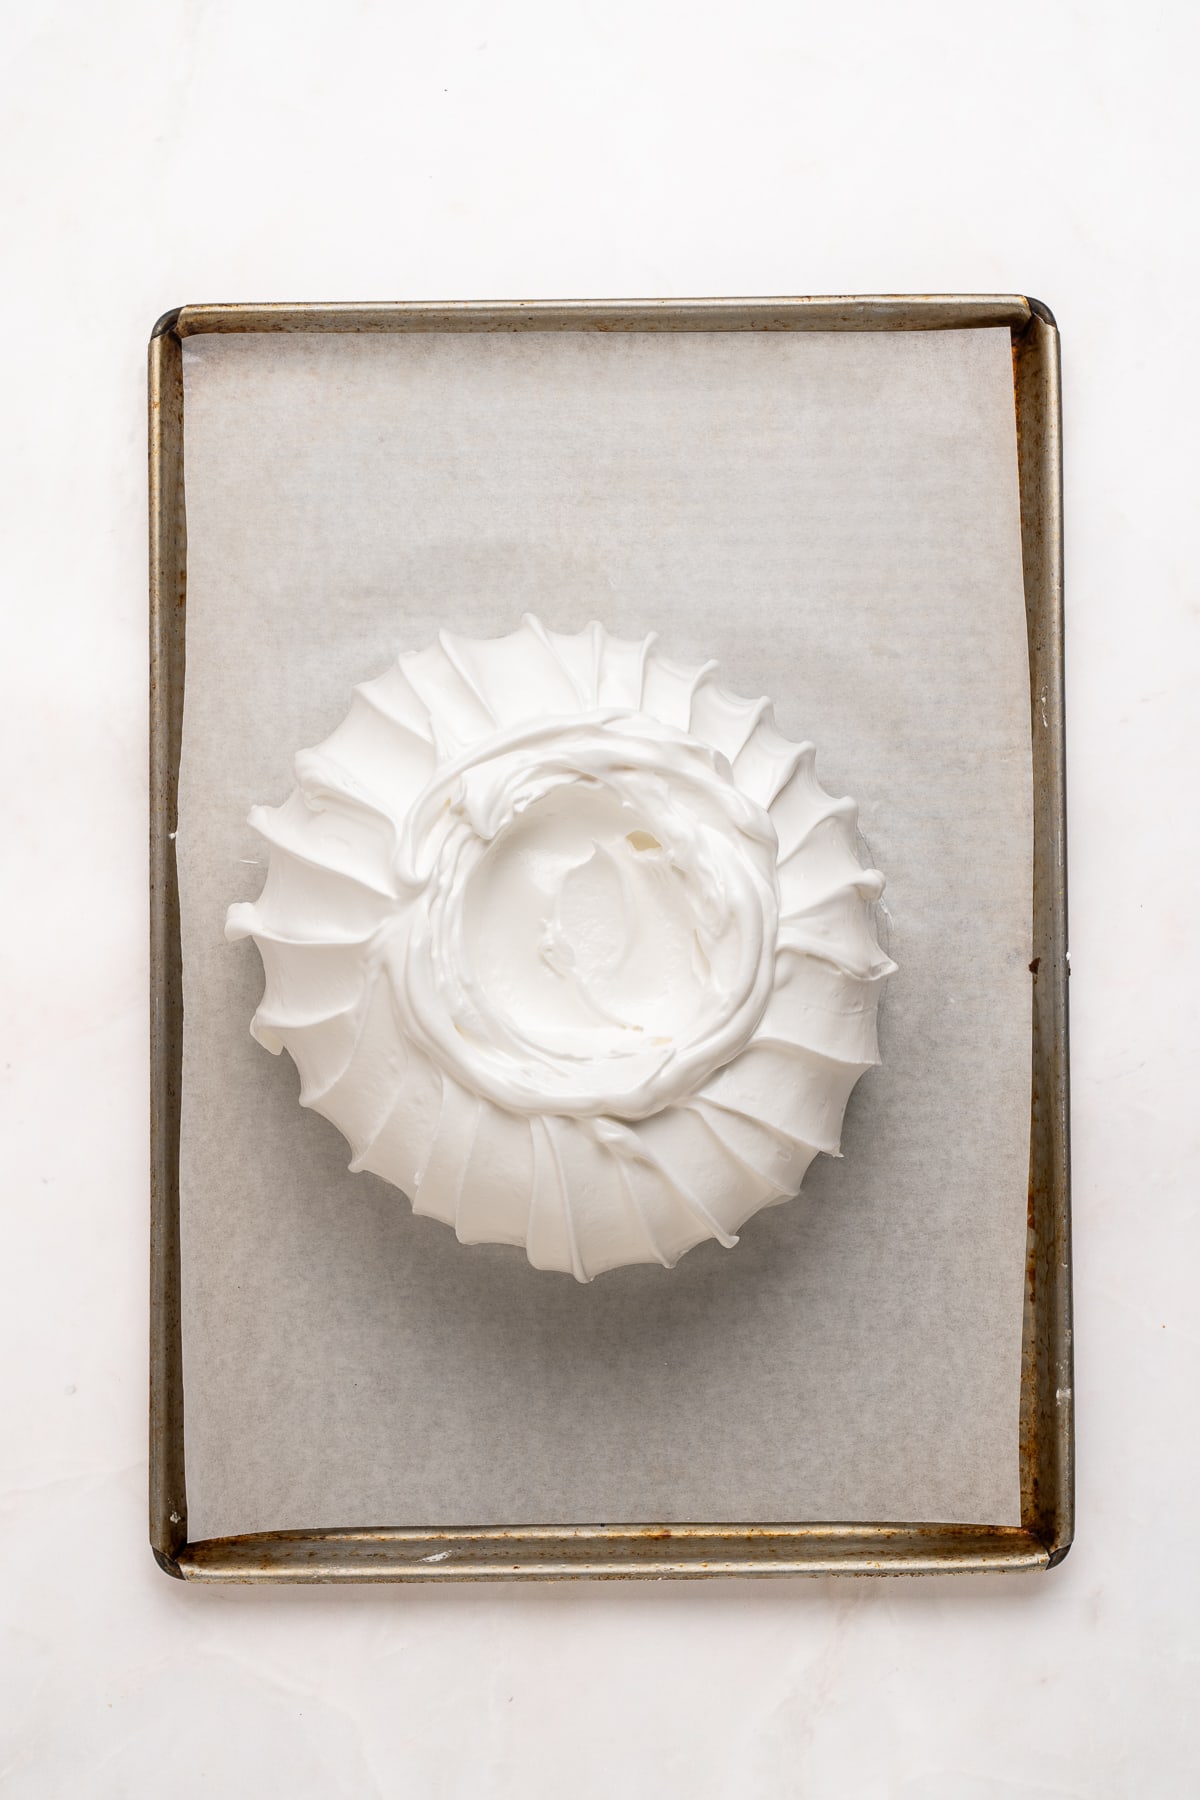
Place a small dab of meringue under each corner of the parchment to anchor it, then flip the paper pencil-side down onto a large baking sheet. You’ll still be able to see the circle through the paper.
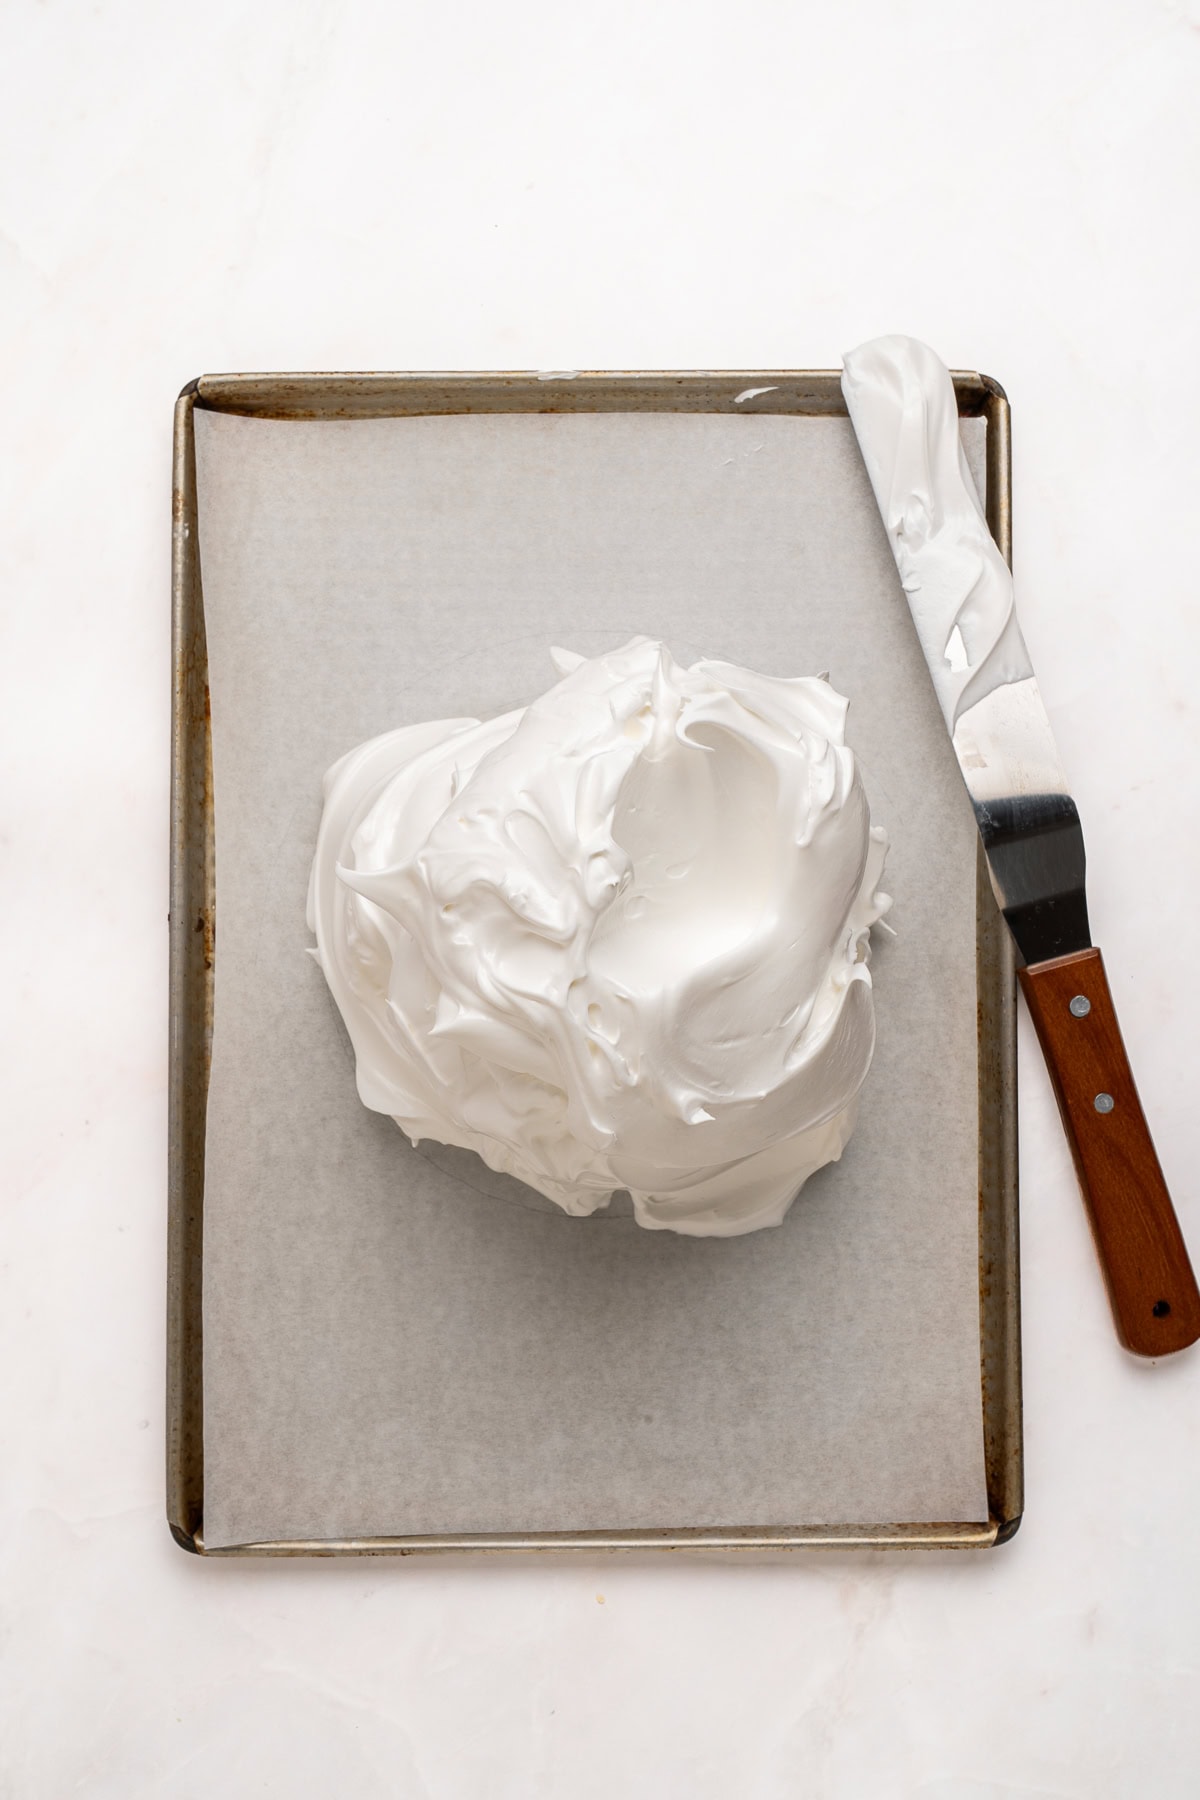
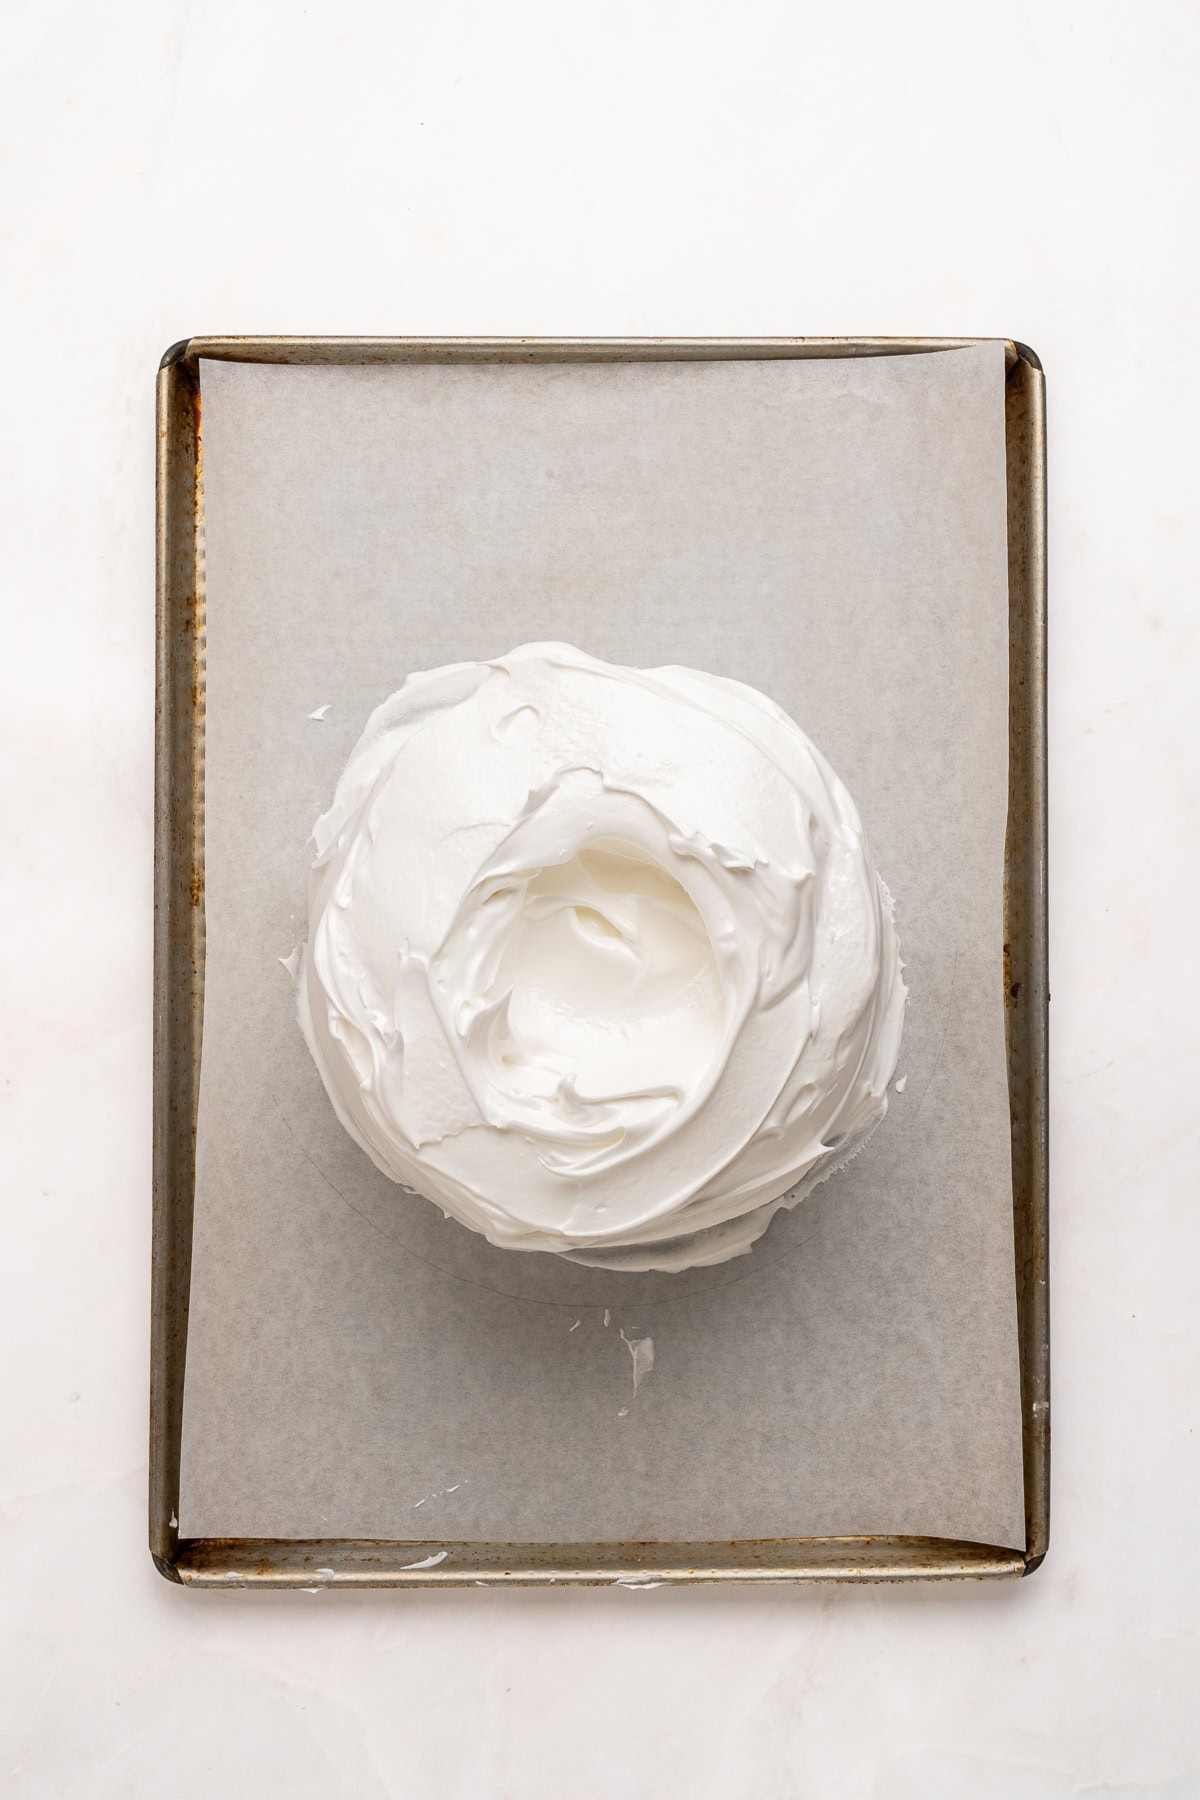
Spoon the meringue into the center of the circle and use a spatula to spread it out to the traced line, shaping it into a round. Flatten the top slightly and create a shallow well in the middle.
Run the spatula up the sides from bottom to top, all the way around, to build texture and height, then smooth over the top.
Baking
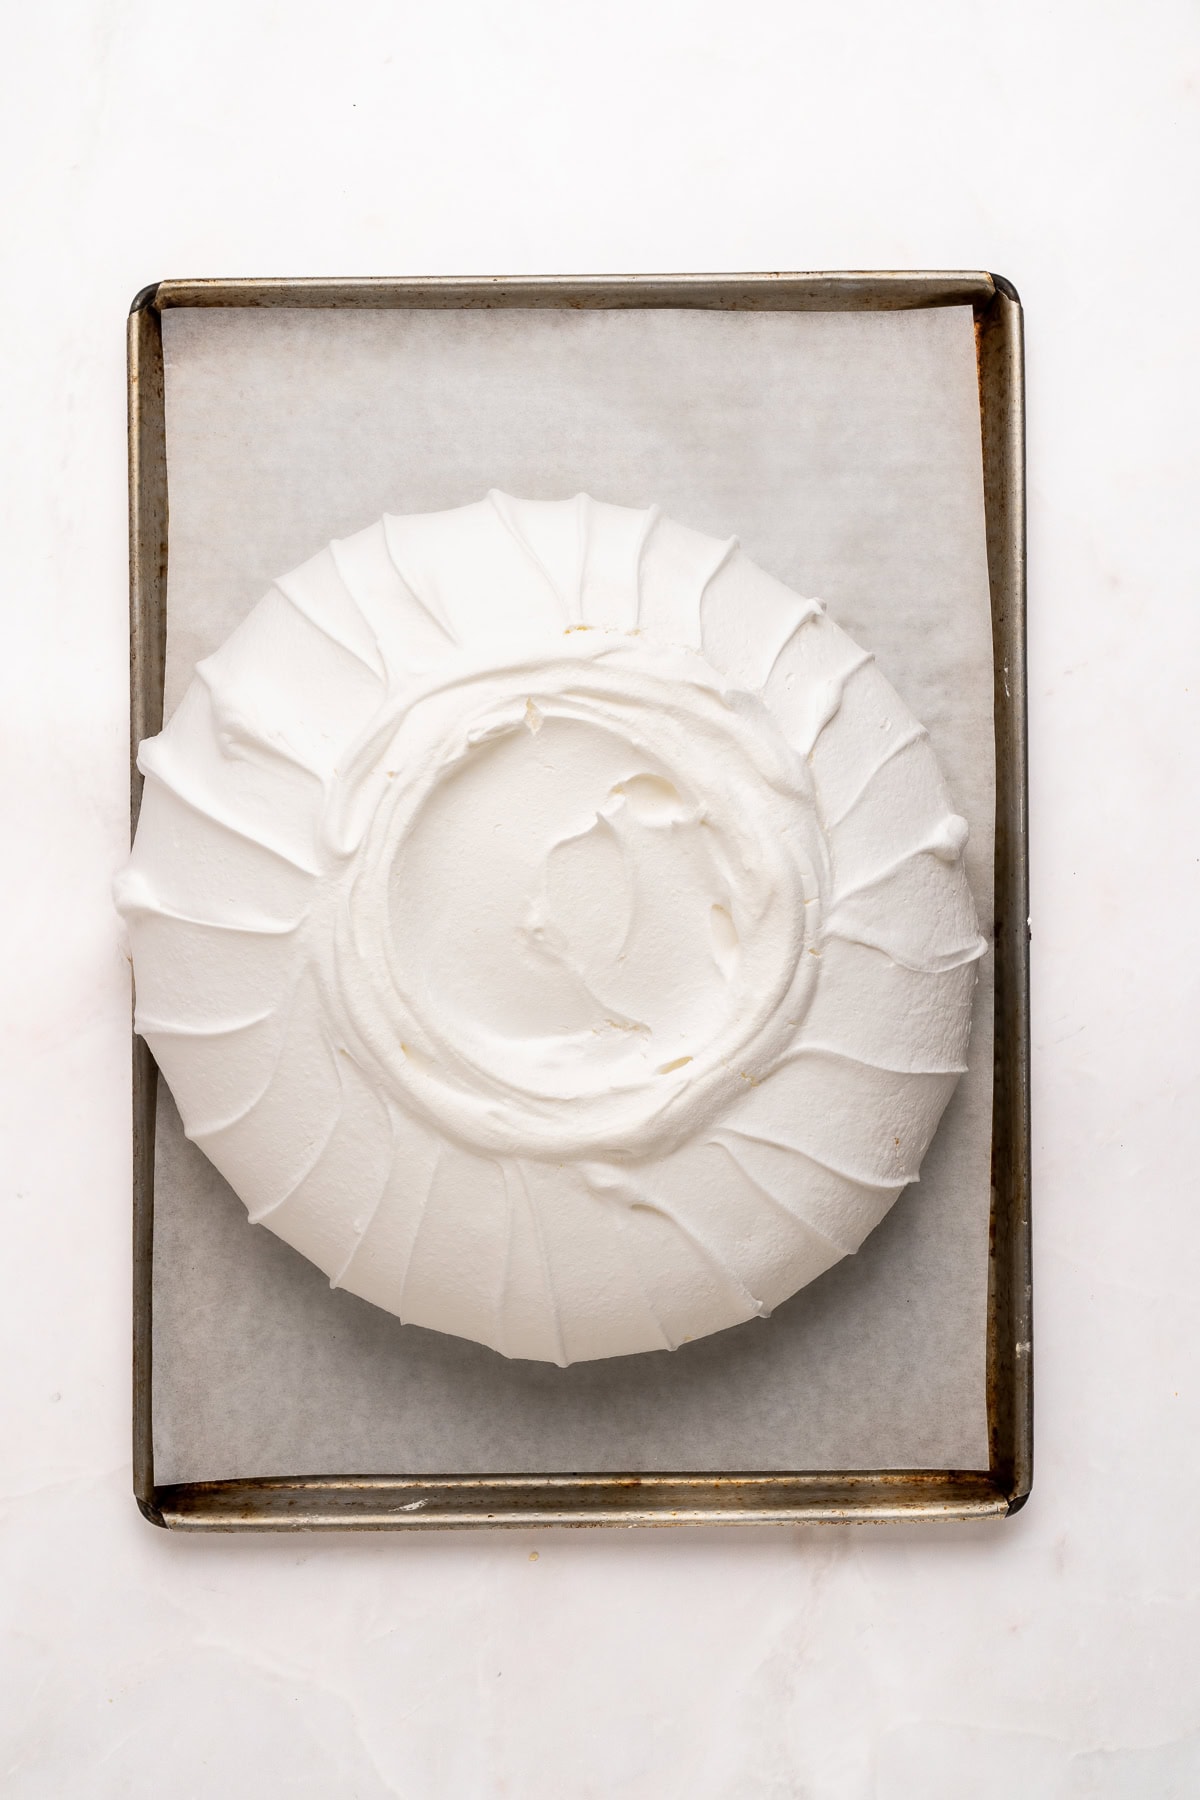
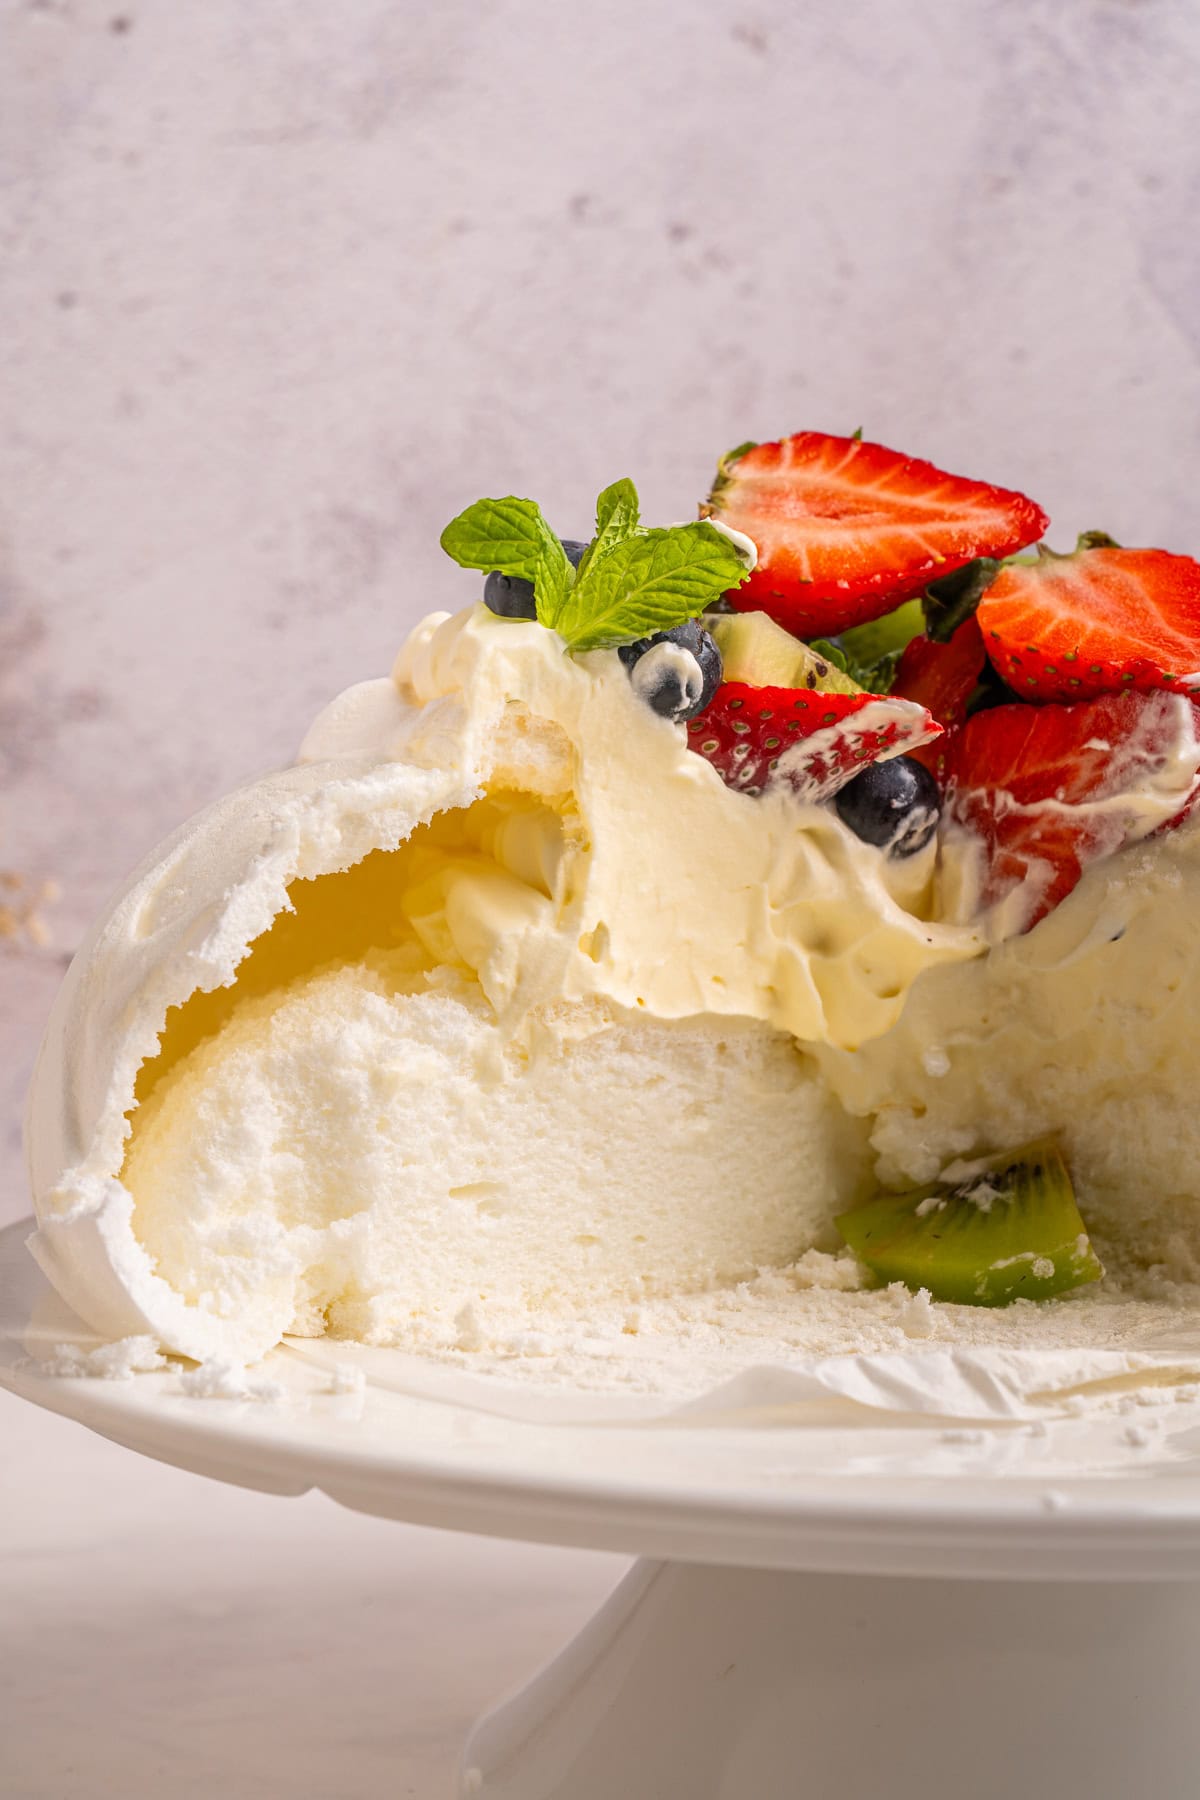
Bake for 1½ hours, then reduce the oven temperature to 210°F and continue baking for another 30 to 45 minutes. The pavlova is done when it lifts cleanly off the parchment and looks dry and opaque throughout. If it clings to the paper, keep baking and check every 10 minutes until it releases easily.
Turn off the oven and let the pavlova cool inside with the door shut for at least 2 hours. This slow, gradual cooling is what prevents cracking.
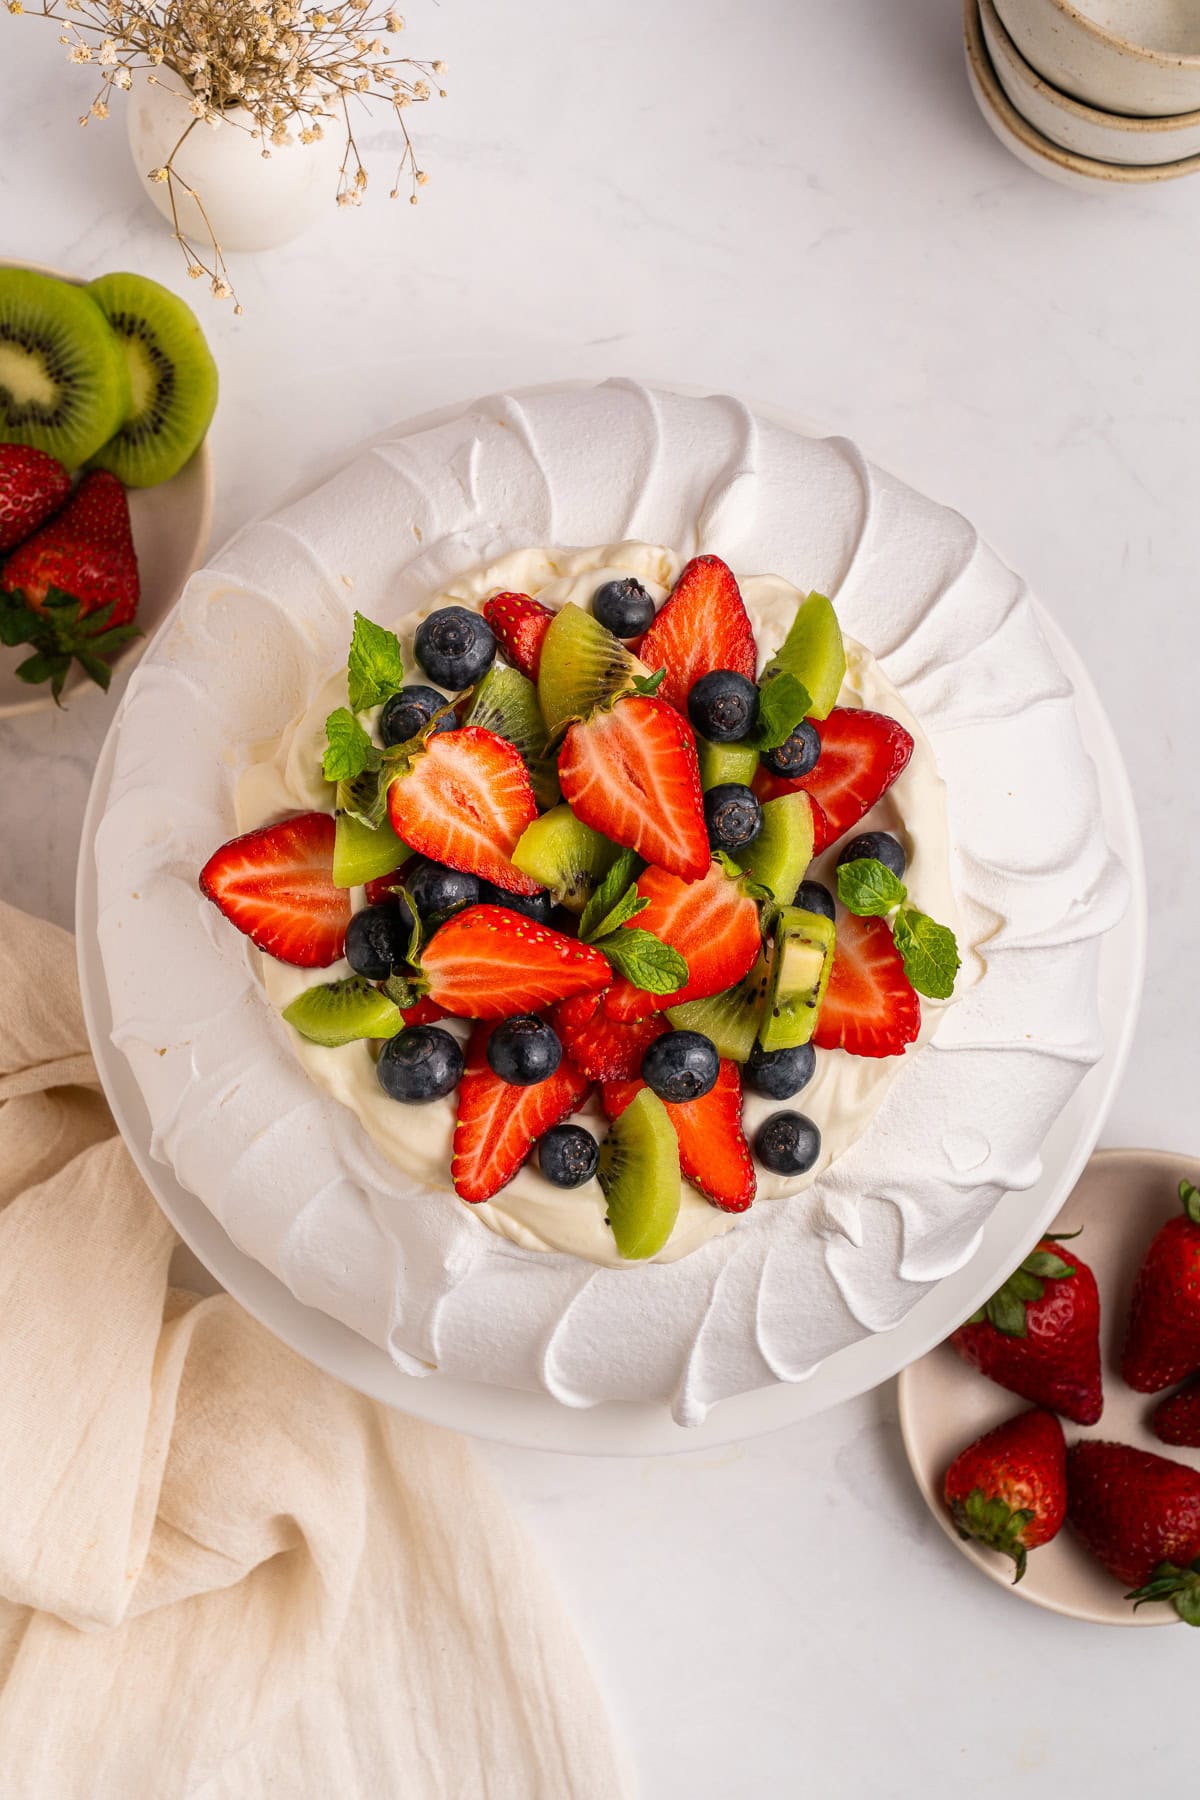
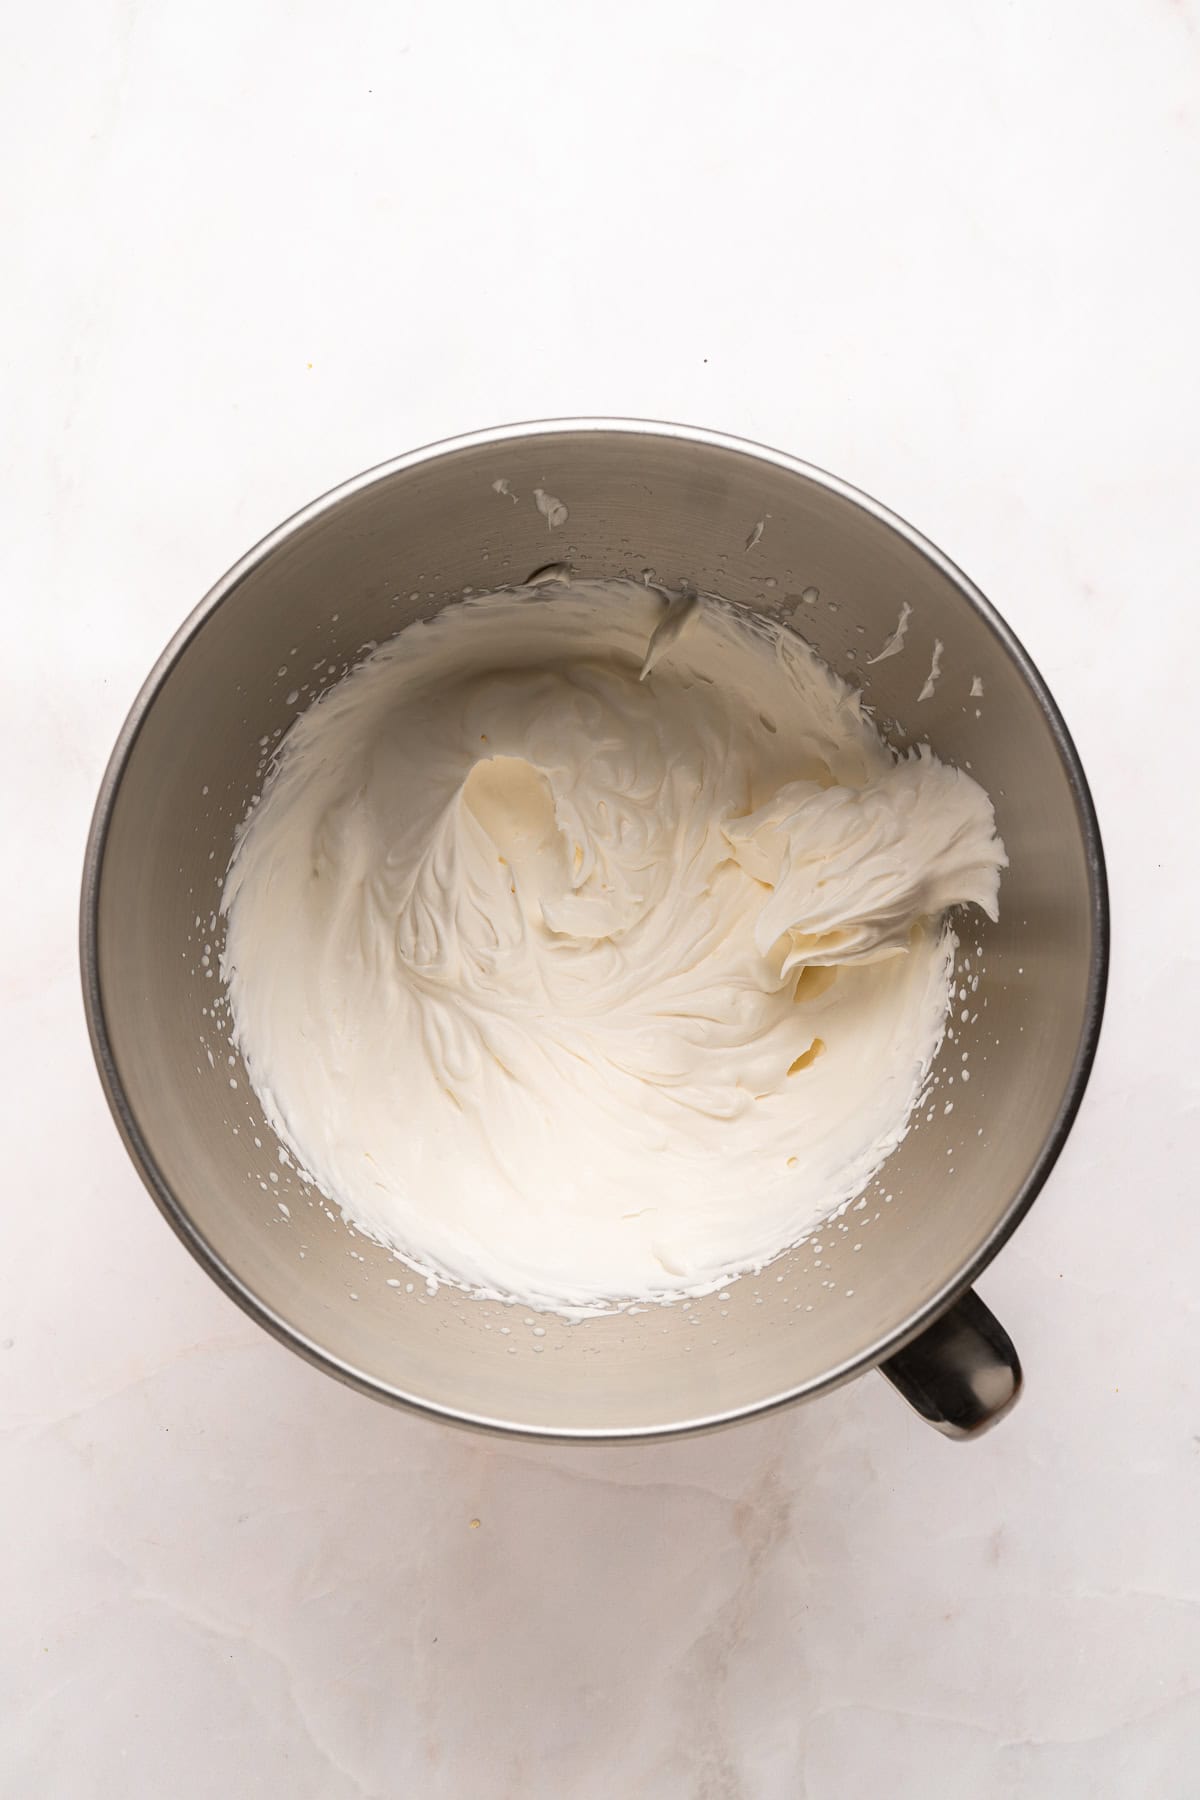
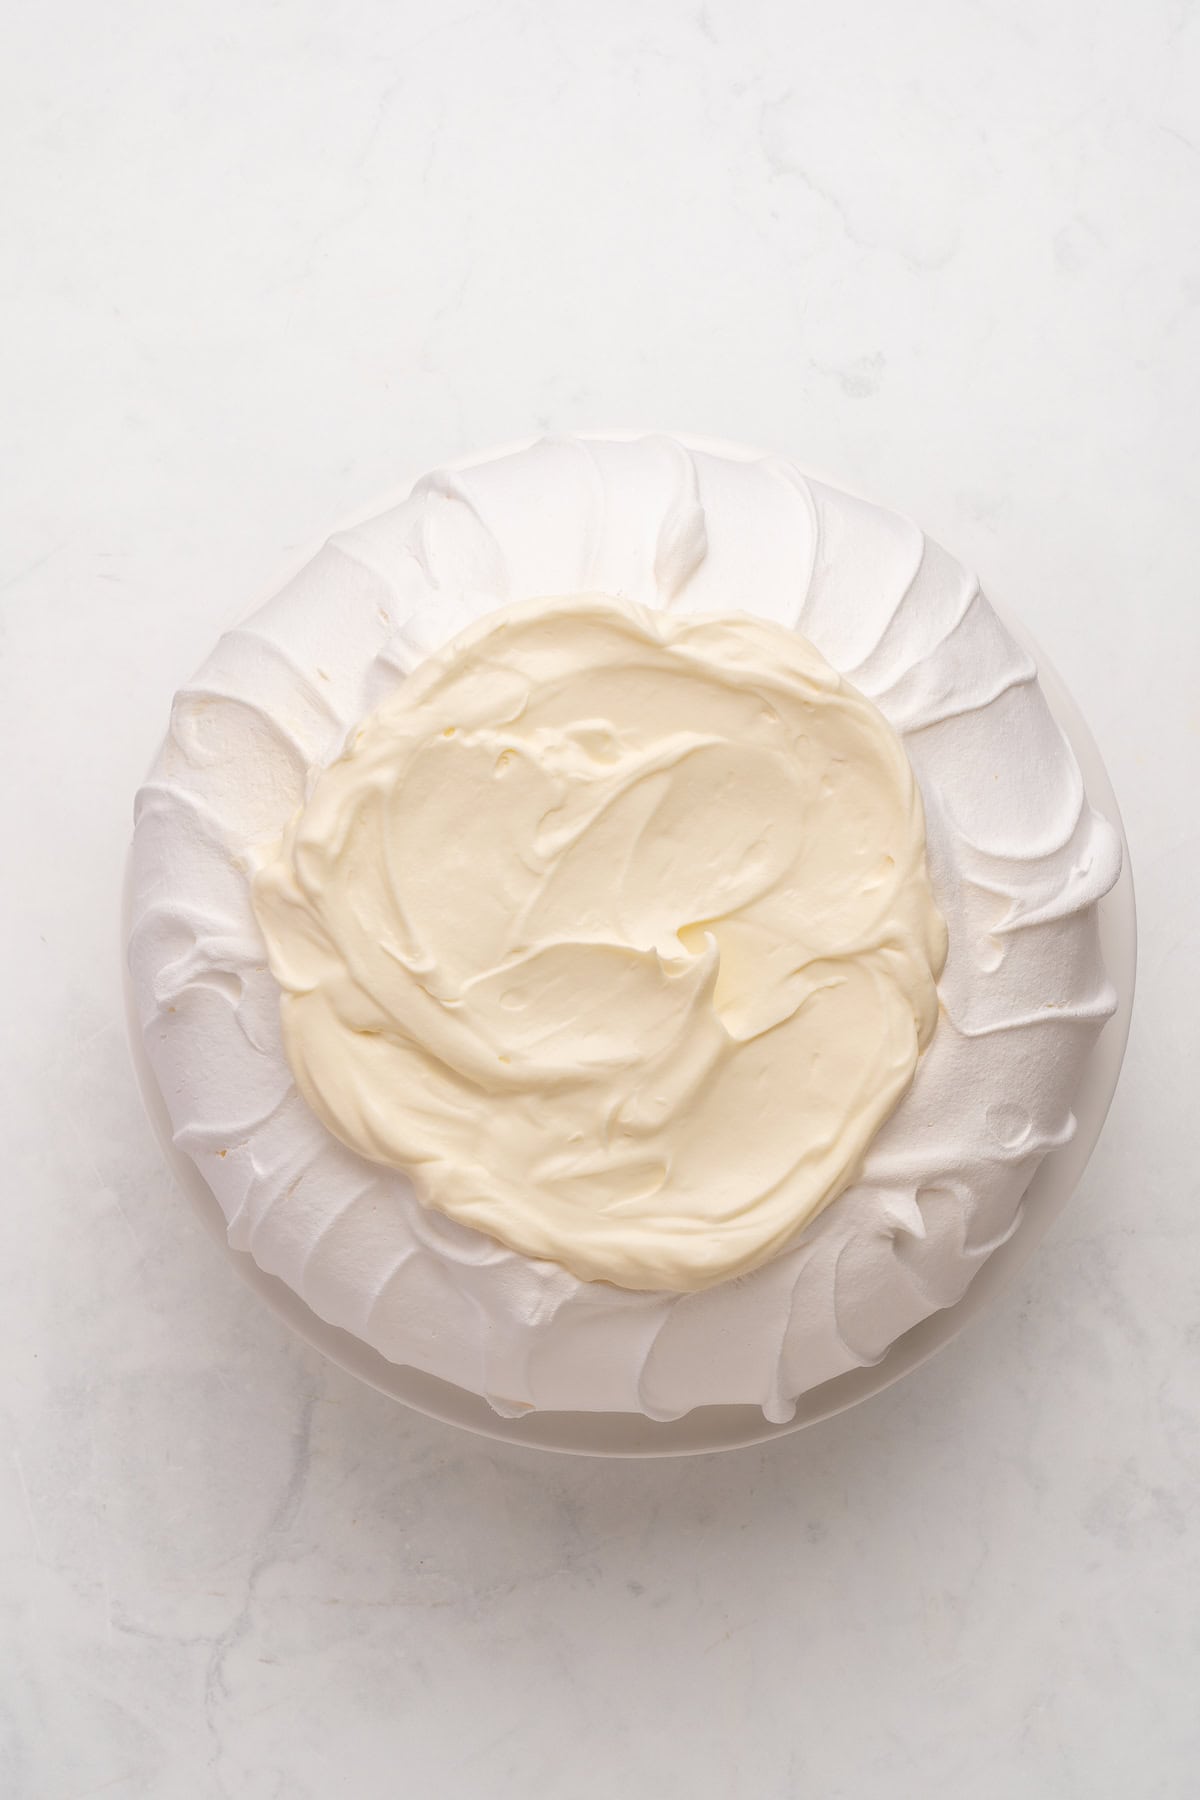
Right before serving, whip the cream with the powdered sugar until stiff peaks form, then incorporate Greek yogurt with a spatula. Transfer the pavlova gently to a serving plate, spread the whipped cream over the top, and finish with strawberries, blueberries, kiwi, and mint.
Recipe Pro Tips
Tips for the Best Pavlova
- Get your oven temperature right. If your oven tends to run hot, start it at 225°F instead. A lower temperature just means a longer bake; it won’t ruin the pavlova. But too high a temperature sets the crust too fast, leaving the center watery underneath.
- Let it bake as long as it needs. Baking times are just estimates since every oven runs a little differently, so go by signs instead of the clock. You’ll know it’s ready when it lifts cleanly off the parchment paper.
- Use bottom heat if your oven has it. This helps the base cook evenly and set properly; about 20 minutes should do it.
- Beat the meringue until the sugar fully dissolves. Rub a bit between your fingers to check; if you can still feel any granules, keep beating. But don’t overbeat, as this can lead to it later cracking.
- Turn your pavlova halfway if your oven has a fan or if it cooks unevenly.
How is a Pavlova different from a meringue?
A pavlova itself is a type of meringue, but adding cornstarch helps the center stay pillowy and soft.
How to top a pavlova
The best thing about a pavlova is that it is an evergreen dessert that you can adapt to whatever fruit is in season. From lemon curd and cream in summer to whipped cream and poached fruit in winter. Always include a creamy filling + juicy fruit.
Can I make pavlova ahead of time?
Yes. The meringue shell can generally be made a day ahead and stored in an airtight container at room temperature. Add the whipped cream and fruit shortly before serving.
Does pavlova need to be refrigerated?
The plain meringue shell should be kept dry at room temperature. Once topped with whipped cream, leftovers should be refrigerated, although the meringue will gradually soften.
Pavlova Recipe
Ingredients
Pavlova
- 6 1/2 oz egg whites (about 5 large eggs) at room temperature
- 10 oz caster sugar
- 1 tsp cream of tartar
- 1 tbsp cornstarch
- 1 tsp white vinegar
Pavlova Topping
- 1/2 cup heavy cream cold
- 1/2 cup Greek Yogurt
- 2 tbsp powdered sugar
- 1 1/2 cups strawberries sliced
- 3/4 cup blueberries
- 1 kiwi fruit
- A few fresh mint leaves
Instructions
- Heat the oven to 245°F. Draw a 6- to 7-inch circle on a sheet of parchment paper using a non-toxic pencil, then set it aside.
- Beat the egg whites in a stand mixer fitted with the whisk attachment on low-medium speed until they reach soft peaks, about 5 minutes. Add the cream of tartar.
- Turn the speed up to medium-high and start adding the sugar one tablespoon at a time, letting each addition dissolve before adding the next. Keep whisking until the meringue is thick, glossy, and holds stiff peaks. Rub a little between your fingers; if it feels grainy, keep beating until it's completely smooth.
- Drop the speed to low. Sift in the cornstarch, add the vinegar, and whisk just a few seconds to combine. Don't overmix here.
- Flip the paper over and press it onto a large baking sheet. The pencil marks now show through from underneath.
- Spoon the meringue inside the circle and shape it into a round with a spatula, using the line as your guide. Flatten the top slightly and hollow out a shallow well in the center.
- Working around the outside, sweep the spatula upward from the base to the top to create ridges, then smooth the top.
- Bake for 1½ hours, then lower the oven to 210°F and bake another 30 to 45 minutes. It's ready when you can lift it cleanly off the parchment, looks dry and opaque; if it sticks, keep going and check every 10 minutes.
- Turn the oven off and leave the pavlova inside with the door closed for at least 2 hours. Don't open it. Cooling slowly is what keeps it from cracking.
- When you're ready to serve, whip the cream with the powdered sugar until it just holds soft-to-stiff peaks. Fold in the Greek yogurt. Move the pavlova carefully onto a serving plate, spread the cream over the top, and finish with the strawberries, blueberries, kiwi, and mint.



Let us know what you think!
We’d love to know what you and your family think! Make sure to leave a review below and follow us on your favorite social network!