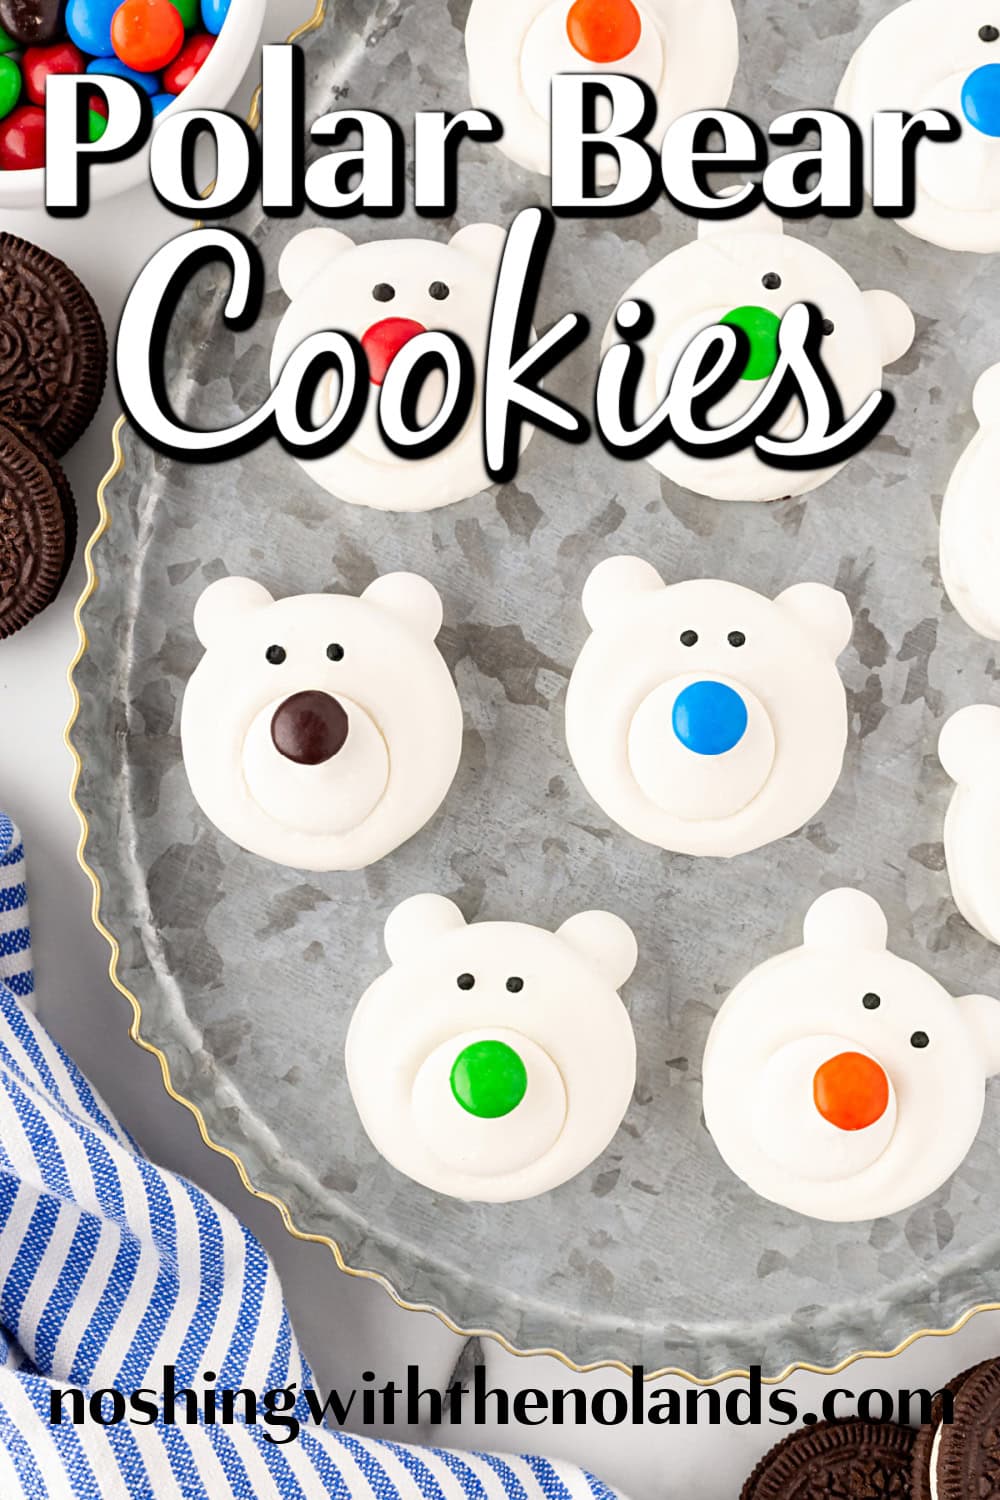
These Polar Bear Cookies are adorable and so easy to make! Oreo cookies decorated to look like sweet polar bears make the perfect winter or holiday treat. Fun for kids to craft and everyone to enjoy. Make them, along with a visit to the zoo to see a real polar bear, if you are lucky enough to have one locally.
If you would like another winter edible craft, try our fun Snowman Cake Pops or our Melted Marshmallow Snowman that is perfect for a hot cocoa topper.
Recipe adapted from Everyday Dishes.
Why I Love This Recipe
- Adorable
- Fun to make
- Easy
- Great winter edible craft
- Easy to find ingredients
Helpful Items for This Recipe
This post contains affiliate links. As an Amazon Associate, I earn a small portion from qualifying purchases at no extra charge to you.
Wilton White Candy Melts® Candy, 12 oz.
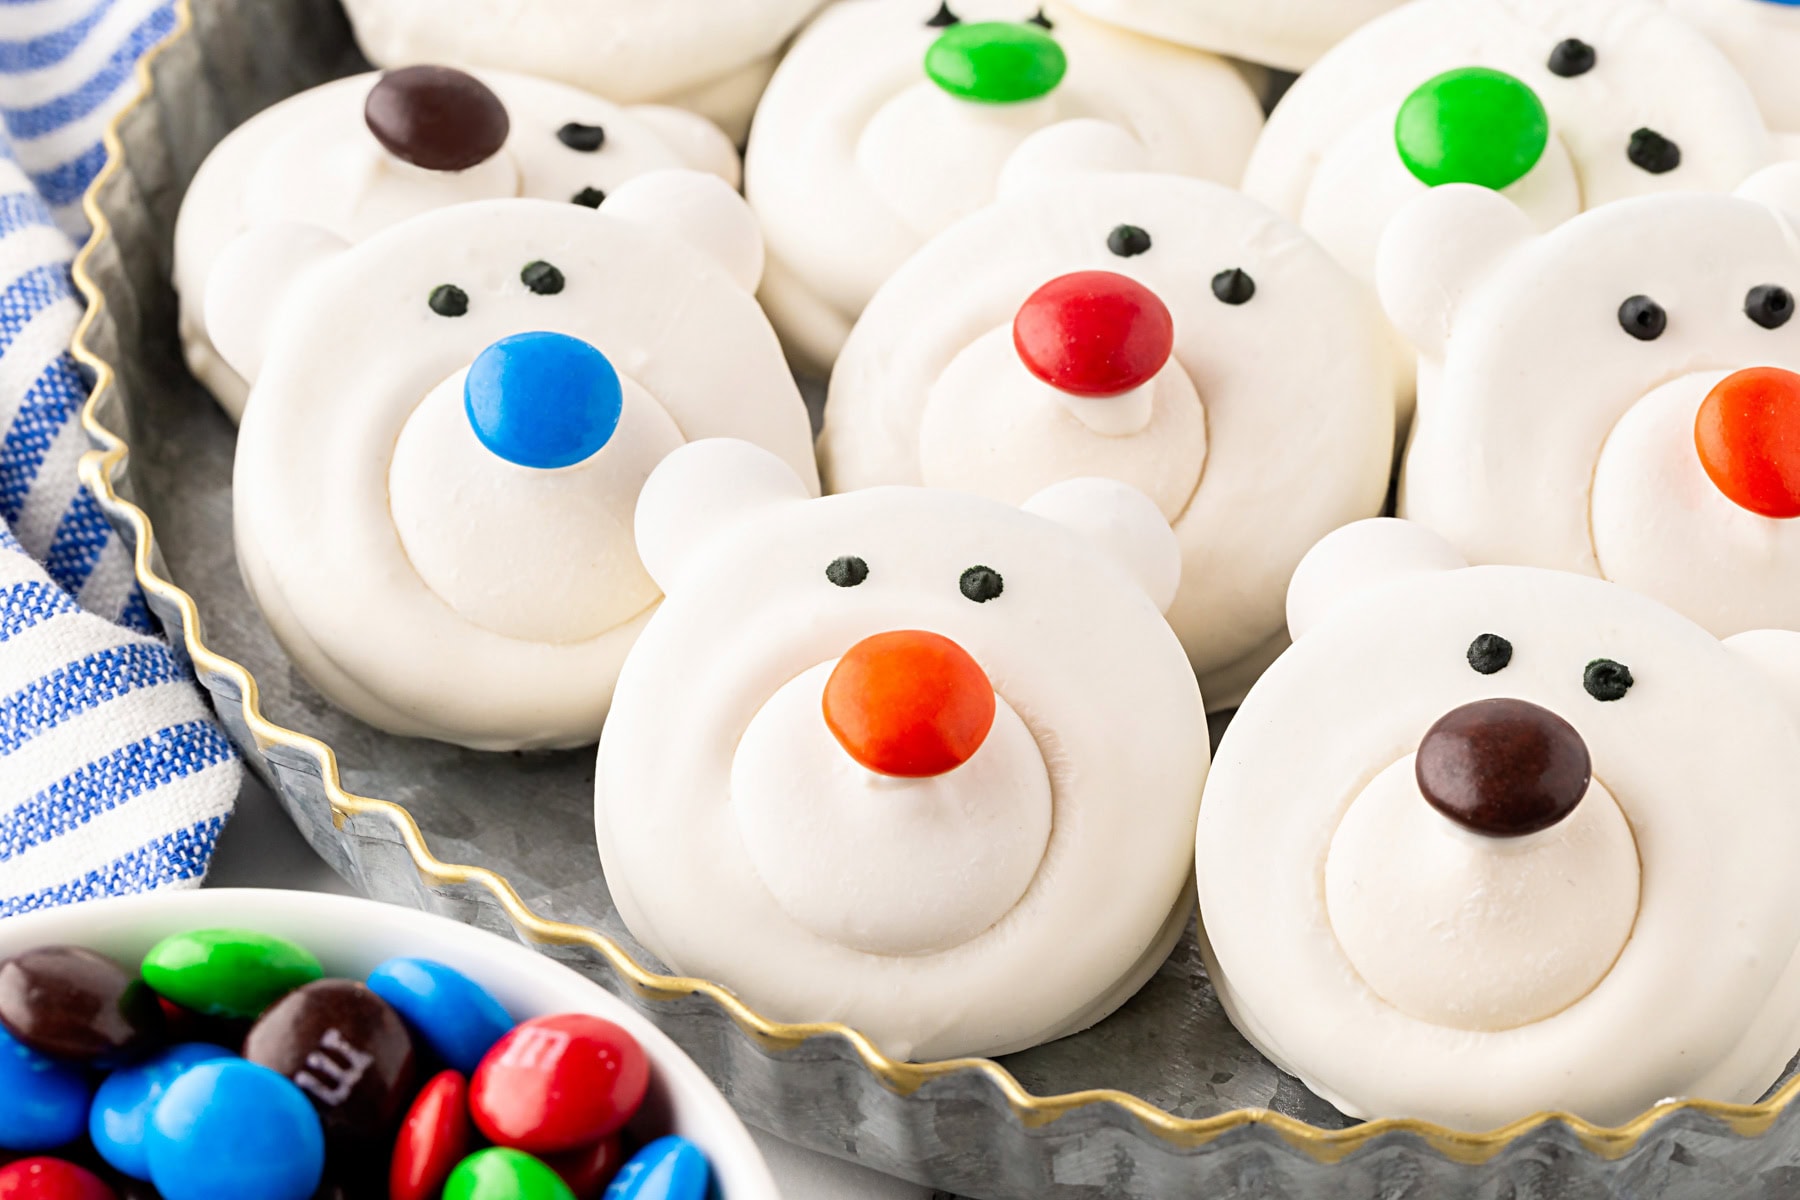
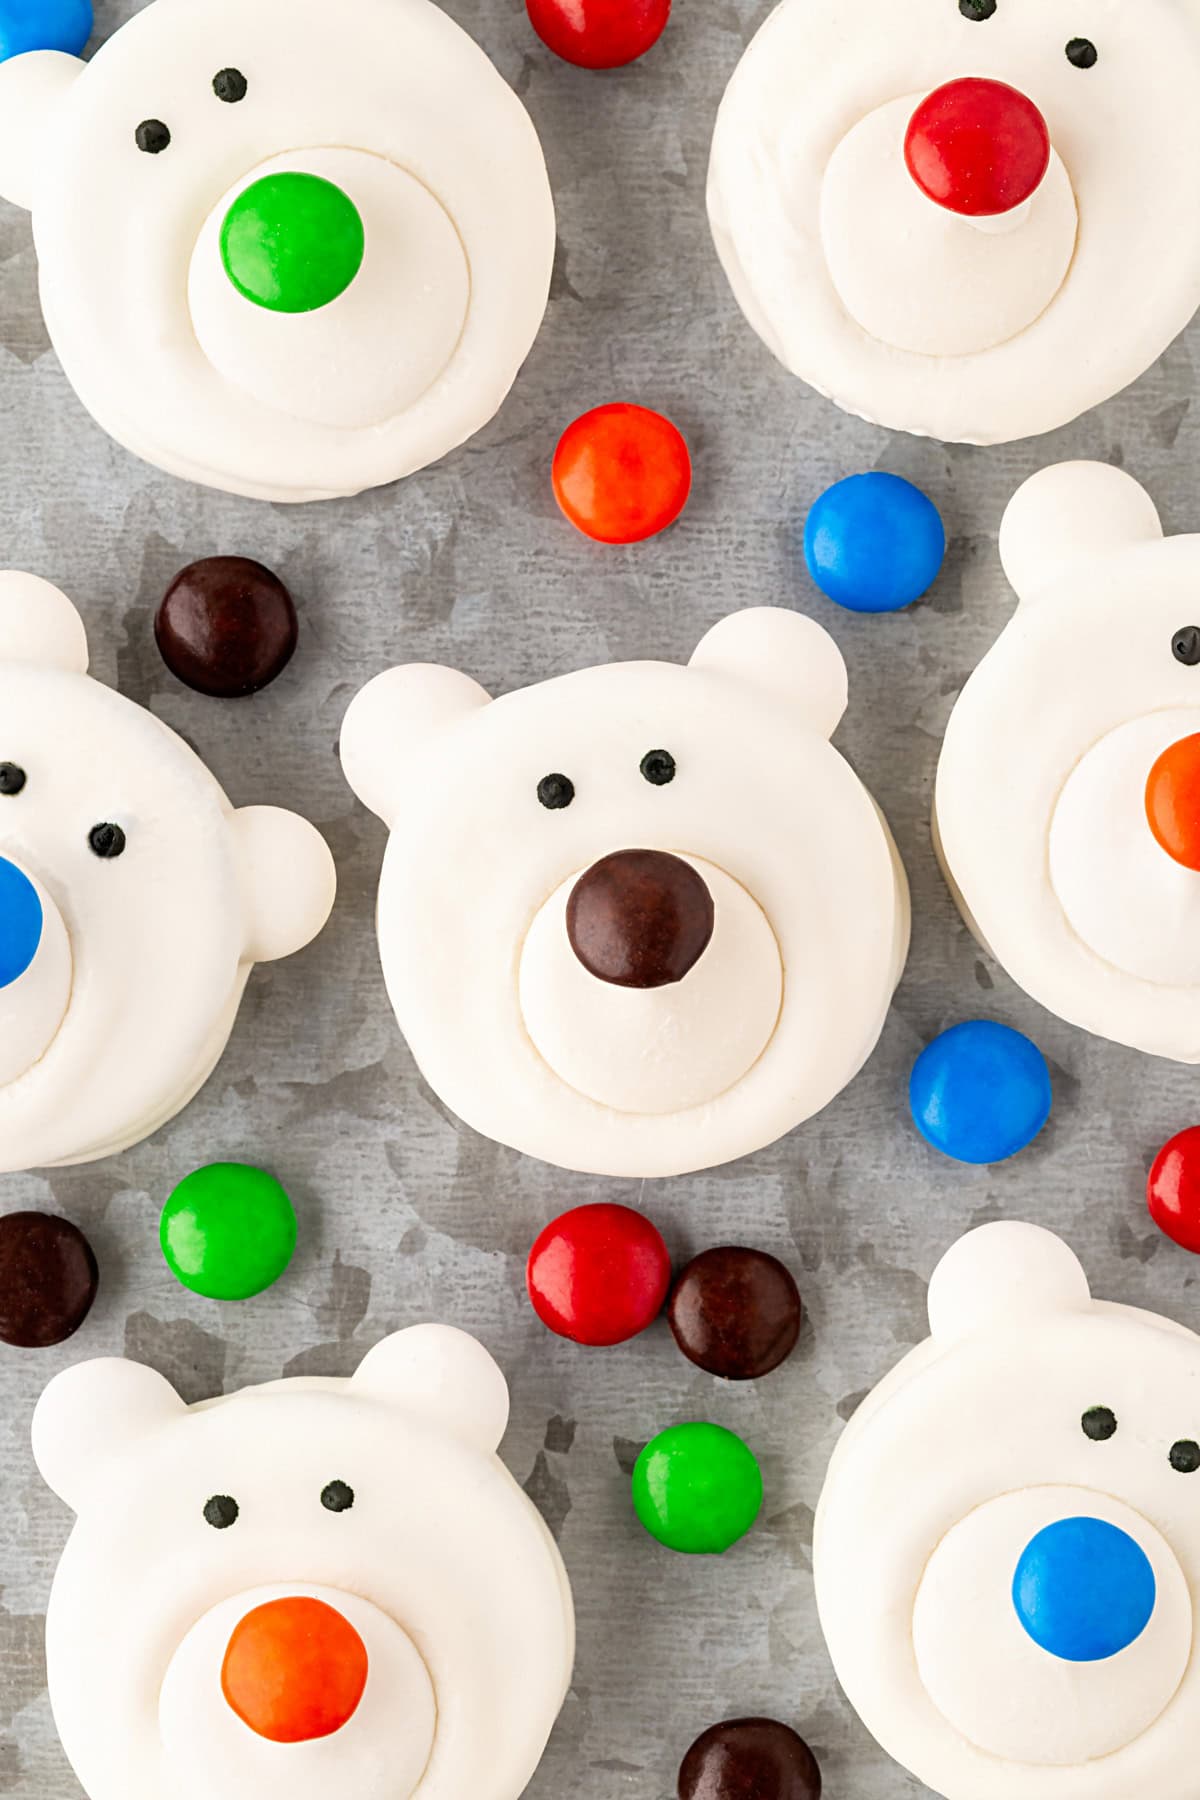
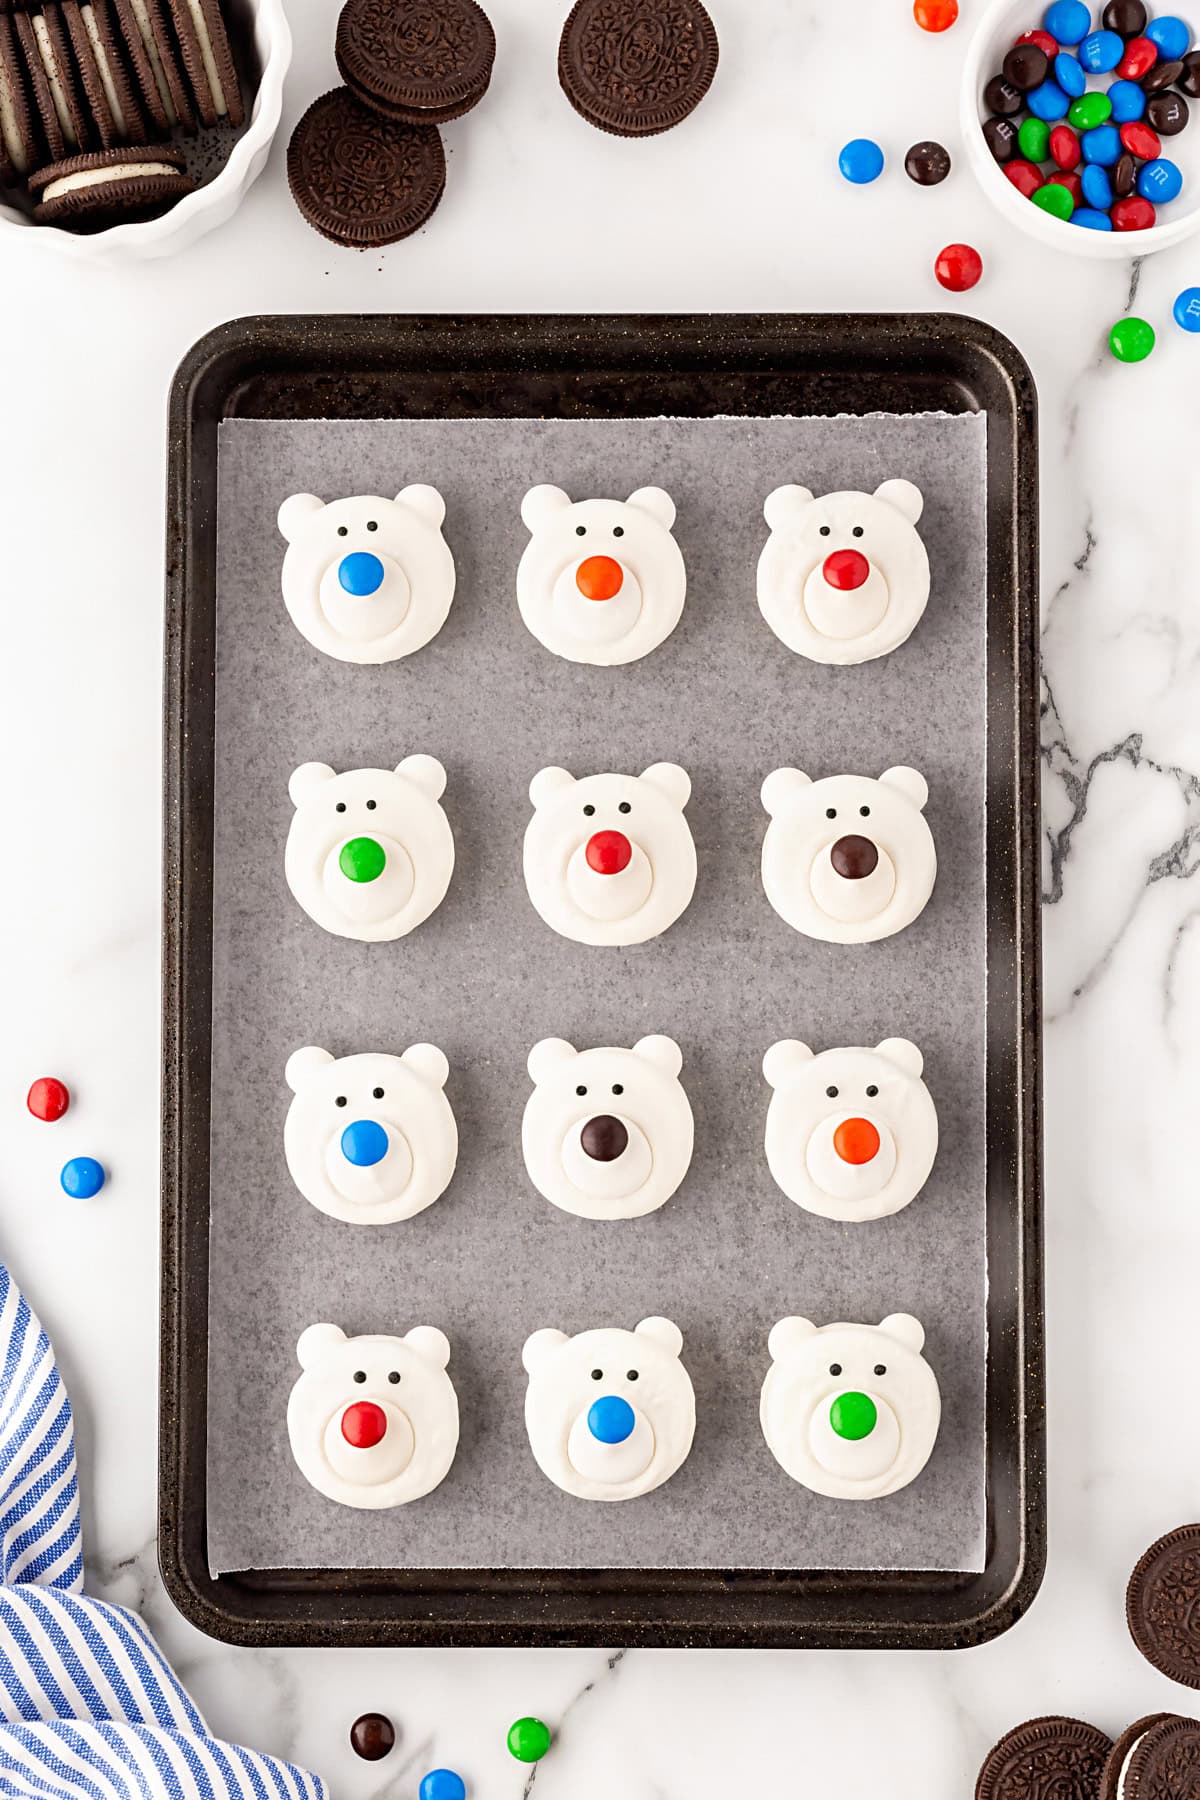
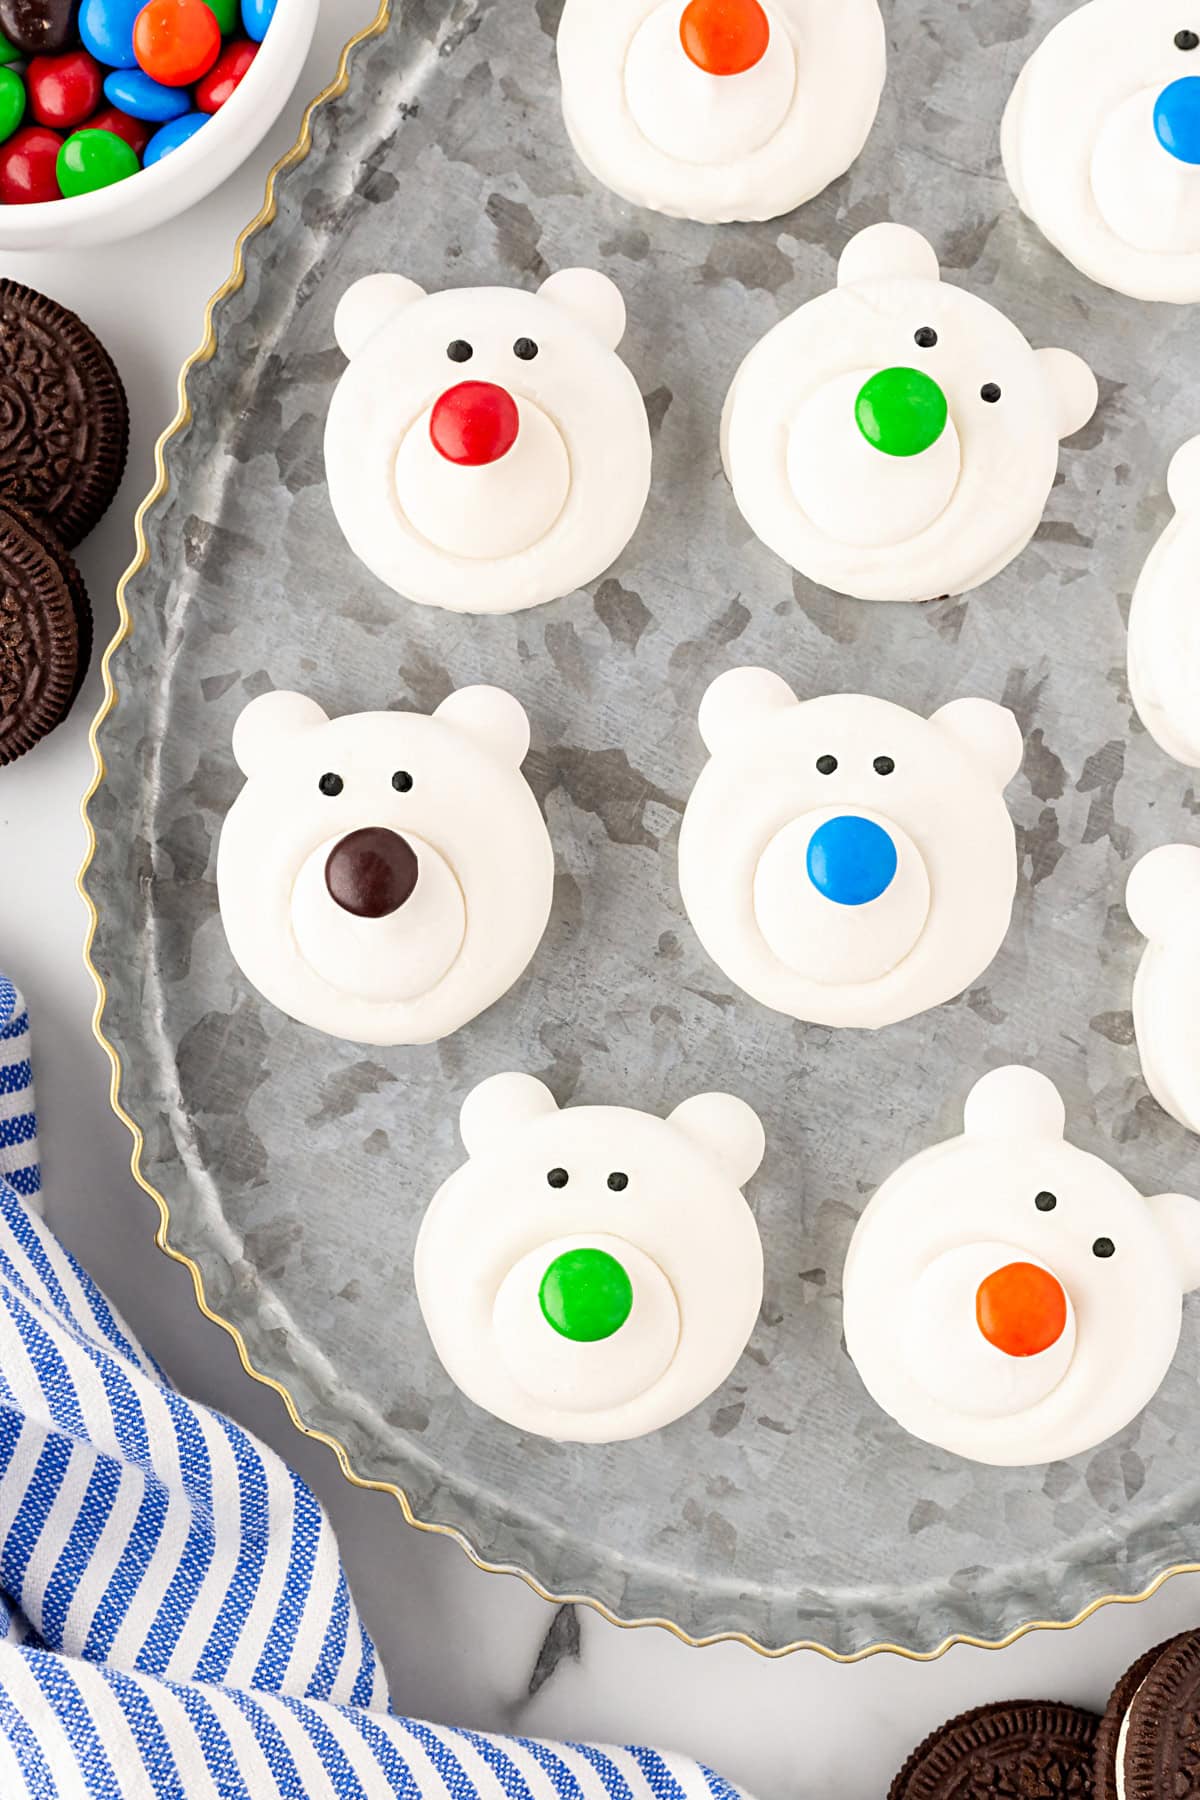
Aren’t they adorable? You don’t have to make many of these to liven up your day. They are pretty sweet anyway, so the kids will be after them for sure. The recipe makes 12, which I think is just the right amount.
What are the Ingredients for Polar Bear Cookies?
Ingredients
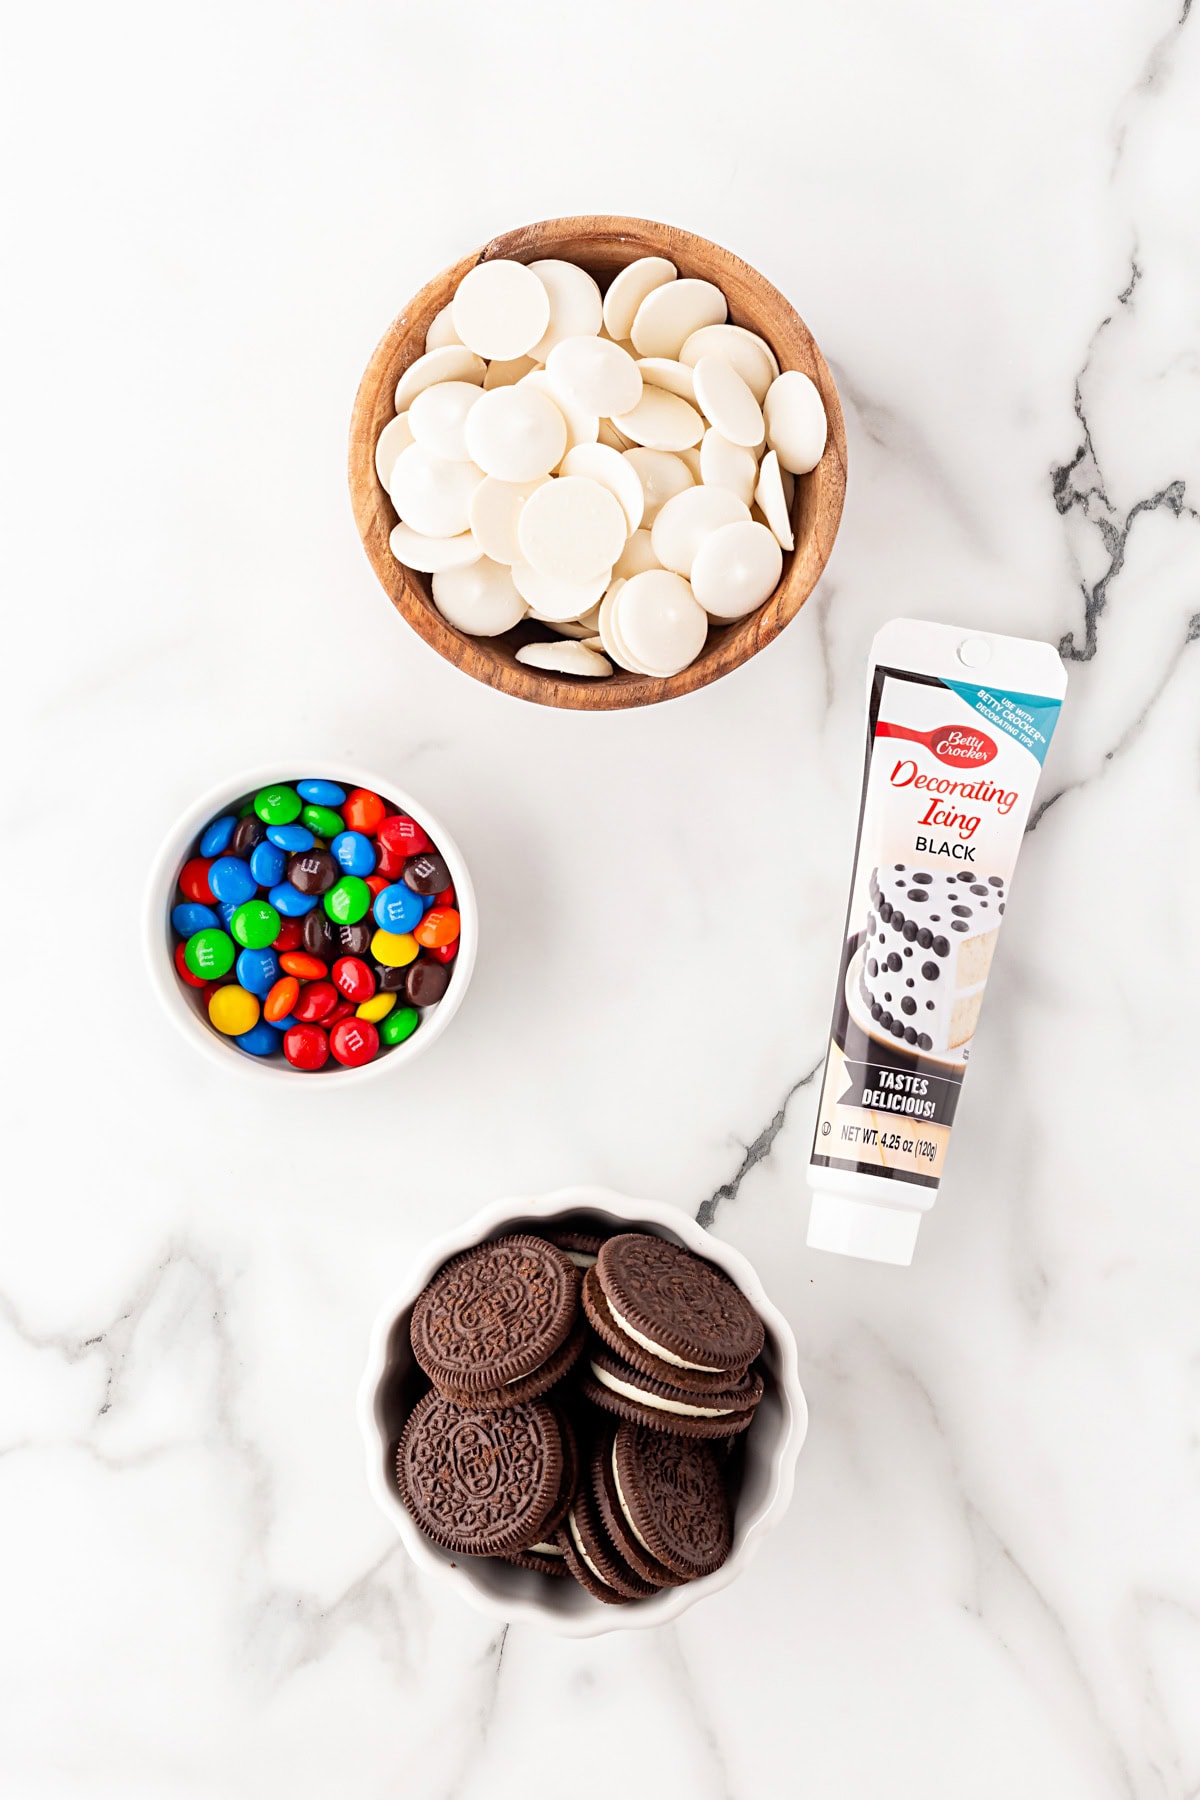
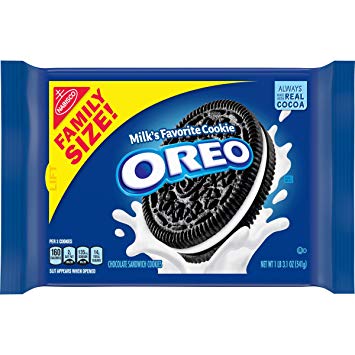
Double stuffed sandwich cookies – The brand name for these is Oreos, but other sandwich cookies would work too. I like to use the double stuffed.
Different colored candy coated chocolates – In Canada, these are Smarties; in the US, M&M’s work.
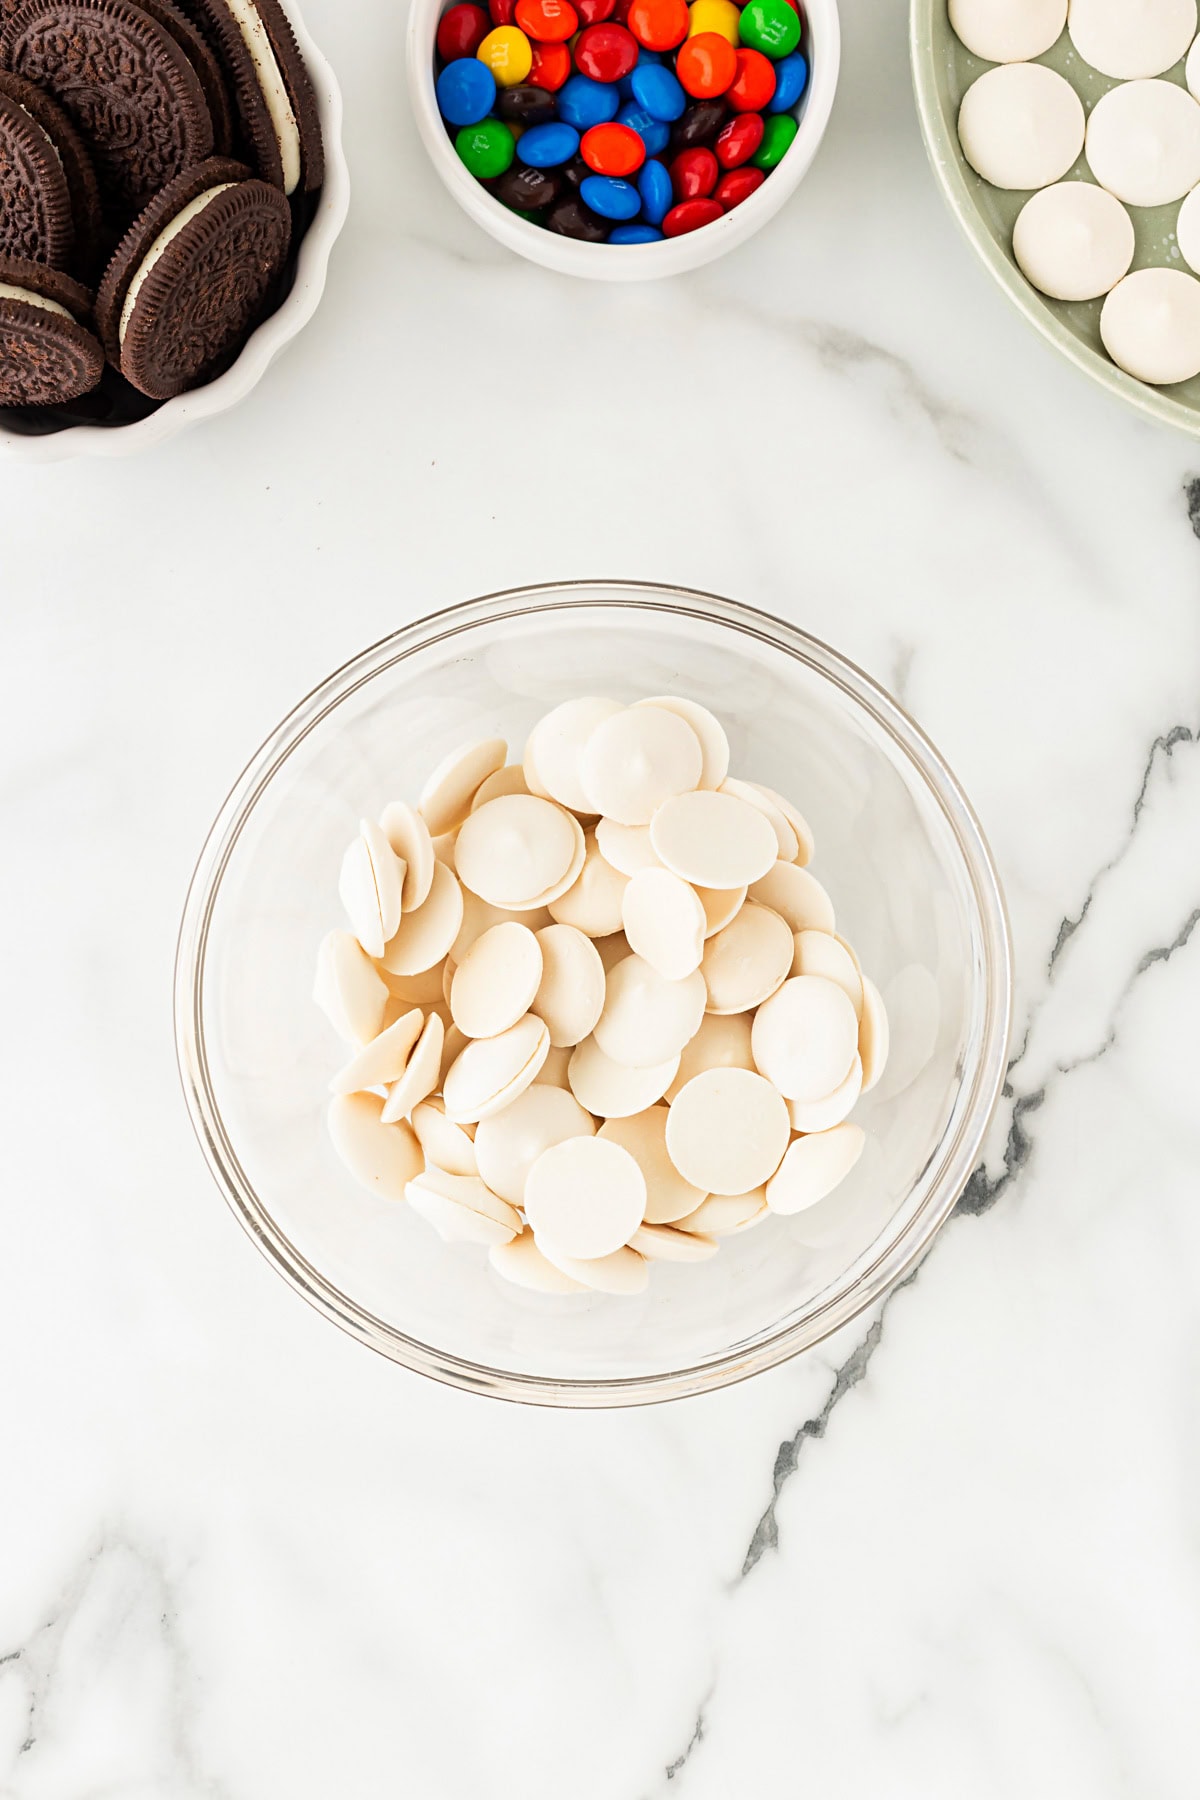
Bag white candy melts – Found at most craft stores or online.
Black icing – This is found in a tube, and I like it better than the gel, as the gel doesn’t dry.
How to Make These Polar Bear Cookies
Lay out a sheet of parchment or wax paper to lay the cookies on once dipped.
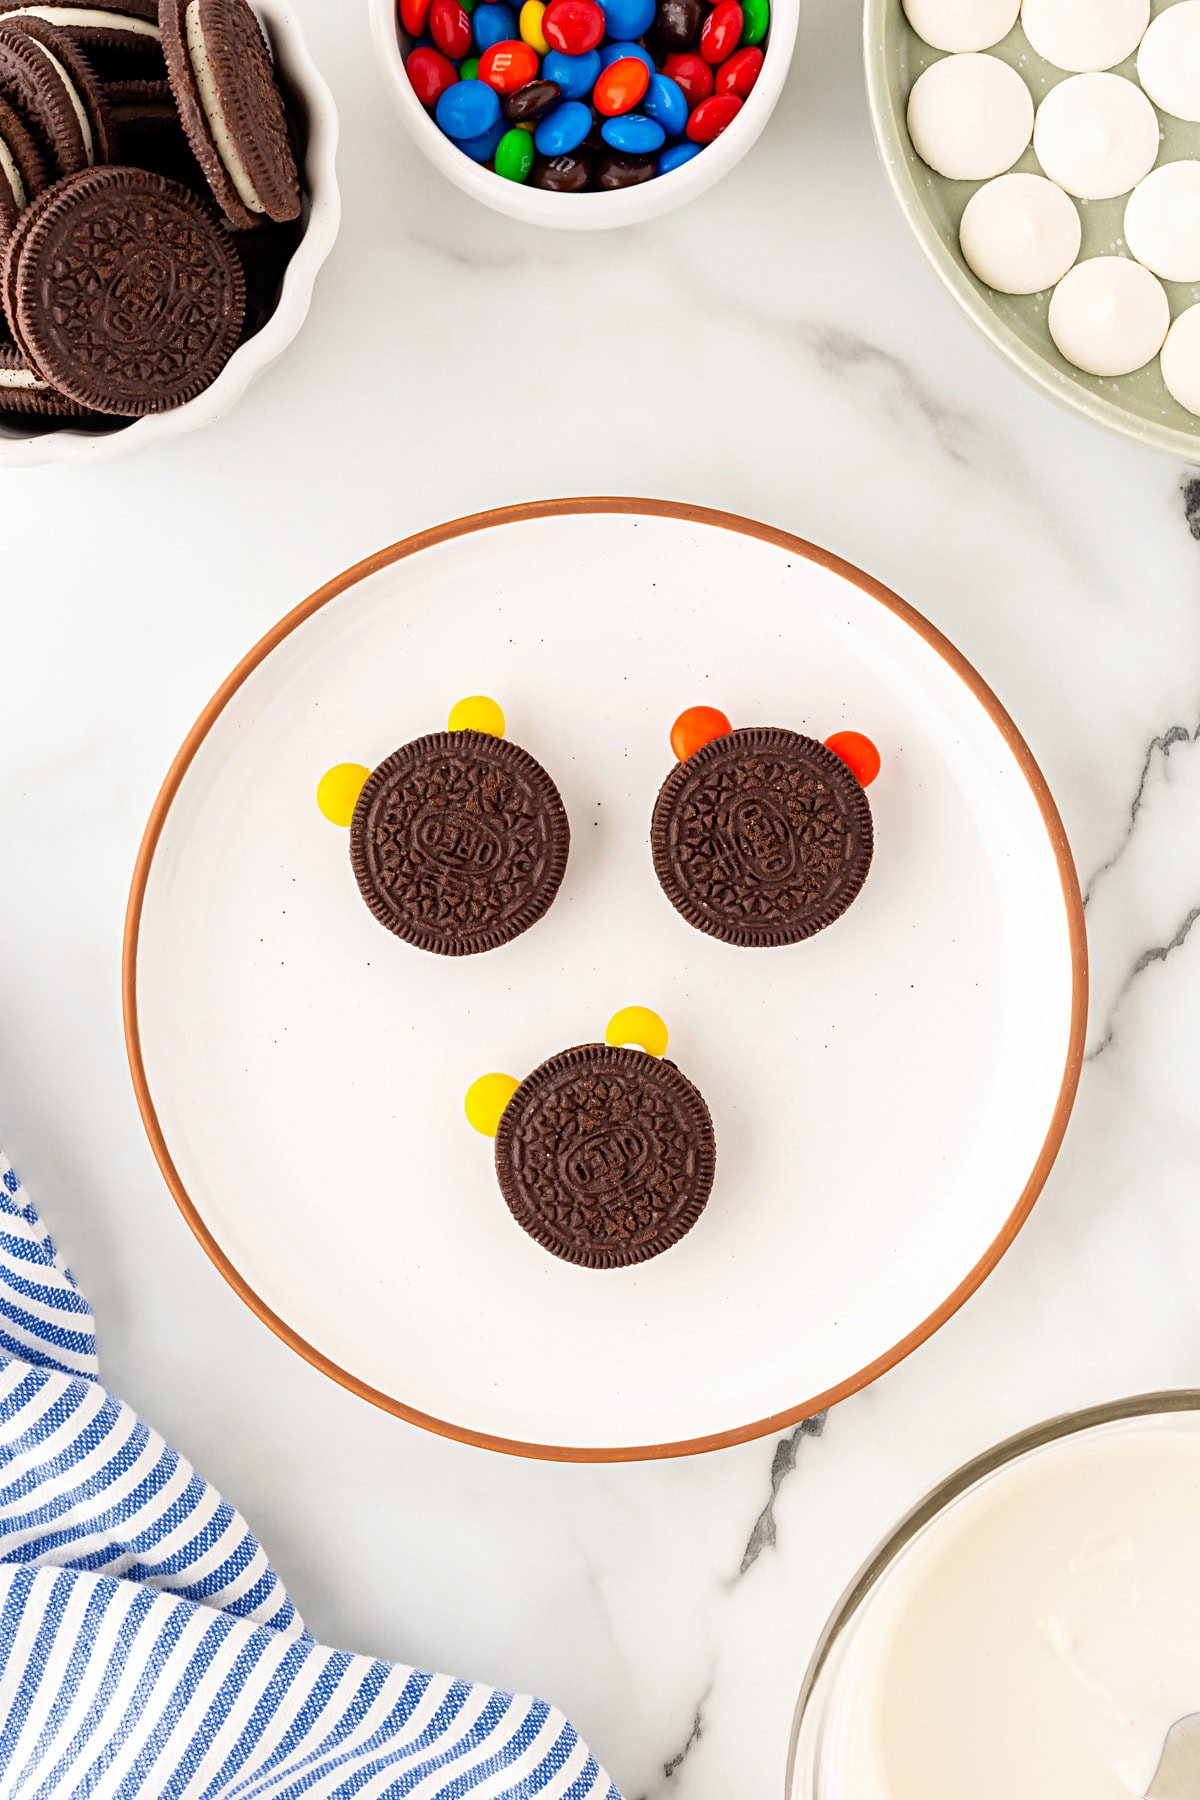
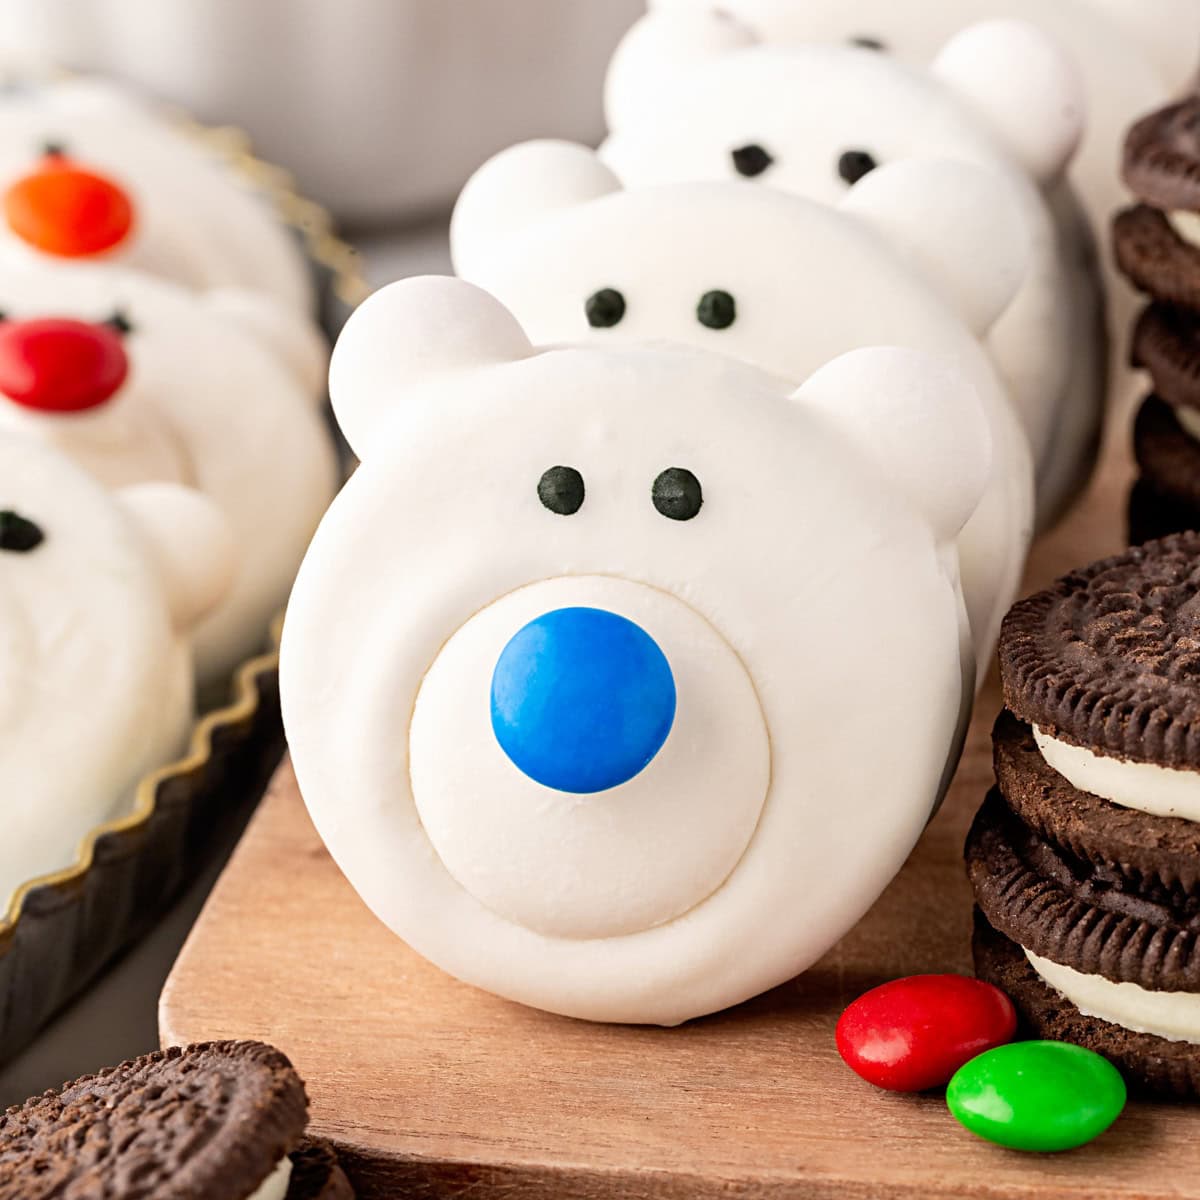
Choose lighter coloured candy coated chocolates for the ears and fun brighter, blue, brown, red and purple for the noses.
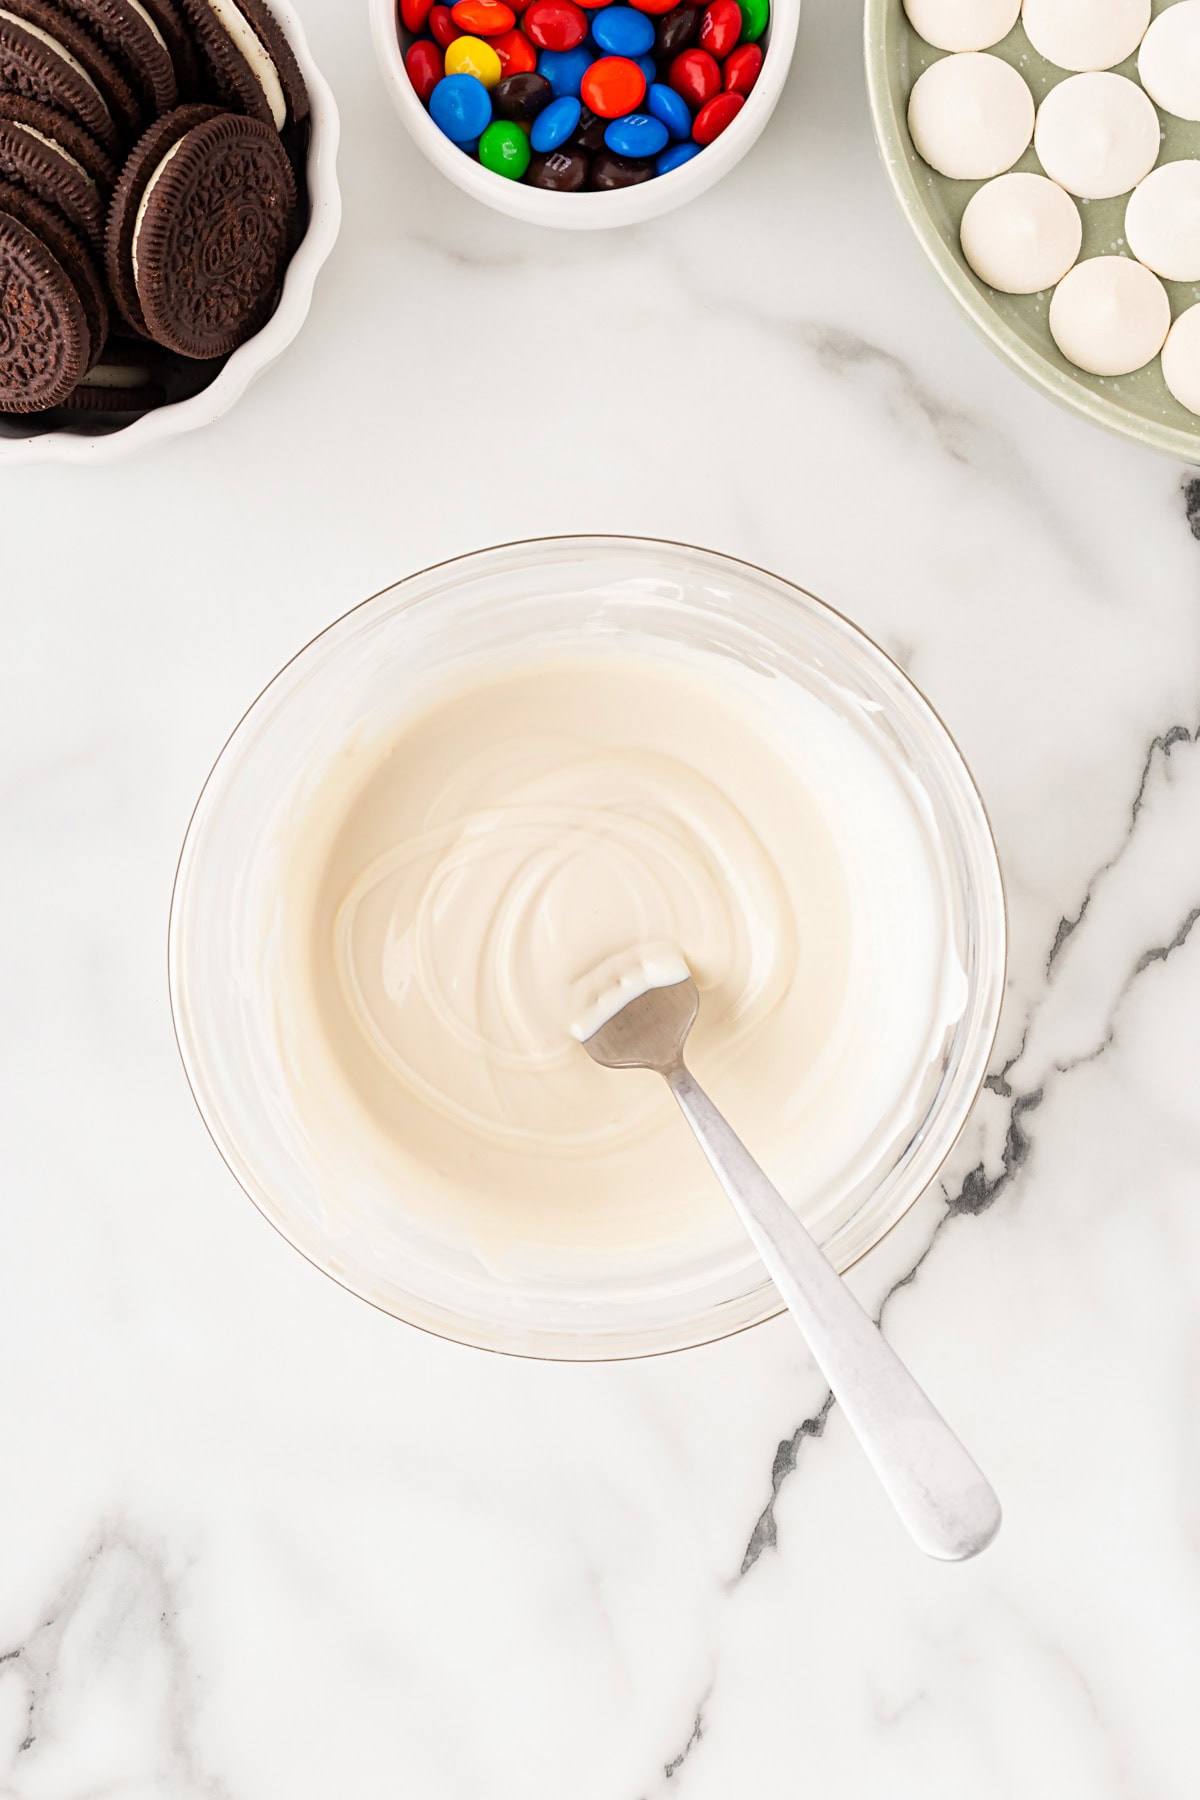
Select 12 nice looking white candy melts for the muzzle and set aside. Melt the rest of the package.
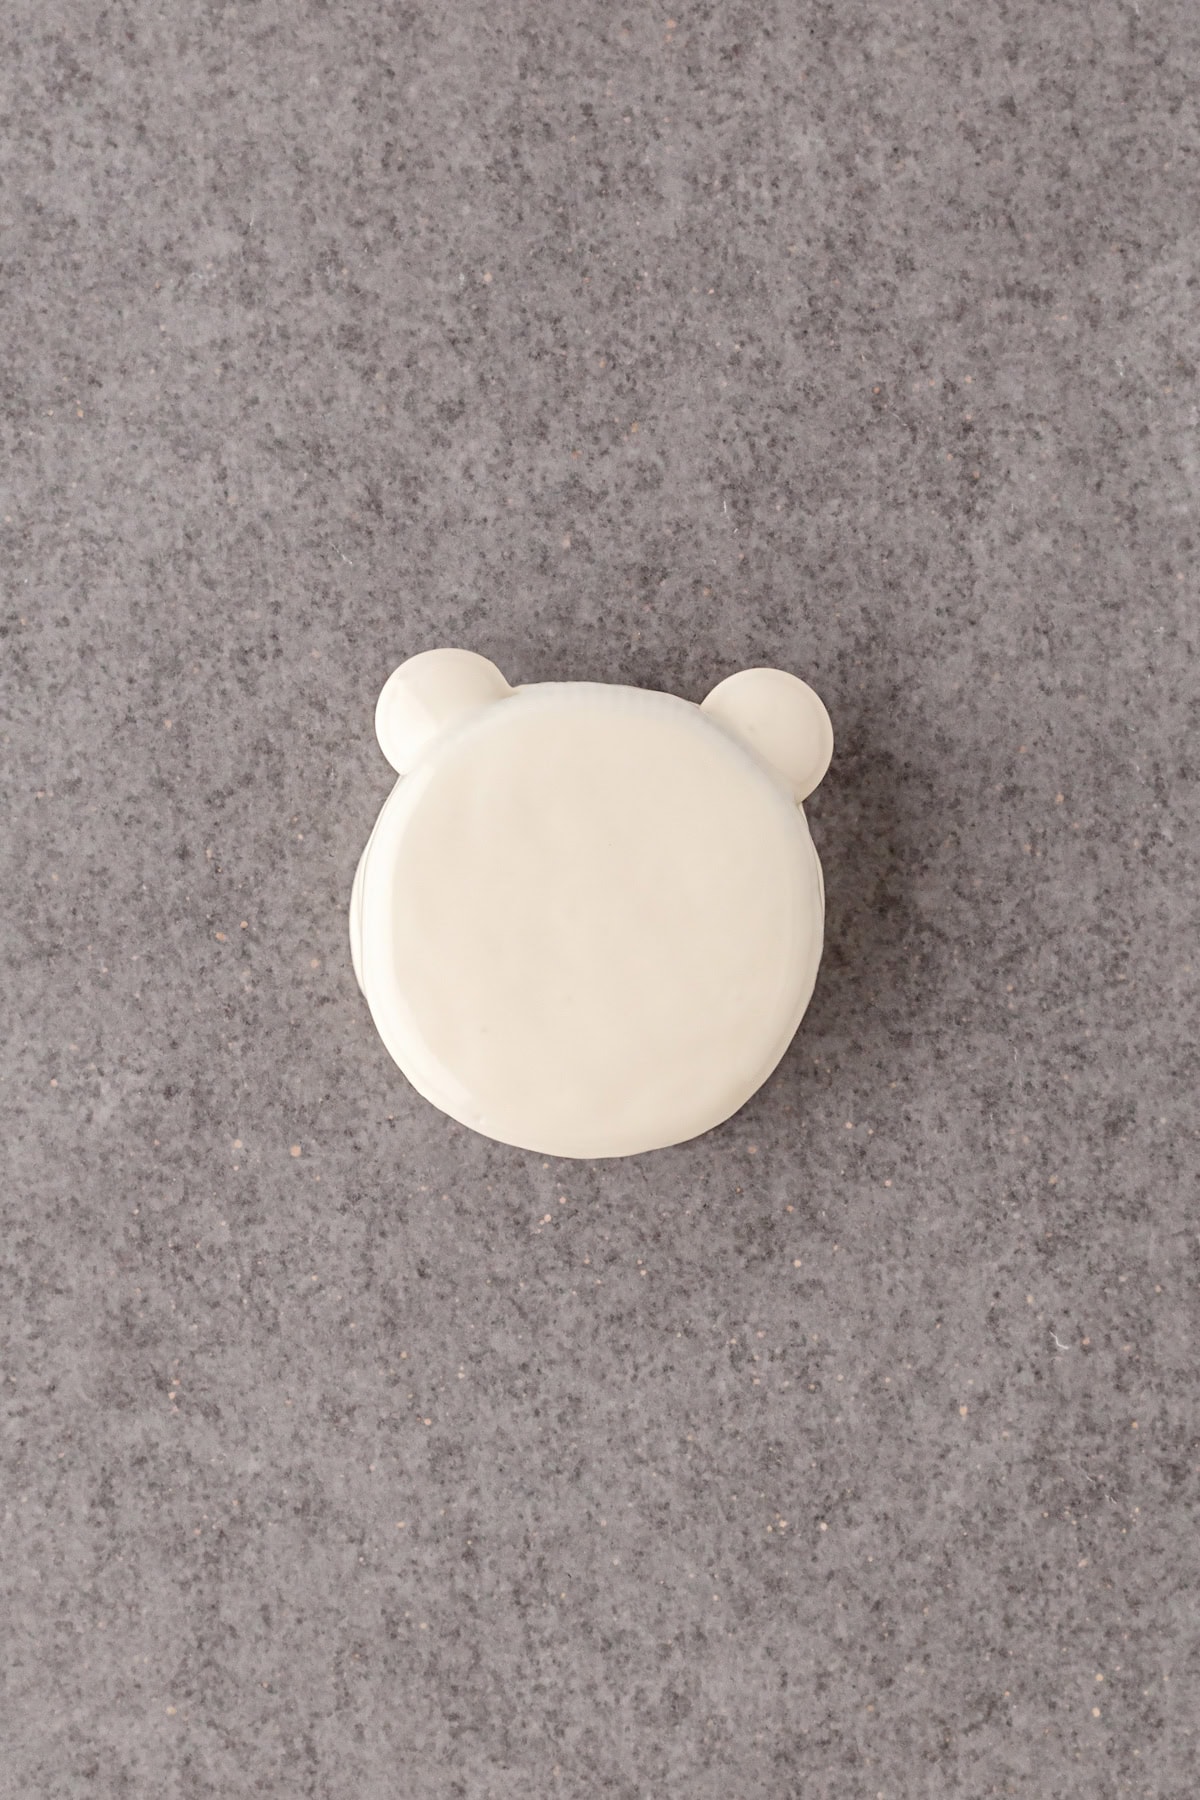
Slide the “ears” into place between the cookies, into the filling, and dip the cookies in the melted white candy. Using a fork, lift the cookie out and gently bang the side of the bowl to remove excess chocolate. Lay the cookie on the parchment.
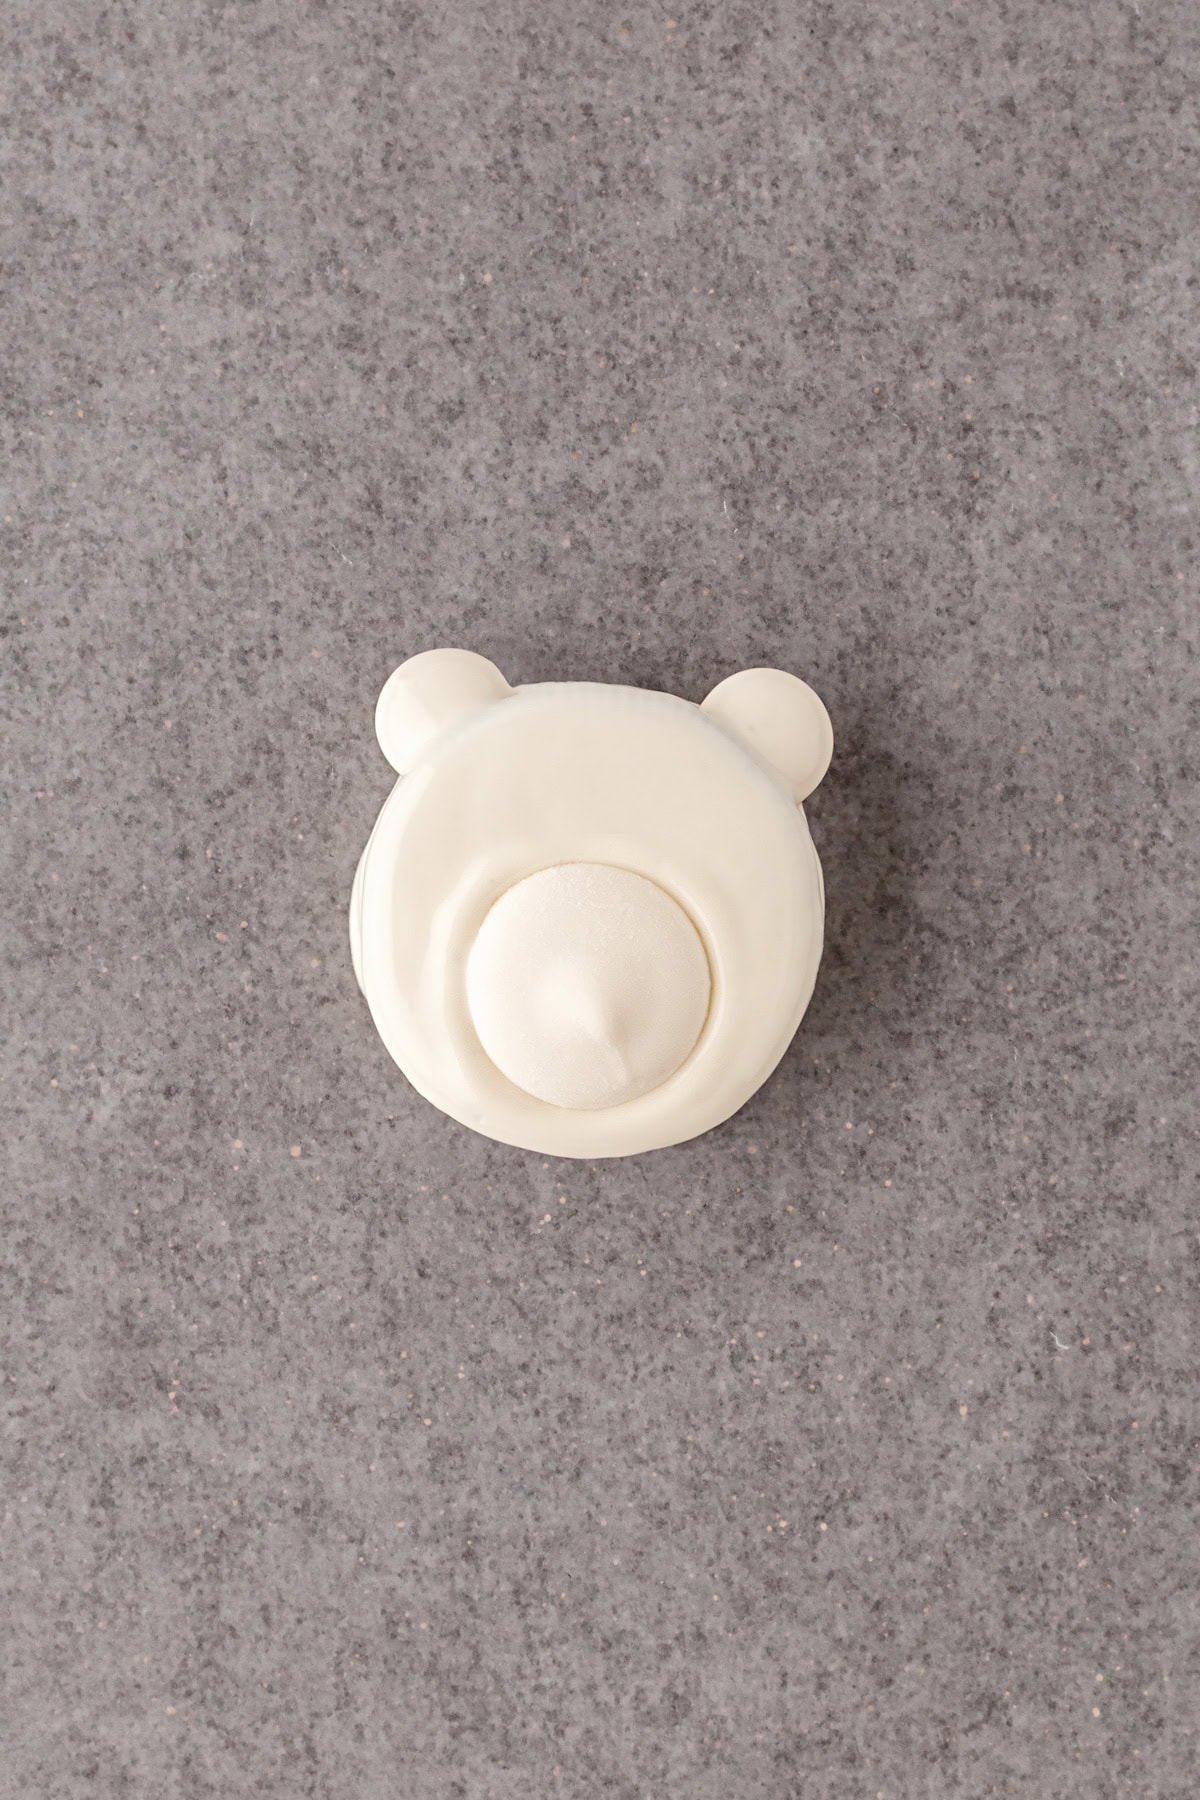
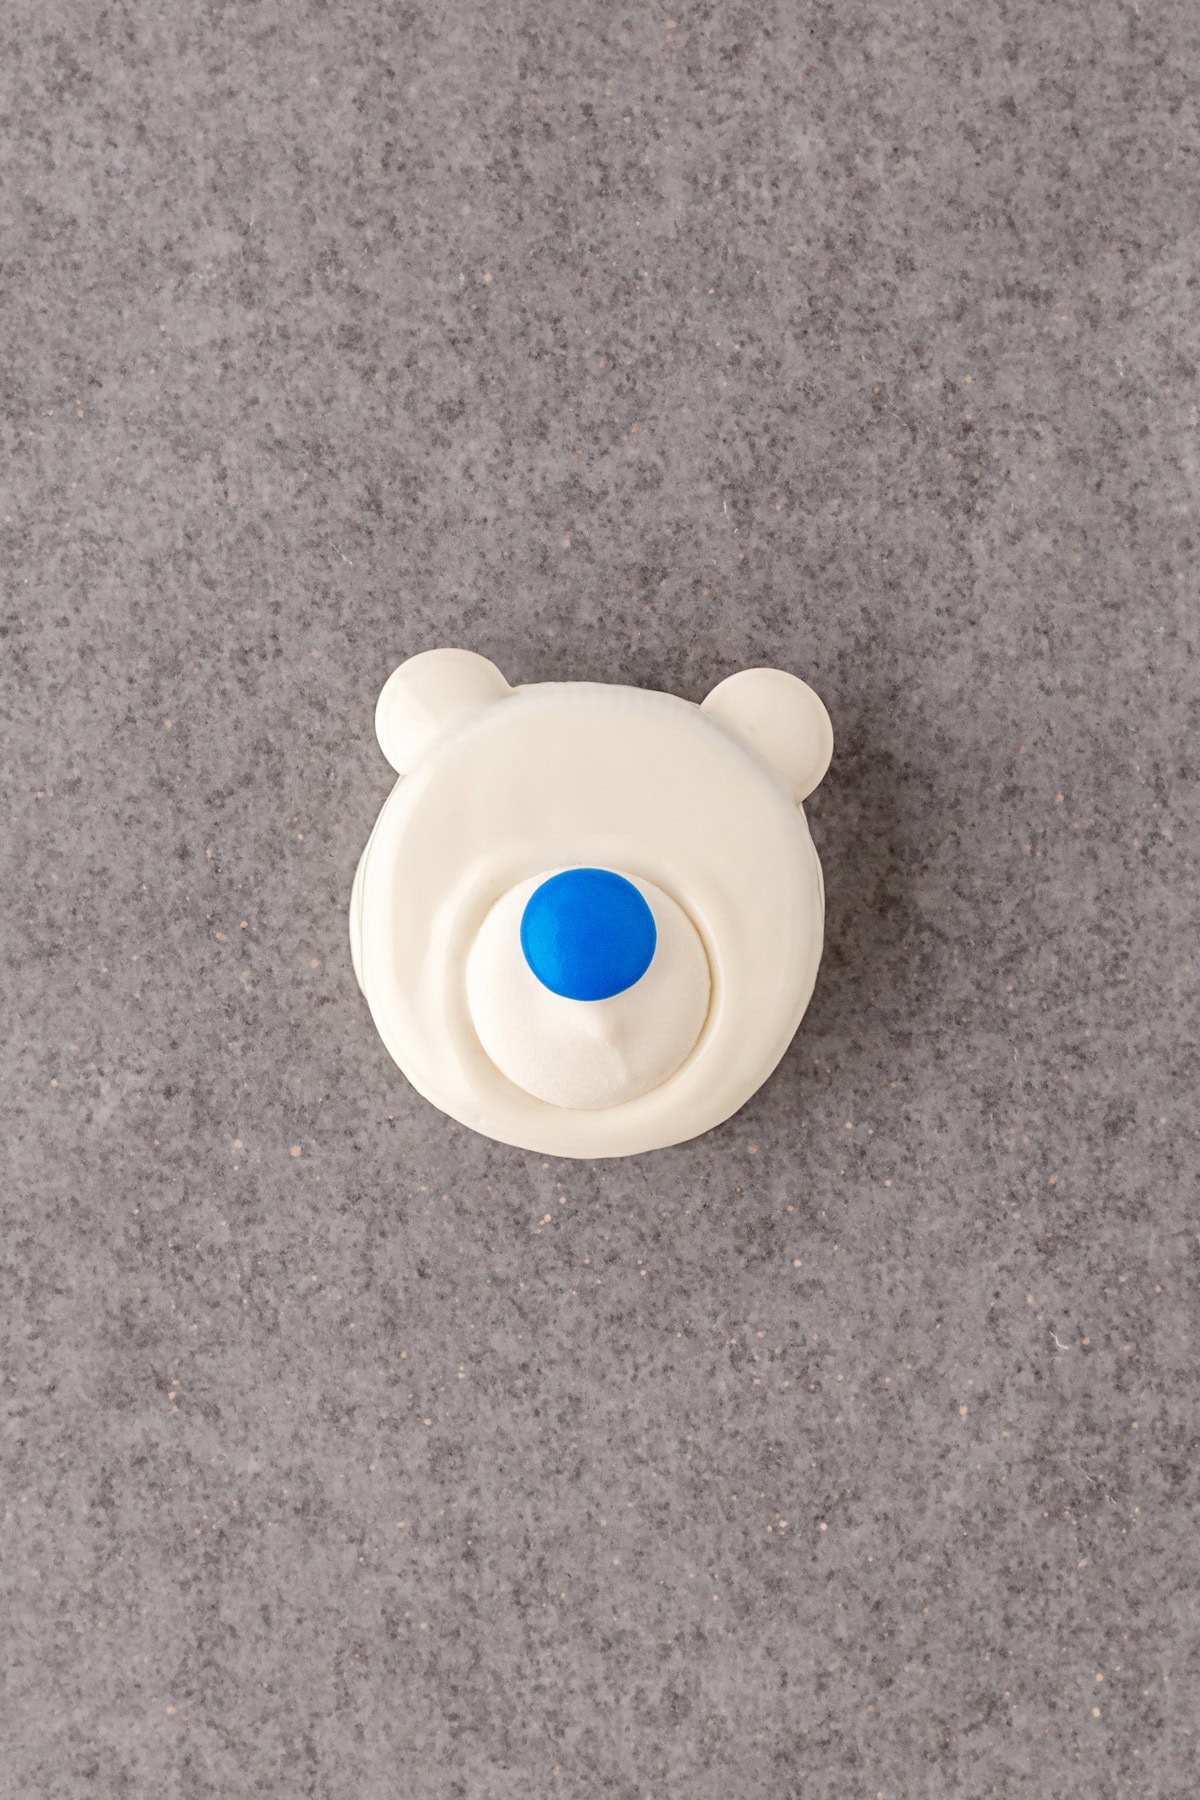
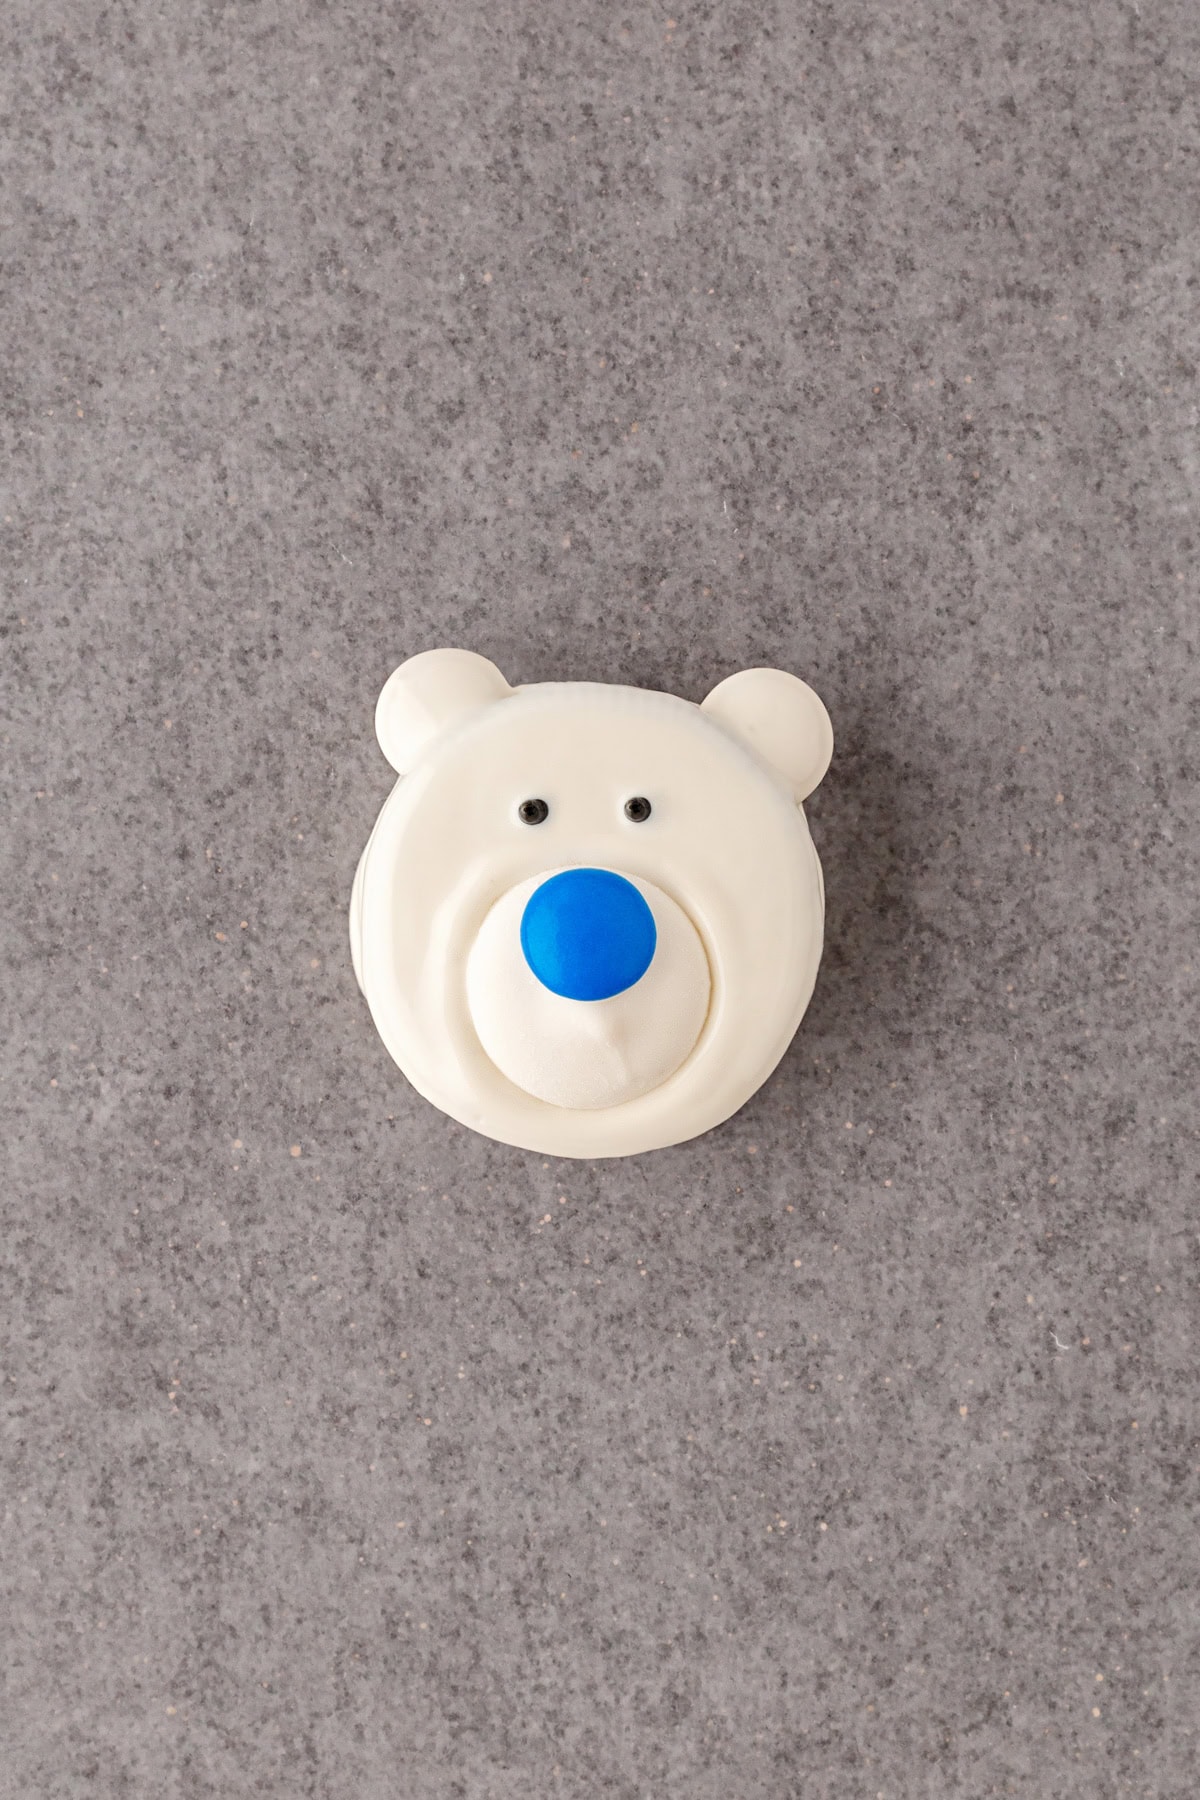
Place the candy melt on as the muzzle and press in gently to form a ridge around the muzzle. Paint a small amount of the white chocolate candy melts onto the “nose” and place it higher up on the muzzle.
When the cookies are dried, use the black icing to dot on the eyes. Let dry completely before storing in a sealed container.
Recipe Pro Tips

Tips for Making the Best Polar Bear Cookies
1. Choose a Solid Cookie Base
- Sandwich cookies, shortbread, or cereal treats work best.
- Avoid crumbly cookies — you want a sturdy “bear face.”
2. Use Candy Melts (Not Just Chocolate)
- White candy melts set firmer and smoother than white chocolate chips.
- If using white chocolate, add ½ tsp coconut oil per cup to thin.
3. Dip, Don’t Dunk
- Spoon melted coating over the cookie or dip halfway.
- Let excess drip off to avoid thick, uneven coats.
4. Add the Face While It’s Wet
- Place the muzzle immediately after coating.
- Once the coating sets, candy won’t stick.
5. Keep Decorations Simple
- Icing for eyes
- Brown M&M or get creative with color = nose
- Mini marshmallows or candy coated chocolate = ears
Simple = cuter (and faster).
6. Use Parchment Paper
- Prevents sticking and makes cleanup easy.
- Slide the whole sheet into the fridge if needed.
7. Chill Briefly, Not Too Long
- 10–15 minutes in the fridge is perfect.
- Too long = condensation when they come out.
8. Work in Small Batches
- Melt small amounts so the coating doesn’t thicken before you’re done.
- Rewarm gently in short bursts if needed.
9. Kid-Friendly Assembly Trick
- Let adults handle dipping.
- Let kids add faces — fun, less mess, and adorable results.
10. Storage Tip
- Store in a cool, dry place in a single layer.
- If stacking, separate with parchment.


Polar Bear Cookies Recipe
Video
Ingredients
- 12 double stuffed sandwich cookies
- 36 different coloured candy coated chocolates
- 16 oz. bag white candy melts
- 1 tube black icing
Instructions
- Lay out a sheet of parchment or wax paper to lay the cookies on once dipped.
- Choose lighter coloured candy coated chocolates for the ears and fun brighter, blue, brown, red and purple for the noses.
- Select 12 nice looking white candy melts for the muzzle and set aside. Melt the rest of the package.
- Slide the "ears" into place in between the cookies, into the filling, and dip the cookies in the melted white candy. Using a fork, lift the cookie out and gently bang the side of the bowl to remove excess chocolate. Lay the cookie on the parchment. Place the candy melt on as the muzzle and press in gently to form a ridge around the muzzle. Paint a small amount of the white chocolate candy melts onto the "nose" and place it higher up on the muzzle. When the cookies are dried, use the black icing to dot on the eyes. Let dry completely before storing in a sealed container.


Comments & Reviews
Joann says
Made these today, sooo cute!! I used the mini M&M and I had bought black writing frosting not gel. My eyes got a little wonky so I switched to black pearl mini candy balls. It was a variety of sizes and I used micro ones. The large ones I would be afraid of breaking a tooth! LOL!
Tara Noland says
So glad you enjoyed making these. There are pretty adorable!!
Laura says
Wondering how long in advance these adorable cookies can be made? Do you store at room temperature and can they be frozen & thawed closer to serving time?
Thank you!
Tara Noland says
They can be frozen so you can make them 1-2 months ahead. Otherwise in the refrigerator they will last at least a week. Ours never last that long!! LOL
Colleen Williams says
Adorable! I’m not understanding #4. Are the ears made with mini or regular size M&M’s? I’m assuming mini, but they look larger then minis in the pictures. Thank you!
Tara Noland says
We use Smarties as that is what we have in Canada. But I think regular M&Ms would work.
Colleen Williams says
Thank you!!
Tara Noland says
You are welcome!
Joann says
Could you use the Ghirardelli white chips? I have 2 bags I need to use.
Tara Noland says
I would think so as long as they melt well.
lindacury says
They look cute and yummy
Tara Noland says
Thank you!
Jennifer Snow says
Hello, thank you for this wonderful idea. I have been making these in bulk for a number of years and have a few helpful hints . Use the mega stuffed oreos -solves the problem of the cookie coming apart when you slide in the m&ms in. Use wilton bright white candy melts. These are available in most craft stores. I usually mix in paramount crystals (available on Amazon) which helps to smooth the candy mixture. Crisco in very small amounts works well too. Once the dipped cookie is set, I use a razor blade to shave off the excess chocolate that pools on the bottom of the cookie. This gives it a clean professional look. Happy dipping!
Tara Noland says
Thanks for the great tips!! So glad you are enjoying making them!!
Lisa says
Can I use regular melted white chocolate and spread it on the cookie with a butter knife? I’m having my special education class make these for cooking. Trying to find a way to make them without getting all the special ingredients. Went to 3 stores and ran out of time looking for the other meltable chocolate discs/smarties.
Tara Noland says
You can try it but I am not sure how smooth it will look. If the chocolate is too thick I have read to add a small amount of Crisco (not the butter flavored) to the chocolate. This will thin it and make it more workable but doesn’t effect the drying time. I personally have not tried it though.
Deanna says
Can you freezes these after you make them for later
Tara Noland says
I would think yes but I have honestly never tried, they didn’t last that long 🙂
Michelle says
I made these last December and I used the Smarties for ears and followed the rest of the directions and it was so easy! I wish I could attach a pic here. I making them again next week. Thank you for recipe and for the tip about using Smarties instead of marshmallow. This really is more of a craft than a bake and my nephews loved these!
Tara Noland says
So glad you had fun with these and I agree they are more of an edible craft than a recipe. Happy Holidays!!
Colleen Williams says
Hi Michelle, when you use Smarties, are the Smarties also dipped in the white chocolate, or do you insert them after you dip the cookie?
Tara Noland says
You insert the Smarties and then dip the whole thing in white chocolate.
Dawn Lowery says
I made these cute bears for my church craft Bazaar last year. They were gone in a few minutes! So, when I found out my daughter was pregnant, I made them as her baby shower favors. The white polar bears became Brown fuzzy bears ( just like her childhood bear) with a note attached that said “Thank you for coming to my Mommy’s shower. I can “bearly” wait to meet you!” Thank you for the inspiration!
Tara Noland says
OMG, cuteness overload, I can “bearly” stand it. I am so glad you are having fun with this recipe. So creative to have done them in a fuzzy bear rendition, love it!!
BOB says
what are the other ingredients???
Tara Noland says
They are all noted in the recipe.
Sherrin says
These are adorable I’m making them today for my Christmas cookie platter. Thanks
Linda says
Have you tried mini chocolate chips for the eyes or maybe even sprinkles for colored eyes? That would be neater than either frosting or gel.
Tara Noland says
More good suggestions, thank you!!