These gorgeous Red Velvet Cookies are a wonderful treat to have any time but are special on Valentine’s Day and Christmas! They have a great red velvet flavor and are soft and chewy and are filled with white chocolate chips. A classic cookie that you will love.
This recipe is easily made from scratch and will be one of your favorites to go back to again and again. Simple ingredients and a quick bake time will have you in and out of the kitchen in a flash. Want more Valentine’s Day treats? Try our Red Velvet Crinkle Cookies, Valentine’s Day Pink Popcorn, Love Bug Valentine’s Cookies, or Valentine’s Day Puppy Chow too, it can be converted to Reindeer Chow for the holidays too!

Do you like to make a special treat for Valentine’s Day or Christmas? Whatever the reason, these cookies will be gobbled down and so enjoyed. Kids will love the great red color with the contrasting white chocolate chips.
They are also nut-free, so they can easily be tucked into a lunch box too with a little Valentine to make them feel special and loved.
Helpful Items For This Recipe
This post contains affiliate links. As an Amazon Associate, I earn a small portion from qualifying purchases at no extra charge for you.
What Flavor Is Red Velvet?

Red velvet has a touch of cocoa to give a slight chocolate flavor. In a cake, you may find buttermilk or vinegar in larger quantities to give that tang, but these cookies, we have left that out.
If using a cream cheese frosting, then that added tang is nice but not always necessary in a cookie.
If you do want a little tang, I recommend adding 1 tsp. of white vinegar to your cookie dough. I have left this as optional for you to decide.
What is in a Red Velvet Cookie?
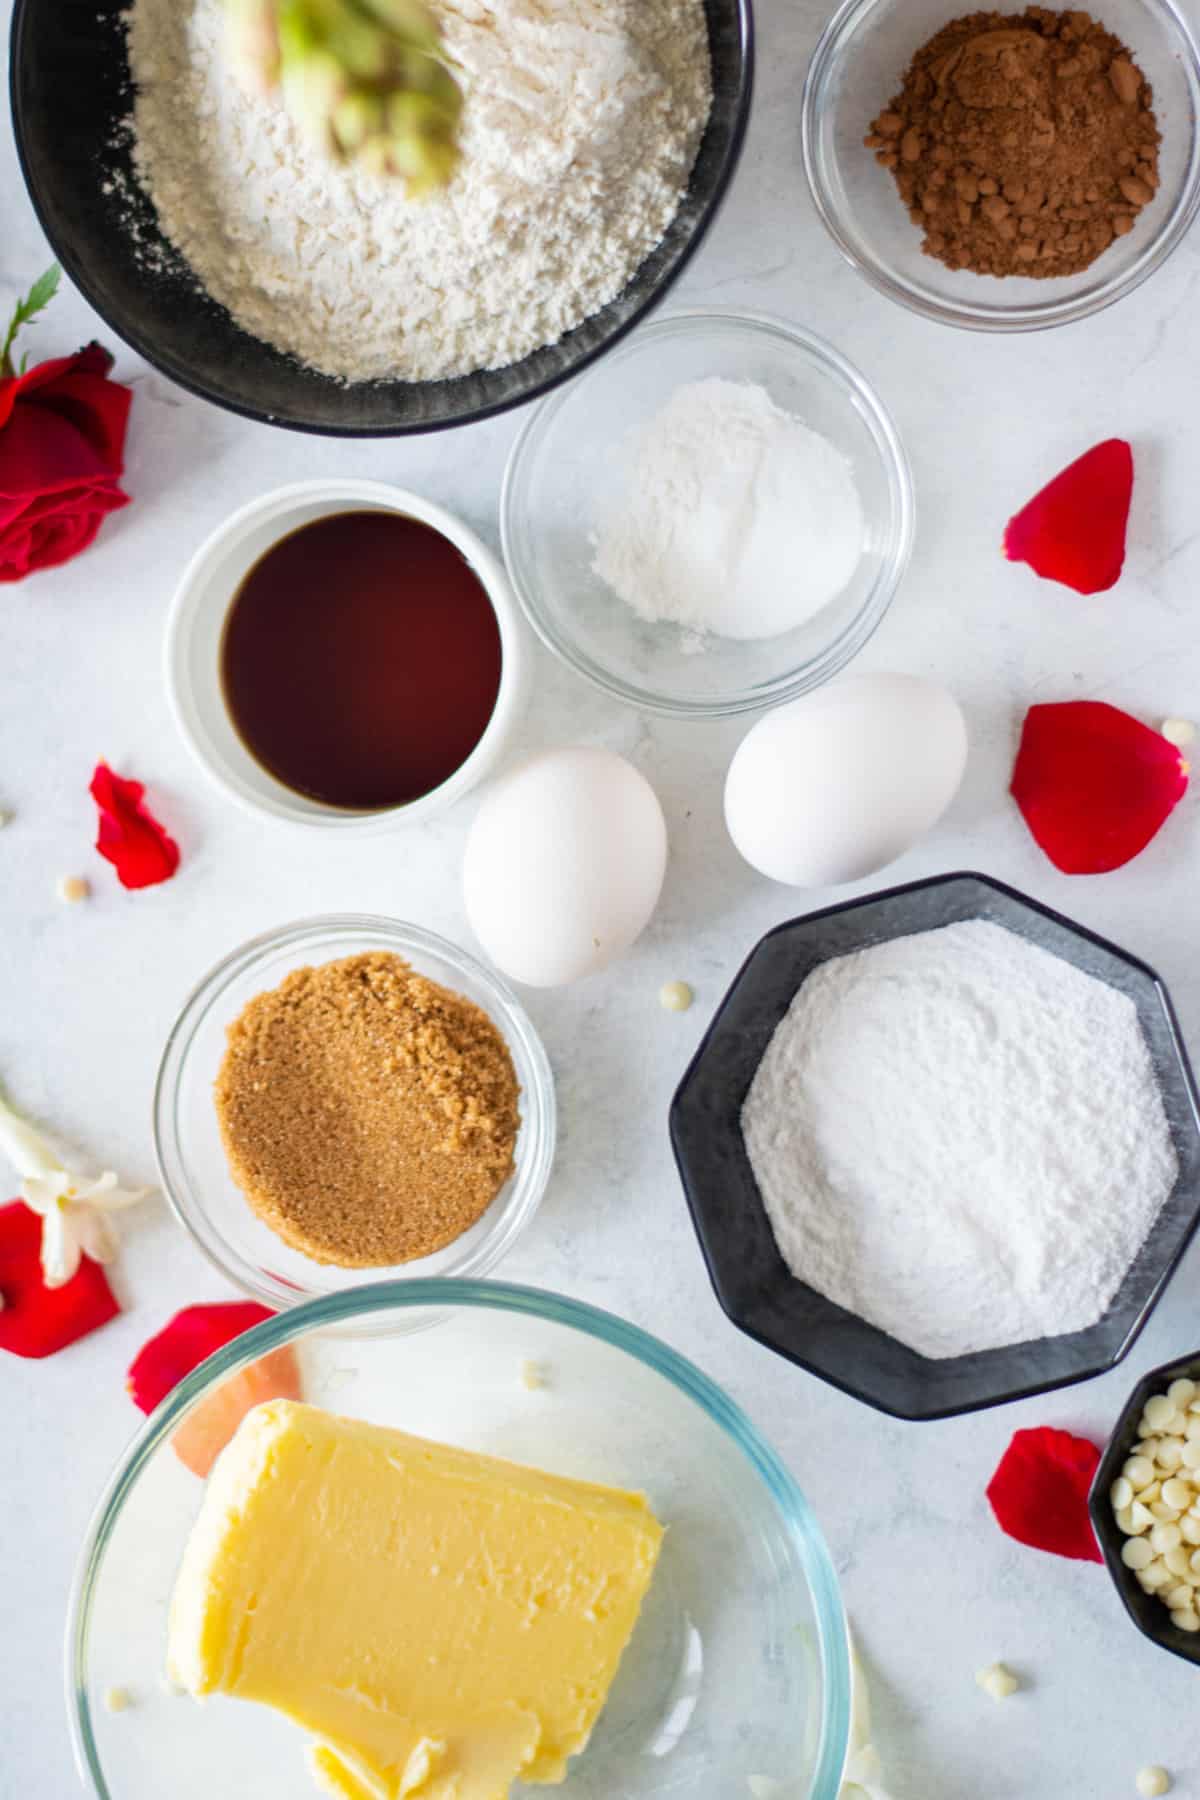
Only simple ingredients are needed for this recipe. Most you will have already at home. You may need to pop out for the white chocolate chips, is all.
I keep all my nuts, cookie additions, chocolate, etc., in a small section of my freezer. It keeps them fresh, and I know exactly where to look to see if I need something. If you have them buried in a pantry they can go stale and also be forgotten. I almost always have chocolate chips in there!
If my section in the freezer is getting a bit crowded, like after the holidays, then I make up a batch of Kitchen Sink Cookies to use up all the odds and sods I have collected up. Doing this, you can give a good survey of what you need to use up elsewhere too.
Ingredients
All-purpose flour
Cocoa powder
Baking soda
Salt
Butter, room temperature
Brown sugar
White sugar
Egg
Vanilla extract
White vinegar (optional)
4-5 drops of red food coloring liquid or gel (I prefer gel in most of my baking but have both on hand)
White Chocolate chips
How Do You Make Red Velvet Cookies From Scratch?

These cookies are as easy as any other drop cookie are to make. Here are the simple instructions.
- In a large bowl, sift all the dry ingredients together (AP flour, baking soda, salt, and cocoa).
- In a separate bowl of an electric stand mixer, beat the softened butter and sugars together until the mixture turns to light, creamy, and fluffy in texture.




- Add in the wet ingredients – vanilla extract, egg, and the red food coloring and mix well.
- Set the mixer on low speed, add in the dry mixture (flour mix) about 1/2 at a time and mix it just until combined.
- Turn off the mixer and add in the chocolate chips.
- Cover the bowl properly with plastic wrap and refrigerate the mixture for 3 hours, or overnight, or until the dough is nearly firm.

- When ready to bake, preheat the oven to 350 degrees F or 180 degrees C. Line 2 cookie sheets with parchment paper.
- Use a cookie scoop to scoop out balls of 1- 1.5 tablespoon in size and place them 2 inches apart on the lined cookie sheets. You can roll the dough into balls also if you like.
- Bake for 10-12 minutes, or until the tops look just set.
- Remove the cookies from the oven and press a few white chocolate chips on the top of each cookie (optional).
- Cool the cookies on the cookie tray for 10 minutes then, transfer them to a wire rack to continue cooling.
Can You Freeze Red Velvet Cookies?

If for some reason, you have cookies leftover, we never do, you can freeze them. At Christmas time though, you may want to make them ahead. Shelf life for these cookies is just a few days as they will start to harden. They are best made fresh and eaten.
But if you like, you can freeze red velvet cookies. You can honestly freeze most cookies. Ones that I would avoid is lacy cookies or ones that are very fragile. A cookie like a Florentine can get soggy and gooey from freezing.
For freezing these cookies, just make sure they are completely cooled. Then I like to line a container with wax paper and layer in the cookies with wax paper in between the layers.
Make sure that you have a well-sealed lid. Freezing these cookies should be good for up to 3 months. They may come out a bit harder in texture but can still be very enjoyable.

Pin it HERE!!

Pin it HERE!!


Red Velvet Cookies
Ingredients
- All-purpose flour – 1 1/2 cups
- Cocoa powder – 2 tbsp
- Baking soda – 1/2 tsp
- A pinch of salt
- Butter – 1/2 cup
- Brown sugar – 1/3 cup
- White sugar – 1/2 cup
- 1 large egg
- Vanilla extract – 1 1/2 tsp
- White vinegar – 1 tsp optional
- 4-5 drops of red food coloring liquid or gel
- White chocolate chips – 1/2 cup + extra for the top of each cookie
Instructions
- 1. In a large bowl, sift all the dry ingredients together (AP flour, baking soda, salt, and cocoa).
- 2. In a separate bowl of an electric stand mixer, beat the softened butter and both types of sugar together until the mixture turns light, creamy, and fluffy in texture.
- 3. Add in the wet ingredients – vanilla extract, egg, and the red food coloring and mix well.
- 4. Set the mixer on low speed, add in the dry mixture (flour mix) about 1/2 at a time and mix it just until combined.
- 5. Turn off the mixer and add in the white chocolate chips and manually mix in.
- 6. Cover the bowl properly with plastic wrap and refrigerate the mixture for 3 hours, or overnight, or until the dough is nearly firm.
- 7. When ready to bake, preheat the oven to 350 degrees F or 180 degrees C. Line 2 cookie sheets with parchment paper.
- 8. Use a cookie scoop to scoop out balls of 1- 1.5 tablespoon in size and place them 2 inches apart on the lined cookie sheets.
- 9. Bake for 10-12 minutes, or until the tops look just set.
- 10. Remove the cookies from the oven and press a few white chocolate chips on the top of each cookie (optional). Cool the cookies on a cookie tray for 10 minutes then, transfer them to a wire rack to continue cooling.








Let us know what you think!
We’d love to know what you and your family think! Make sure to leave a review below and follow us on your favorite social network!