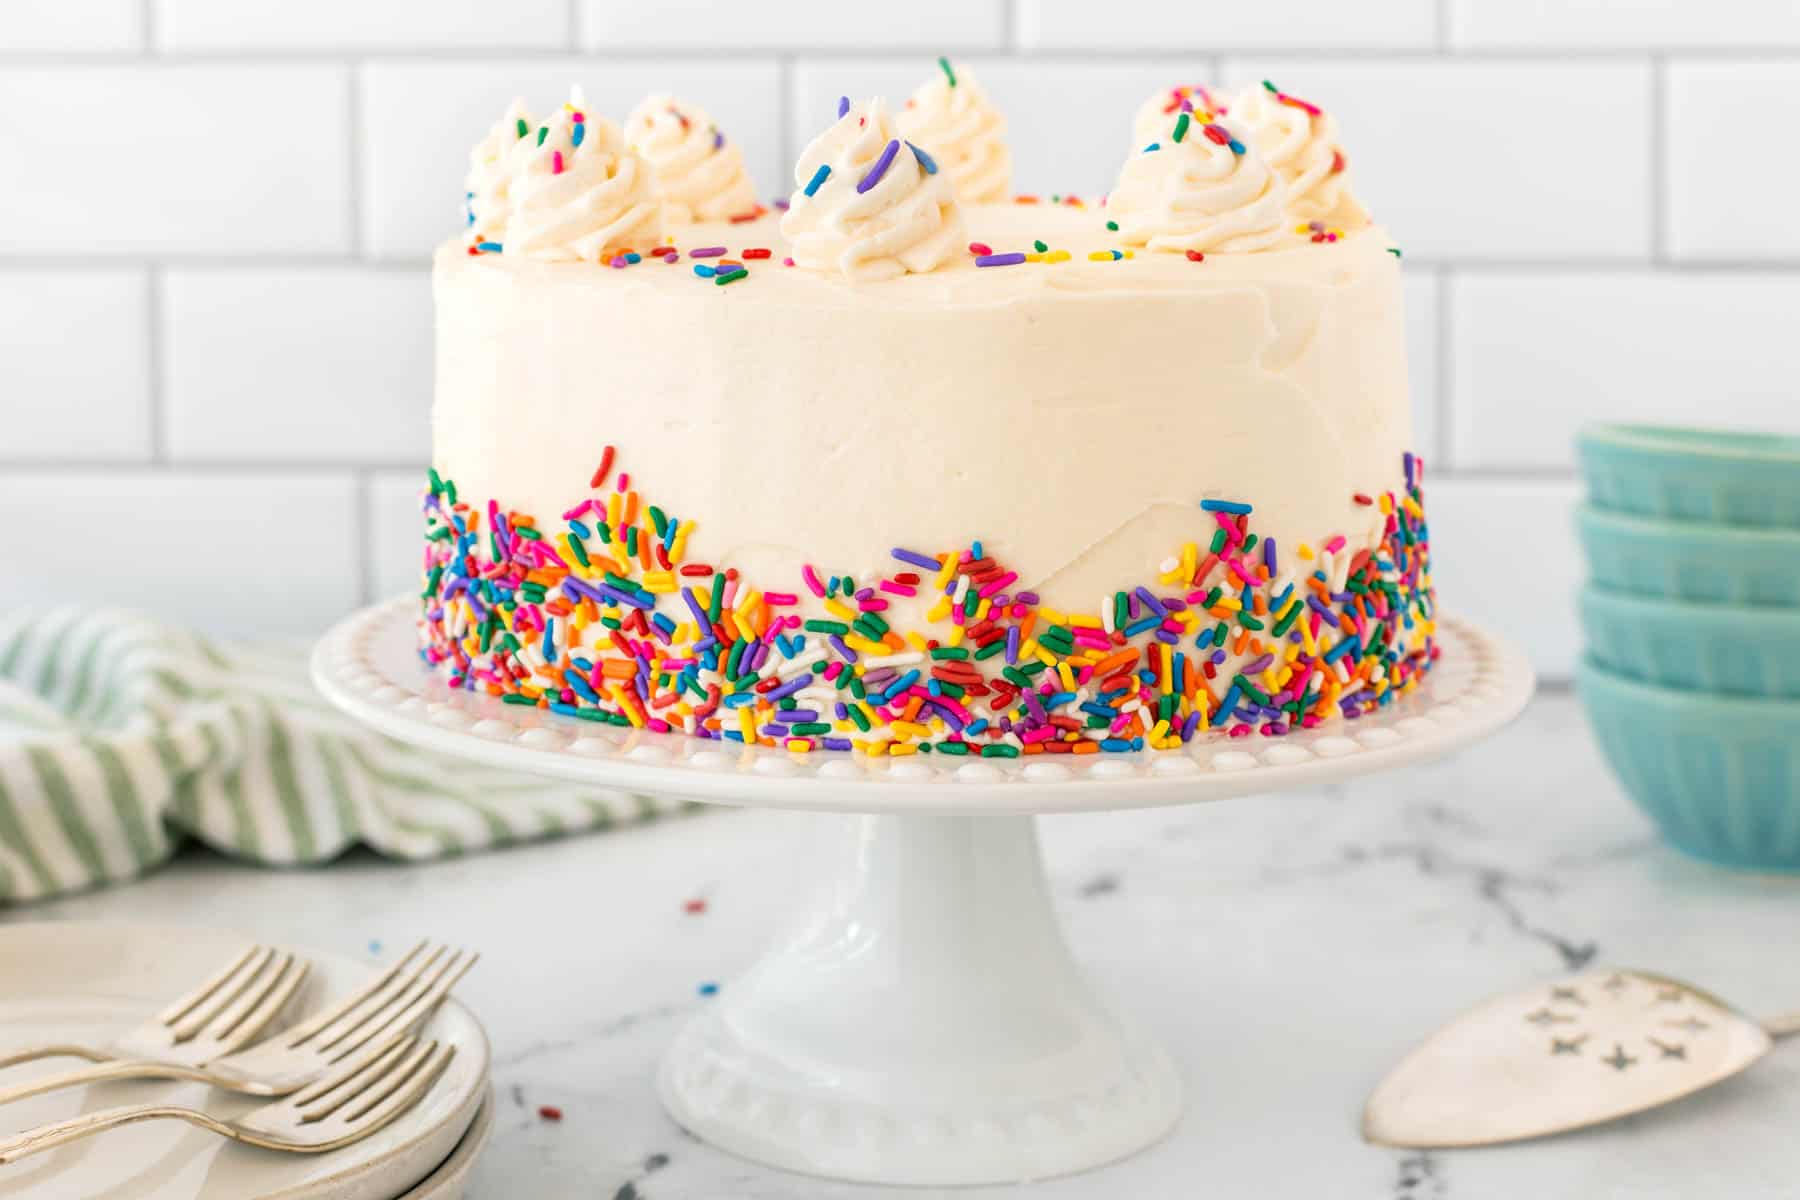
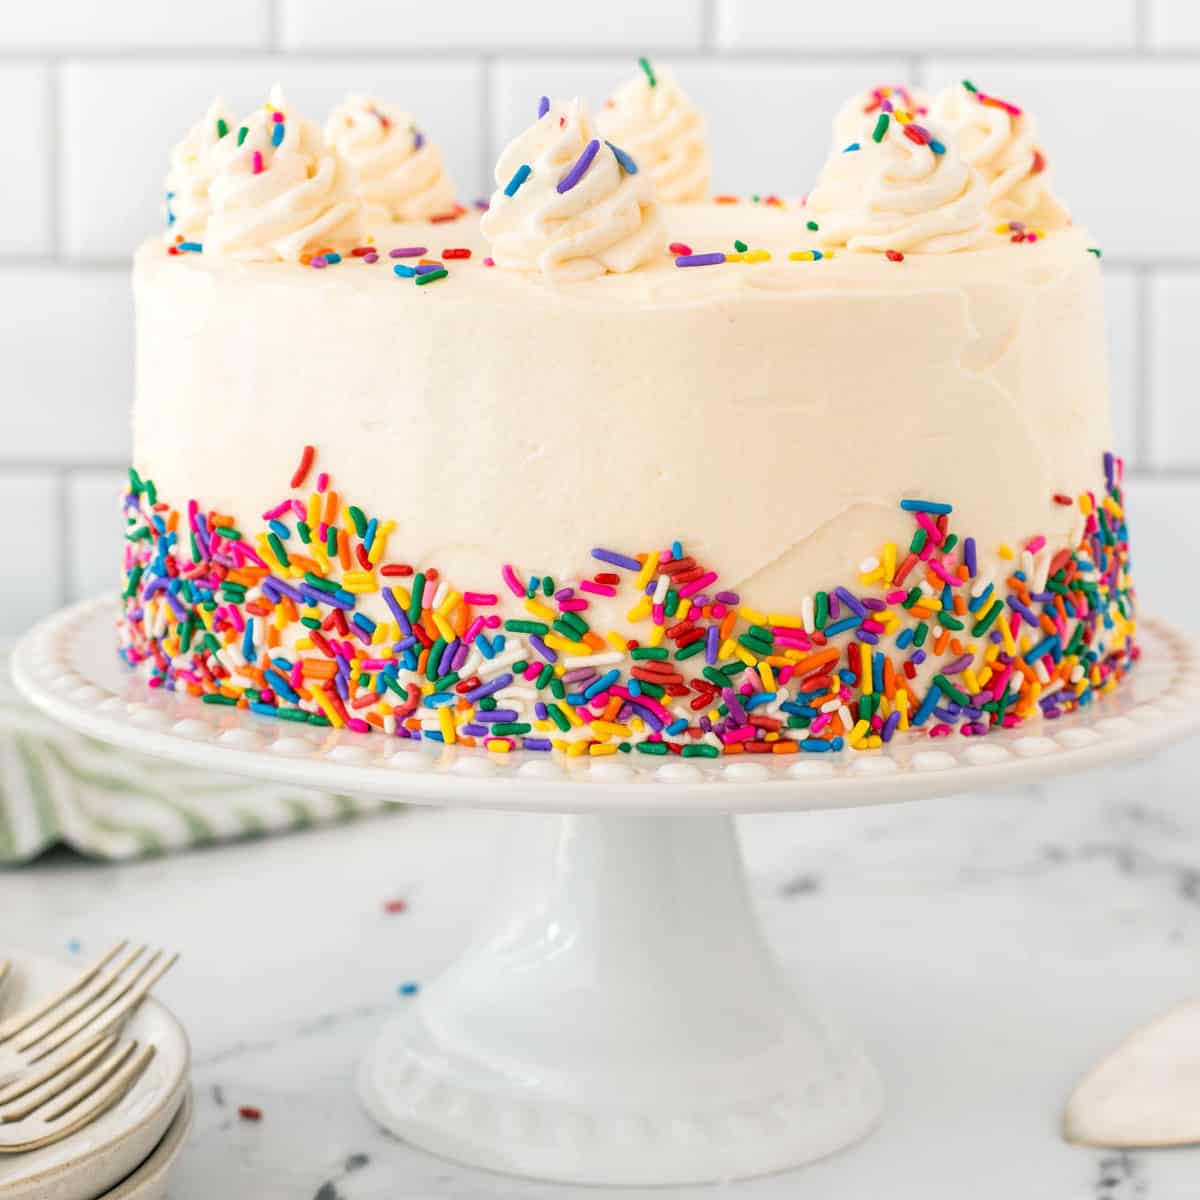
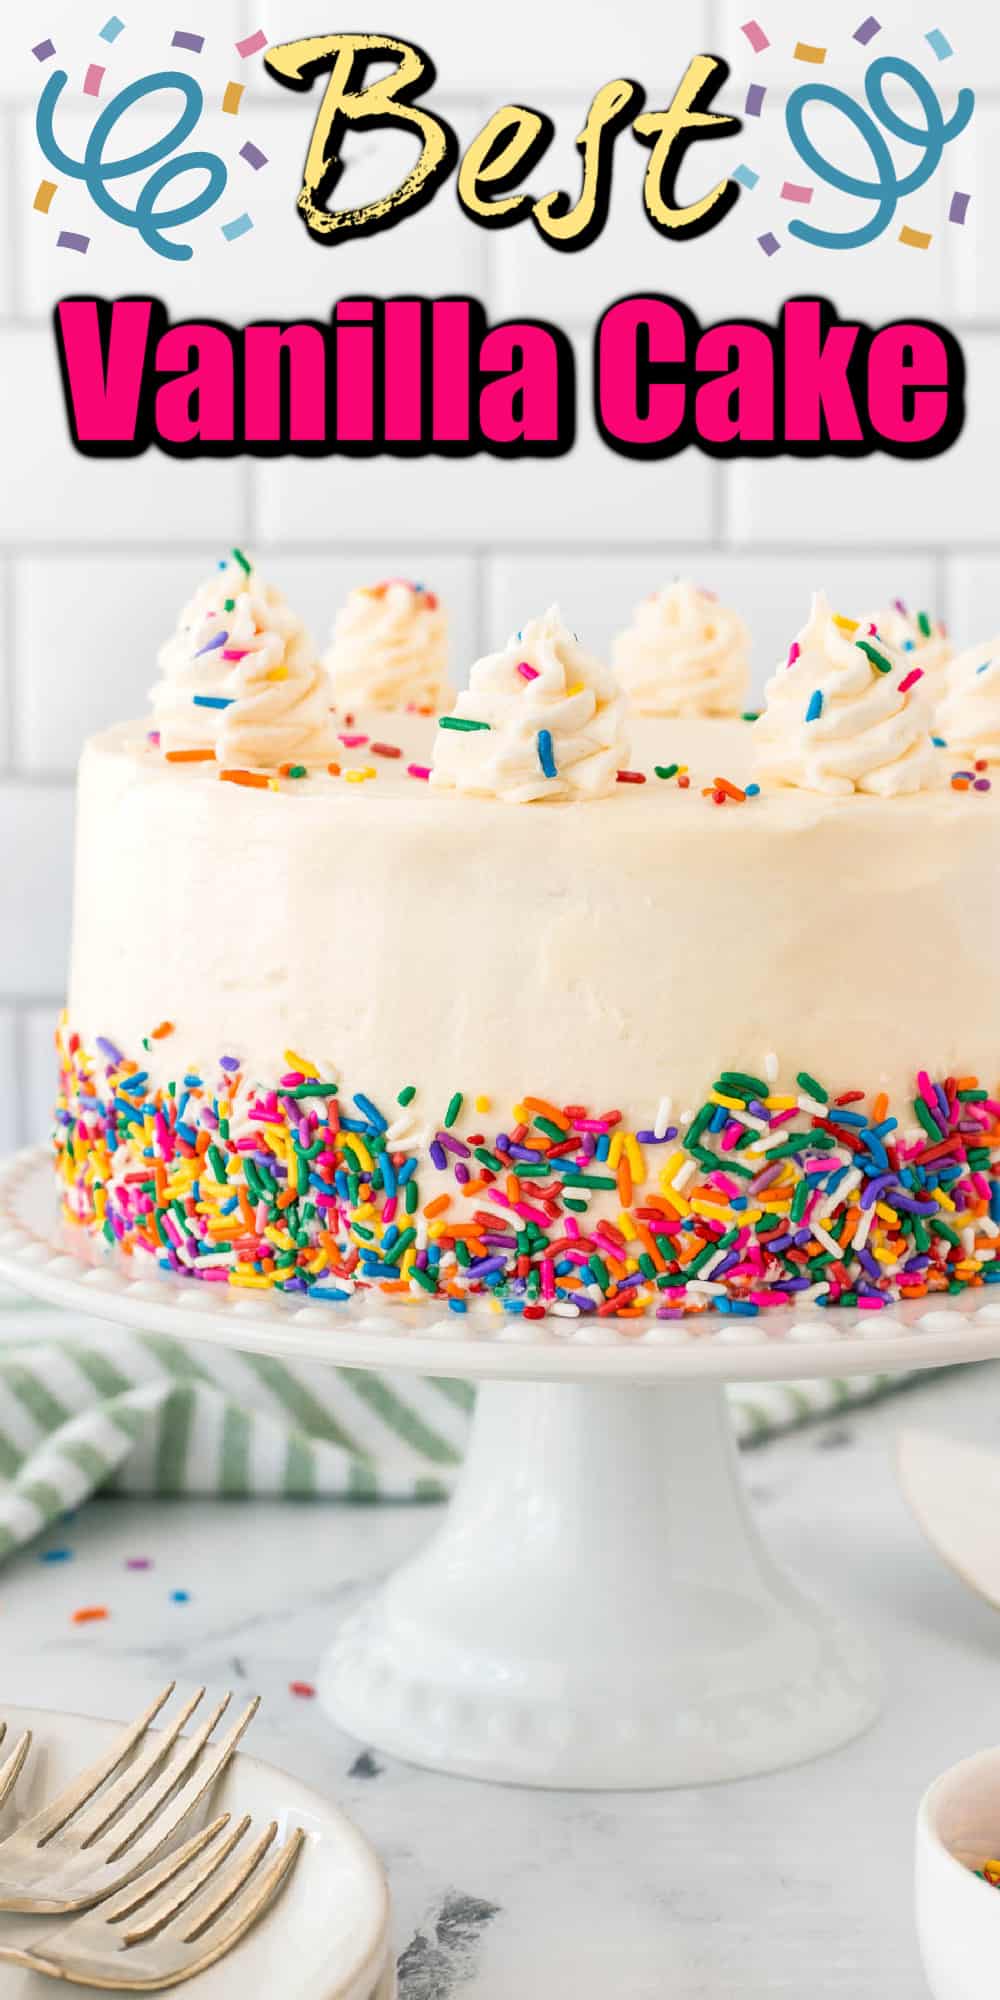
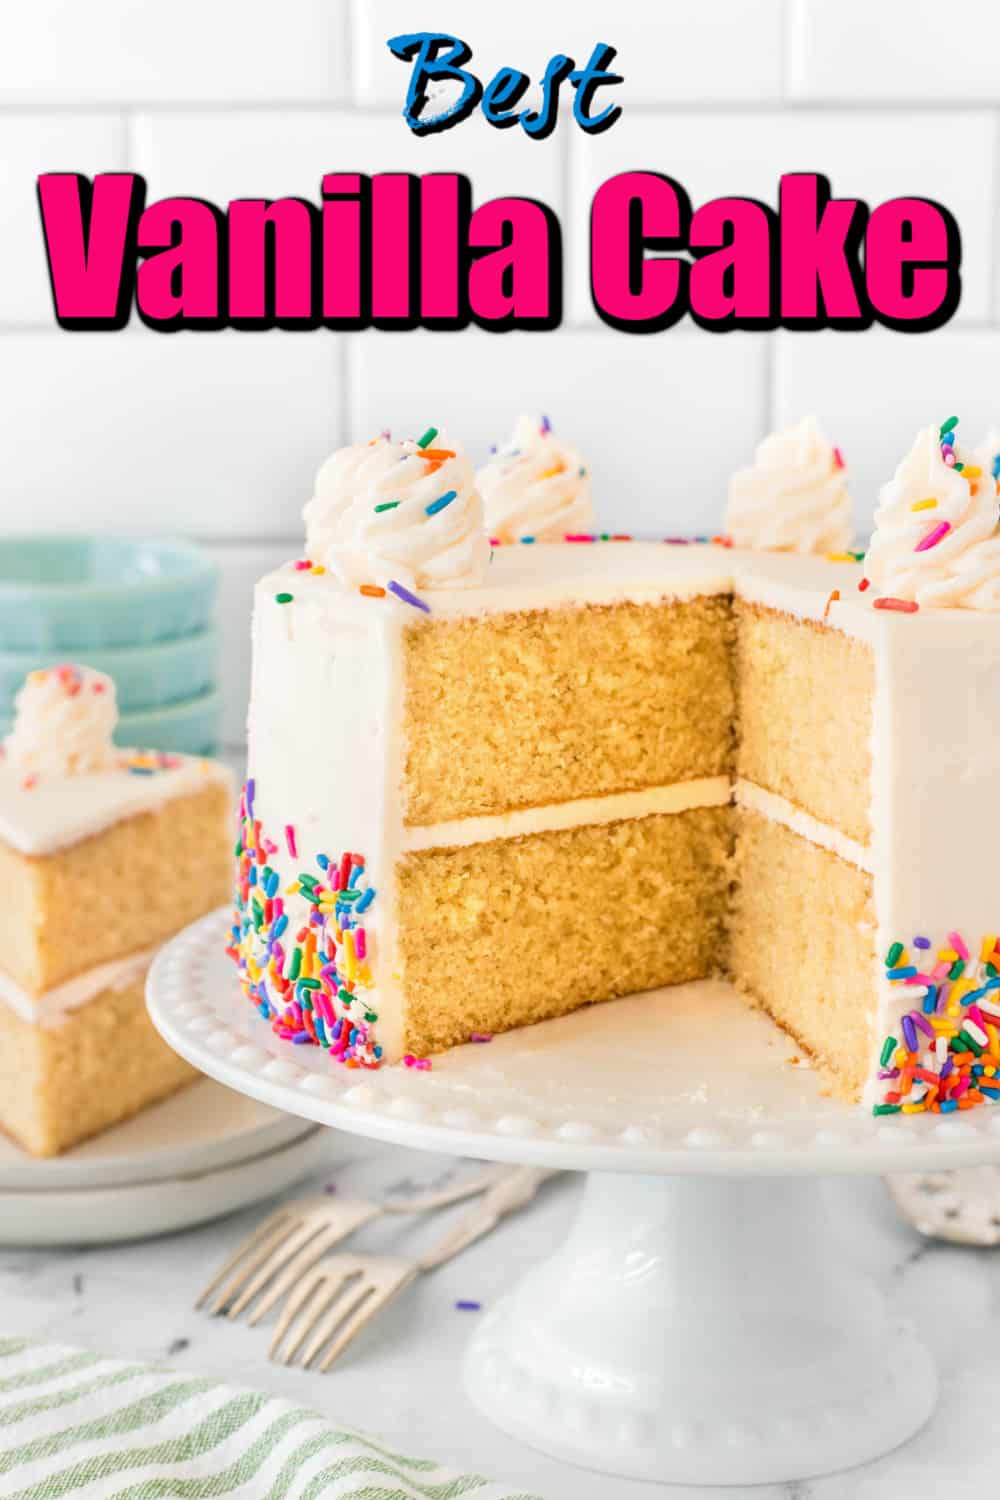
This is my Best Vanilla Cake Recipe. One that you will love also. The yellow cake turns out moist and delicious every time with a perfect tender crumb that slices gorgeously. The vanilla buttercream is smooth and silky, the perfect icing for frosting the cake.
Want more cake recipes to try? First off, check out How and Why to Crumb Coat a Cake. Then, how about our Frosting Board for Birthday Party Fun!, Best Chocolate Cake, Best Carrot Cake Recipe, Zebra Cake, or a Light and Airy Strawberry Cheesecake? This cheesecake uses egg whites and really turns out like no other, light as a cloud.
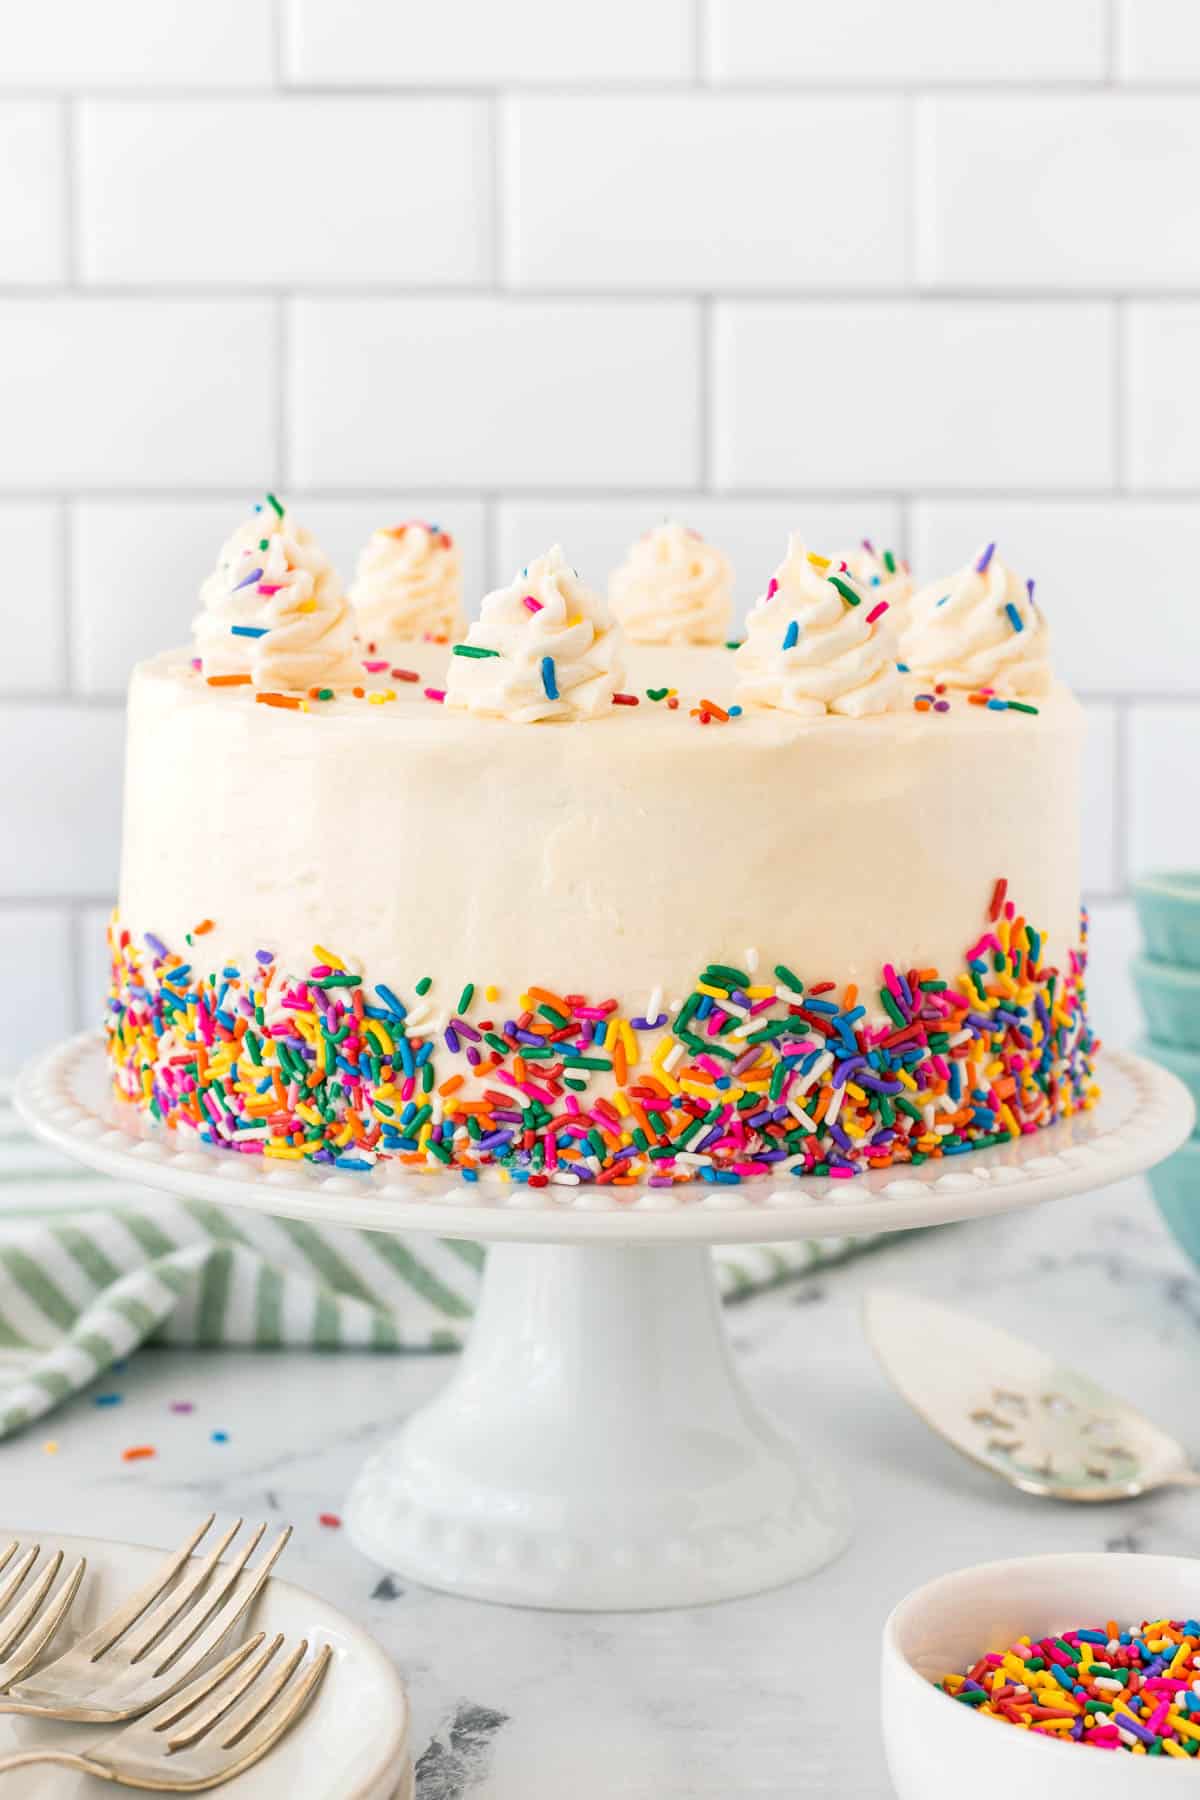
The recipe may seem long and arduous, but it is the same for making any cake; I have just added lots of tips to help you along the way.
Helpful Items For This Recipe
This post contains affiliate links. As an Amazon Associate, I earn a small portion from qualifying purchases at no extra charge to you.
What Ingredients are in a Vanilla Cake Recipe?
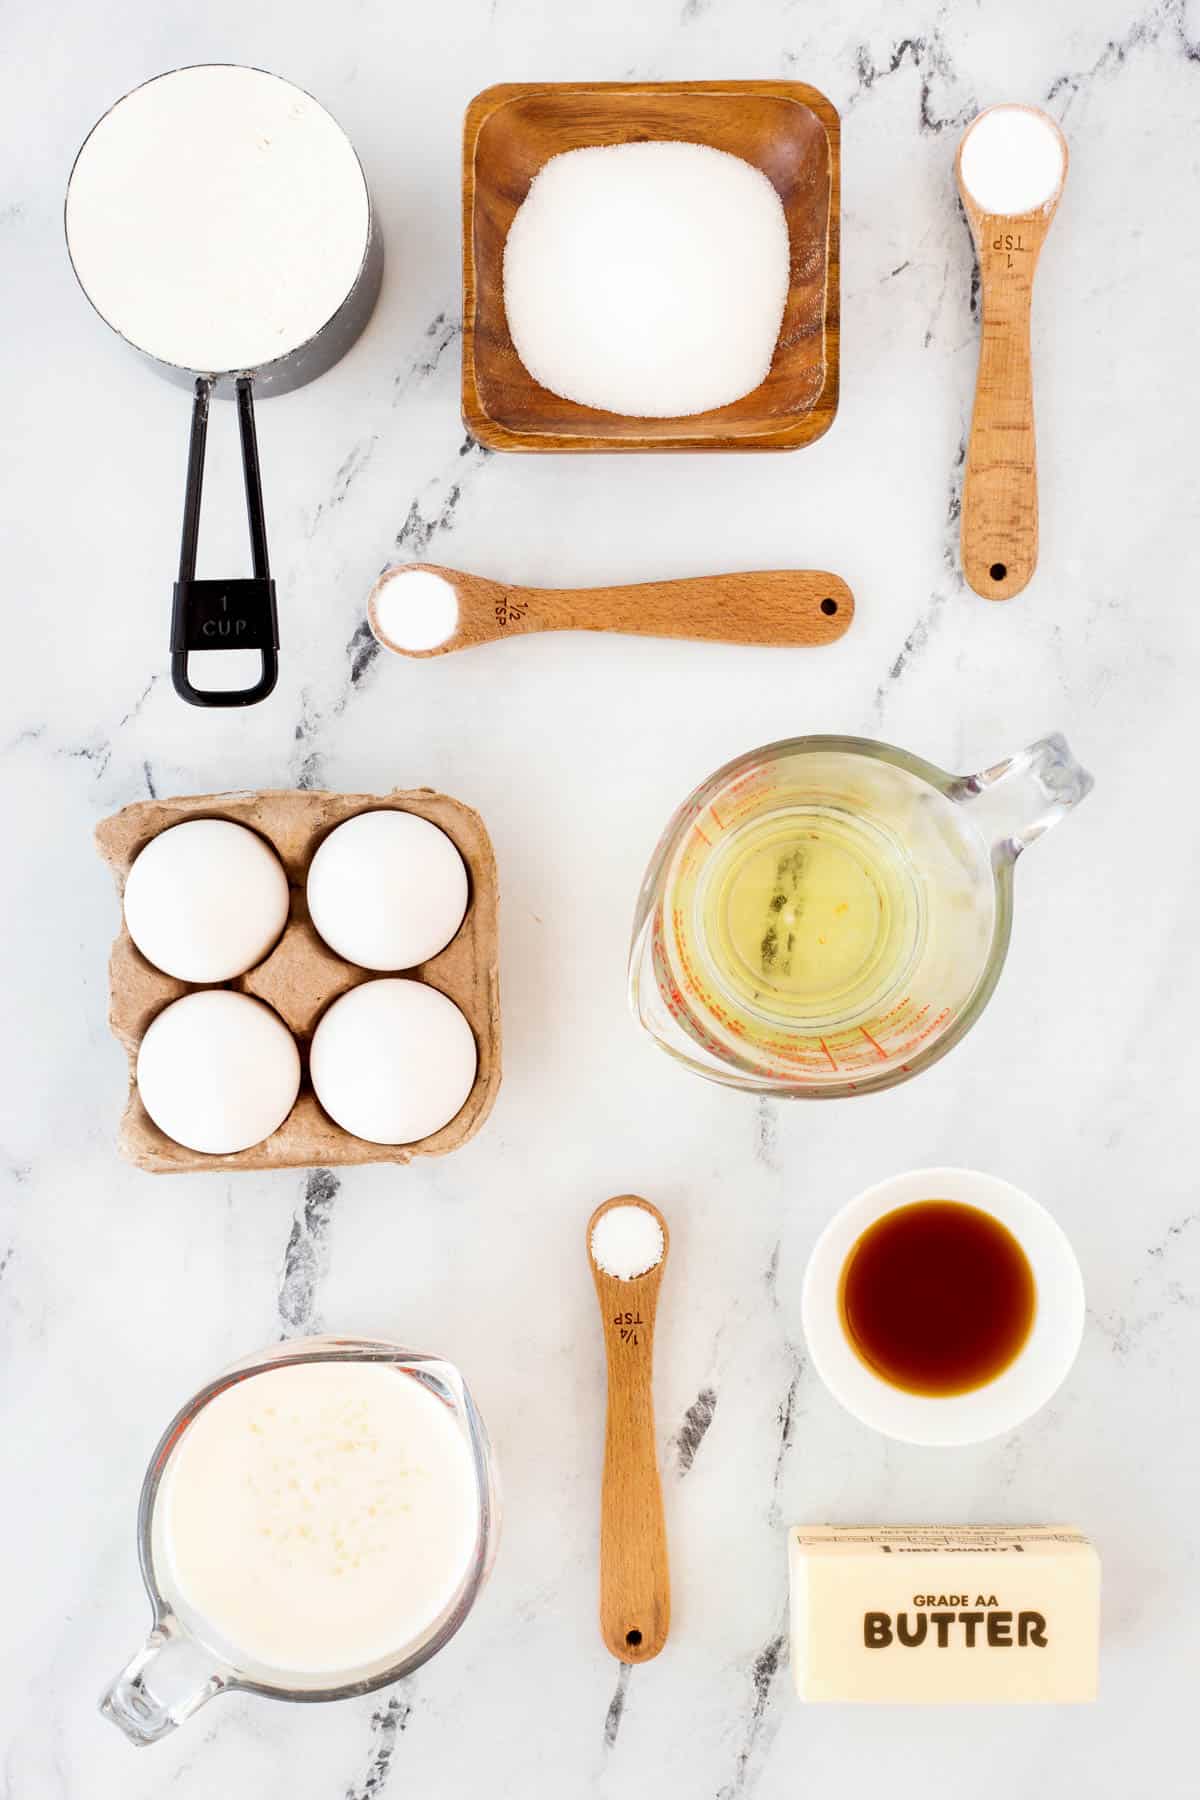
Simple ingredients make up this gorgeous layered cake. Make it as fun as you would like for whatever occasion you are making it for. Fresh berries in the summer are always lovely, or a raspberry sauce can bring a vanilla cake to another whole level. Sprinkles always make the cake fun and festive and can be for any season also.
How do I Make a Cake More Moist?
I have always added something like buttermilk or sour cream to my cakes and bundts. It gives a great texture to the cake and keeps it moist too. Another ingredient that makes your cake moist is adding oil, and for this cake, I used canola oil. They also say that cake flour will give a moister cake. I have tried cake flour but don’t like the results compared to using all-purpose flour; it will give you a completely different cake, I find.
For baking, I have to say I don’t use unsalted butter; I find that for most recipes, I just cut back on the salt, and it is perfect. Otherwise, I find I have wasted money on unsalted butter with any of the leftovers I have as I then don’t tend to use it.
Decorate it as you like if it is a birthday cake. The cake is a blank canvas for your creations. We just showed you a simple application for additional icing and sprinkles.
The recipe provides enough icing to do the simple decorations we have done. If you want to make things more elaborate, just up the amount of icing you are making.
Ingredients (see the recipe card below for an easy printout)
Cake
2 cups all-purpose flour
2 tsp baking powder
½ tsp salt
½ tsp baking soda
1 ¼ cup granulated sugar
½ cup salted butter (softened at room temperature)
4 large eggs
1 cup buttermilk
1 Tbsp vanilla extract
¼ cup canola oil
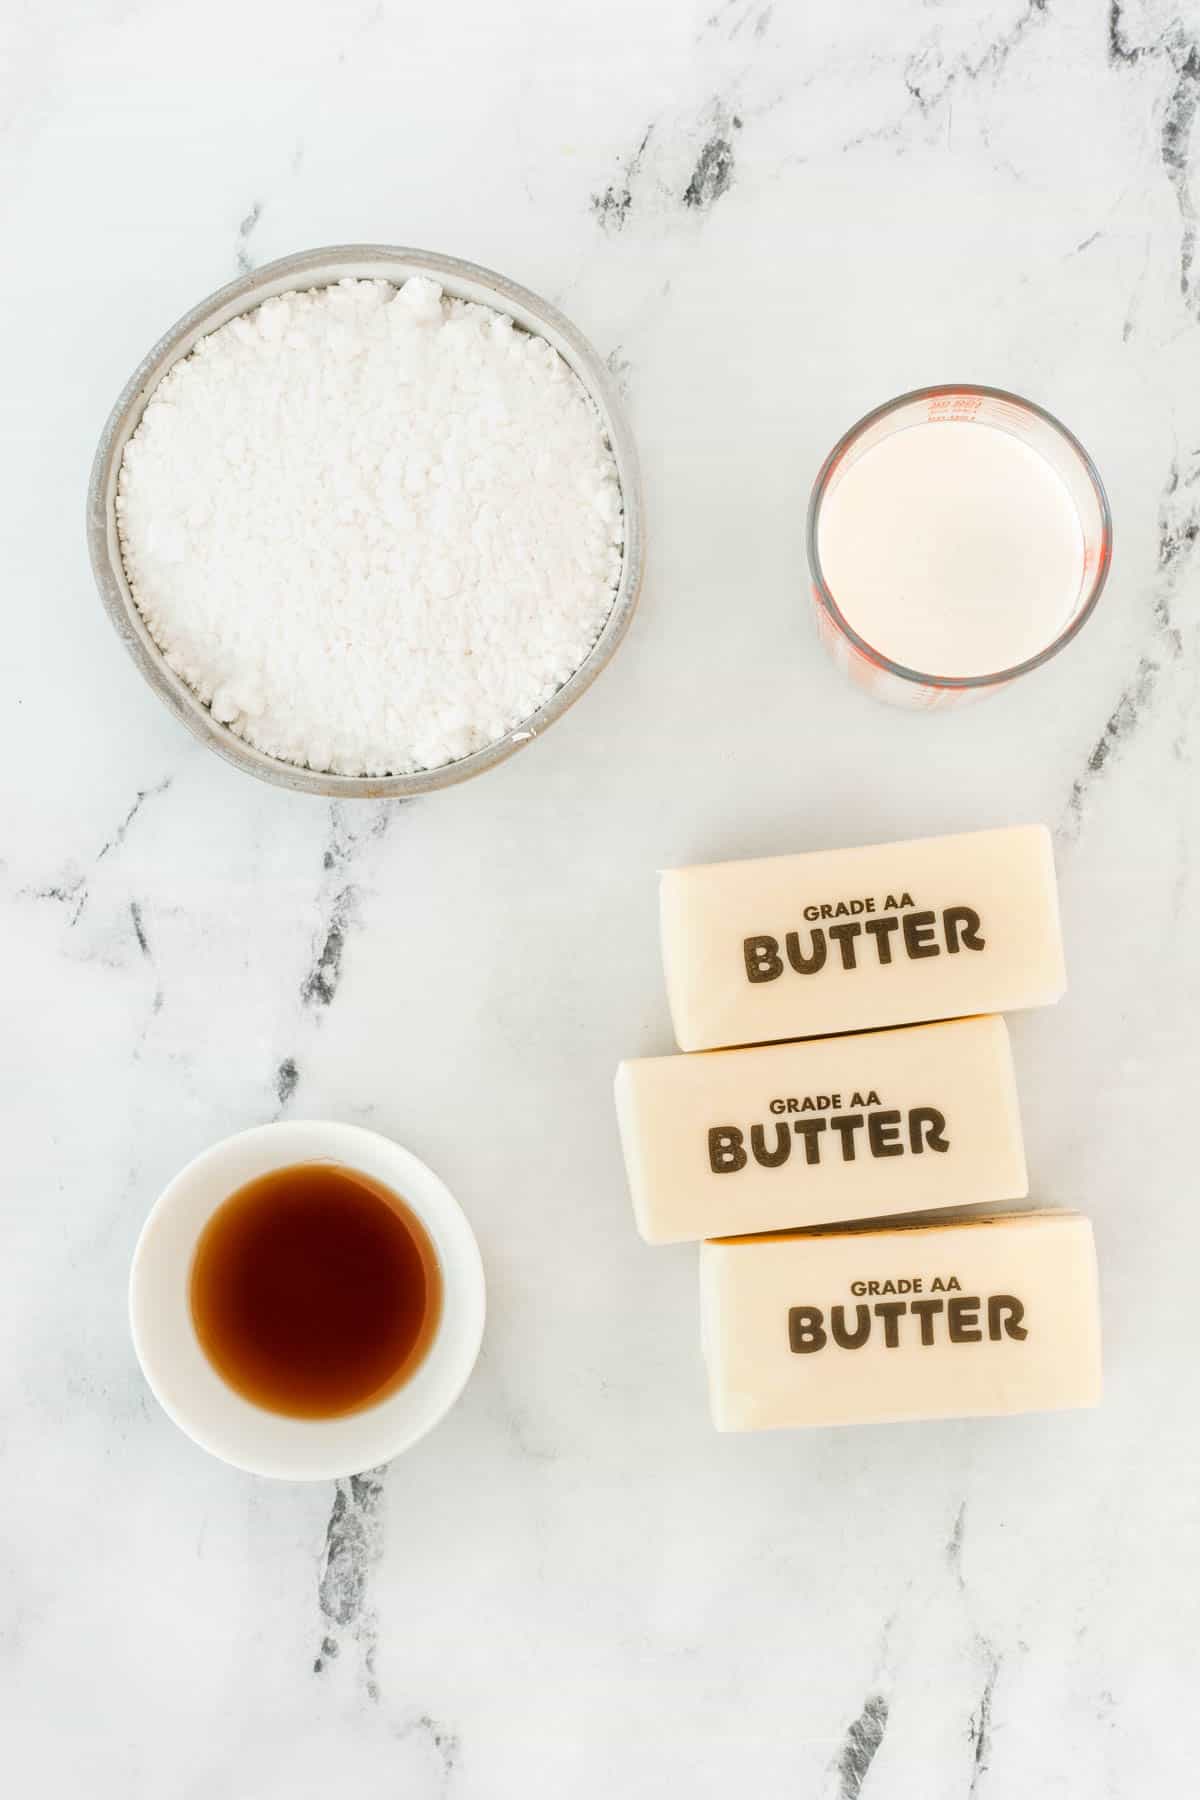
Vanilla Buttercream
1 ¾ cups salted butter (softened)
5 cups icing sugar (confectioners’ sugar)
1 Tbsp vanilla
6 – 10 Tbsp heavy cream (to adjust the thickness of your icing and crumb coat)
Sprinkles of your choice
How to Make the Best Vanilla Cake Recipe
Take the time to prep and prepare for this Best Vanilla Cake Recipe. Don’t rush it; cakes need to cool and take time to ice properly. I love doing a crumb coat on a cake as that will give you the best finished results for your buttercream or fondant.
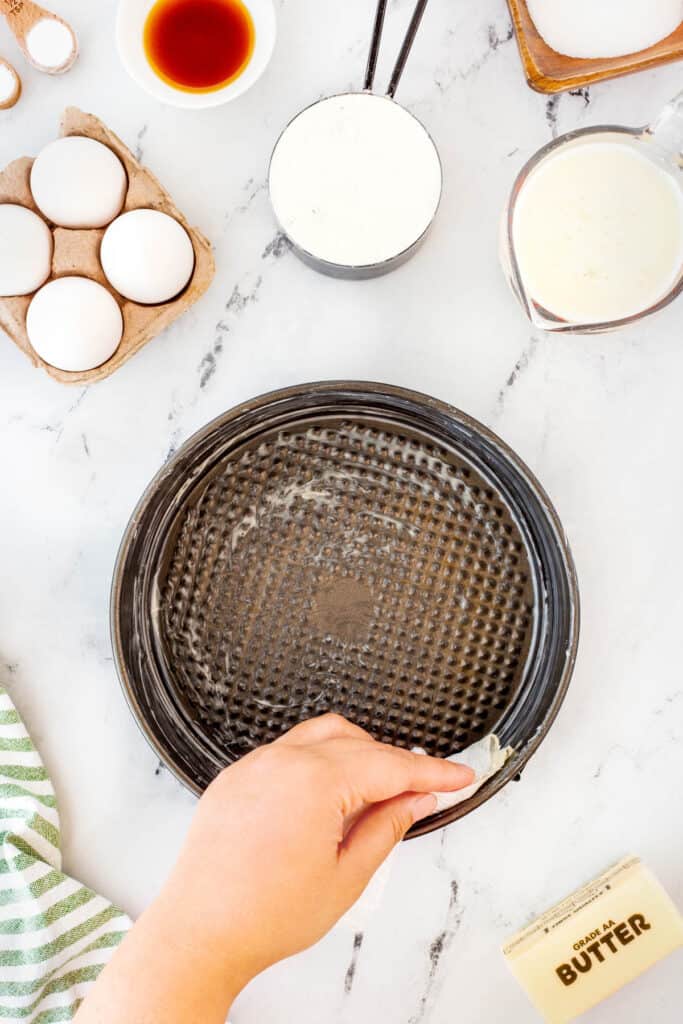
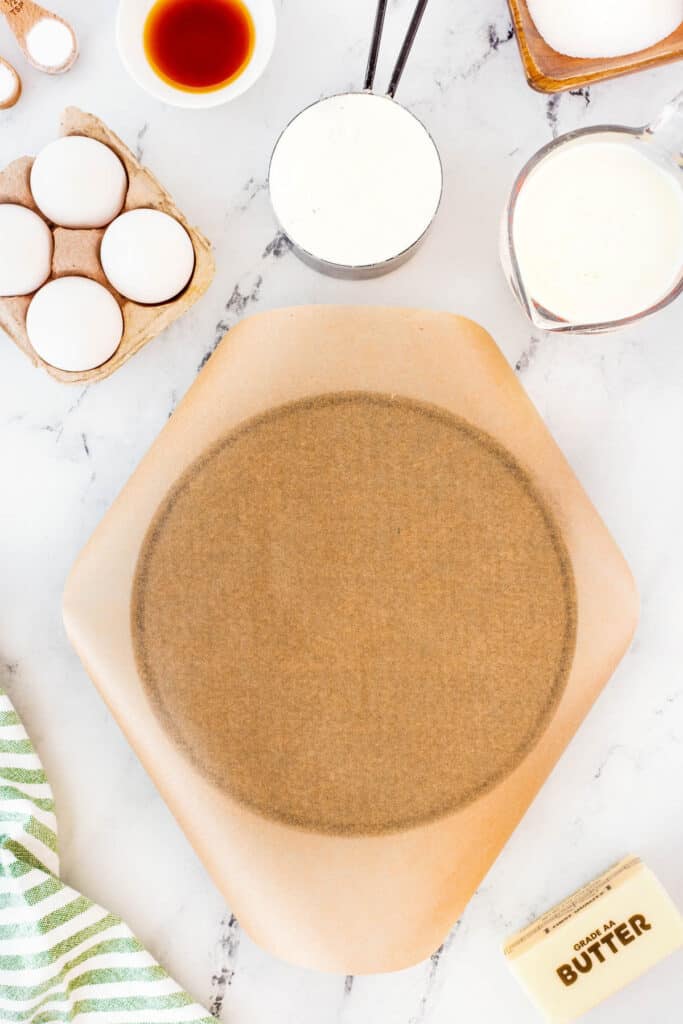
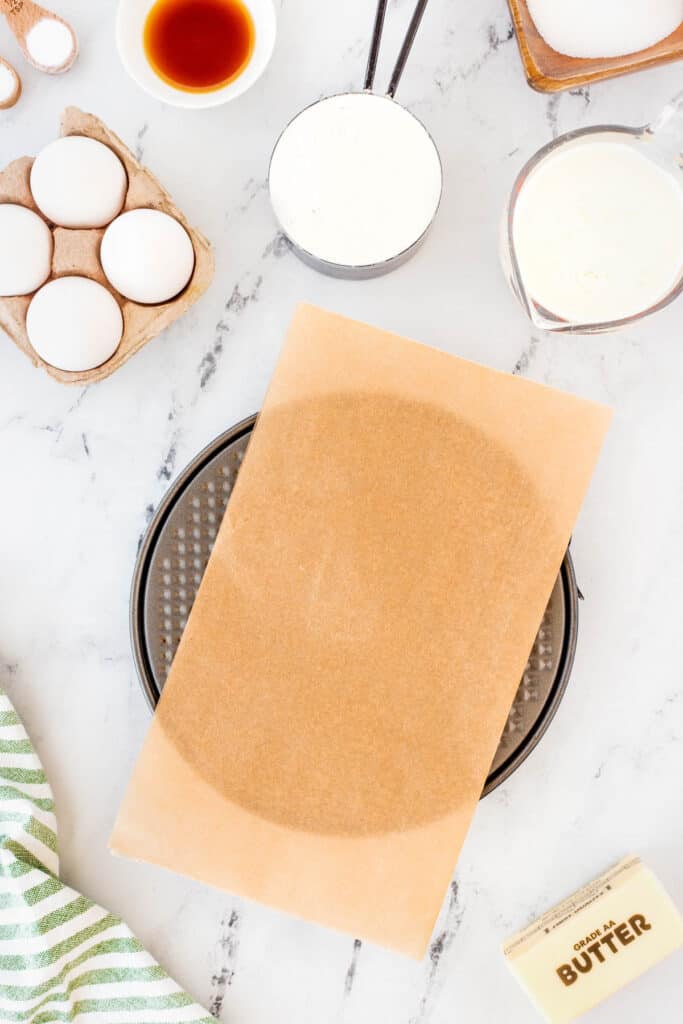
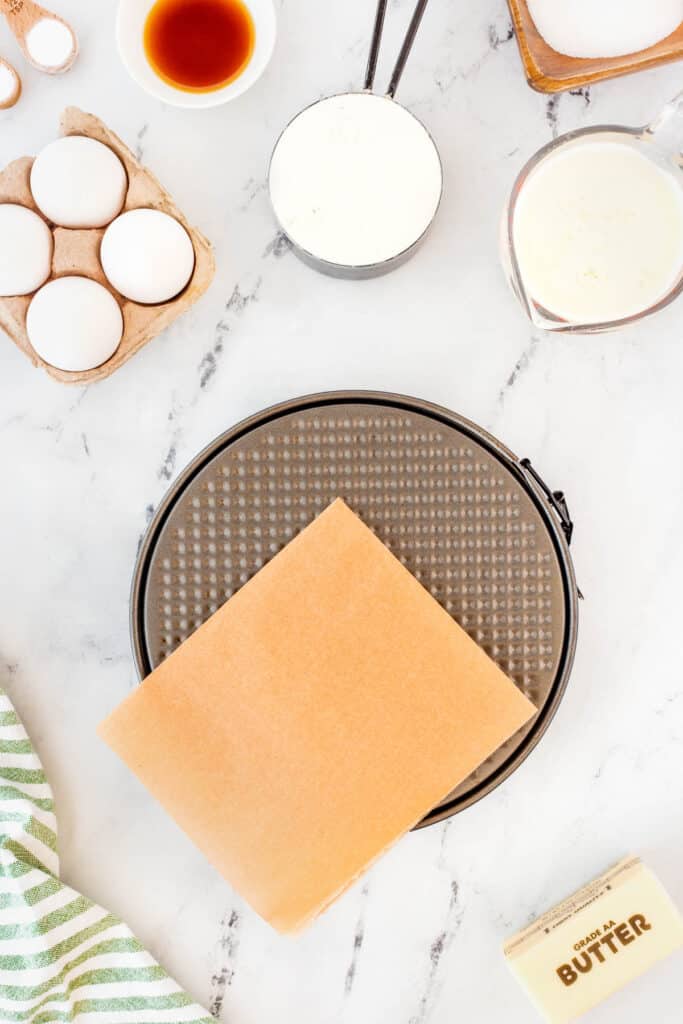
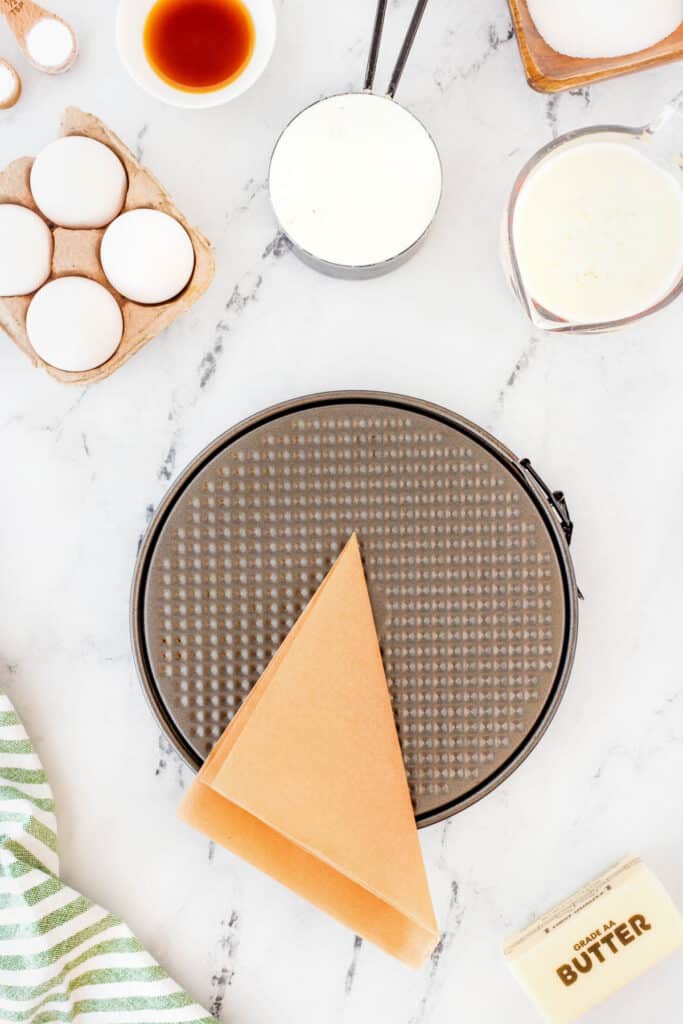
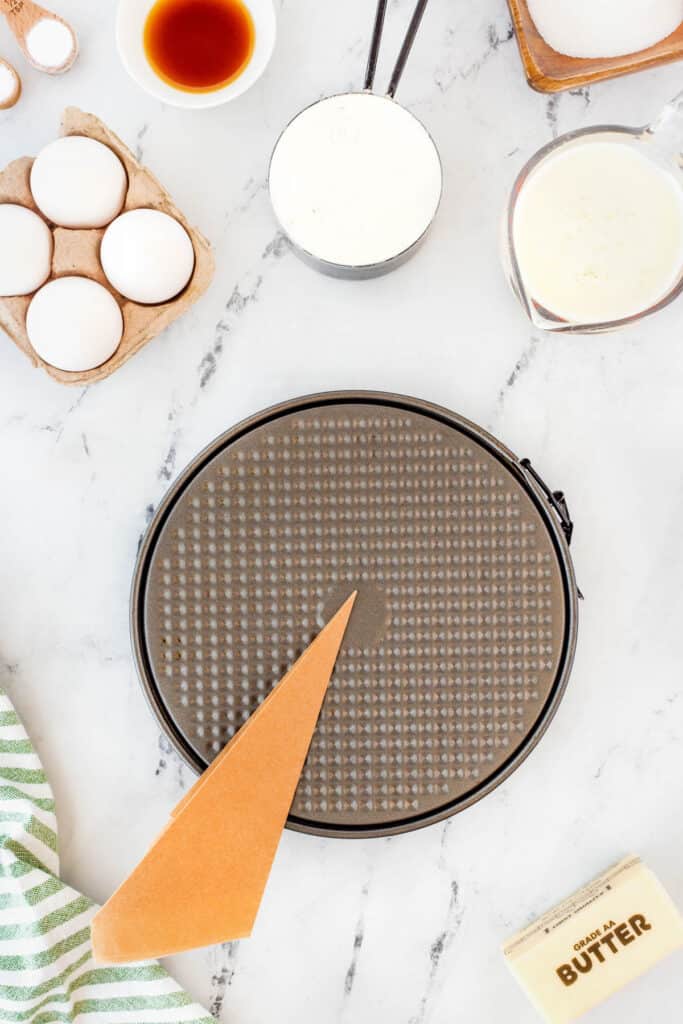
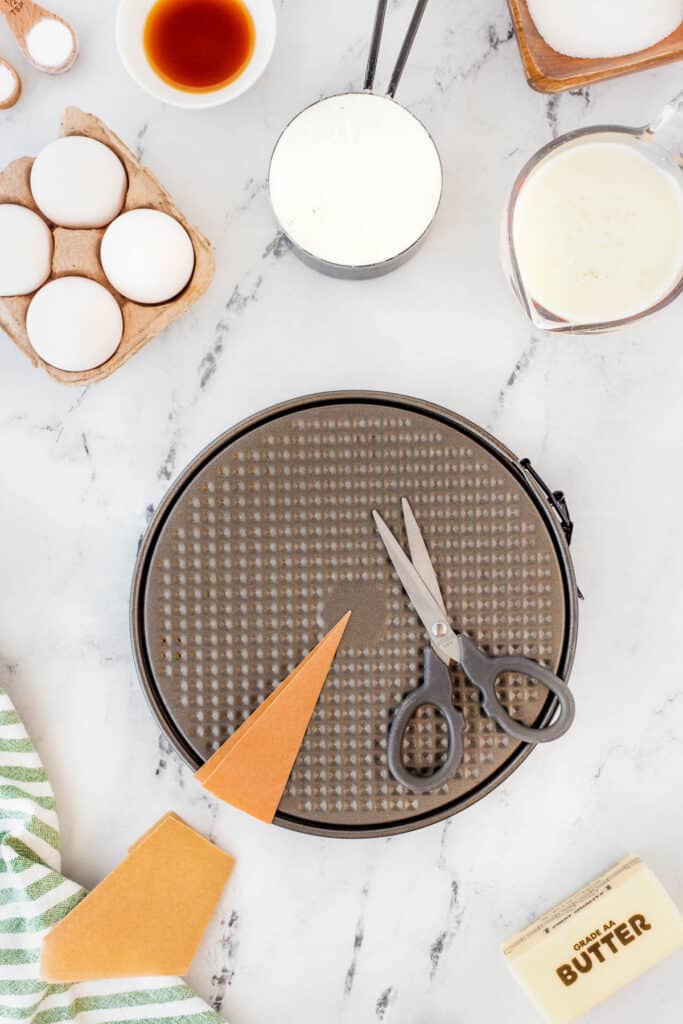
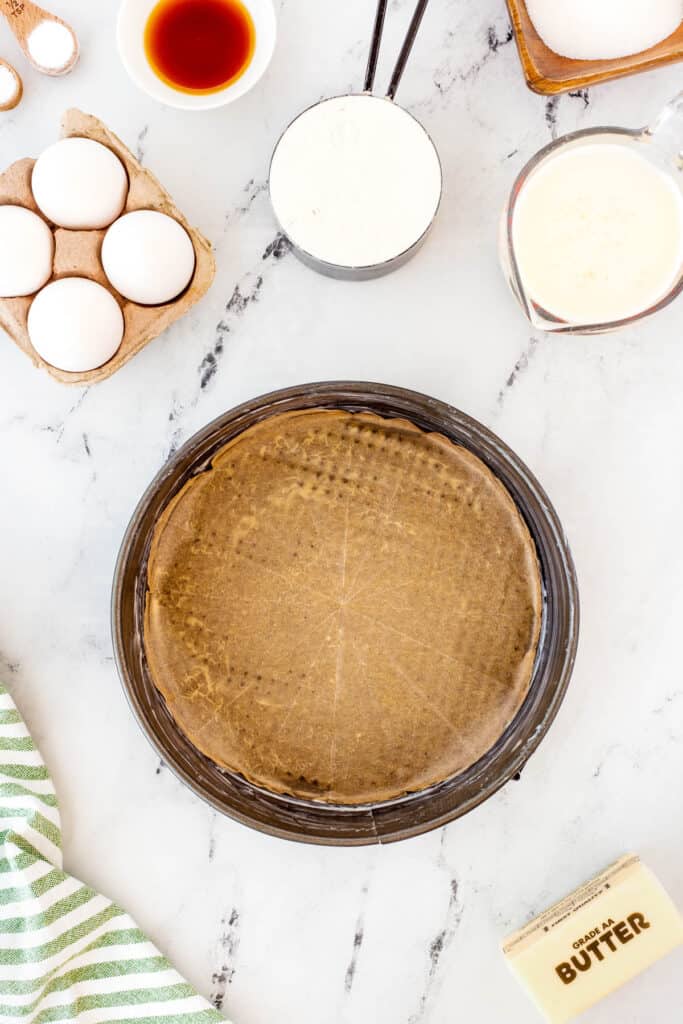
Preheat the oven to 350 degrees F.
Grease two 9-inch cake pans with butter, then line the bottom with parchment and grease the parchment paper as well. (this will help ensure that your cakes will come out of the pans easily). See the photos for how to cut the parchment to size.
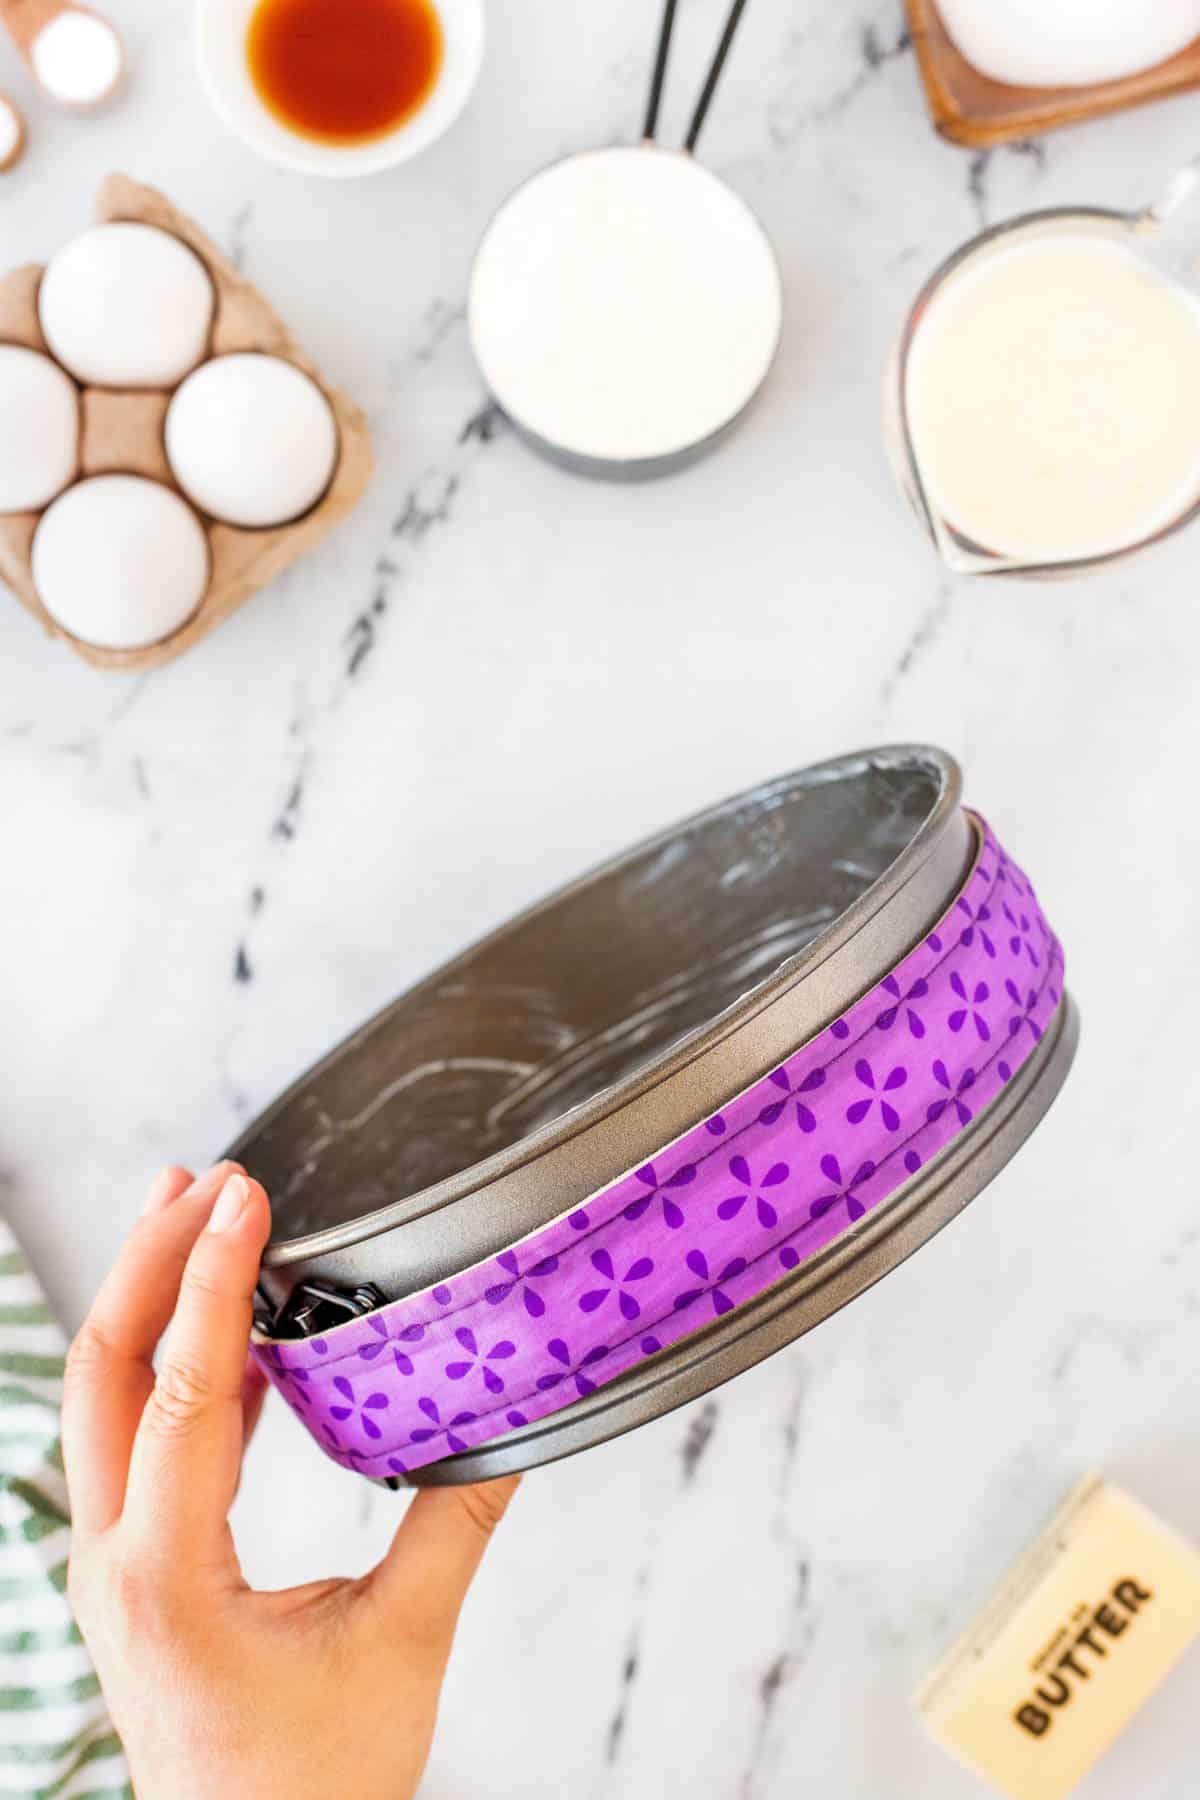
Wrap Bake Even Strips after soaking in the water around the pan (see link in post). These will ensure a flat well-baked cake. I highly recommend this step for great success.
In a medium bowl, whisk the dry ingredients together, the flour, baking powder, salt, and baking soda, and set aside.
Using a stand mixer fitted with a paddle attachment, beat the butter and sugar together on high speed for approximately 3 minutes. Scrape the sides and the bottom of the bowl as needed.
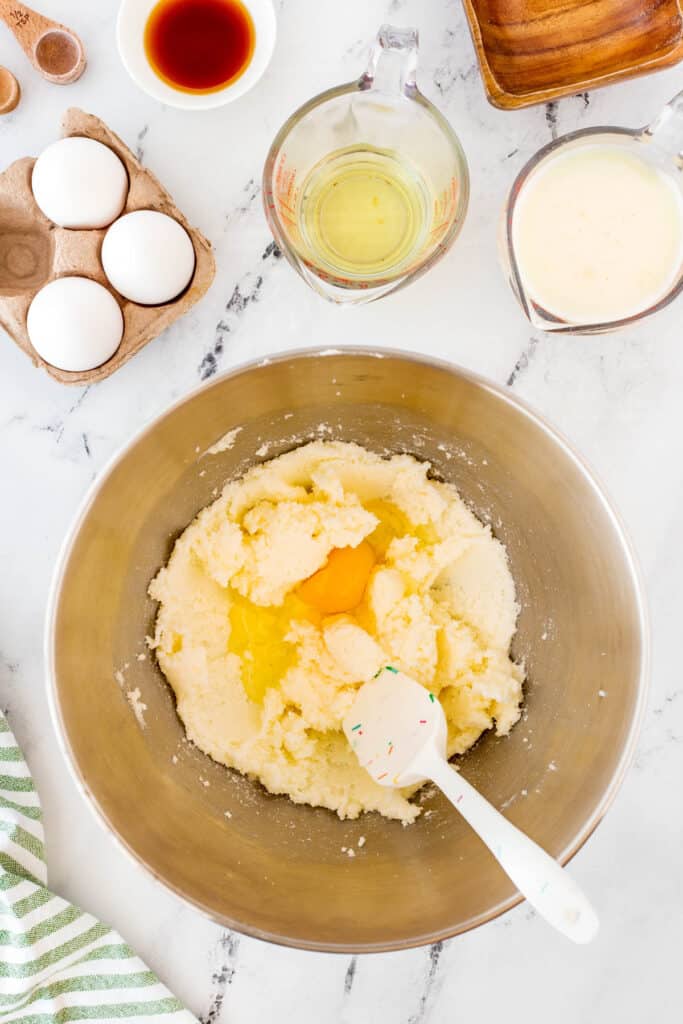
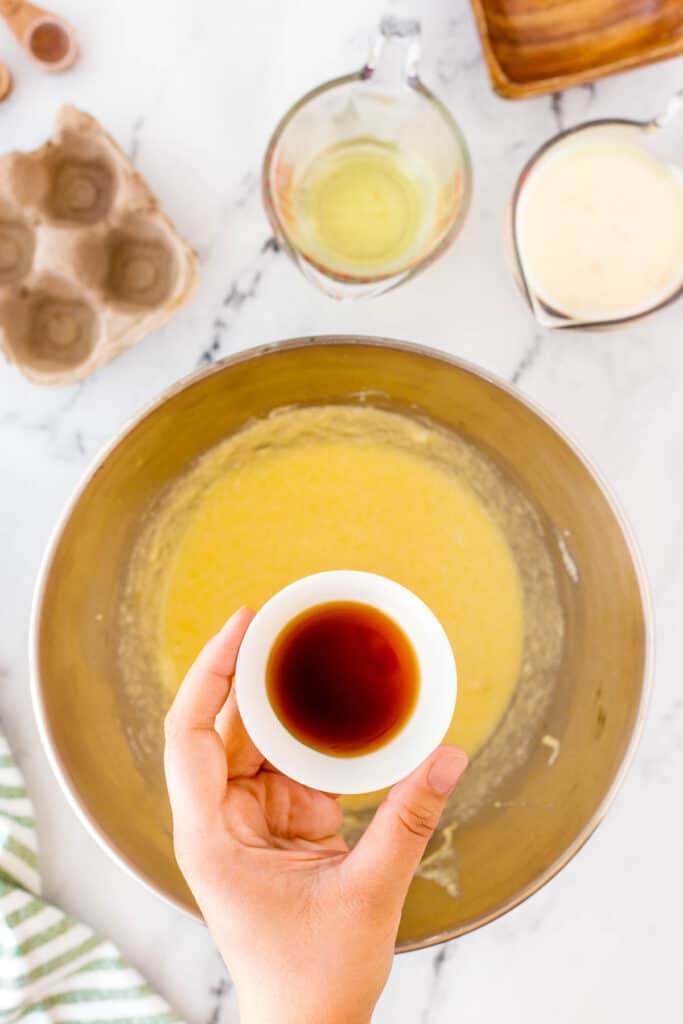
Slow the speed of the mixer to low and add the eggs one at a time. Then add the vanilla extract.
Increase the speed of the mixer to high and continue to mix for another 2 minutes.
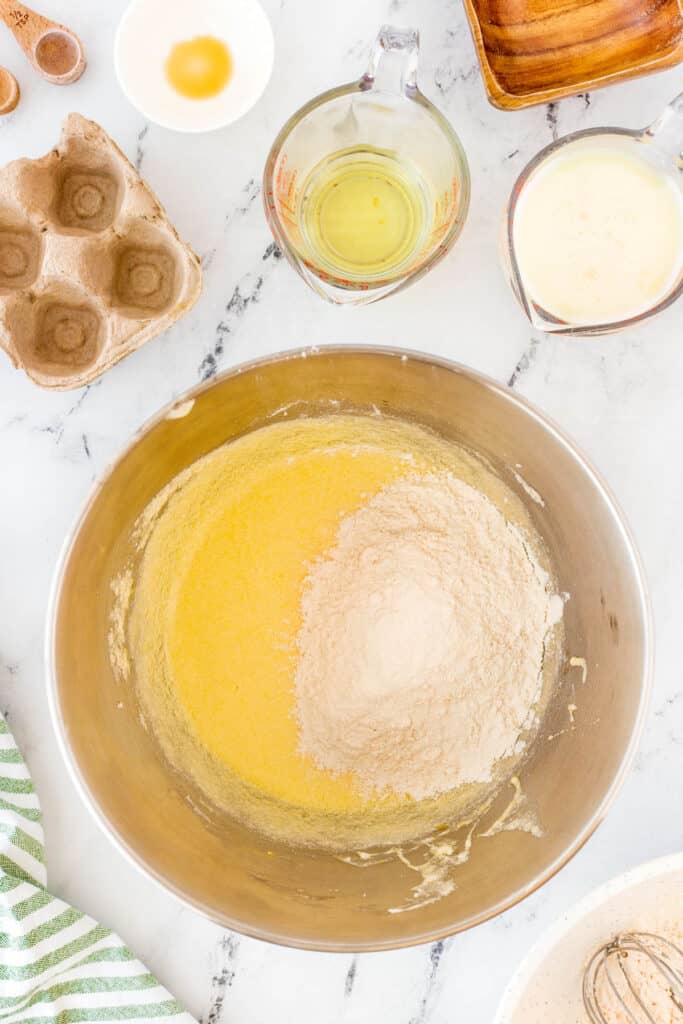
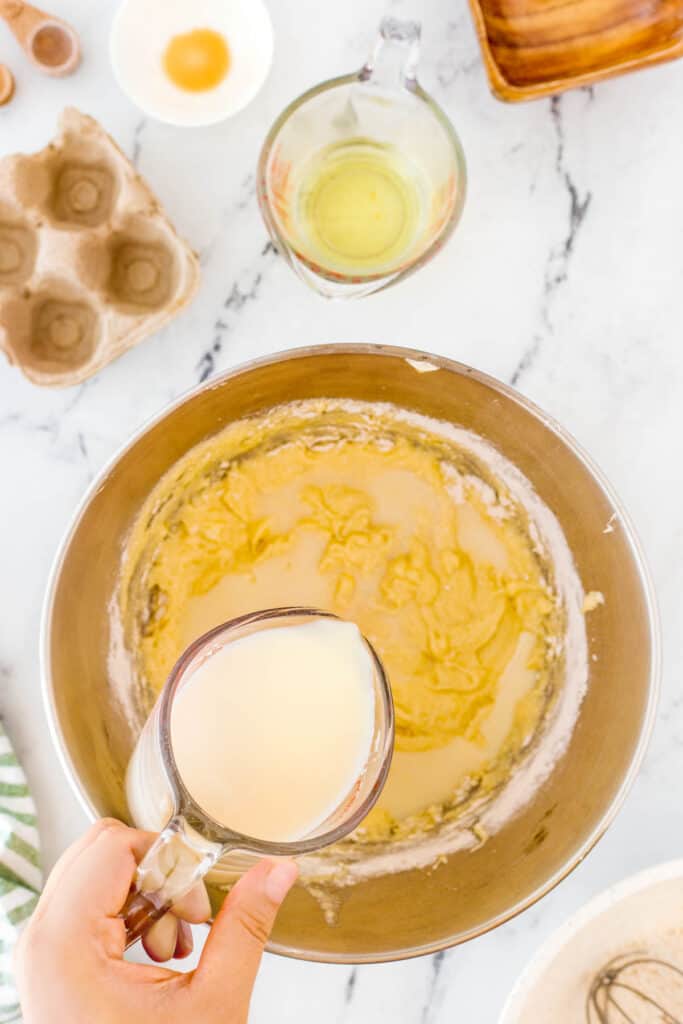
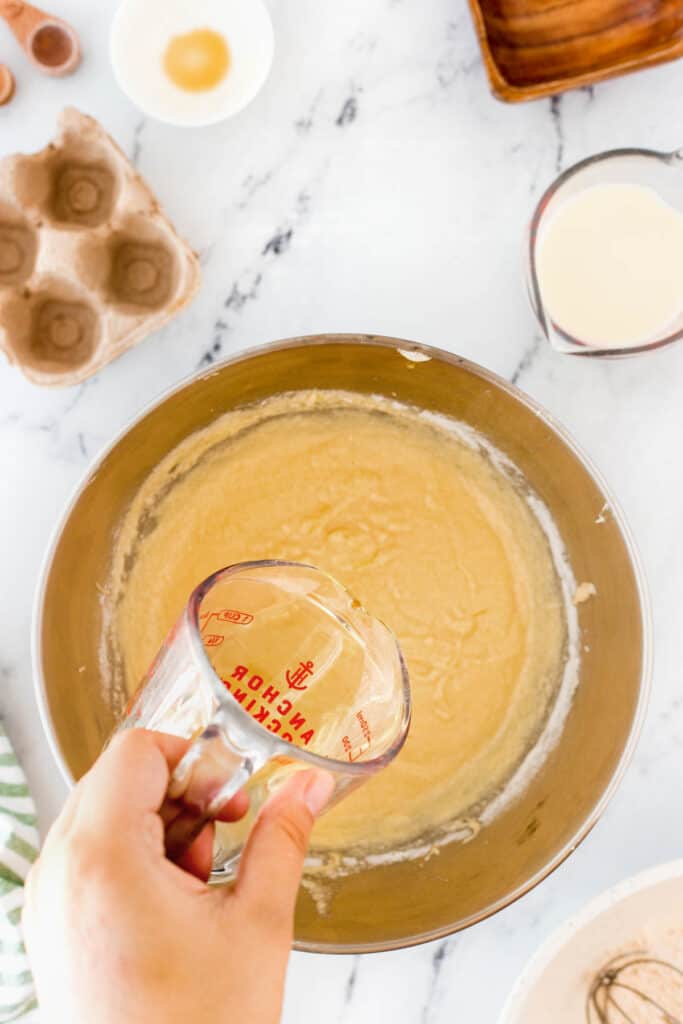
With the mixer still running on low, alternate adding the flour mixture, buttermilk, and oil, adding about 1/3 of each until all ingredients are in the mixing bowl ending with the flour mixture.
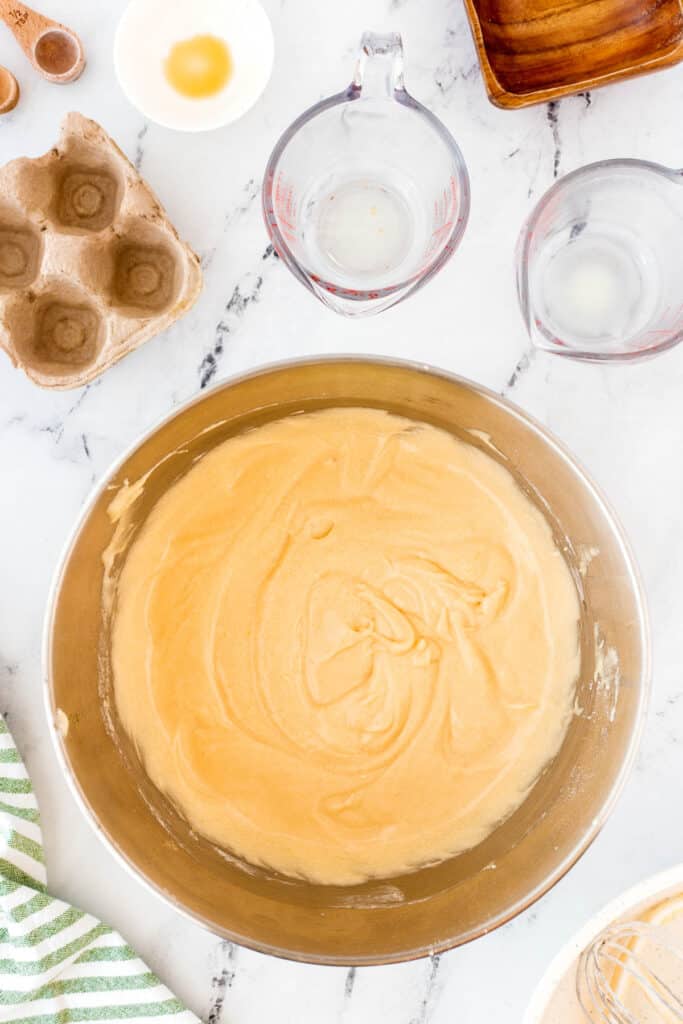
Scrape down the sides and bottom, and continue to mix on low – medium speed until fully blended but don’t overbeat at this stage.
Baking The Cakes
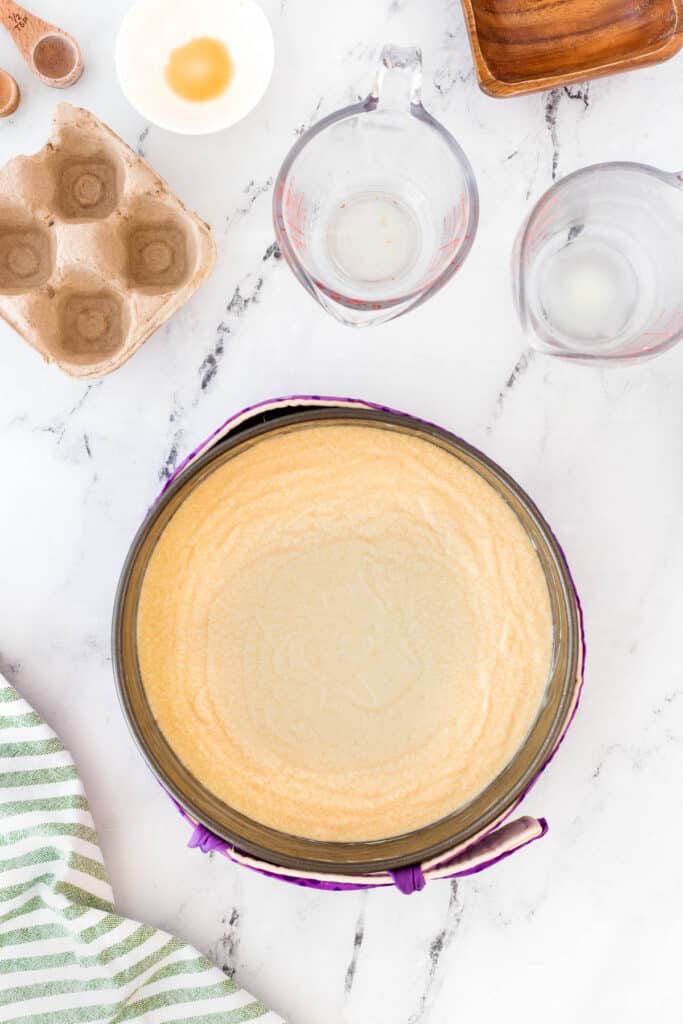
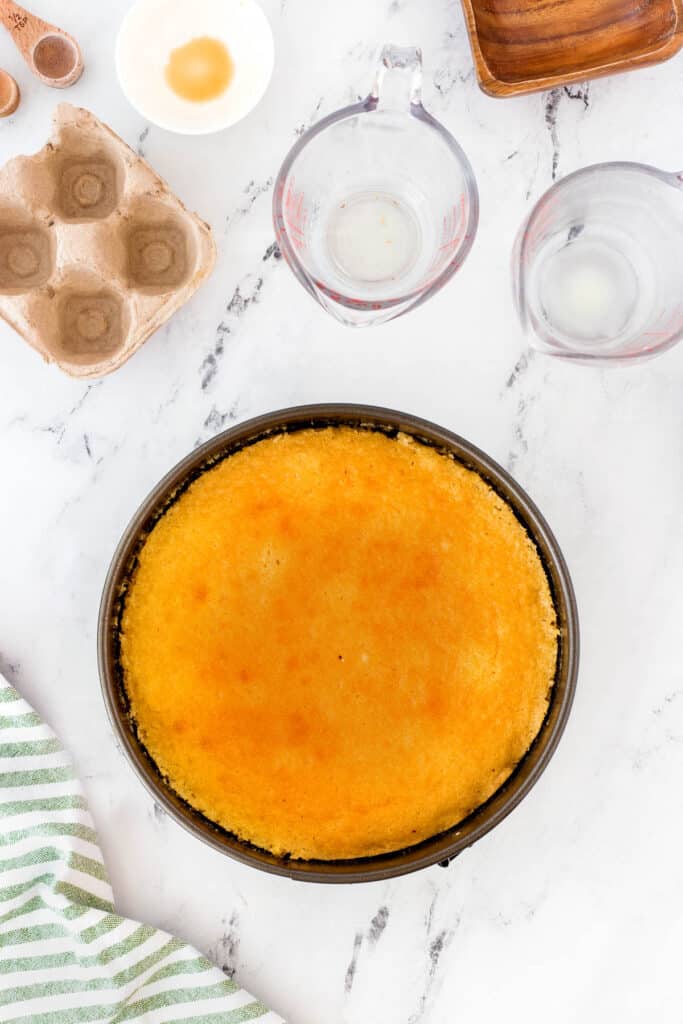
Pour the batter evenly into the 2 prepared cake pans. Bang the pans on the counter 2-3 times to even the batter out and get rid of any air bubbles.
Bake in the preheated oven for 25 – 30 minutes. Test for doneness by inserting a cake tester or toothpick inserted into the center of the cake. If it comes out clean, it is done.
Allow the cakes to cool completely in the pans before removing them from the pans.
Run the blade of a knife around the outside of the cake to loosen it from the edge of the pan. Place the cake upside down on a wire rack; the cooled cake should come right out.
Vanilla Buttercream Frosting
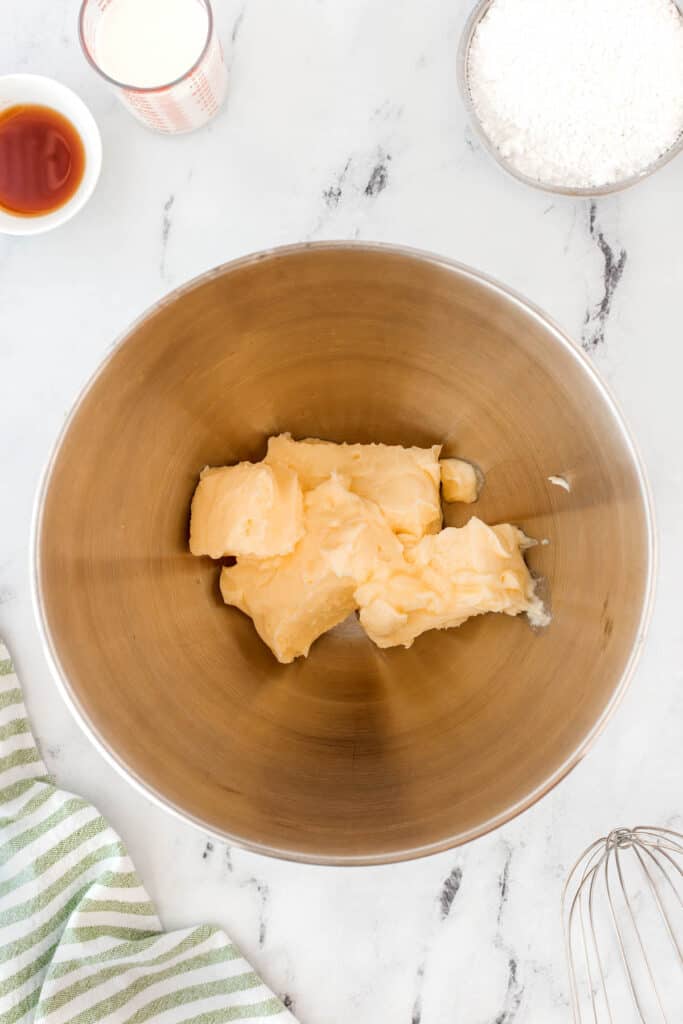
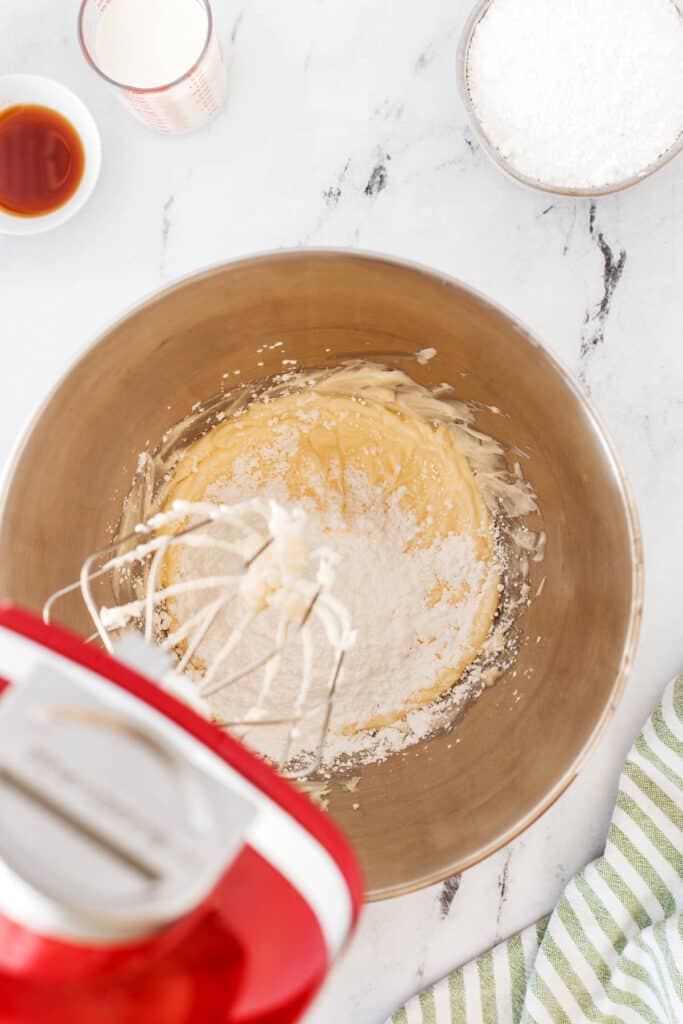
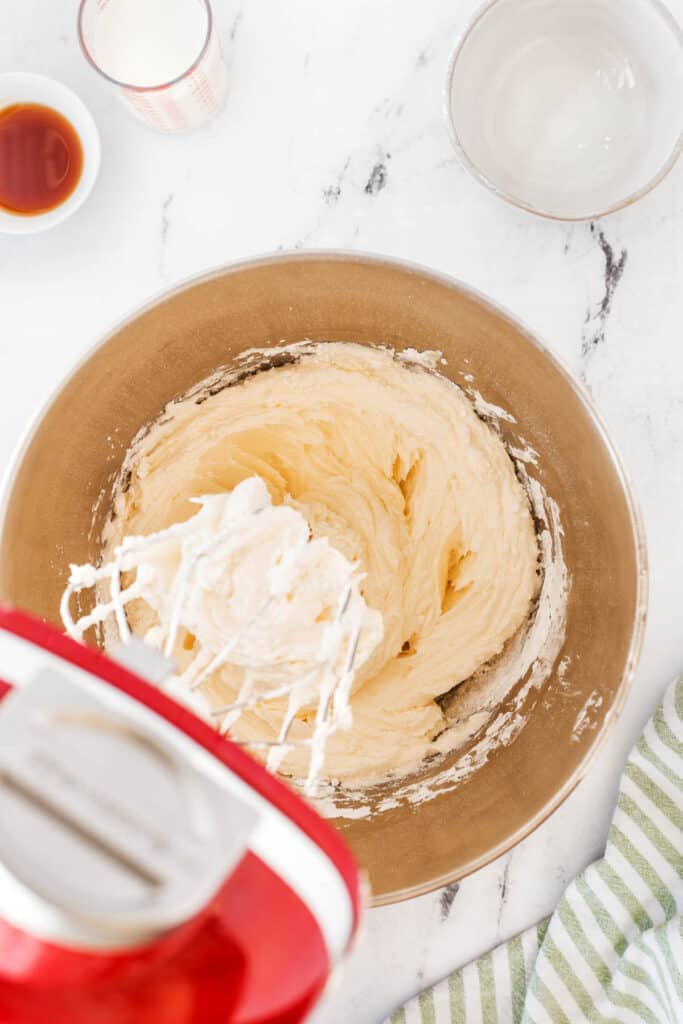
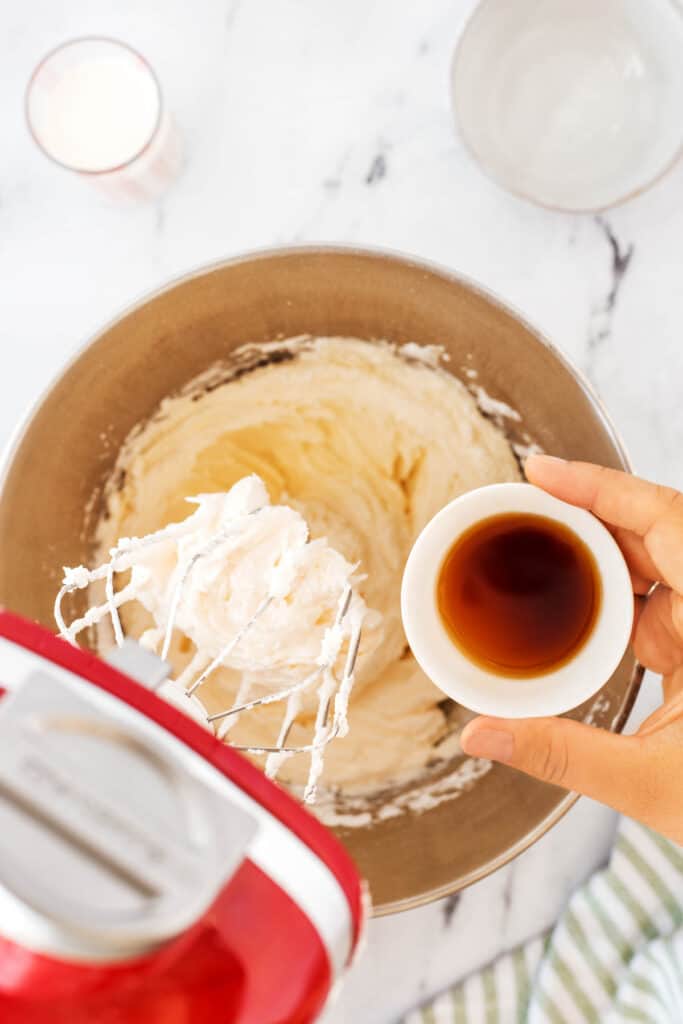
While the cake is cooling, prepare the buttercream frosting.
In the bowl of a stand mixer or a large bowl, using a hand mixer fitted with a whisk attachment, beat the butter on medium speed until creamy.
Add the icing sugar 1 cup at a time, slowly incorporating it into the butter.
Next, add the vanilla extract and mix to combine.
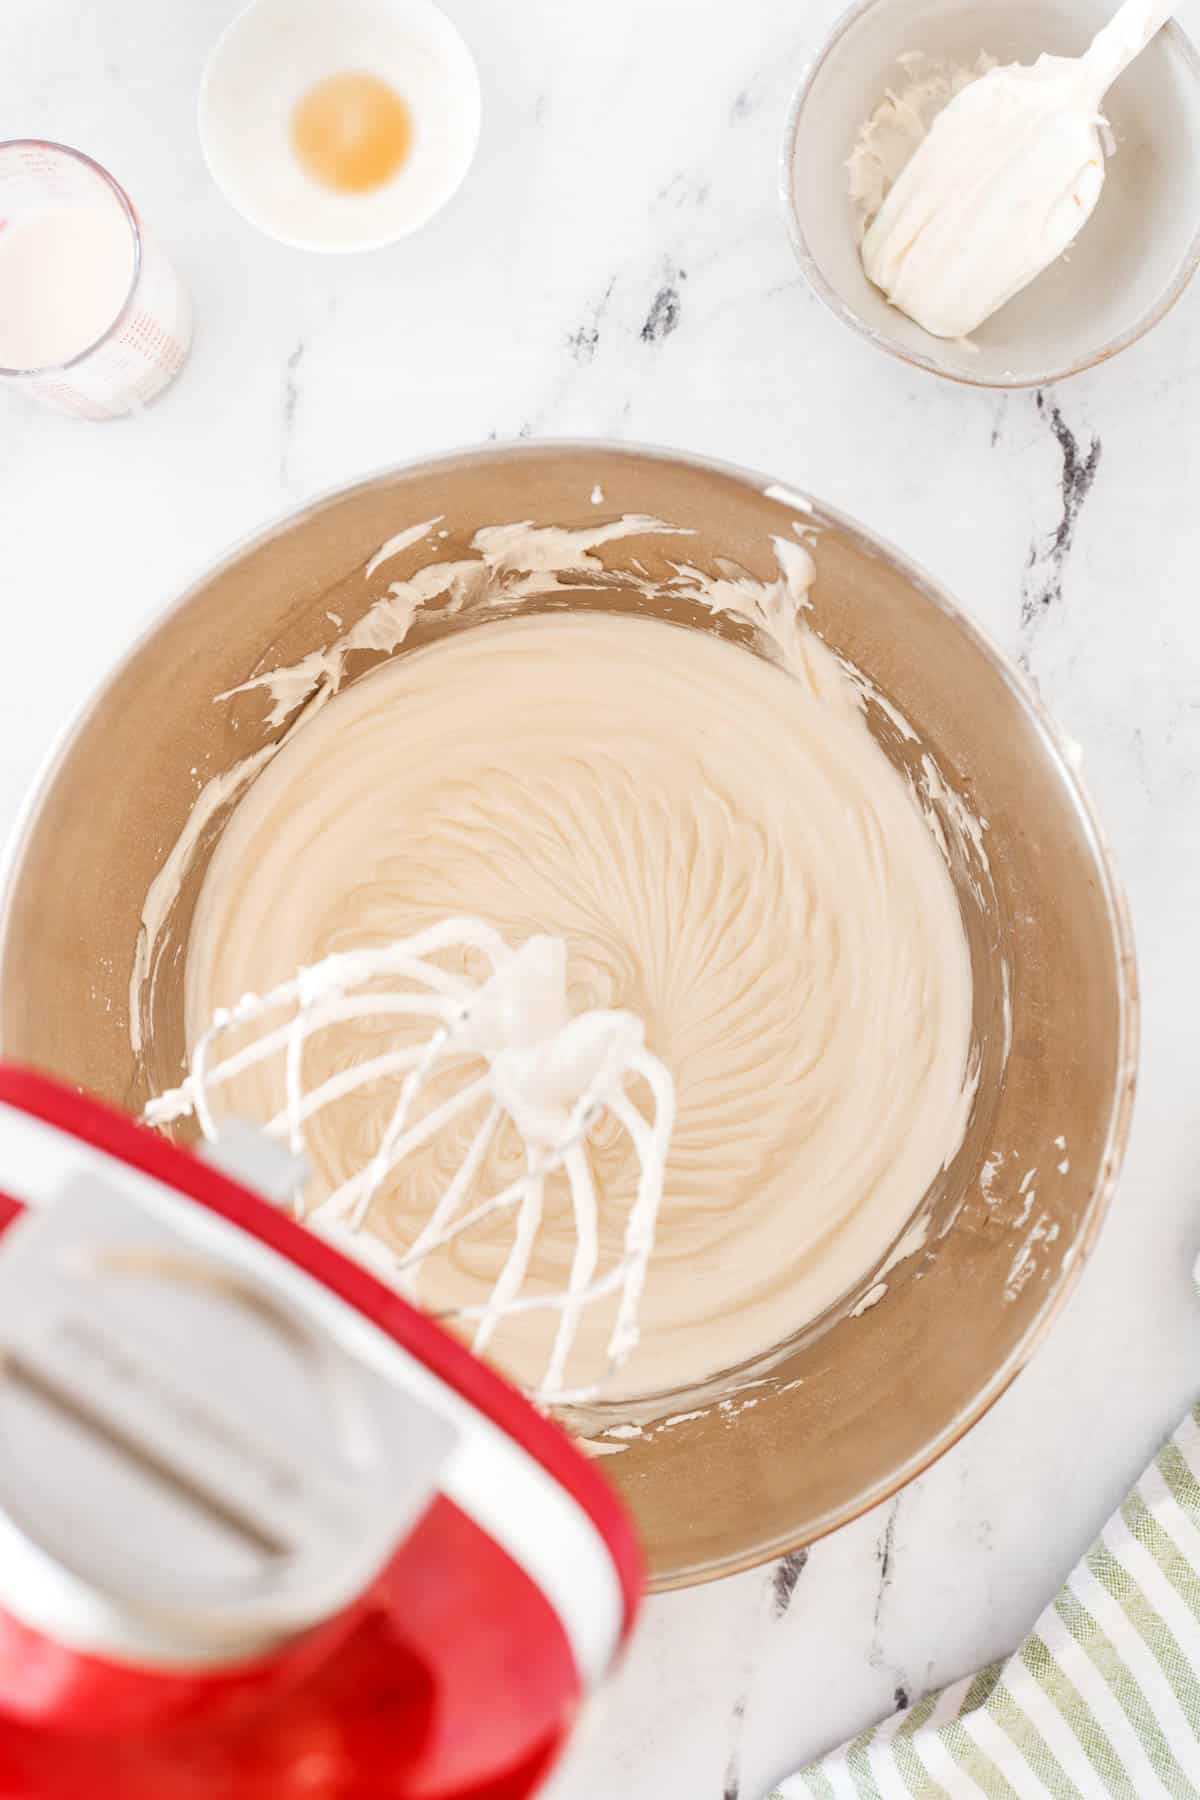
Add the heavy cream 1 tbsp at a time until you are happy with the consistency of the icing. Beat until light and fluffy but don’t overbeat as it will start to separate.
Crumb Coating The Cake
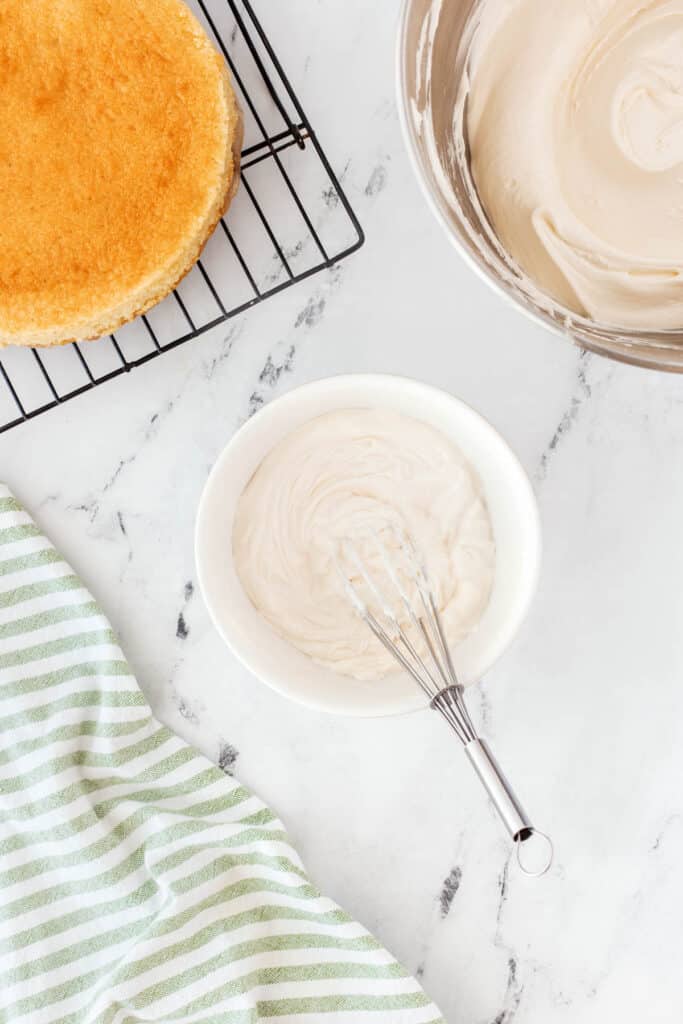
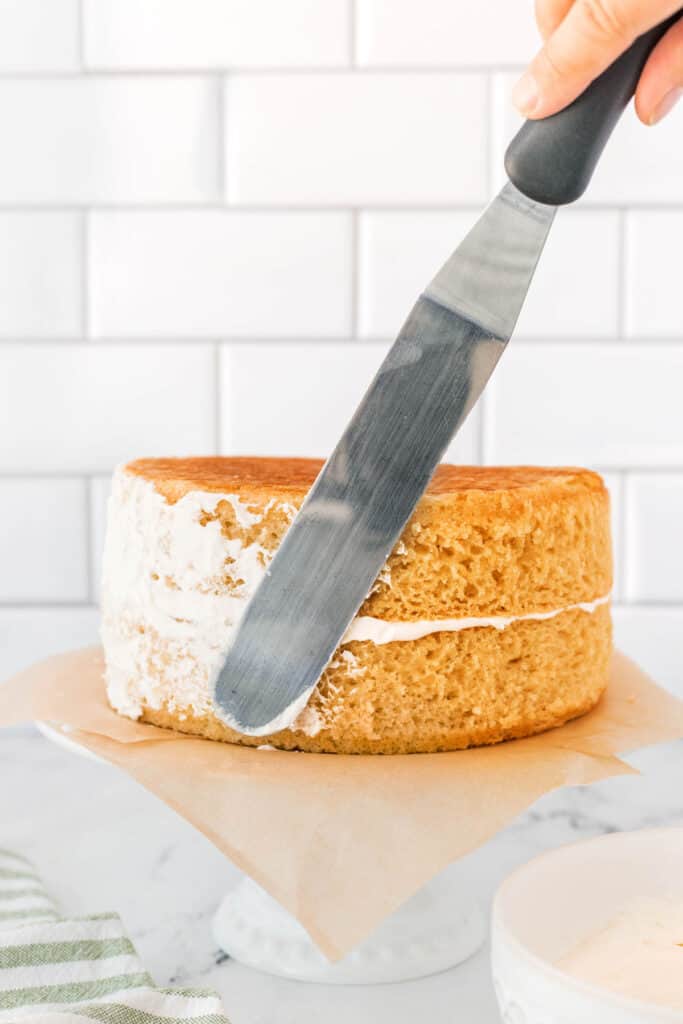
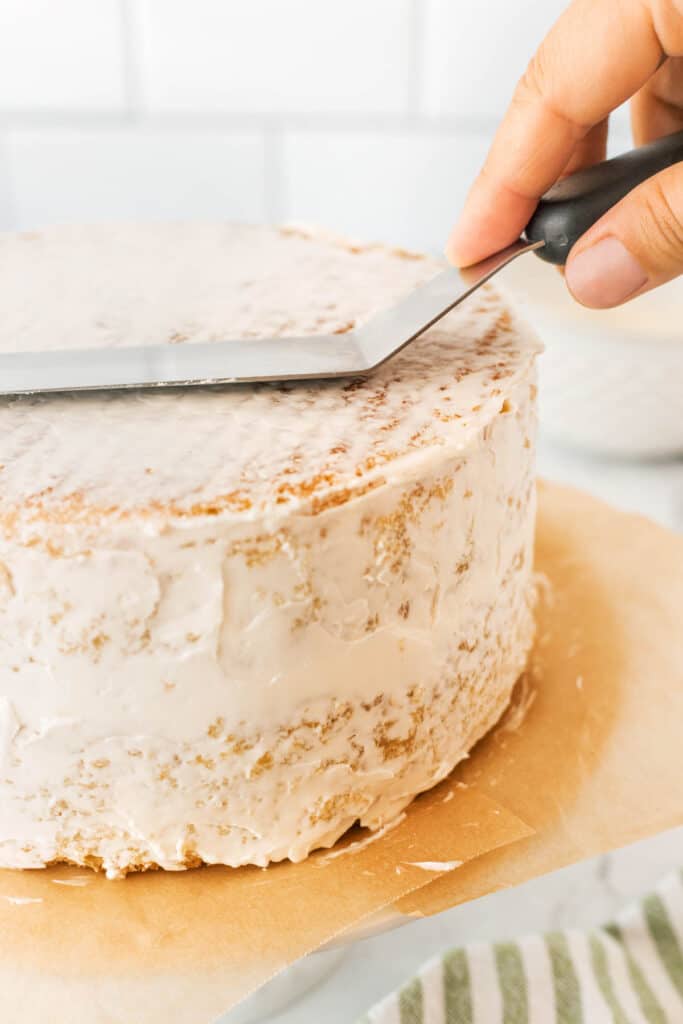
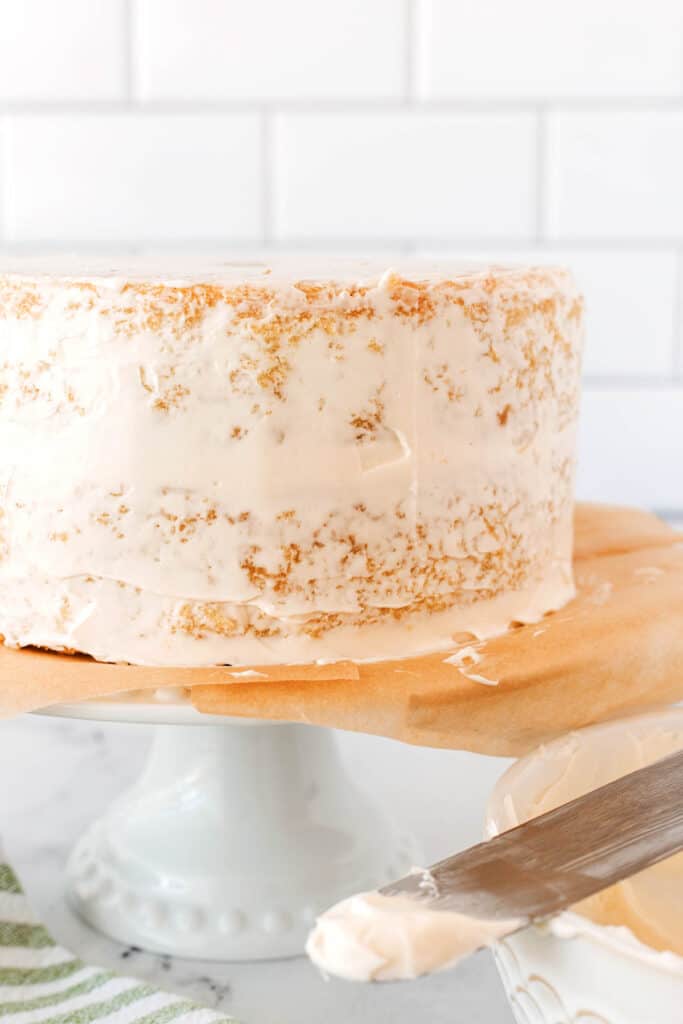
Take about 1 cup of icing from the bowl and transfer it to a small mixing bowl. Thin this icing out further using the heavy cream. You will use this to ice a crumb coat on the cake before fully icing.
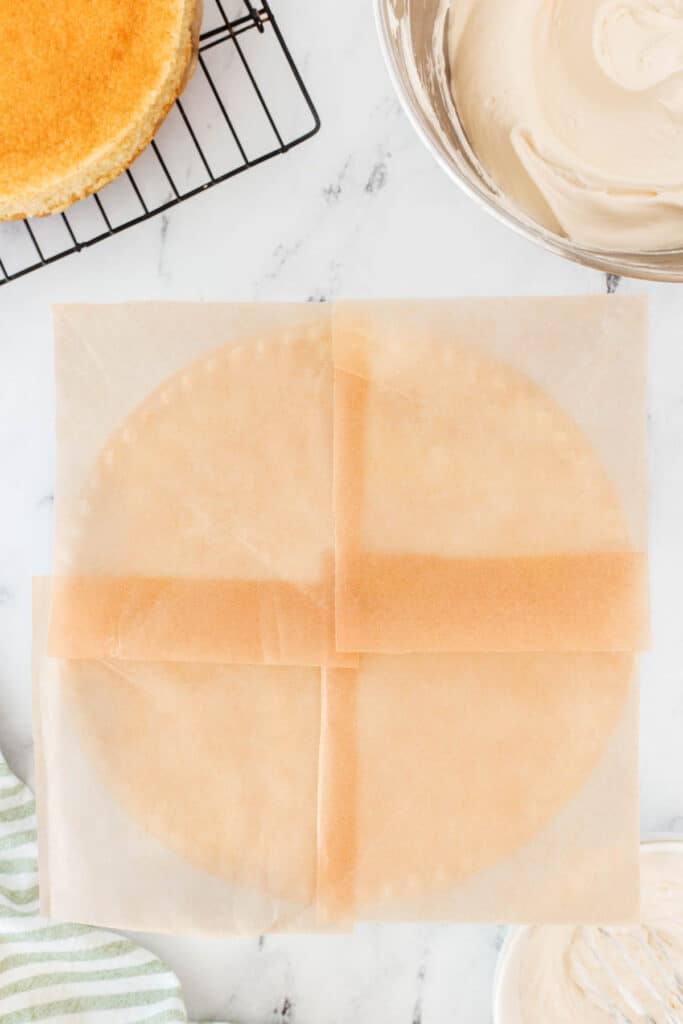
Cut 4 squares of wax paper and place them on top of the cake stand, so the entire top of the cake stand is covered. This will allow you to ice the cake but not the cake stand. The wax paper will be removed after you have finished icing the cake.
Trim cakes flat if you didn’t use Bake Even Strips. Place one cake on a cake stand with the top-up. Using the regular icing, cover the top of that cake; this will be your middle icing layer.
Next, place the second cake on top of the first top-down, so the bottom of the cake is facing up.
Using the thinner crumb coat icing, cover the entire cake with a thin layer of the icing using an offset spatula.
Refrigerate for 20 – 30 minutes to allow the icing to firm up.
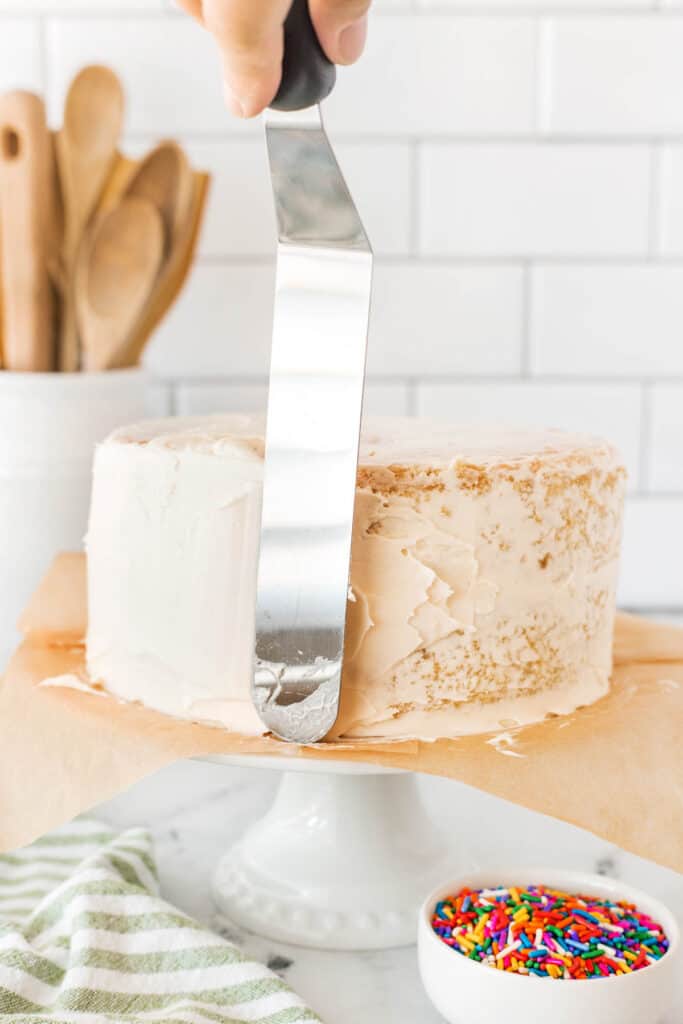
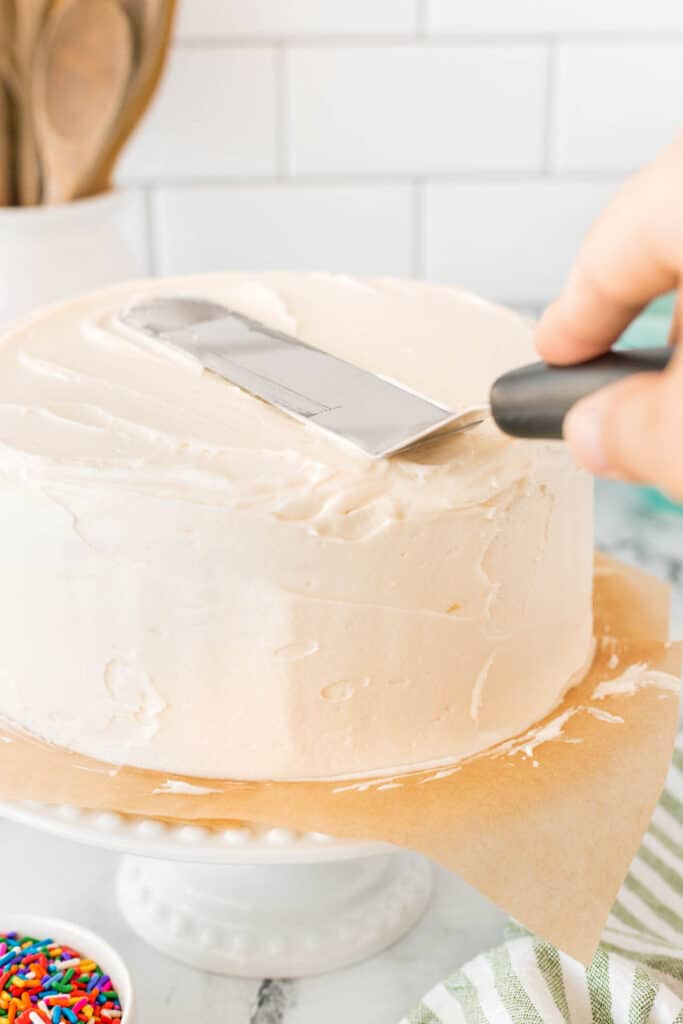
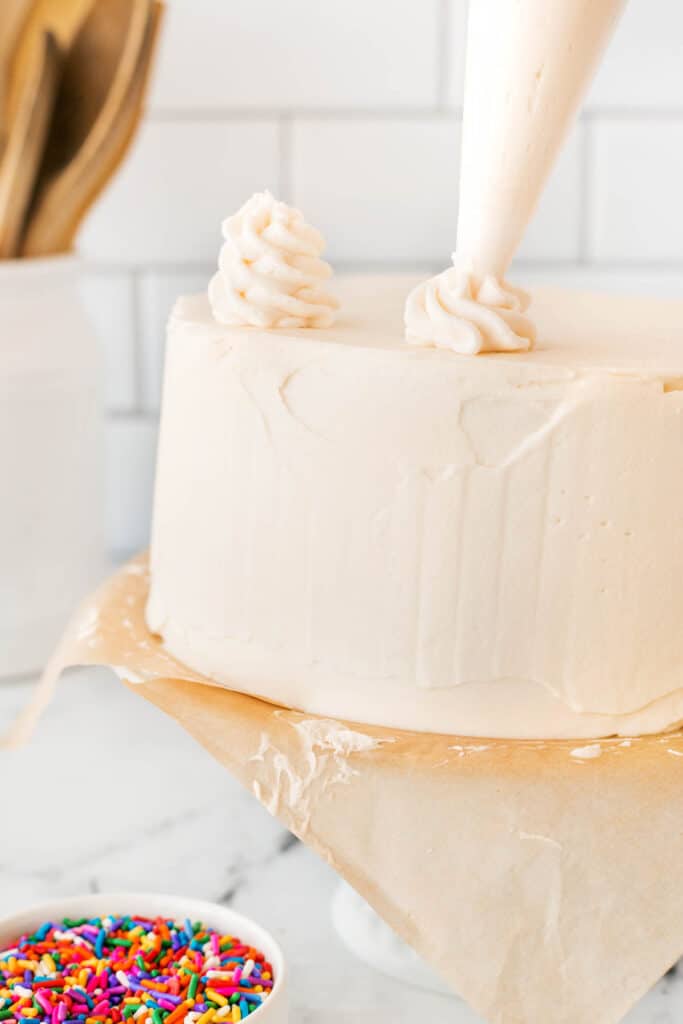
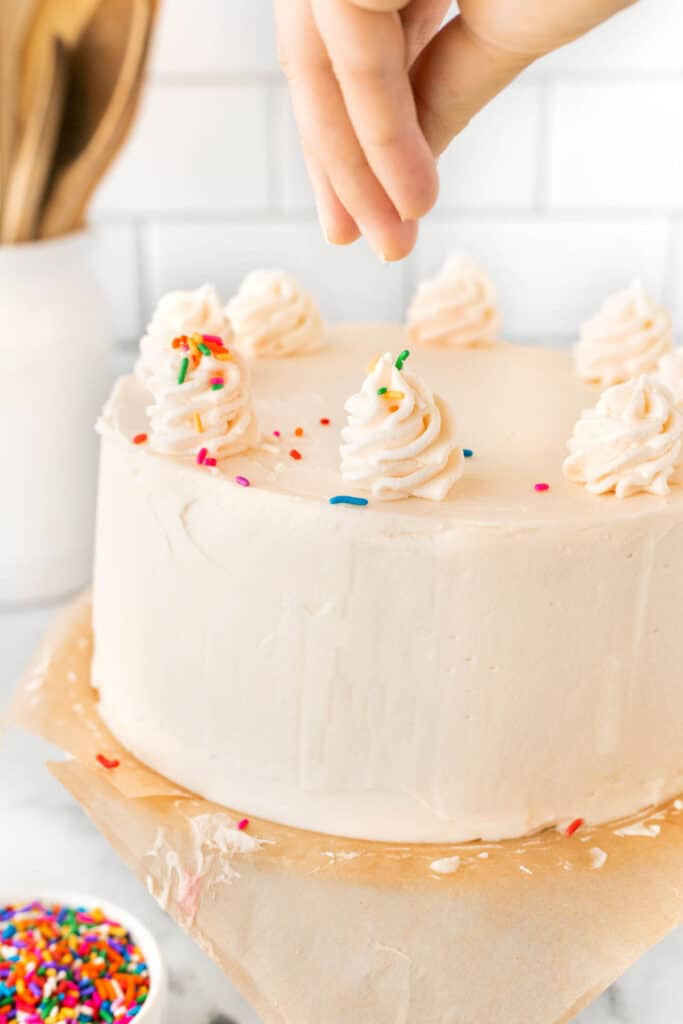
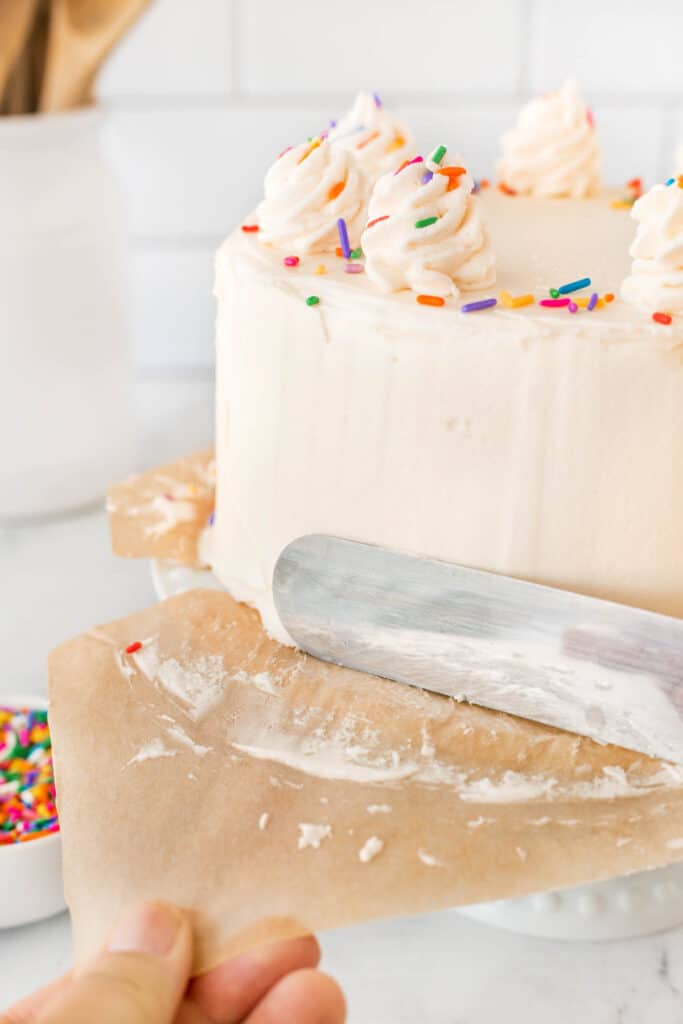
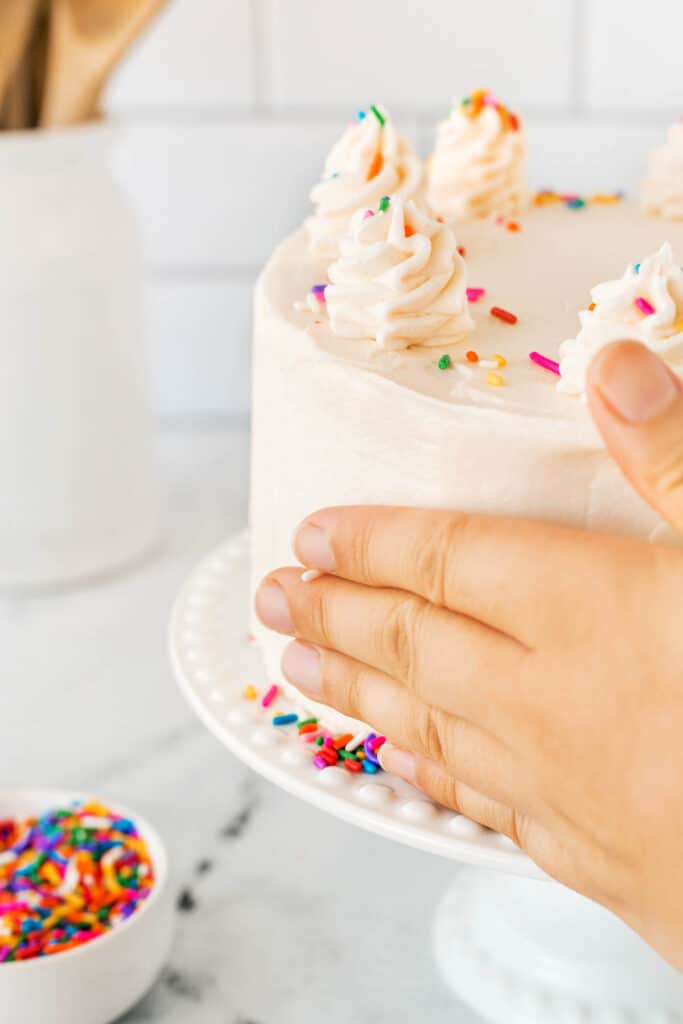
Now you can finish icing the entire cake. Remember, it is easier to turn the cake stand while icing than it is to move the offset spatula to drag the icing over the cake.
Decorate as desired. Refrigerate the cake for at least 1 hour before slicing.
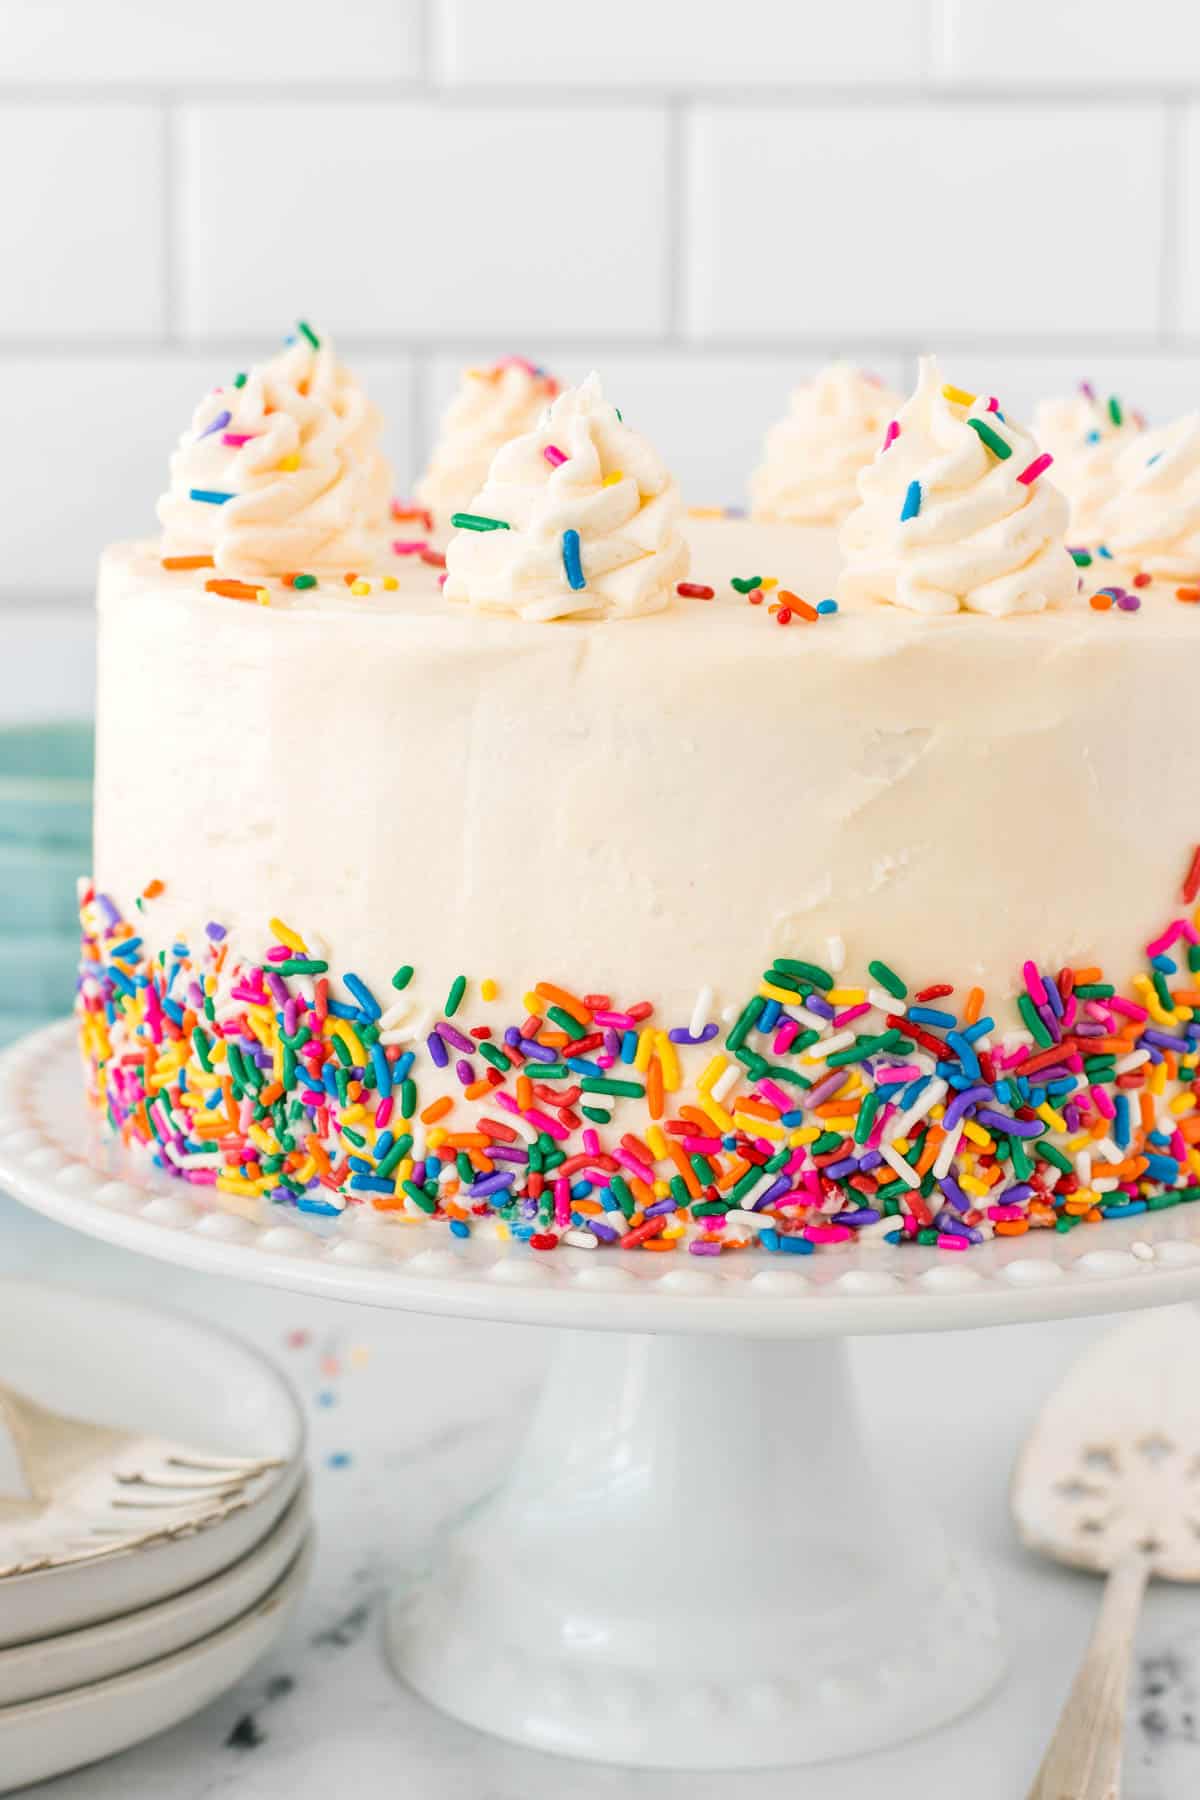
Cover leftover cake (if any) tightly and refrigerate for up to 4 days.
What is the Difference Between White Cake and Vanilla Cake?
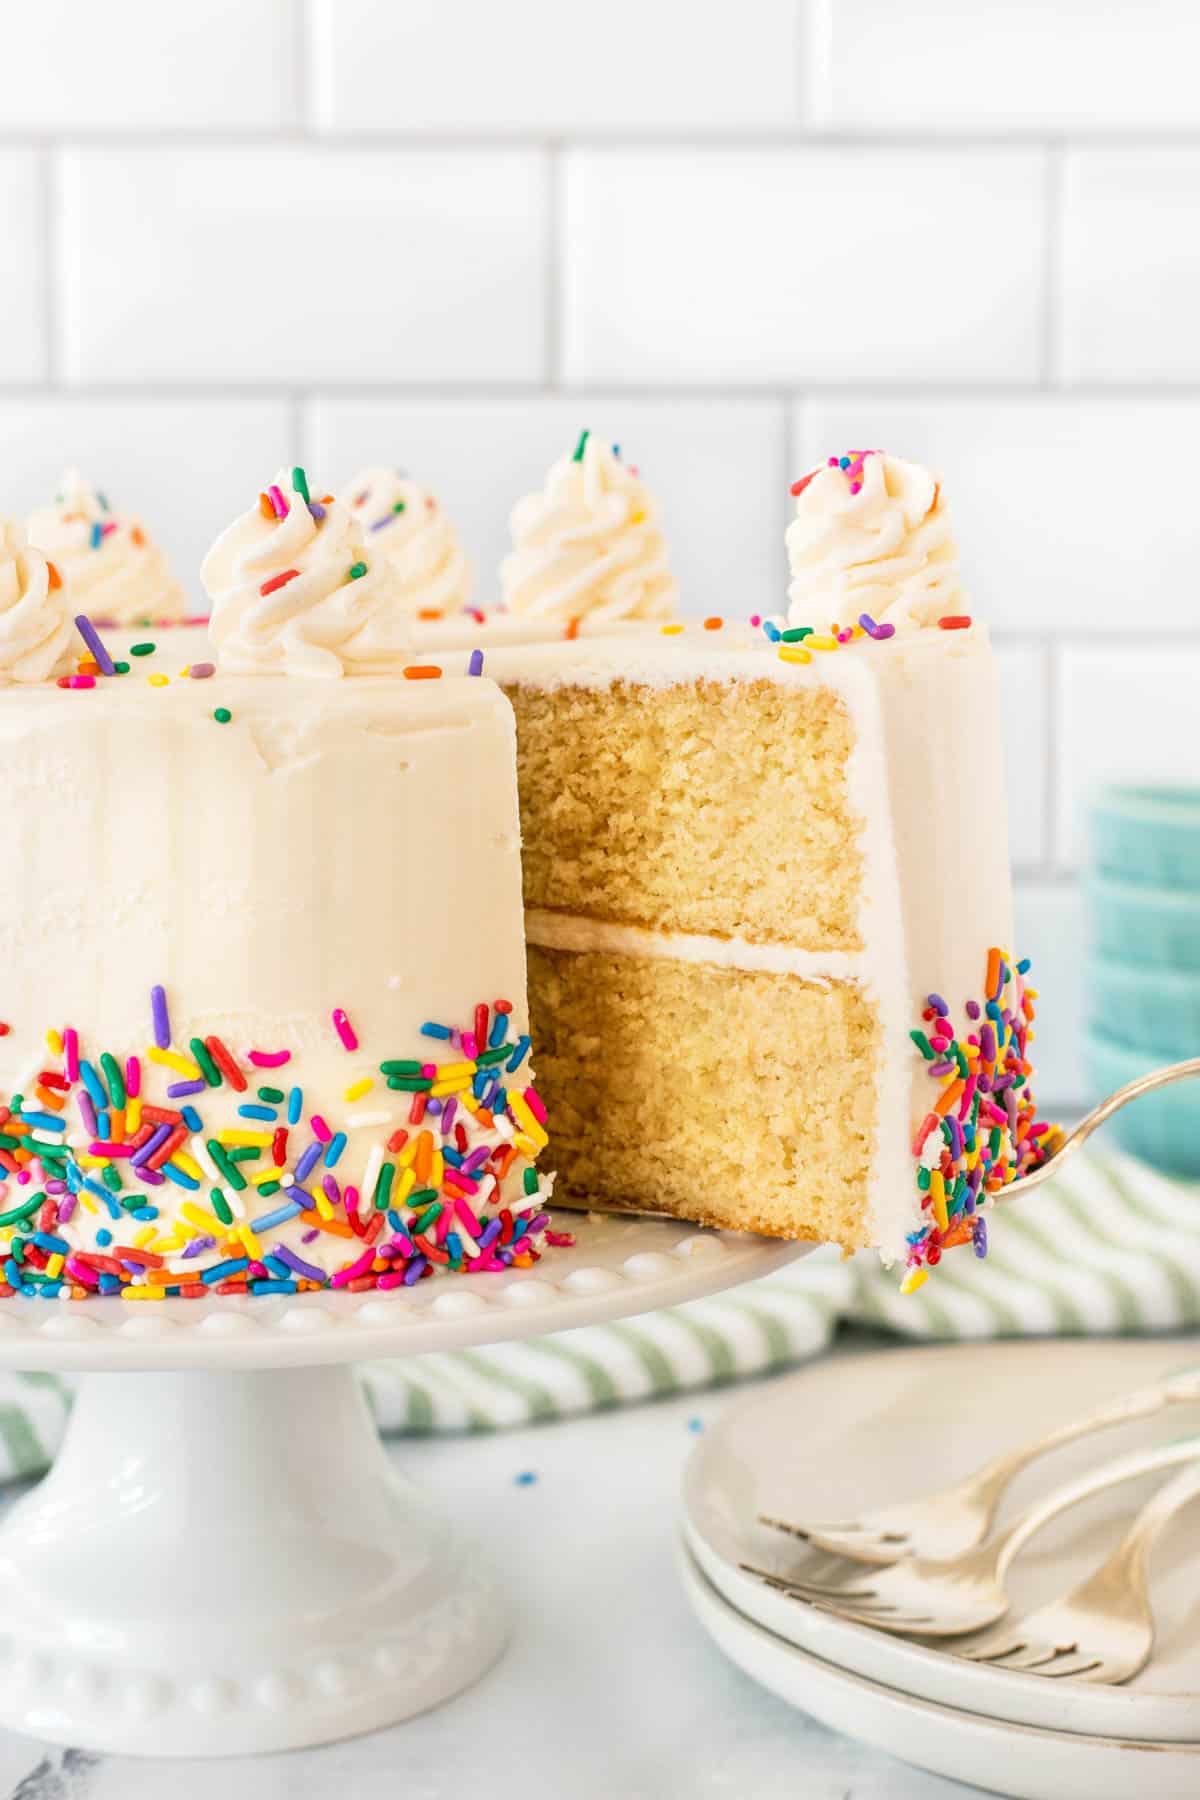
A white cake differs from a vanilla cake, usually with eggs. The white cake will only use the egg whites to keep the cake pure white. Usually, a vanilla cake uses both the egg whites and the egg yolks and results in a slightly off-white color.
To keep the white cake pure to its color, a clear vanilla extract is usually used also.
How to Store Your Best Vanilla Cake
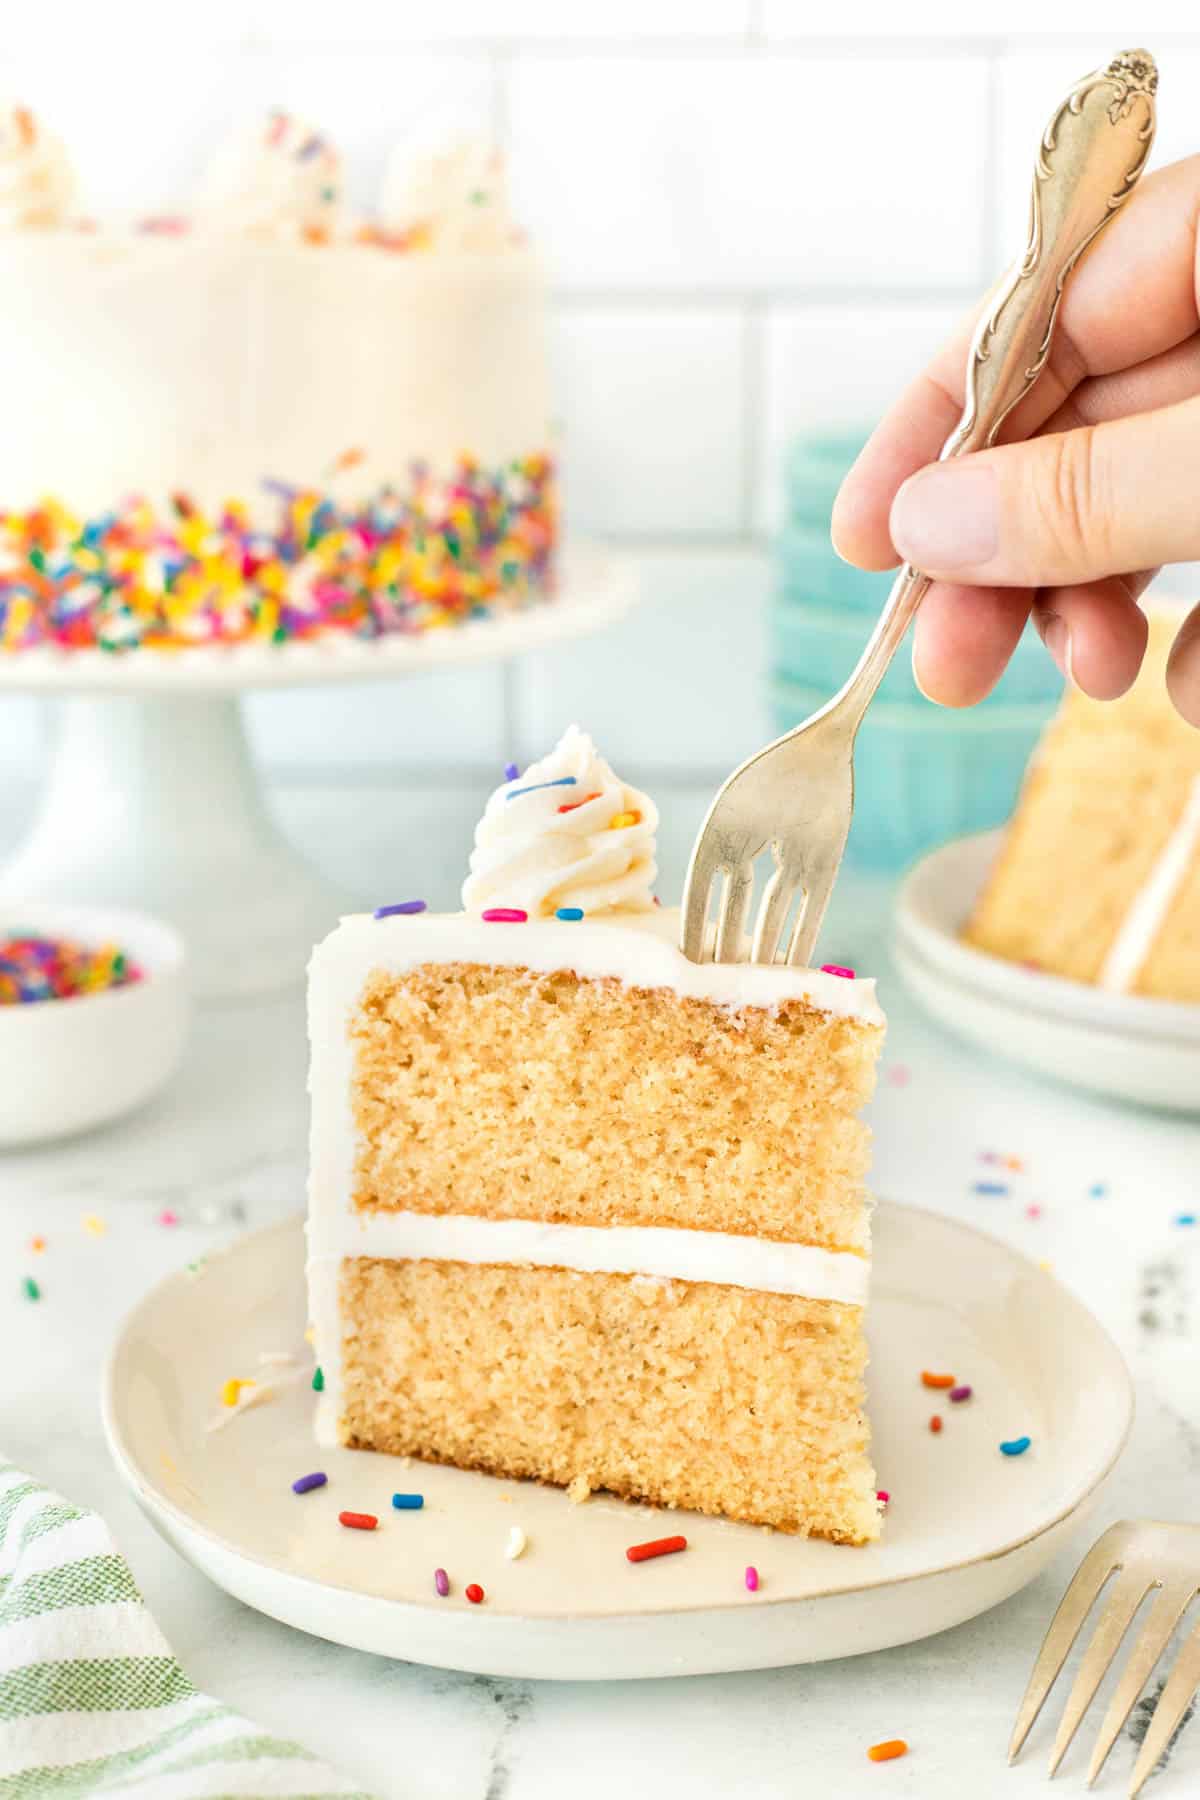
This Best Vanilla Cake recipe is a great recipe for so many occasions and a great make-ahead too. So what are the best tips for storing my cake?
Where to Store The Cake?
Because the cake is frosted, it will require refrigeration which also keeps the icing set and helps when you are slicing the cake too.
How to Store The Cake
One of the best ways to store a cake is with a cake cover or air-tight cake container. What if you don’t have either? Plastic wrap can make a huge mess of a cake as the icing usually sticks to it and is pulled off when the plastic wrap is removed; the same holds true with foil. It can be improved by inserting toothpicks, but that can also make a mess of the cake too. So I suggest if you have a large bowl to cover the cake with instead, your cake will be well covered and protected. Don’t have a large enough bowl? Go to the grocery or cake shop and see if you can purchase, or they might give you a plastic container with a snap-on lid or cake box.
Freezing Unfrosted Cakes for Later Use
To freeze unfrosted cakes, make sure the cakes are completely cooled and wrap well with first plastic wrap and then heavy-duty foil. Unfrosted cakes may be stored in the freezer for up to six months.
Freezing Frosted Cakes for Leftovers or Later Use
You can freeze frosted cakes right in an air-tight cake container or large box that the cake was in but also wrap the outside of the box with foil. You can also freeze the cake first and then wrap it in plastic wrap or aluminum foil after the cake is frozen without the worry of damaging the icing. A well-wrapped frosted cake will last up to three months in the freezer.
How To Serve a Frozen Cake?
Thaw unfrosted cakes covered and frosted cakes loosely covered at room temperature before serving.
Pin it HERE!!
Pin it HERE!!

Best Vanilla Cake Recipe
Ingredients
Cake
- 2 cups AP flour
- 2 tsp baking powder
- ½ tsp salt
- ½ tsp baking soda
- 1 ¼ cups granulated sugar
- ½ cup butter softened
- 4 large eggs
- 1 cup buttermilk
- 1 Tbsp vanilla extract
- ¼ cup canola oil
Vanilla Buttercream
- 1 ¾ cups butter softened
- 5 cups icing sugar confectioners’ sugar
- 1 Tbsp vanilla
- 6 – 10 Tbsp heavy cream to adjust thickness of your icing
Instructions
- Preheat the oven to 350 degrees F.
- Grease two 9-inch cake pans with butter, then line the bottom with parchment and grease the parchment paper as well (this will help ensure that your cakes will come out of the pans easily). See the photos for how to cut the parchment to size in the post.
- Wrap Bake Even Strips after soaking in the water around the pan (see link in post). These will ensure a flat well-baked cake. I highly recommend this step for great success.
- In a medium bowl, whisk the dry ingredients together, the flour, baking powder, salt, and baking soda, and set aside.
- Using a stand mixer fitted with a paddle attachment, beat the butter and sugar together on high speed for approximately 3 minutes. Scrape the sides and the bottom of the bowl as needed.
- Slow the speed of the mixer to low and add the eggs one at a time. Then add the vanilla extract.
- Increase the speed of the mixer to high and continue to mix for another 2 minutes.
- With the mixer still running on low alternate adding the flour mixture, buttermilk, and oil, adding about 1/3 of each until all ingredients are in the mixing bowl ending with the flour mixture.
- Scrape down the sides and bottom, and continue to mix on low – medium speed until fully blended but don’t overbeat at this stage.
- Pour the batter evenly into the 2 prepared cake pans. Bang the pans on the counter 2-3 times to even the batter out and get rid of any air bubbles.
- Bake in the preheated oven for 25 – 30 minutes. Test for doneness by inserting a cake tester or toothpick inserted into the center of the cake. If it comes out clean, it is done.
- Allow the cakes to cool completely in the pans before removing them from the pans.
- Run the blade of a knife around the outside of the cake to loosen it from the edge of the pan. Place the cake upside down on a wire rack; the cooled cake should come right out.
- While the cake is cooling, prepare the buttercream frosting.
- In the bowl of a stand mixer or a large bowl, using a hand mixer fitted with a whisk attachment, beat the butter on medium speed until creamy.
- Add the icing sugar 1 cup at a time, slowly incorporating it into the butter.
- Next, add the vanilla extract and mix to combine.
- Add the heavy cream 1 tbsp at a time until you are happy with the consistency of the icing. Beat until light and fluffy but don’t overbeat as it will start to separate.
- Take about 1 cup of icing from the bowl and transfer it to a small mixing bowl. Thin this icing out further using the heavy cream. You will use this to ice a crumb coat on the cake before fully icing.
- Cut 4 squares of wax paper and place them on top of the cake stand, so the entire top of the cake stand is covered. This will allow you to ice the cake but not the cake stand. The wax paper will be removed after you have finished icing the cake.
- Trim cakes flat if you didn’t use Bake Even Strips. Place one cake on a cake stand with the top up. Using the regular icing, cover the top of that cake; this will be your middle icing layer.
- Next, place the second cake on top of the first top-down, so the bottom of the cake is facing up.
- Using the thinner crumb coat icing, cover the entire cake with a thin layer of the icing using an offset spatula.
- Refrigerate for 20 – 30 to allow the icing to firm up.
- Now you can finish icing the entire cake. Remember, it is easier to turn the cake stand while icing than it is to move the offset spatula to drag the icing over the cake.
- Decorate as desired. Refrigerate the cake for at least 1 hour before slicing.
- Cover leftover cake (if any) tightly and refrigerate for up to 4 days.




Let us know what you think!
We’d love to know what you and your family think! Make sure to leave a review below and follow us on your favorite social network!