This Bismark Donut Recipe (also spelled Bismarck) gives you soft, pillowy jelly donuts made with an easy overnight yeast dough that becomes wonderfully light and easy to work with by morning. The chilled dough rolls cleanly, cuts beautifully, and fries into tall, fluffy donuts with a perfectly tender interior. Fill them with strawberry or raspberry jam and finish with granulated sugar, powdered sugar, or a simple glaze.
Love a delicious homemade treat? Then try our Easy Butter Tarts or our amazing Cruffins, just like a bakery would serve.
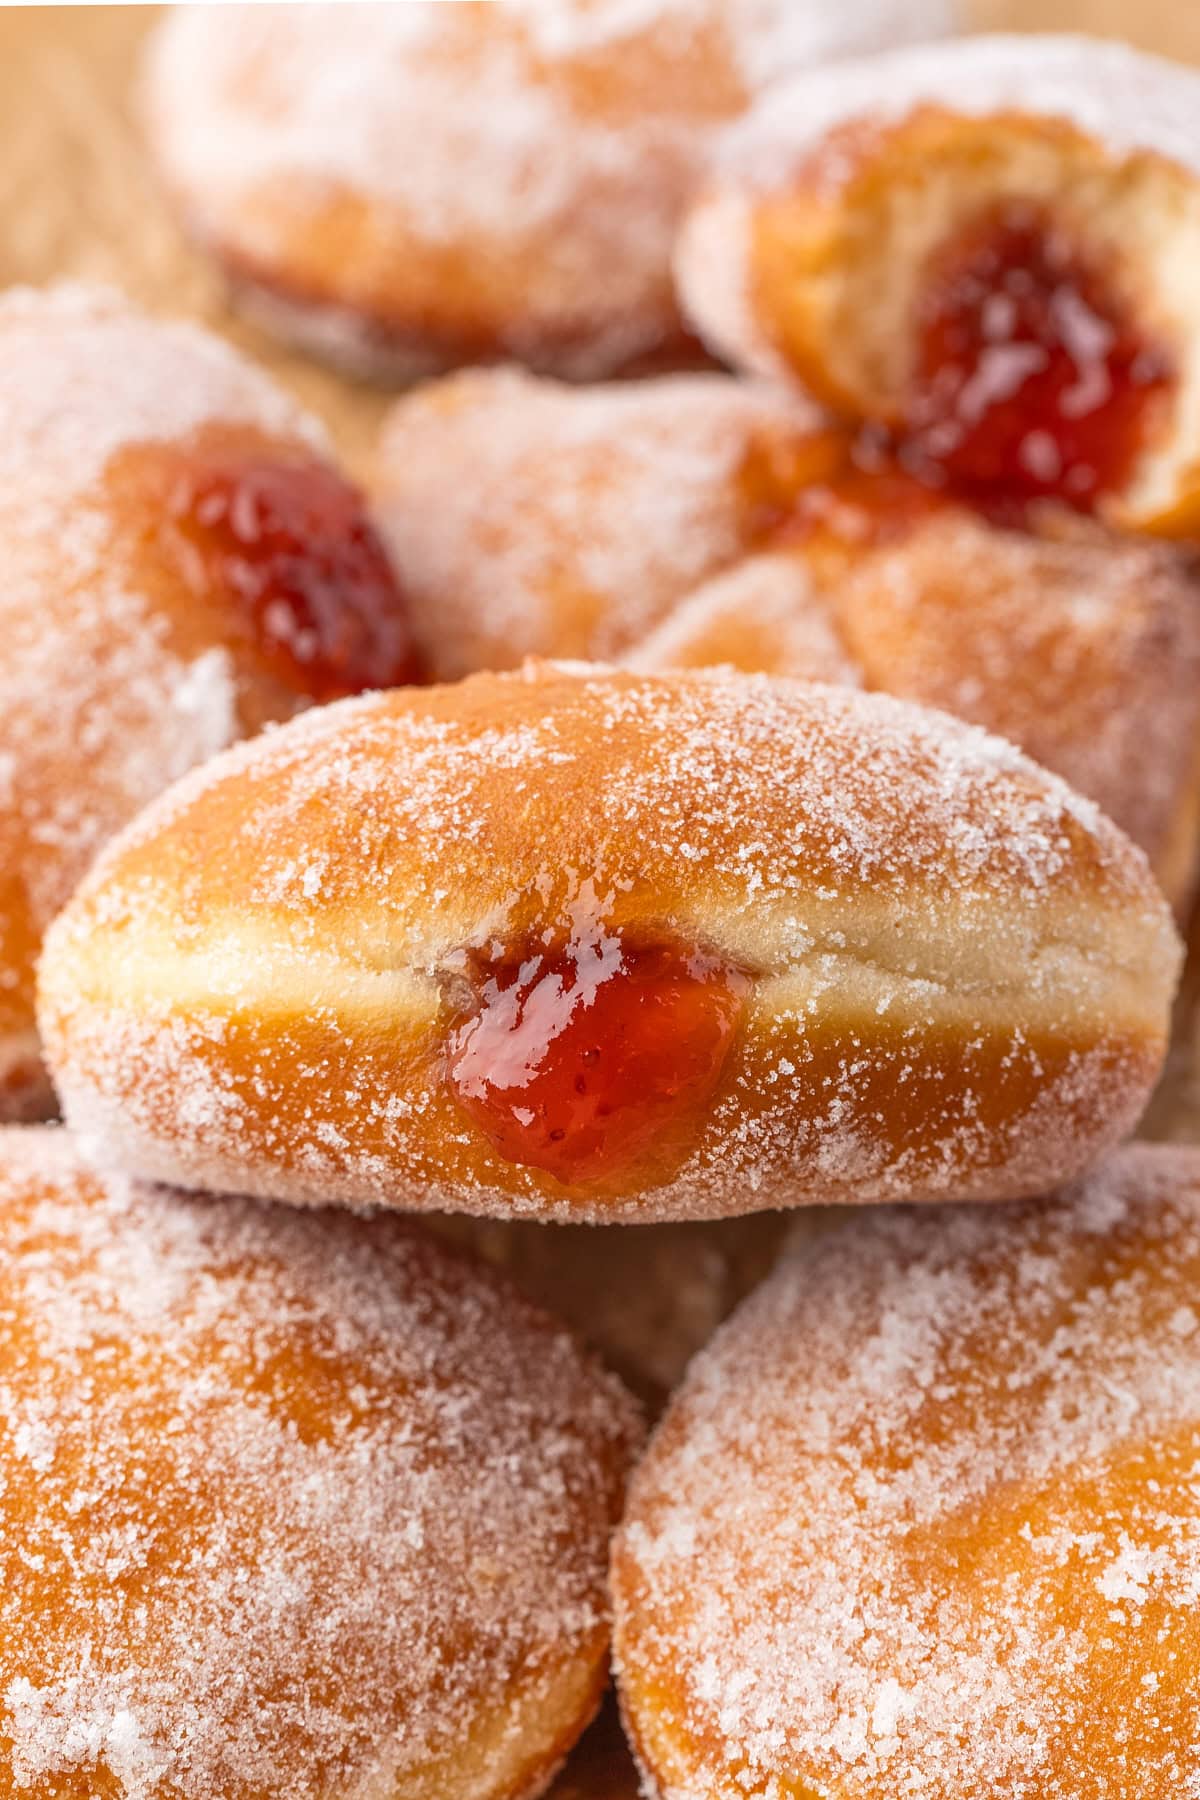
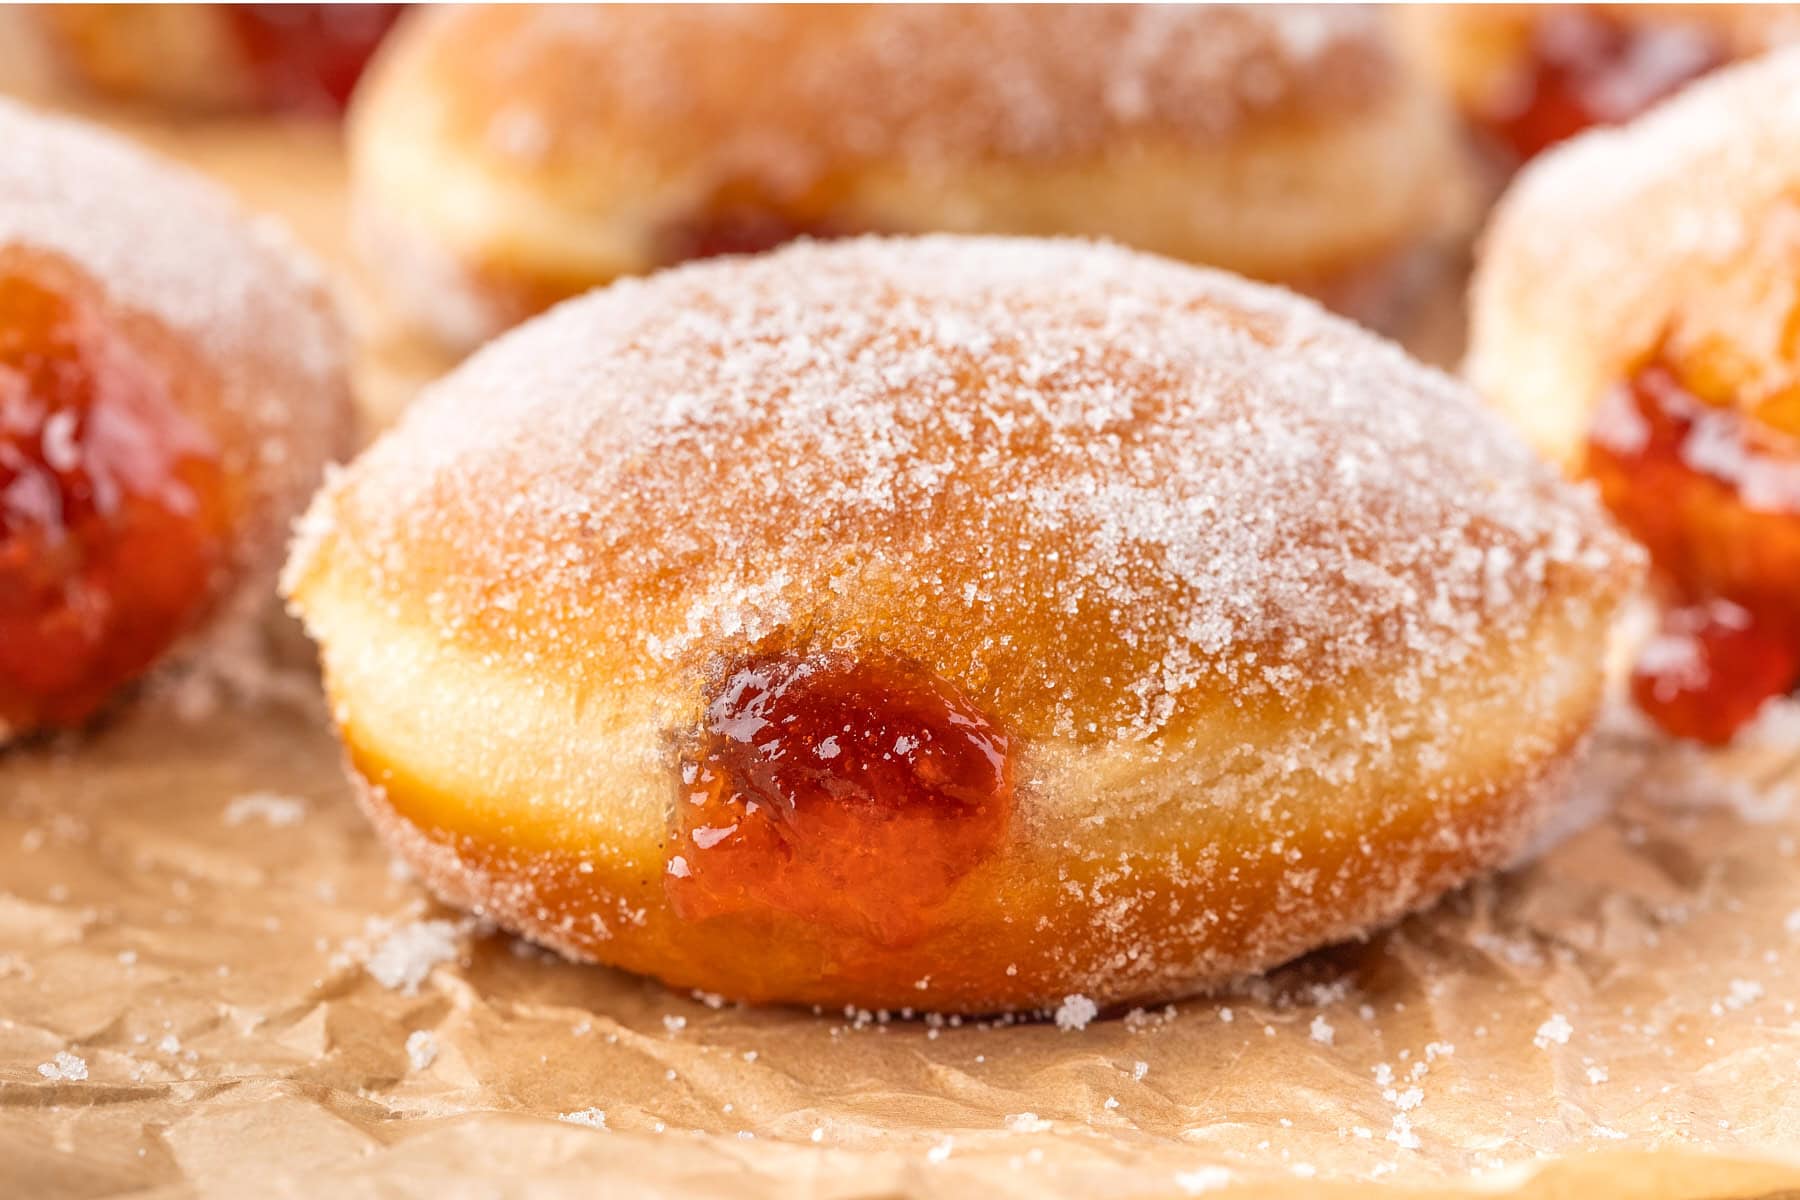
A Bismarck donut is a round yeast-raised donut without a hole in the center. After frying, the donut is filled by piping custard, pastry cream, jelly, jam, or another sweet filling into the center. Depending on where you live, similar donuts may be called jelly donuts, filled donuts, Berliner-style donuts, or cream-filled donuts. The exact filling and topping can vary considerably.
Why I Love This Recipe
- Love a great donut
- Brings the bakery experience to your home
- Easily customizable
- Great overnight recipe so you have fresh donuts in the morning
- Light, tender, fluffy donuts
Helpful Items for This Recipe
This post contains affiliate links. As an Amazon Associate, I earn a small portion from qualifying purchases at no extra charge to you.
CEBORY Stand Mixer, 4QT 10+P-Speed Electric Kitchen Mixer with Bowl
Mini 3.5 Inch Glass Bowls – Perfect for Prep, Dips, Nuts, or Candy – Set of 12
Piping Bags,100pcs 12 Inch Anti Burst Disposable Cake Decorating Bags
Ingredients for Bismark Doughnuts
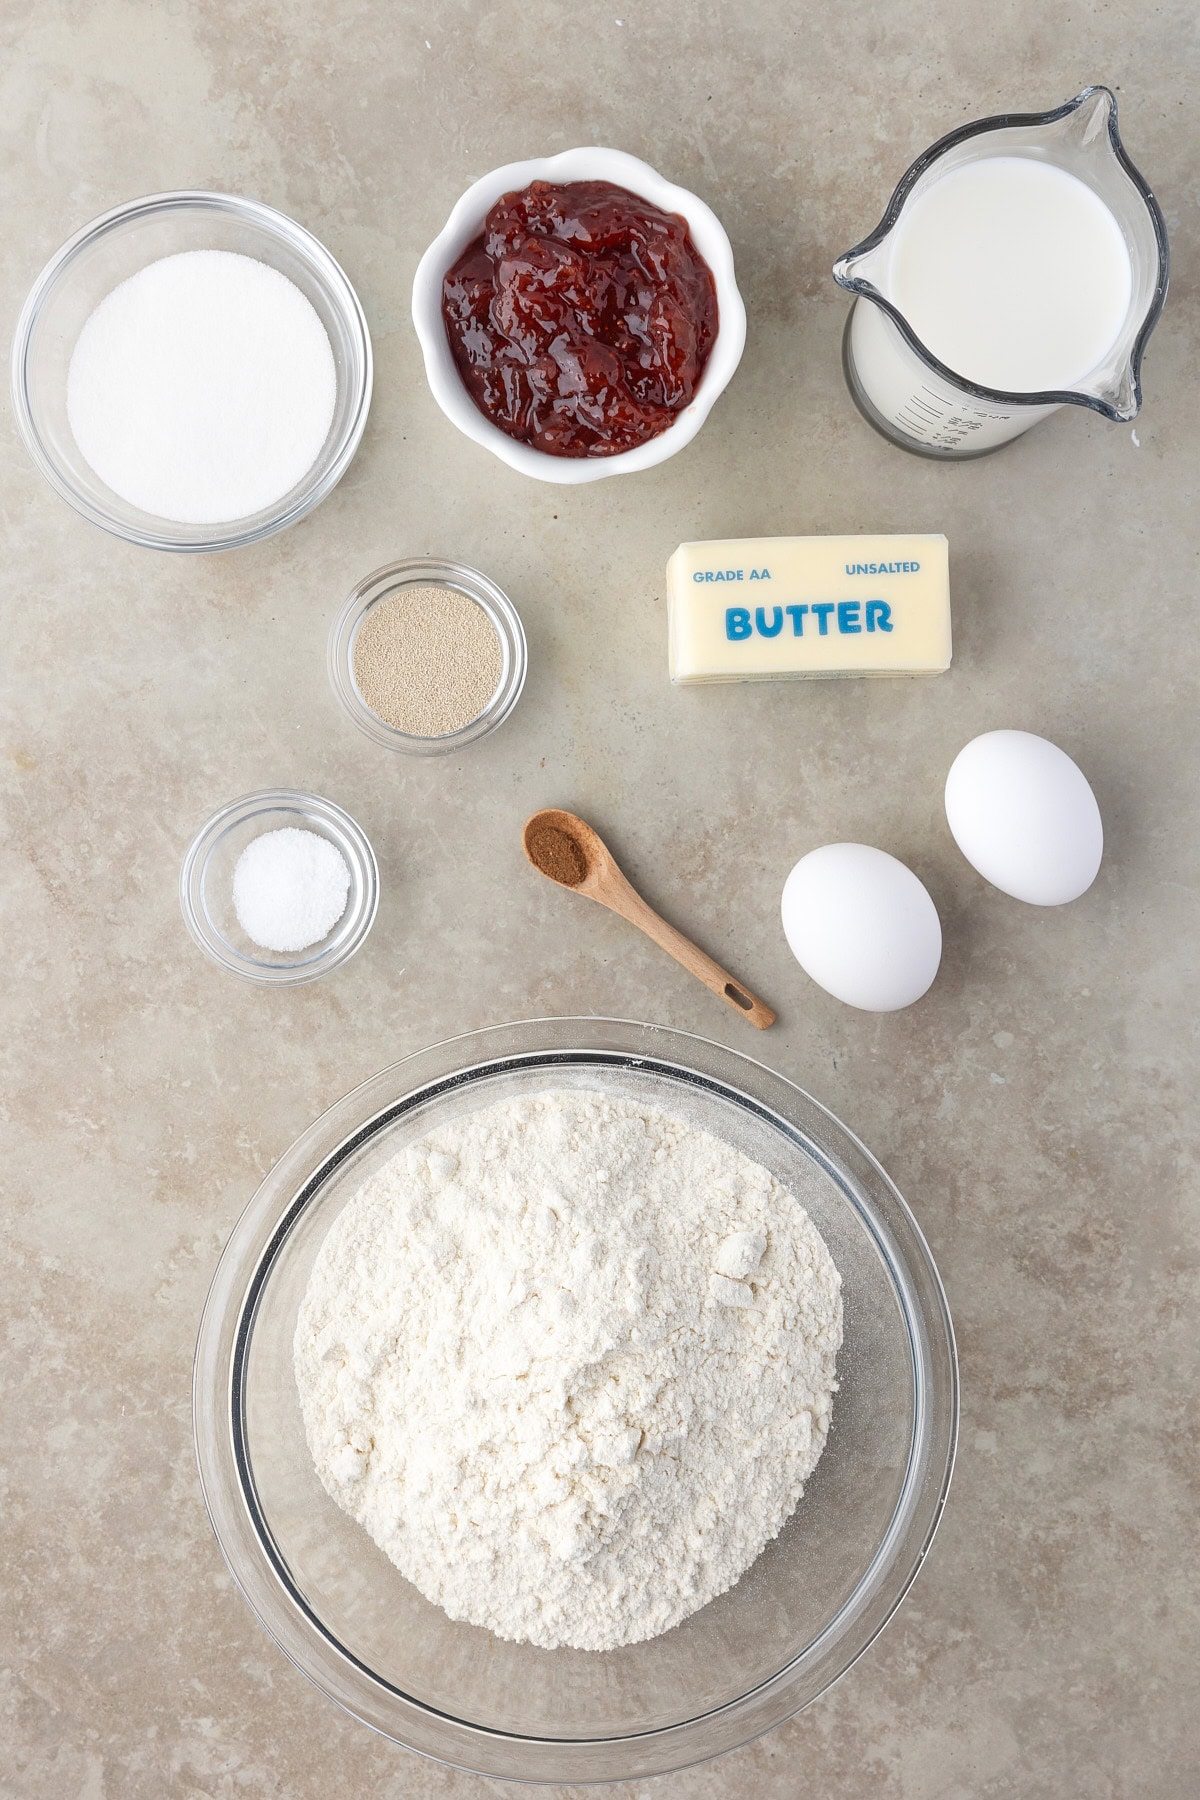
Ingredients
Milk – Warmed to 100–105°F. Use a 2% or 3% milk.
Instant yeast – Two packets of instant yeast (4½ teaspoons) can be used instead of one tablespoon if that’s what you have on hand. Both measurements give the same result.
All-purpose flour – This is the perfect flour to use; I haven’t tried it with others.
Eggs – These need to be at room temperature.
Granulated sugar – You will need more if that is your option for the outside.
Salt – This makes the other ingredients shine.
Unsalted butter – This needs to be very soft, warmer than room temperature.
Ground nutmeg – Can be left out, but is recommended.
Oil for frying – What oil should I use? Neutral, high-smoke-point oils like canola, vegetable, or peanut oil.
Strawberry, blueberry or raspberry jam – This is for filling. What other jams work? Blackberry, apricot, black cherry, and lemon curd all work well.
Granulated sugar, powdered sugar, or simple glaze – For finishing.
How to Make Bismark Donuts
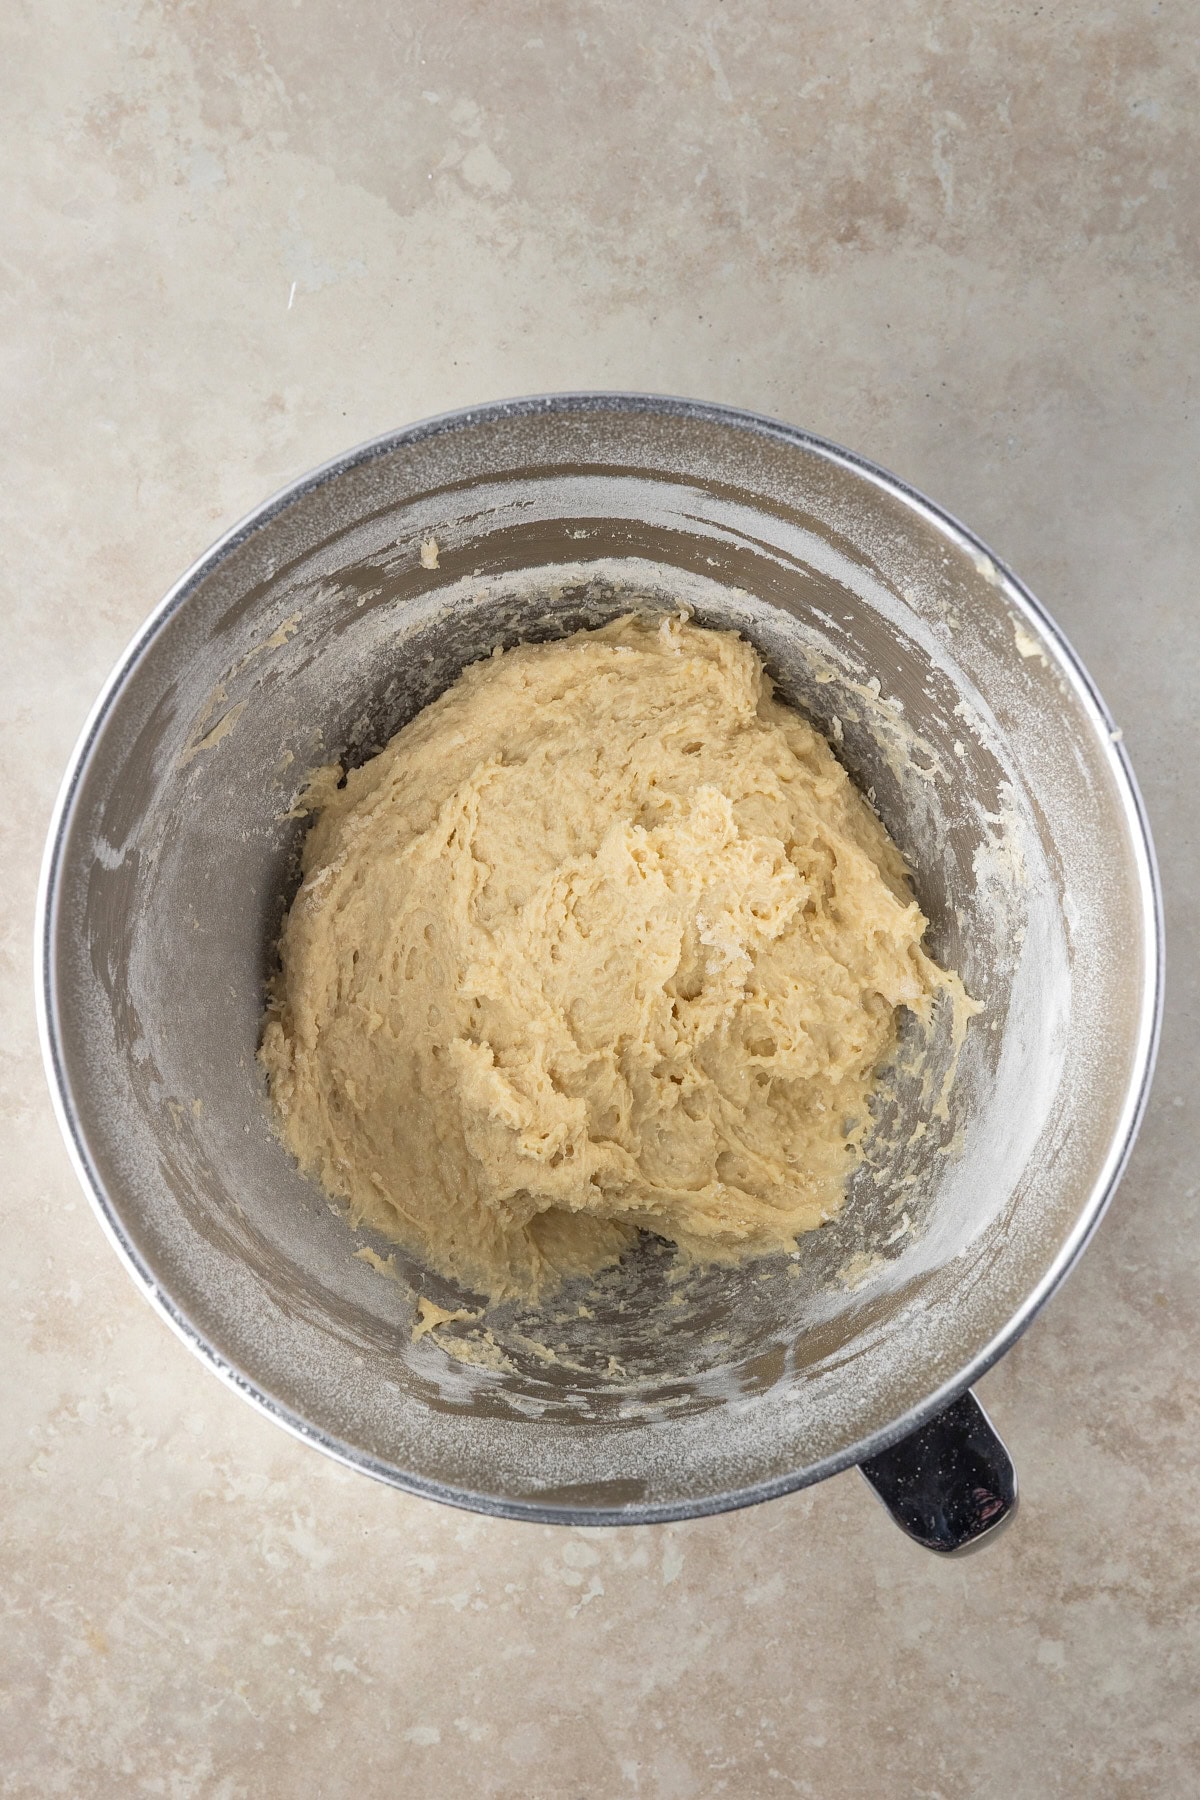
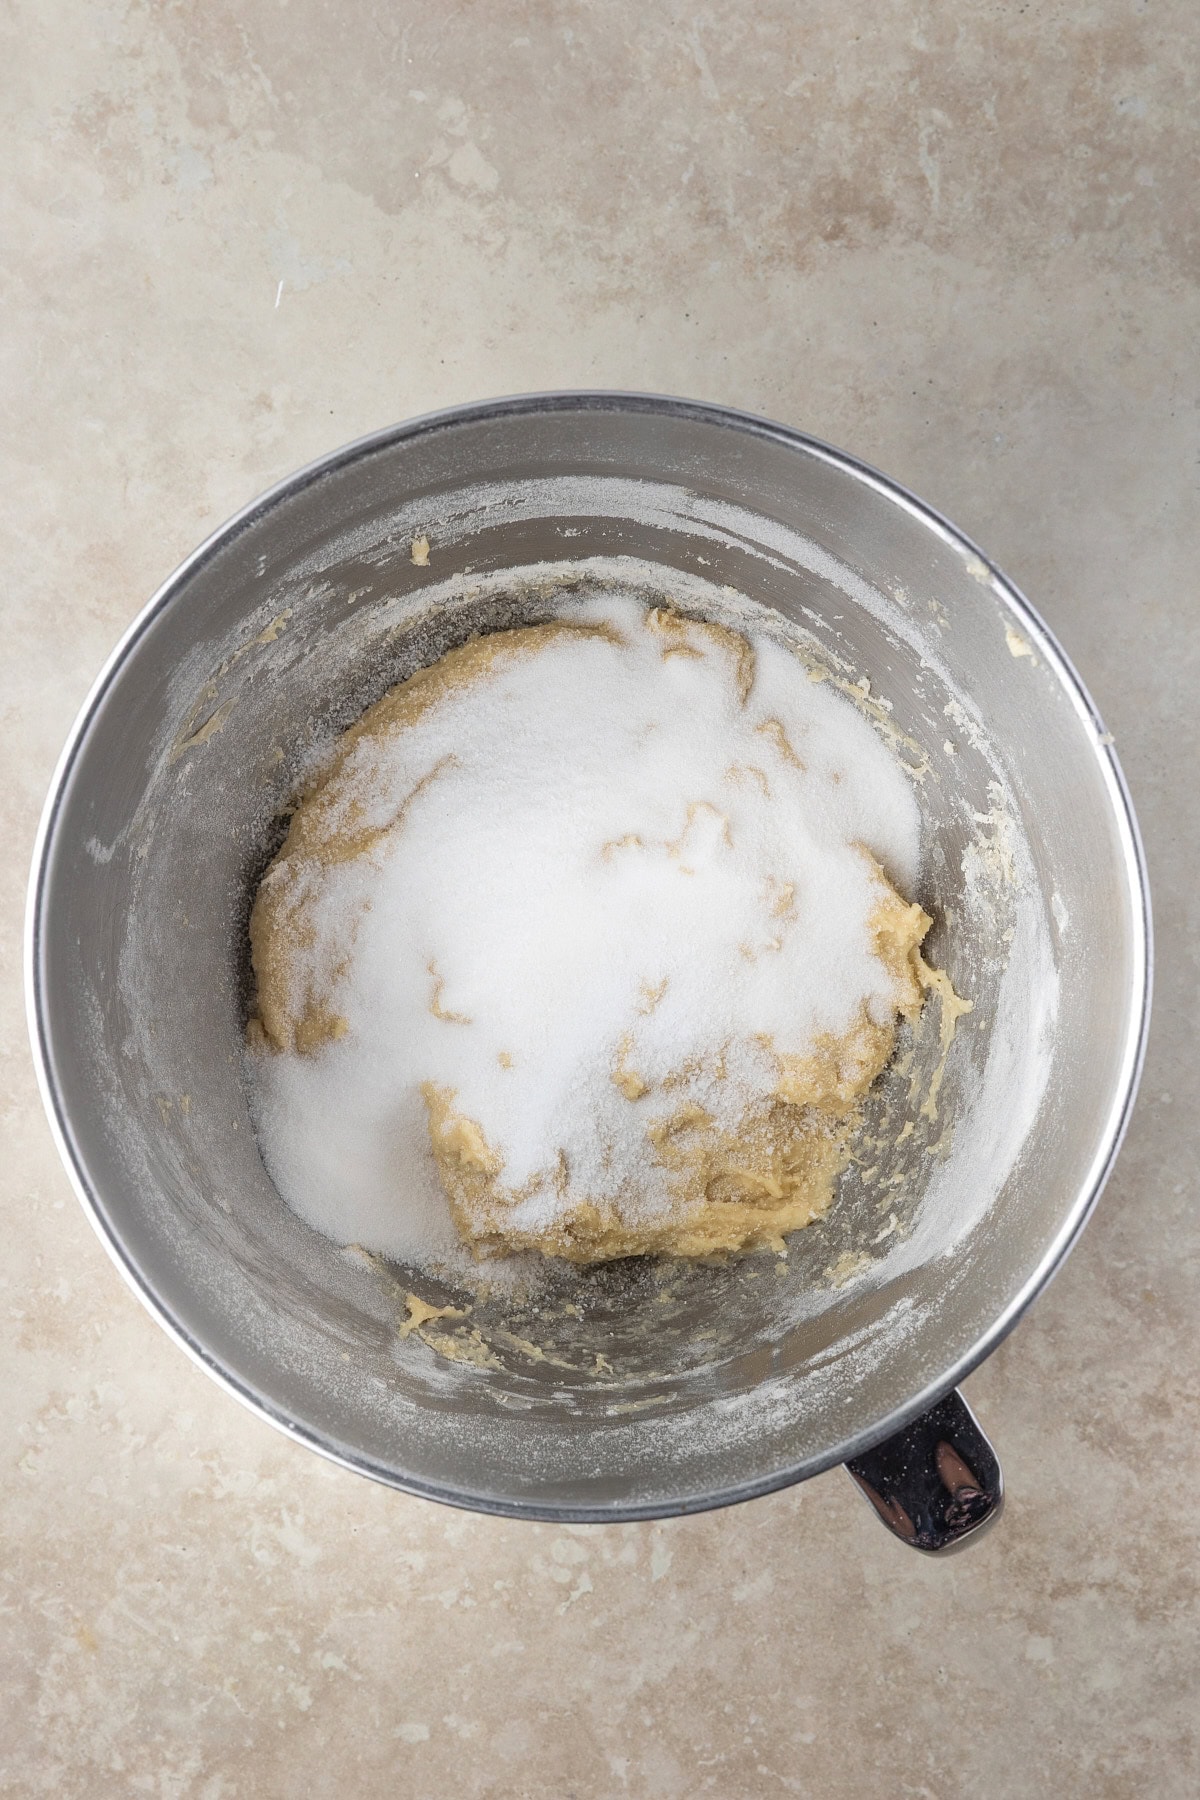
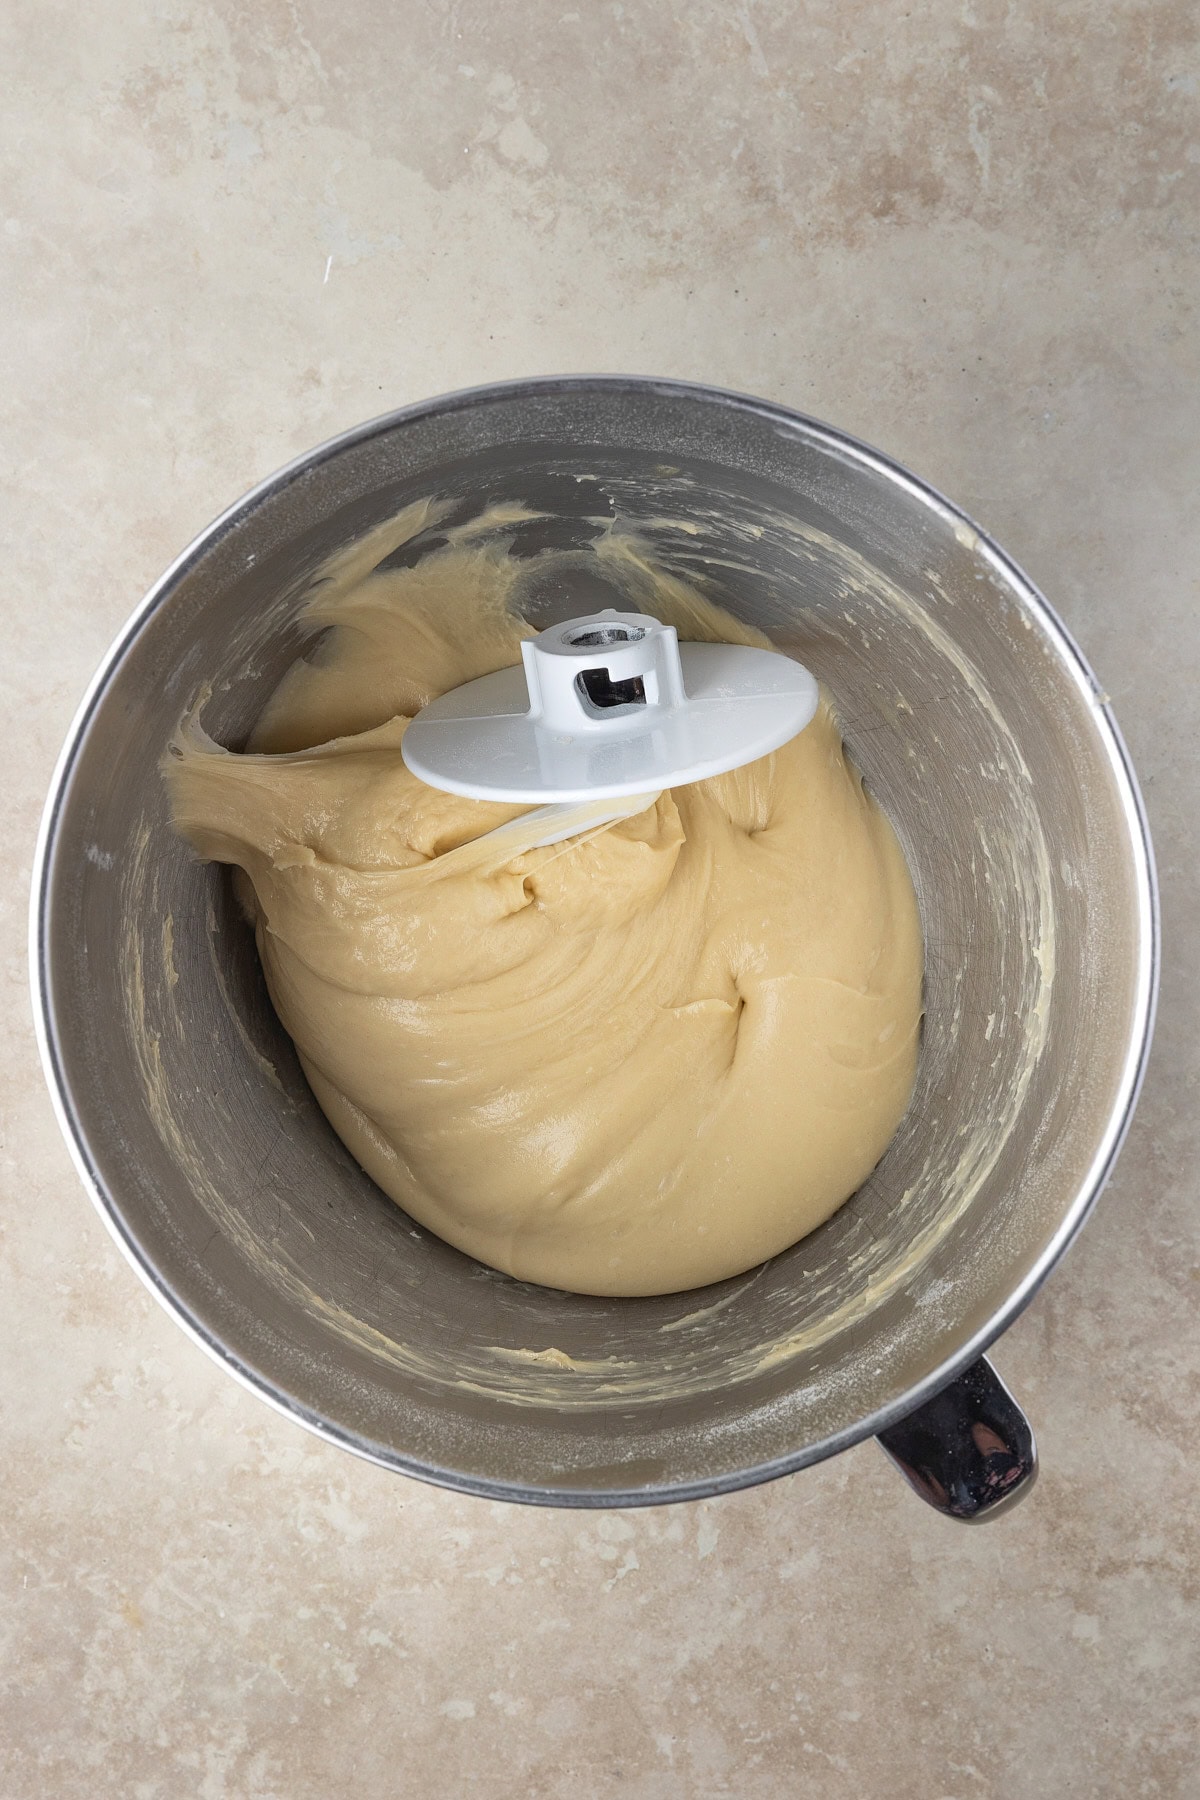
Instructions — Overnight Method (Recommended)
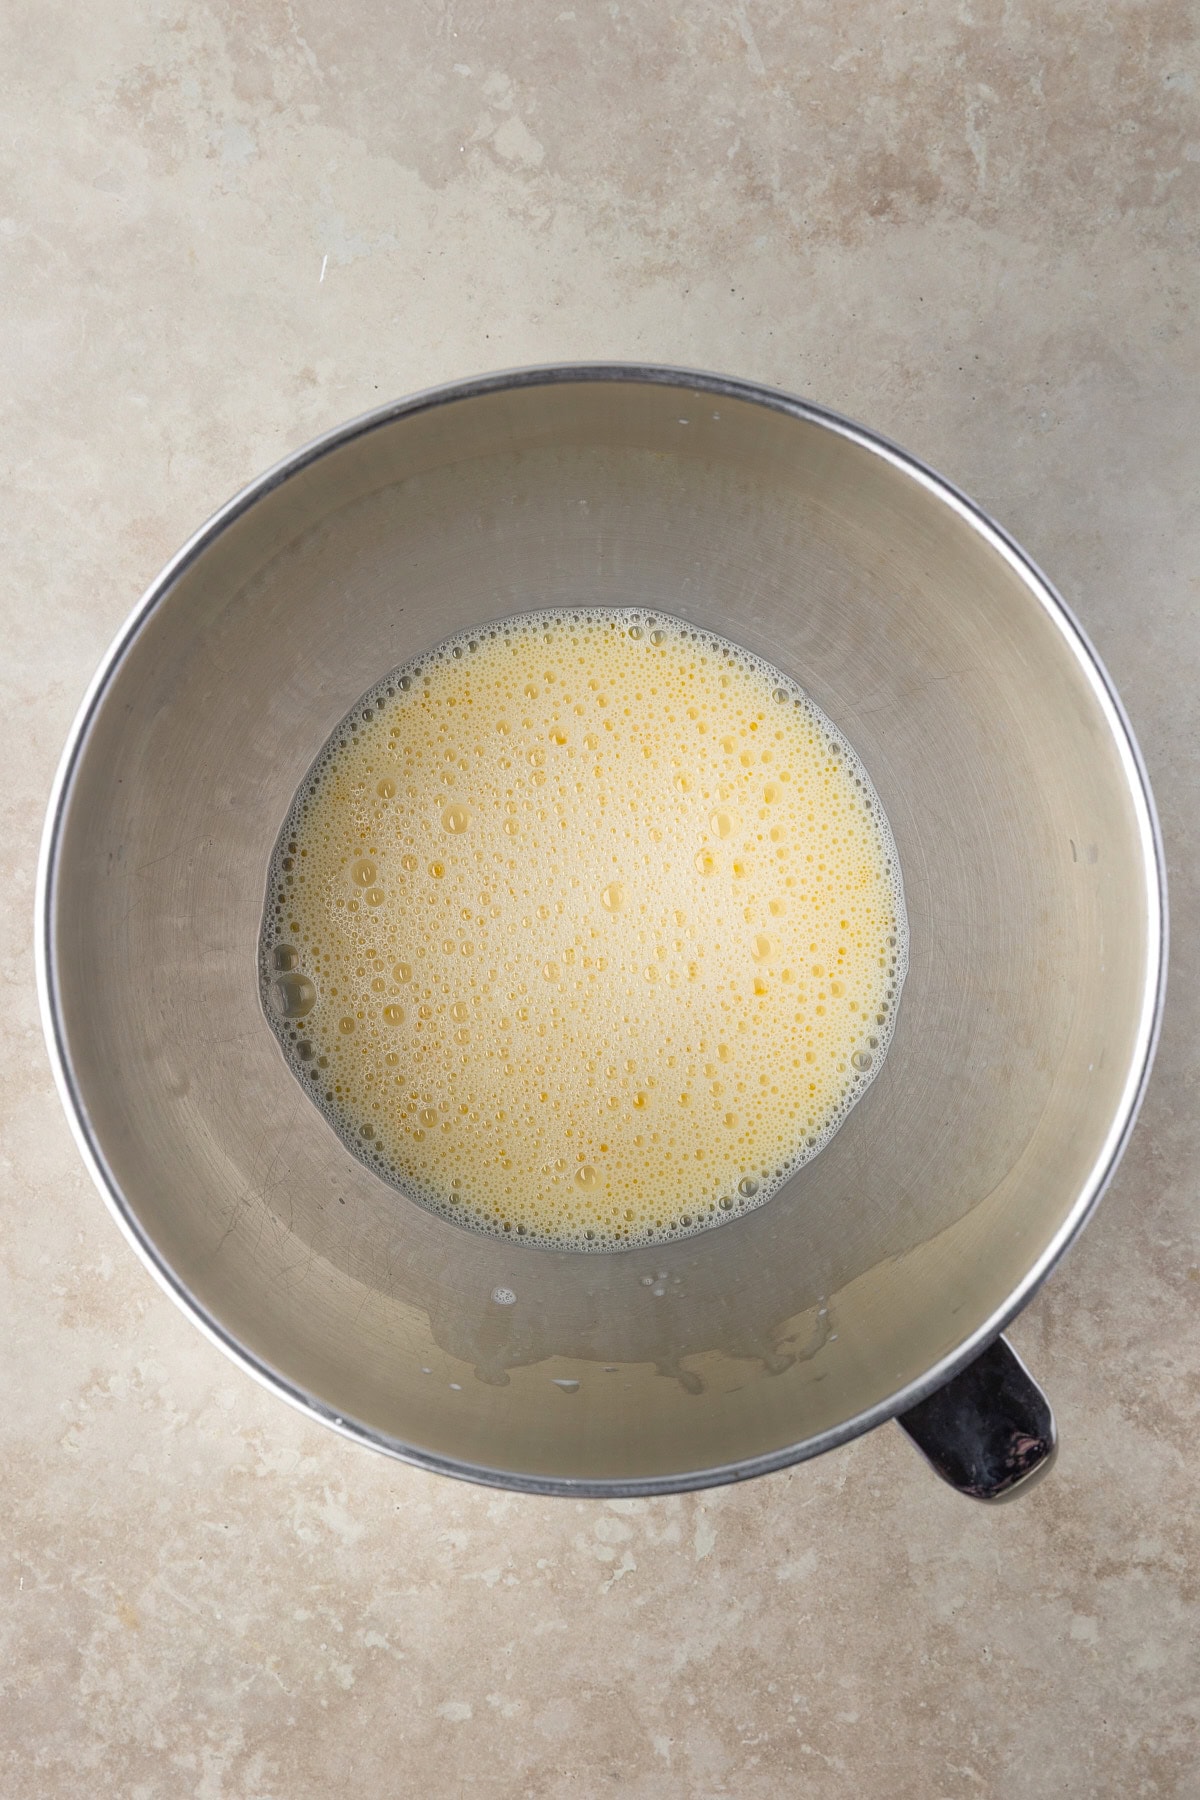
In a large bowl, whisk the warm milk and eggs until smooth. Add the flour, instant yeast, and nutmeg. Mix until the dough forms a shaggy, sticky mass. Cover the bowl and let the dough rest for 15–20 minutes to hydrate the flour and begin gluten development.
Add the sugar and salt and mix until incorporated. Add the softened butter one tablespoon at a time, letting each addition fully blend in. Continue mixing or kneading until the dough becomes smooth, elastic, and tacky but not gluey. If the dough still feels loose or overly soft, add 2–4 tablespoons of additional flour.
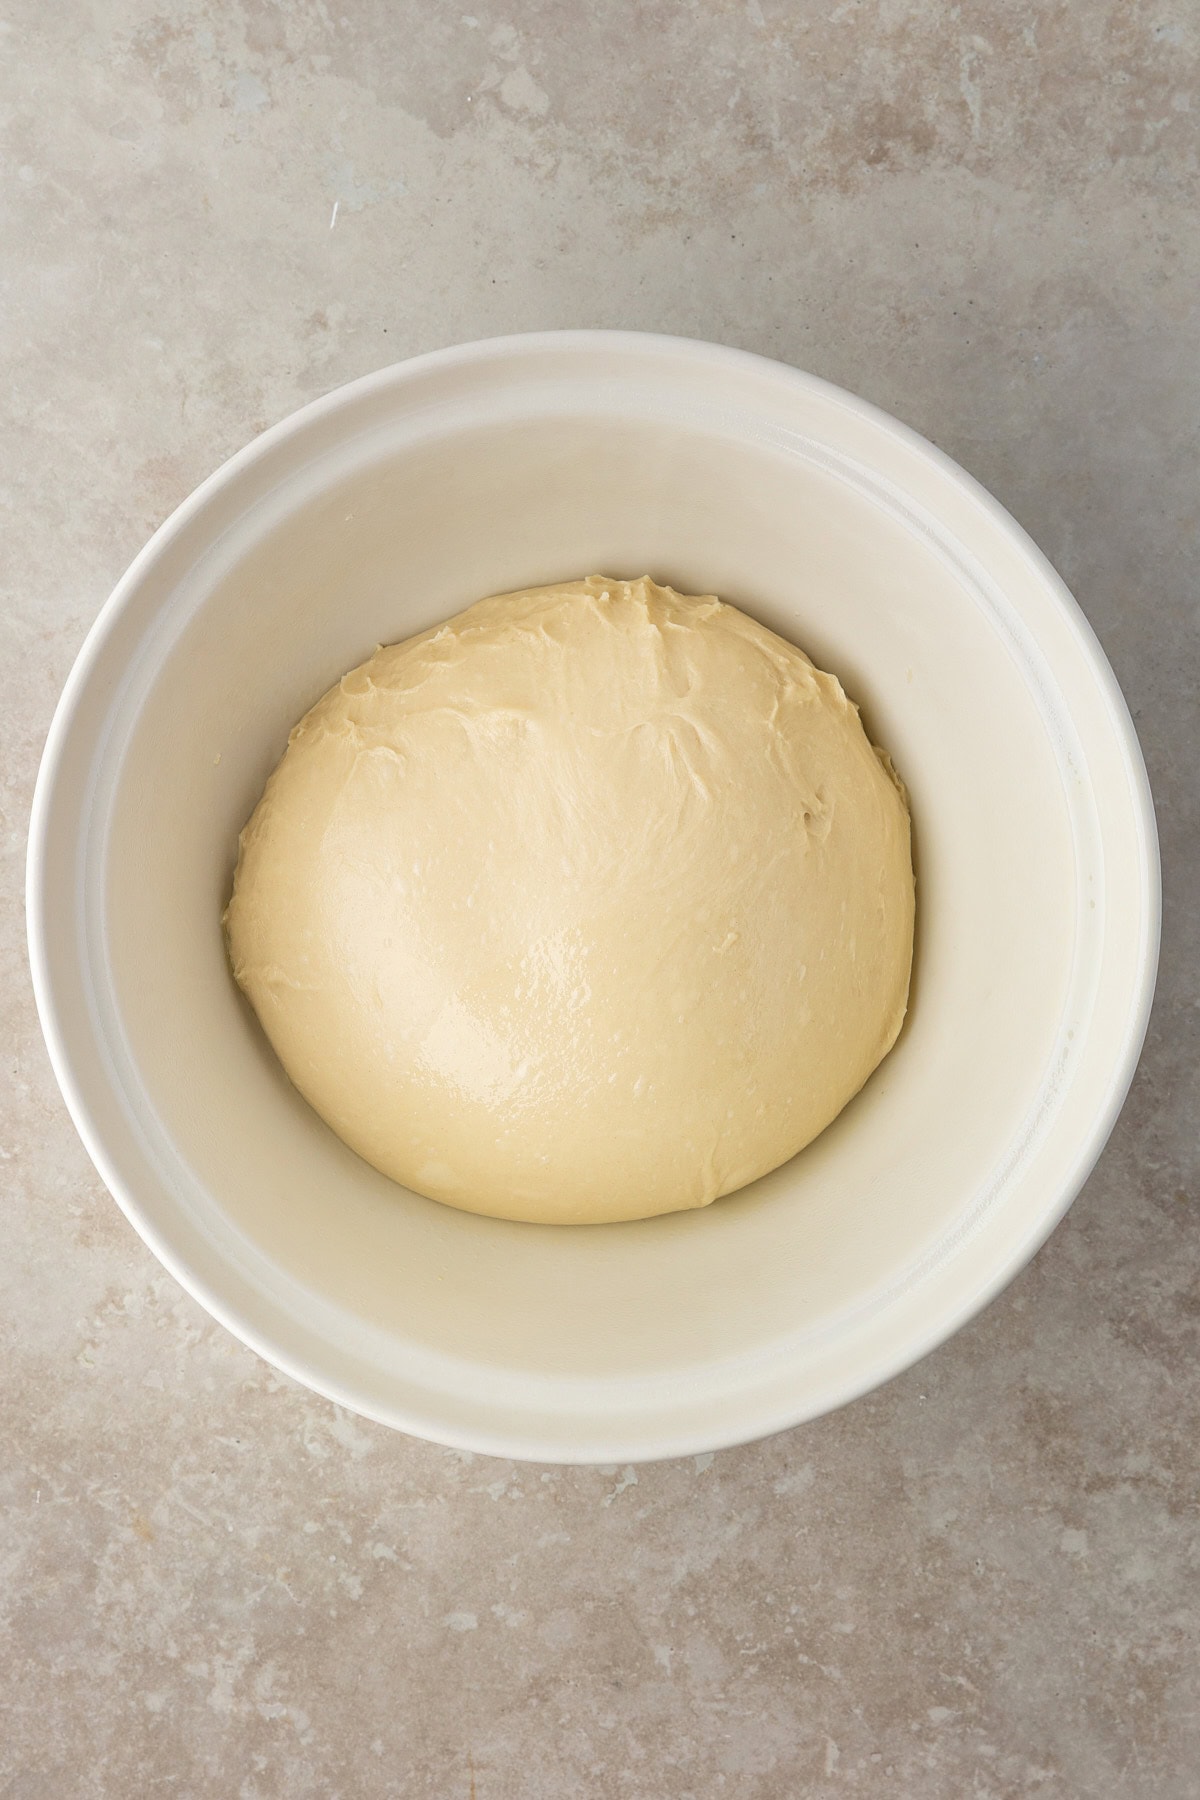
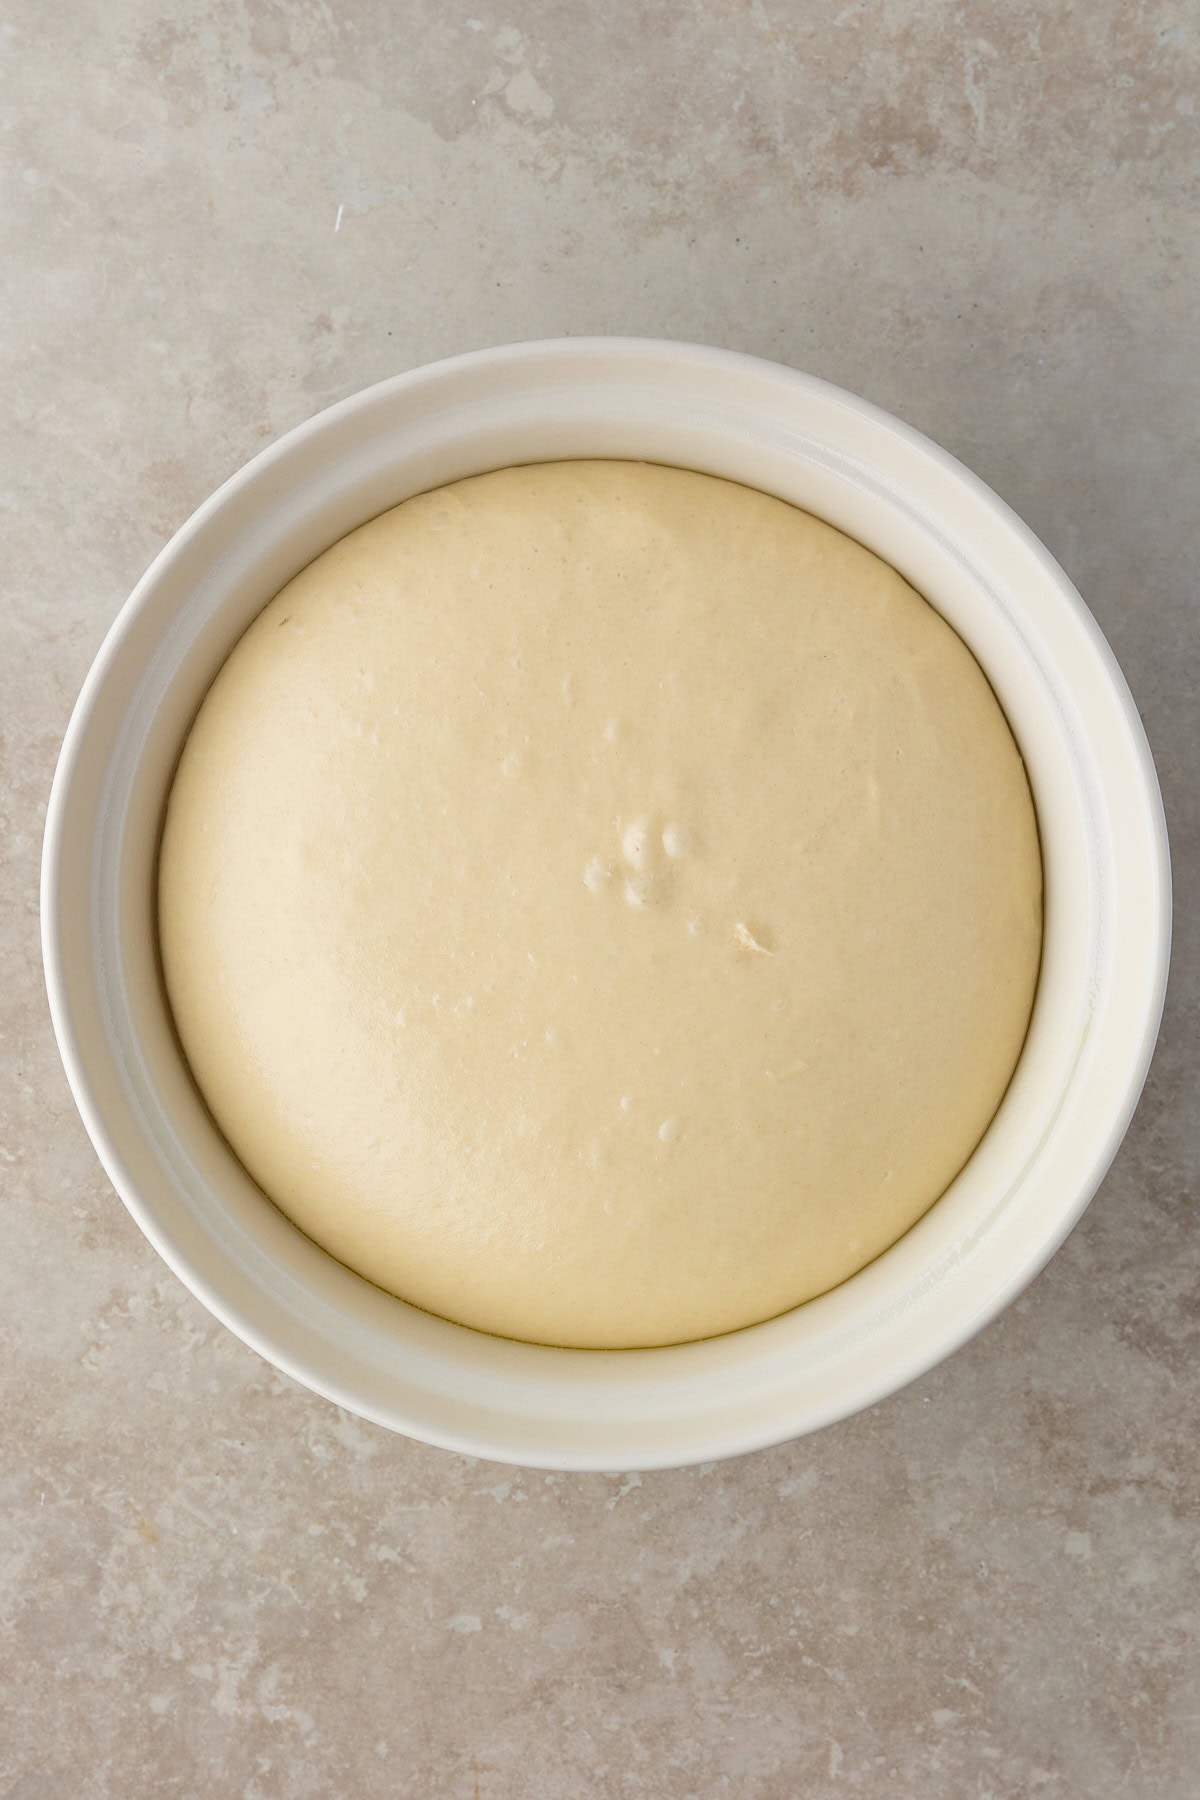
Place the dough in a lightly greased bowl, cover, and let it rest at room temperature for 10–15 minutes. Transfer the covered bowl to the refrigerator and chill overnight for 12–16 hours.
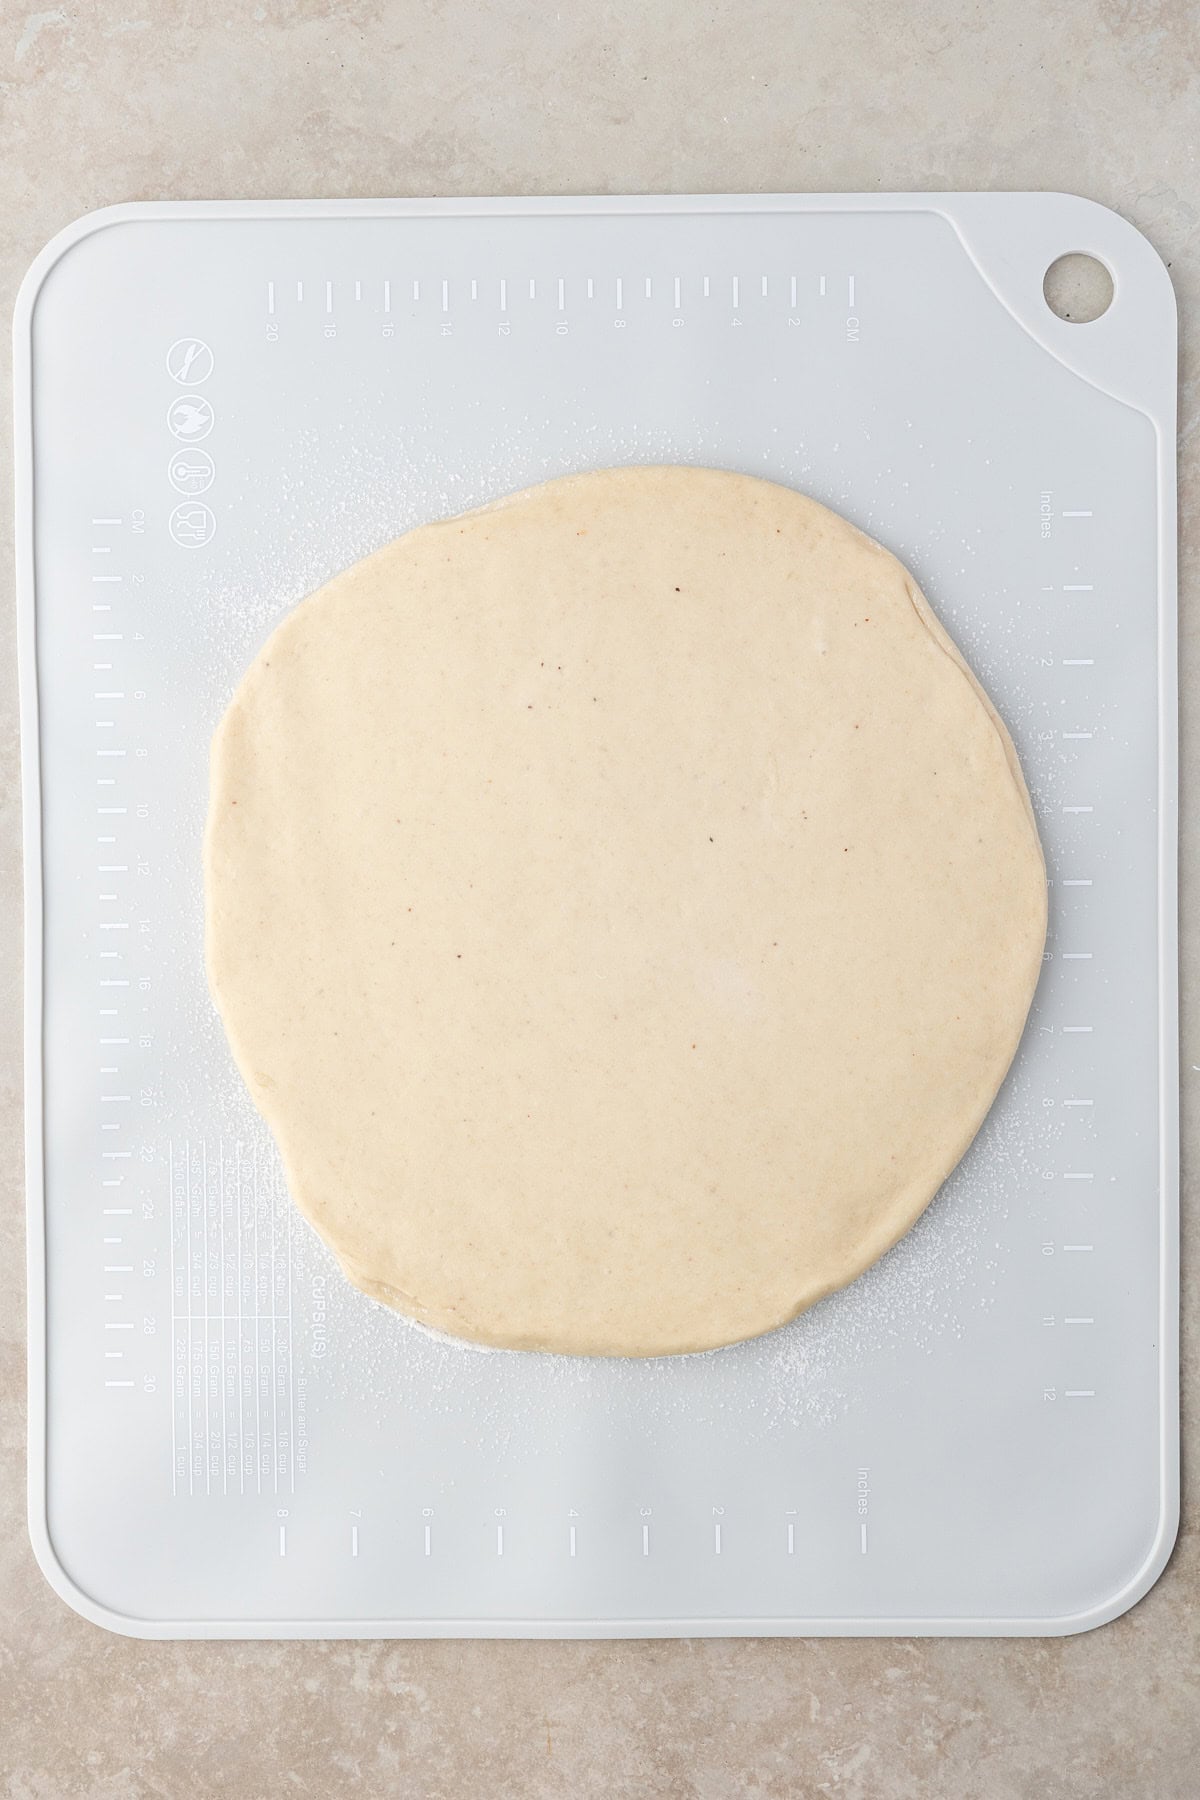
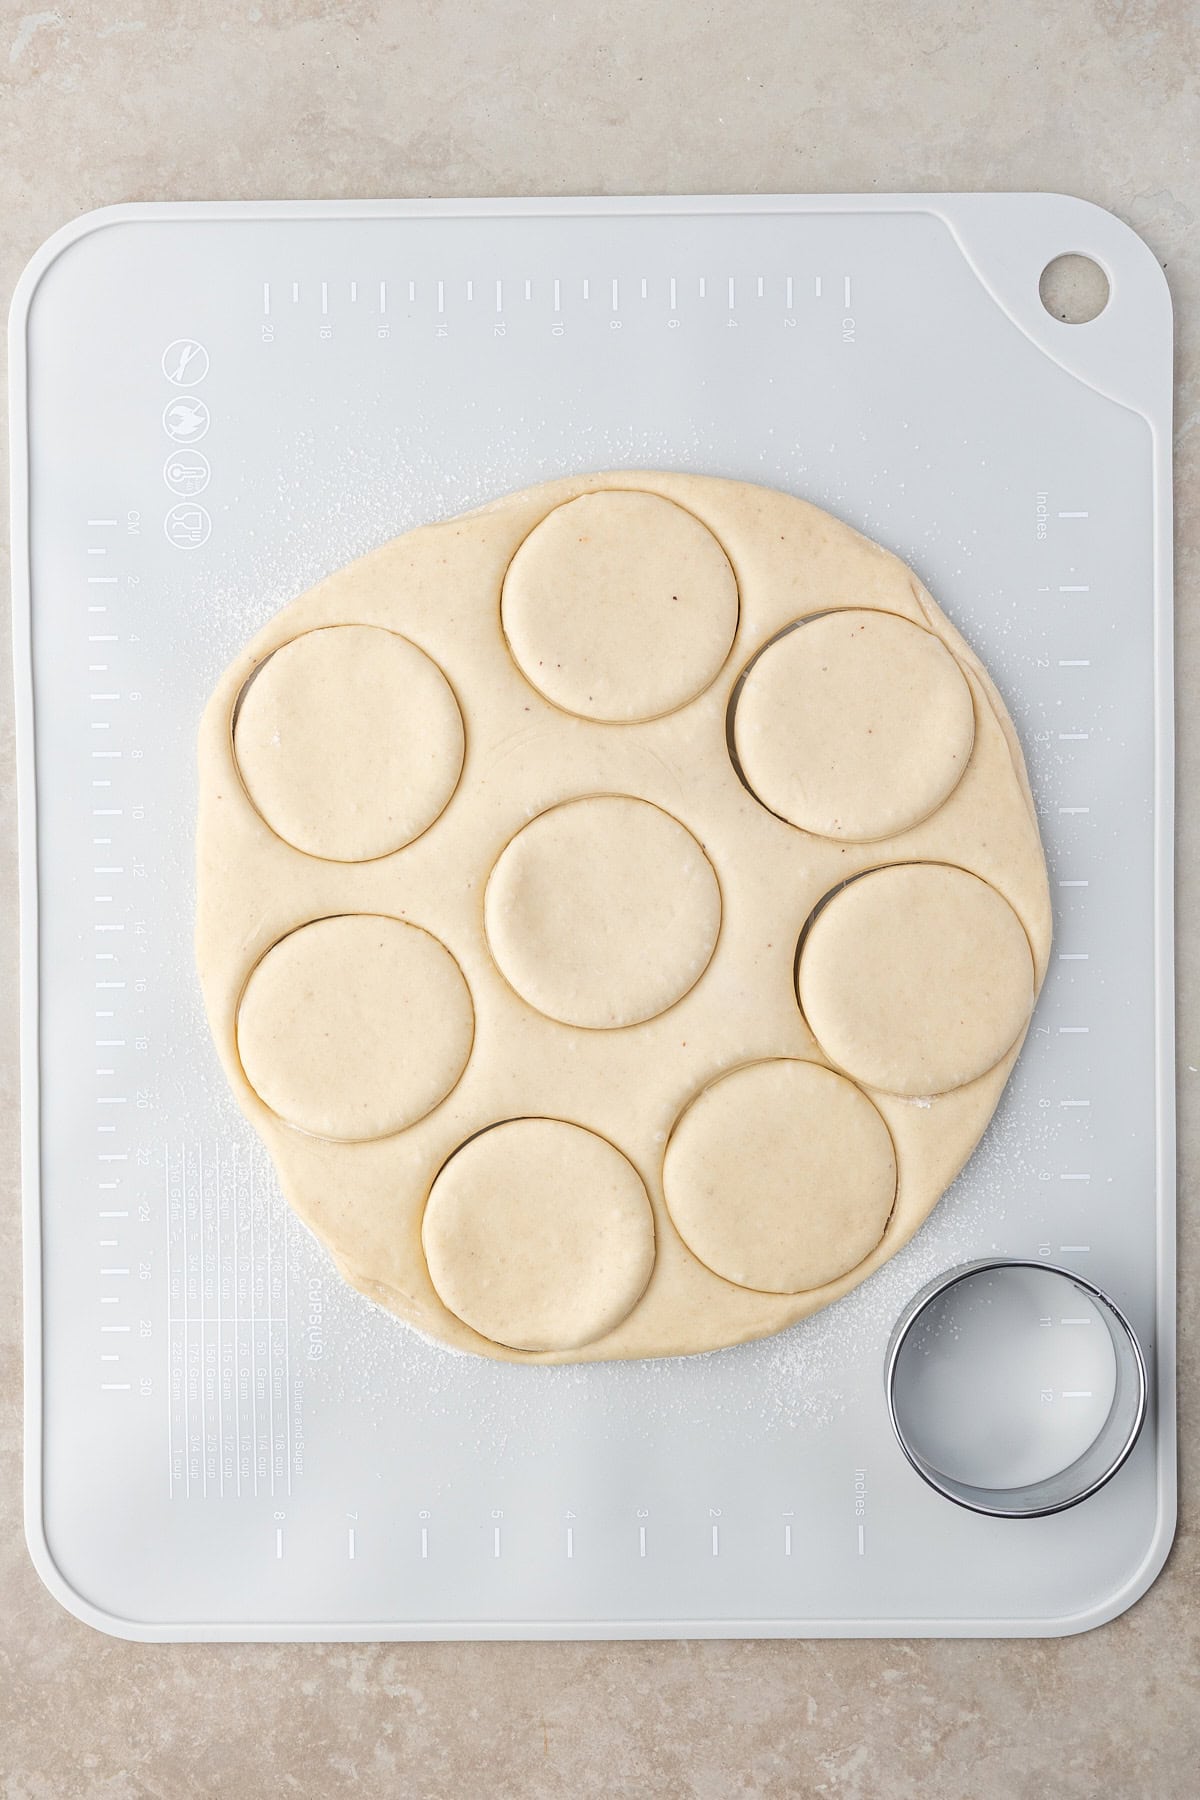
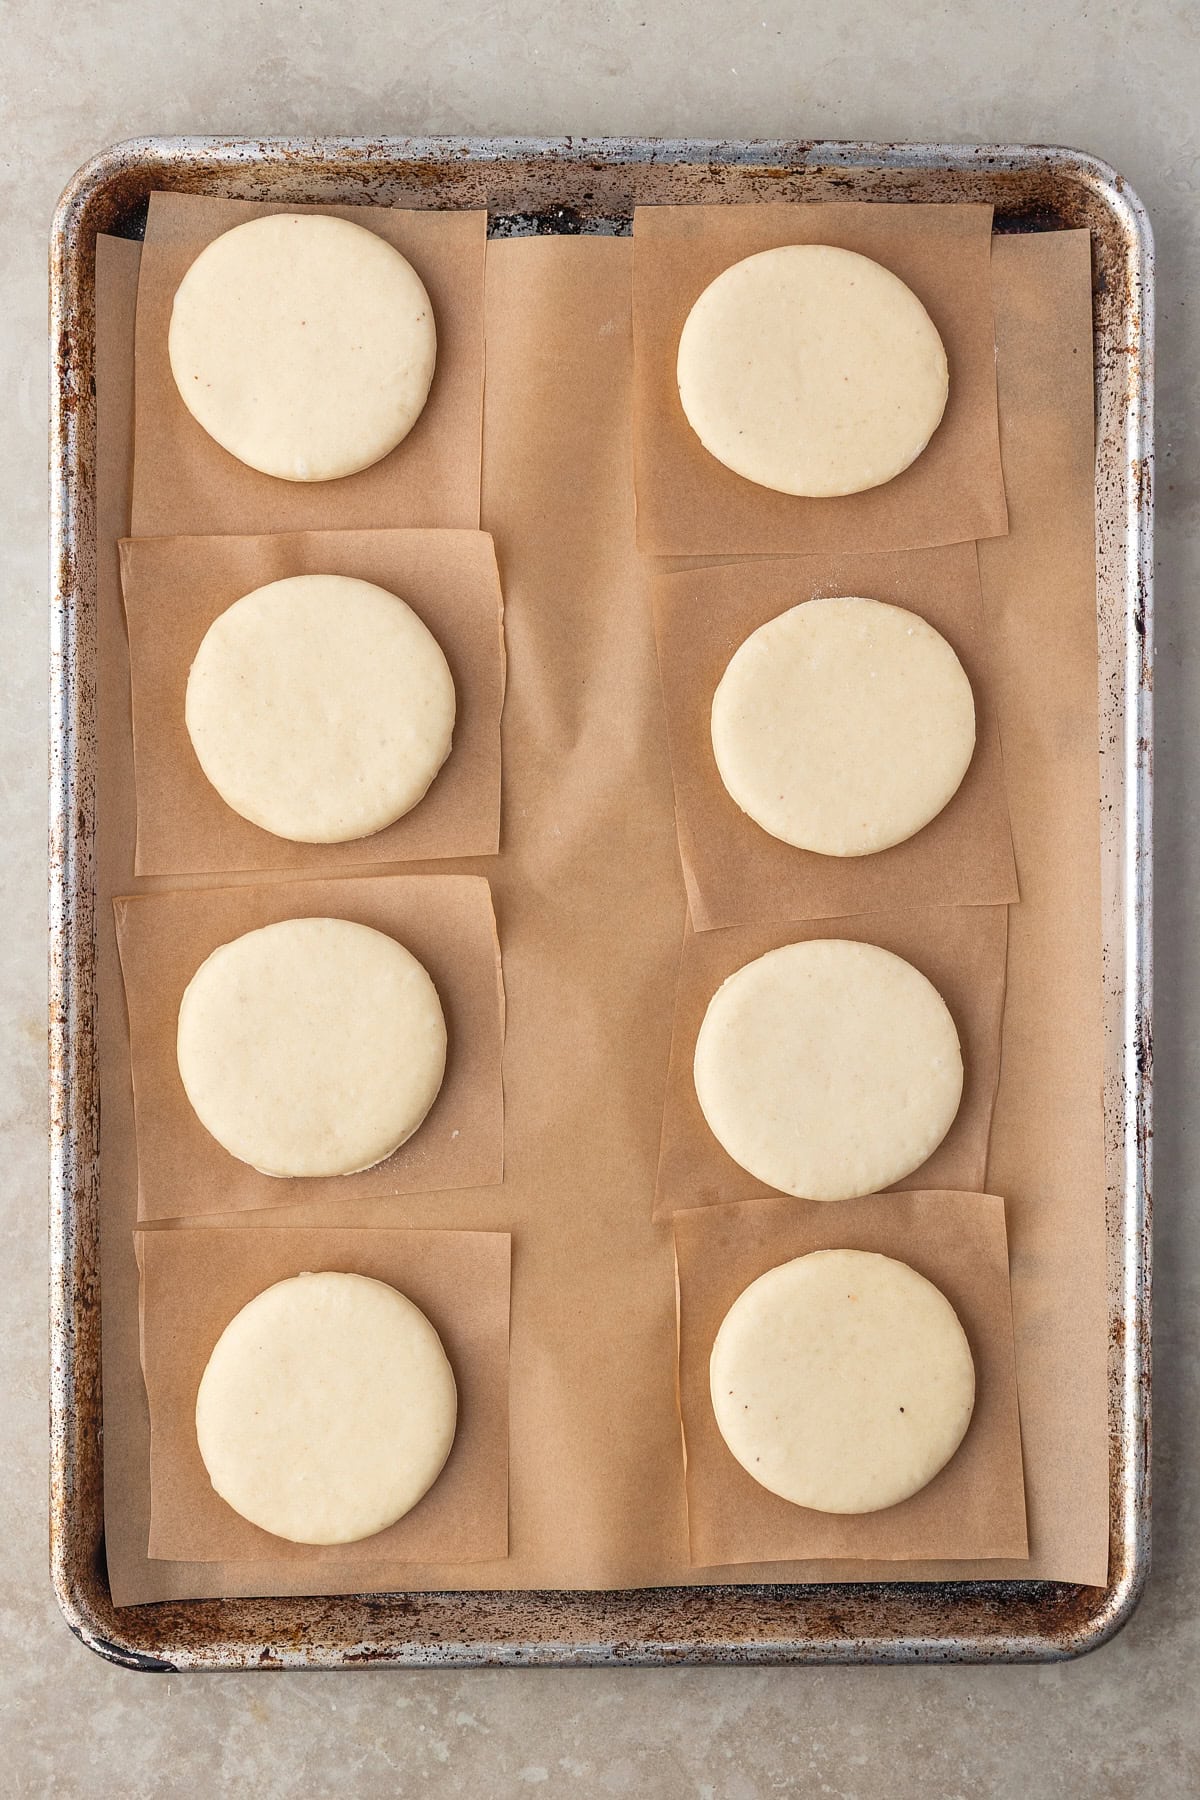
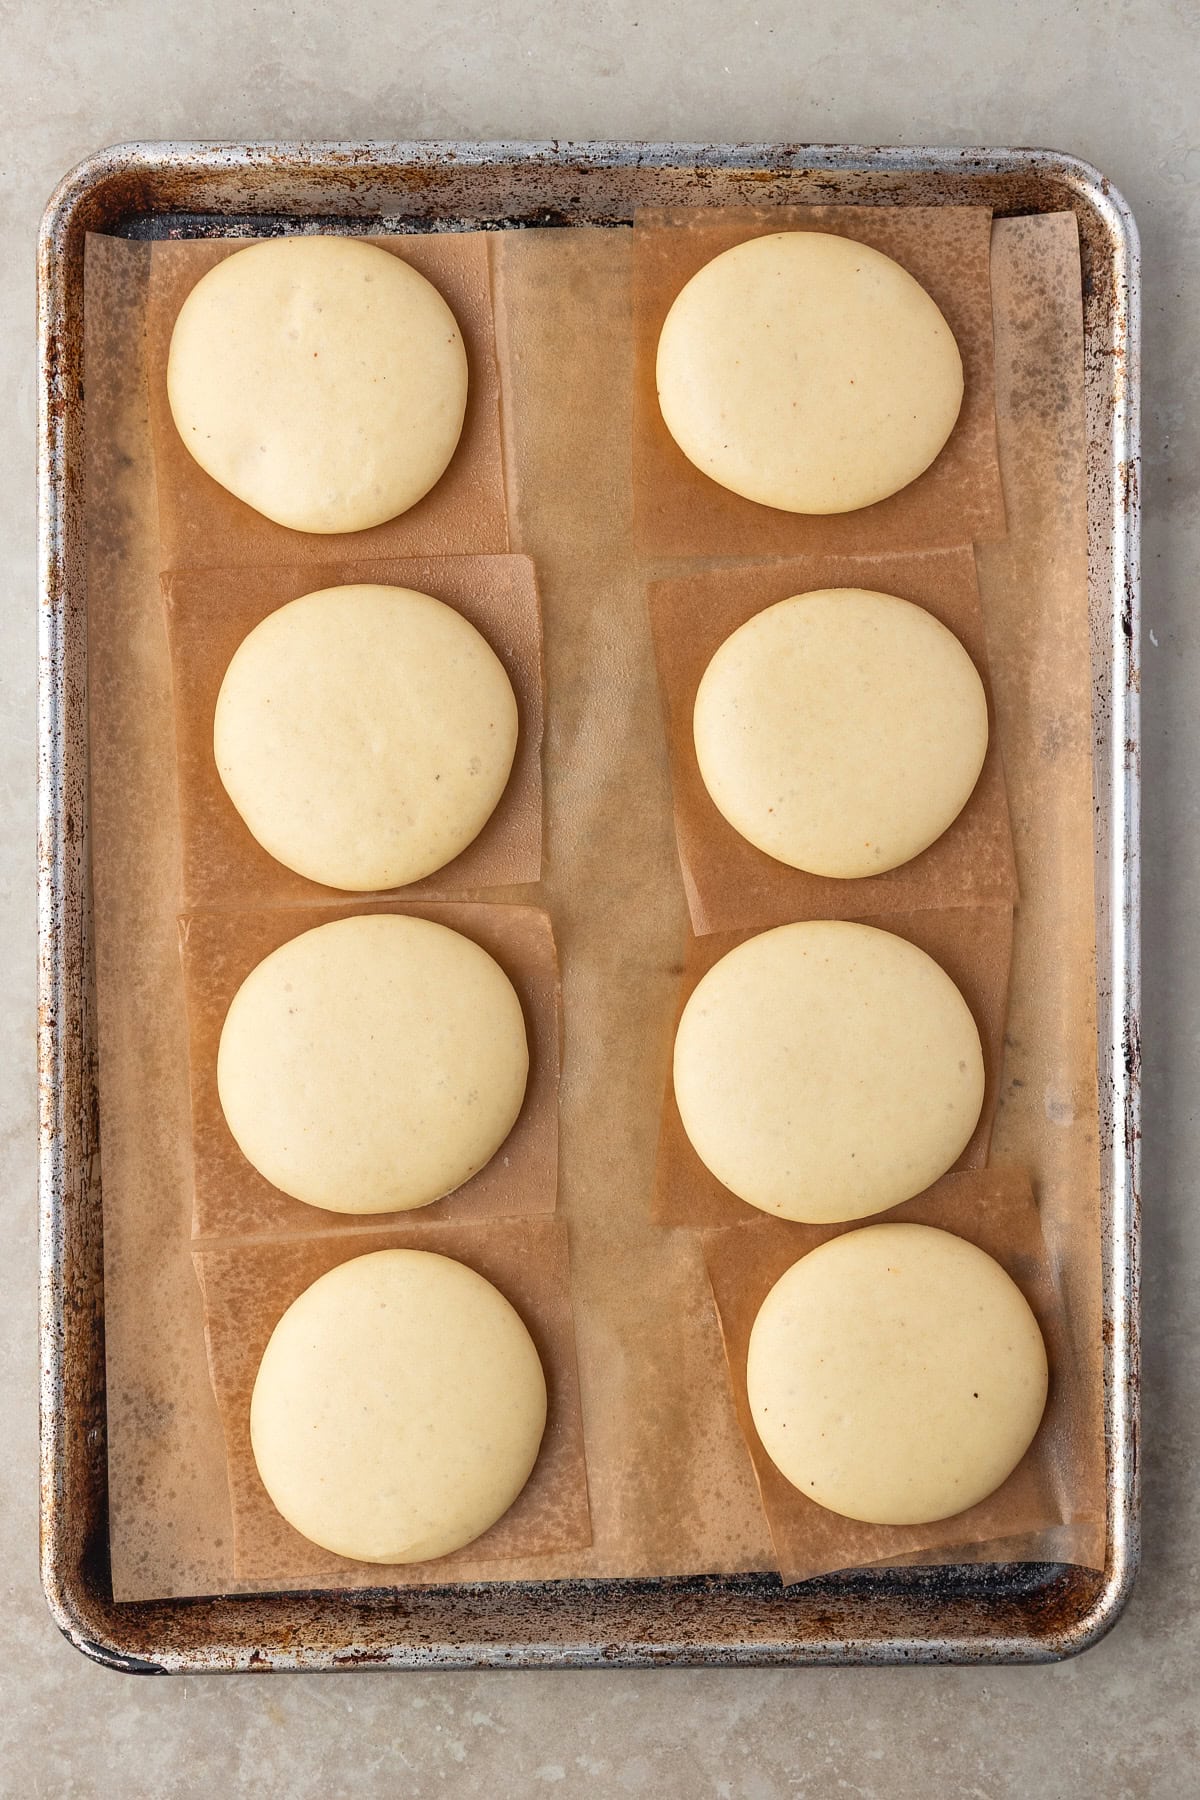
The next morning, allow the dough to rest at room temperature for 20–30 minutes. Lightly flour your counter and gently roll or pat the dough to ½ inch thickness. Lightly flour the top and cut 3-inch rounds, pressing straight down. Use a thin spatula or bench scraper to transfer each donut to a parchment-lined baking sheet. You can cut out parchment squares for each to rest on. Do not reroll the scraps; use them for donut holes.
Cover lightly and let the donuts rise until puffy and soft, about 45–75 minutes depending on kitchen temperature.
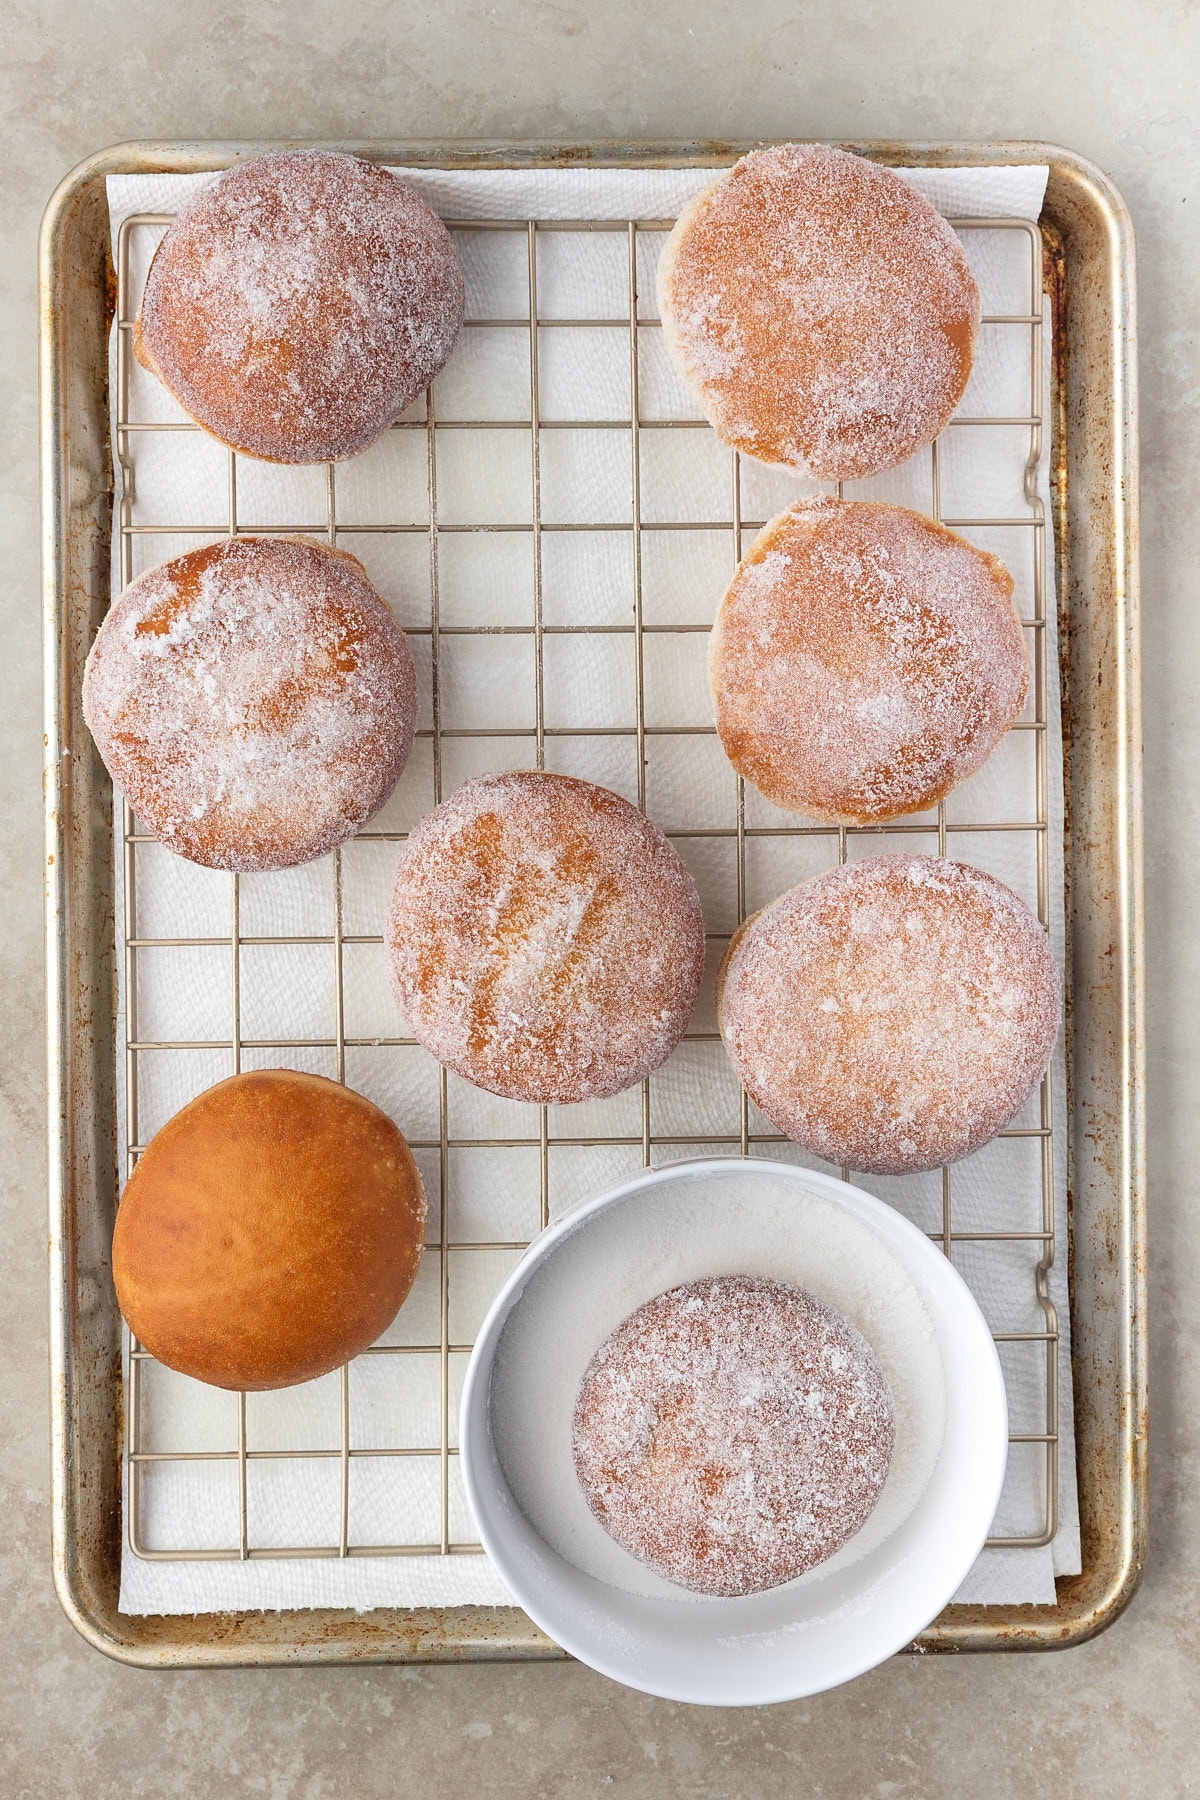
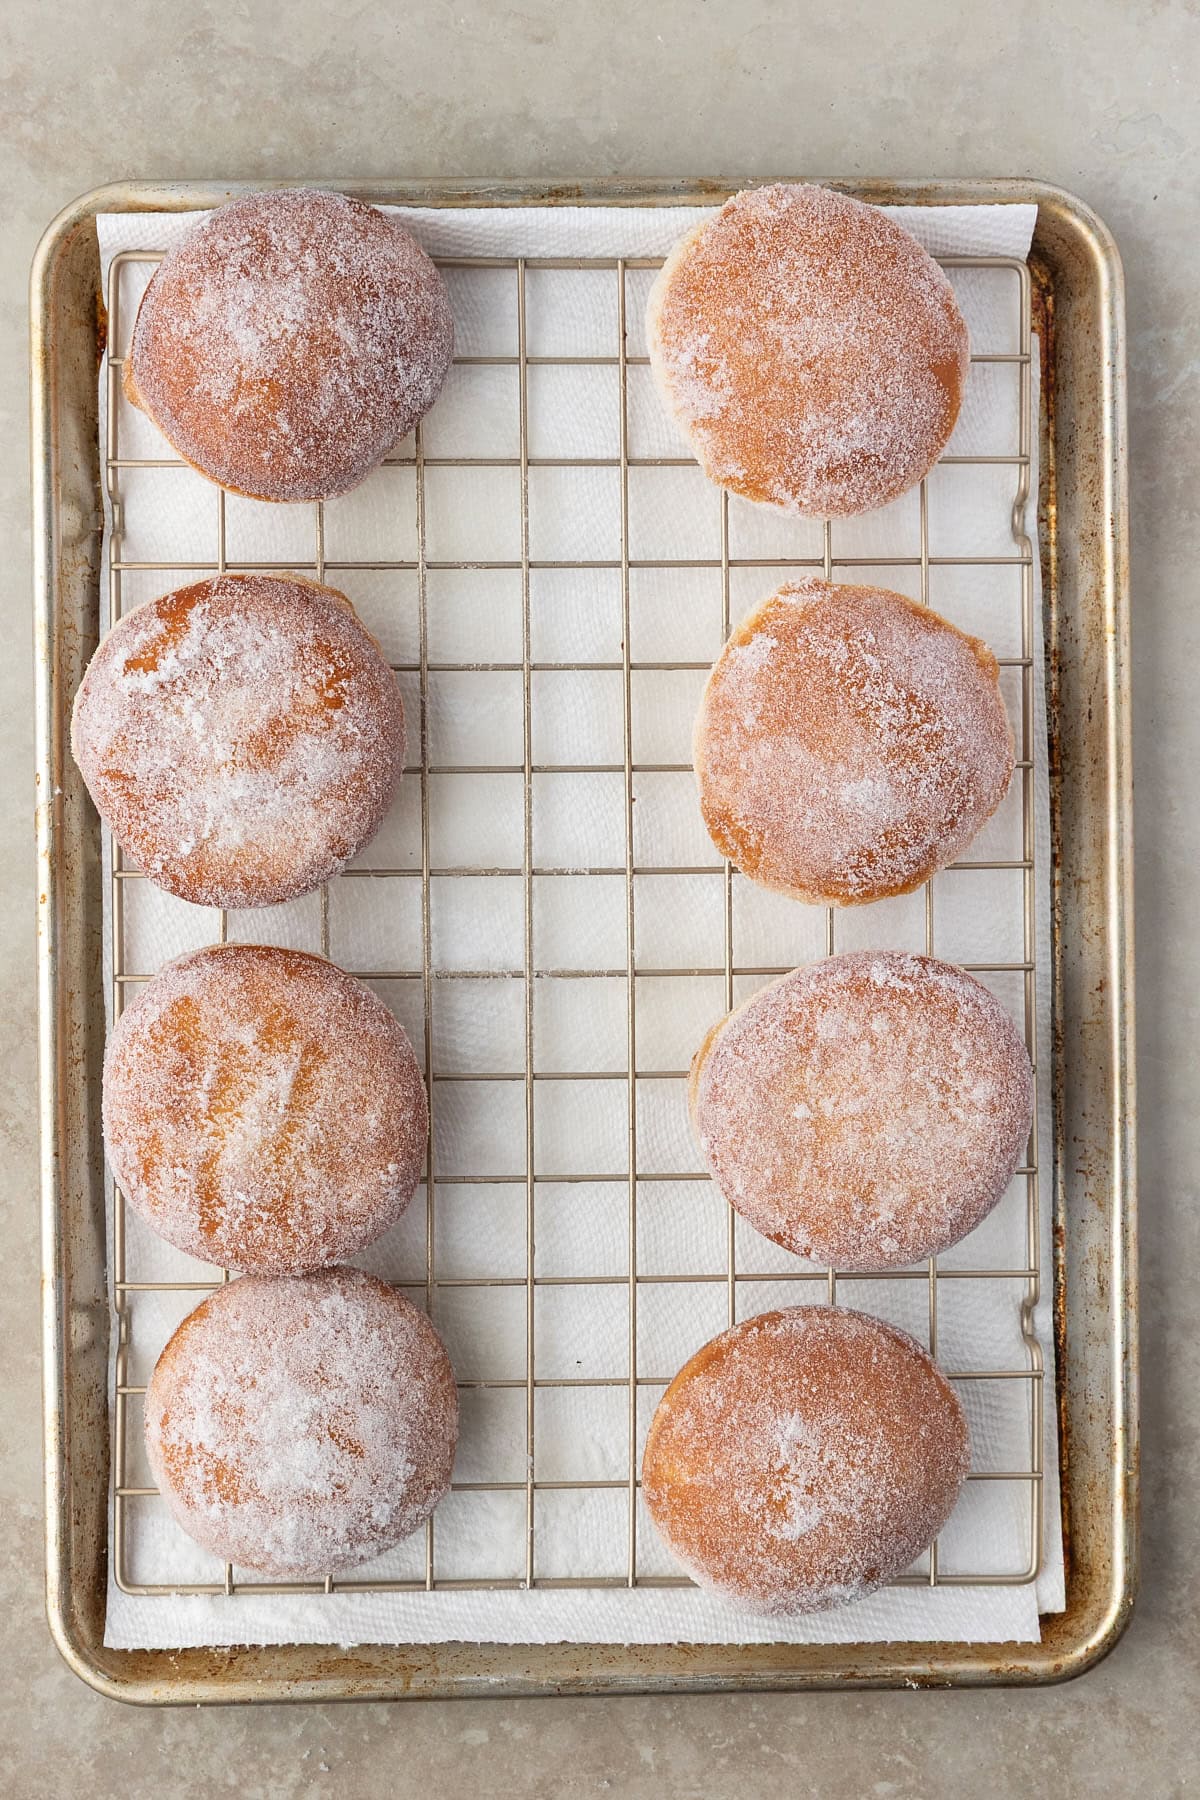
Heat oil to 340–350°F. Fry the donuts for 1–2 minutes per side until golden. Immediately toss warm donuts in granulated sugar, or let them cool and dust with powdered sugar. Place on a rack to cool before filling.
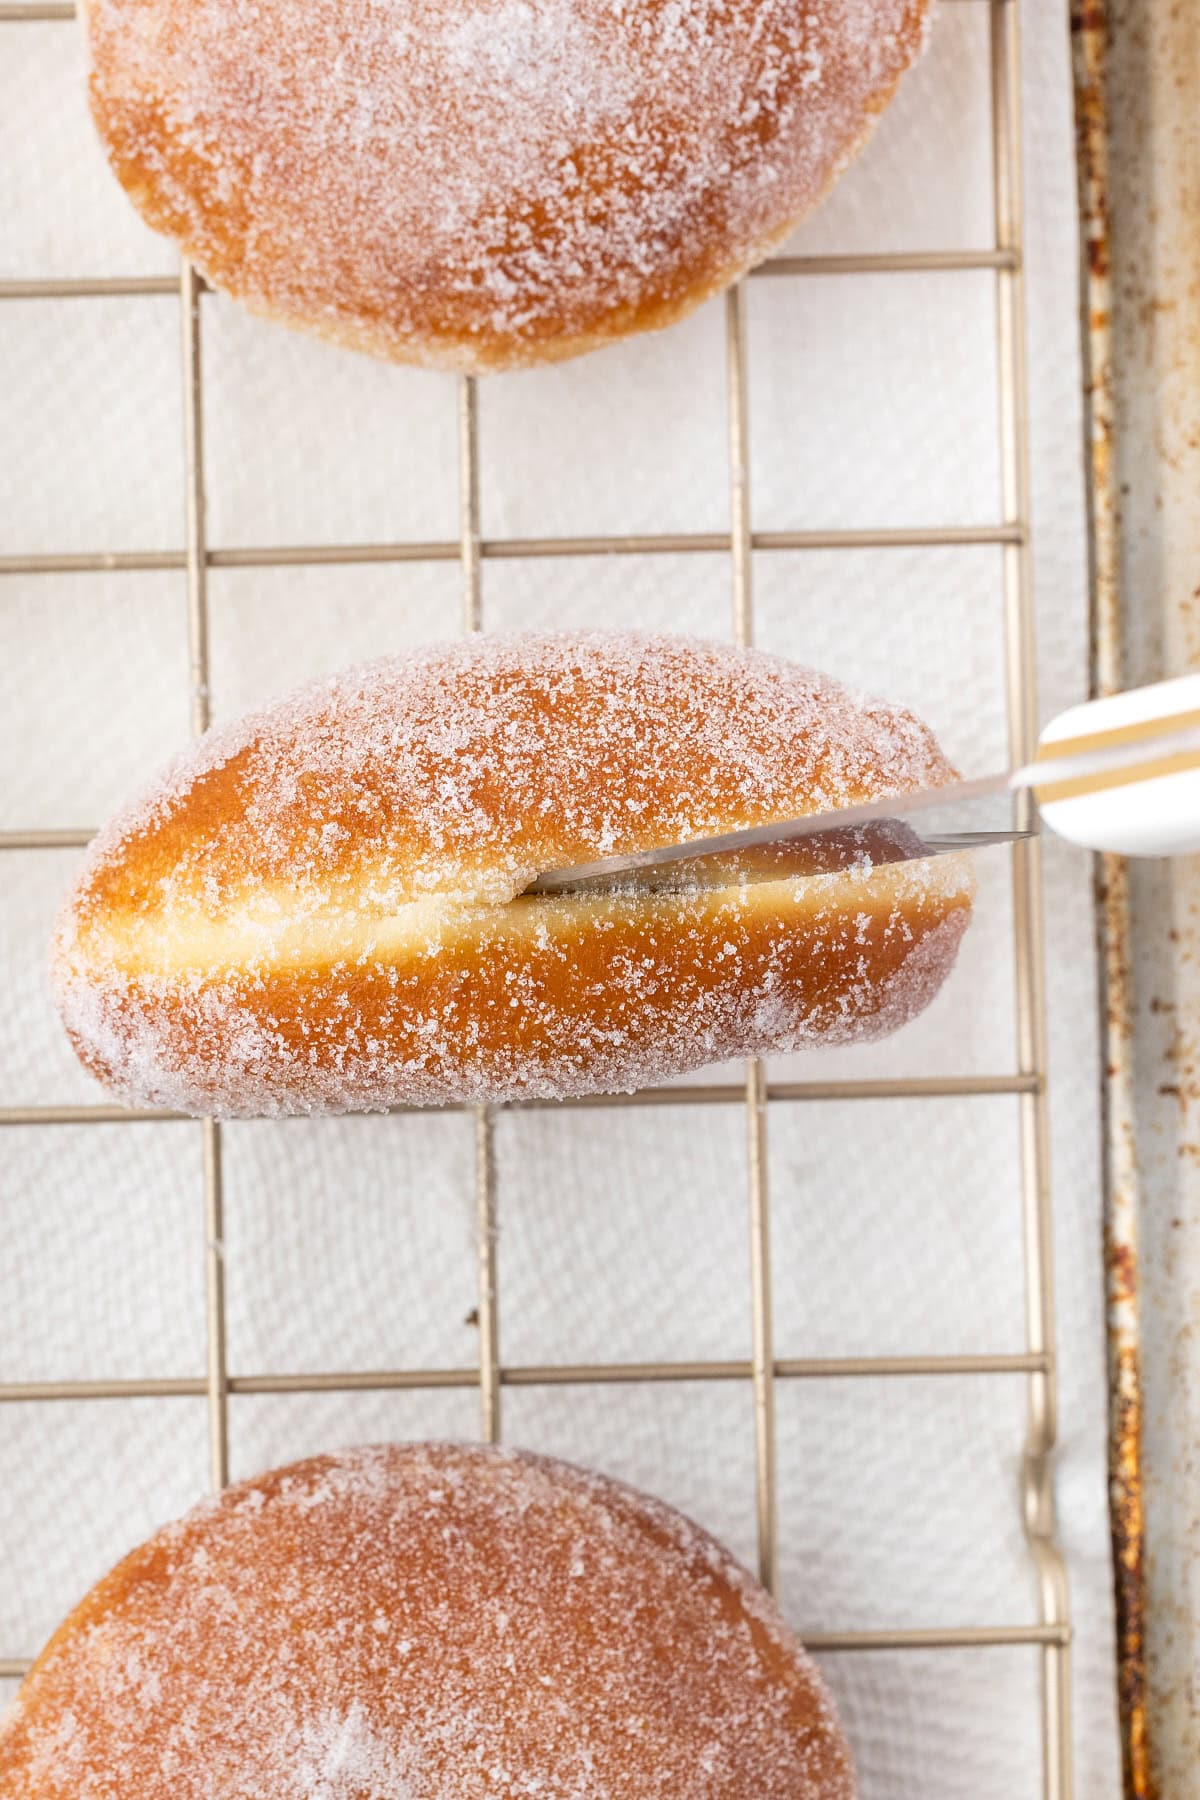
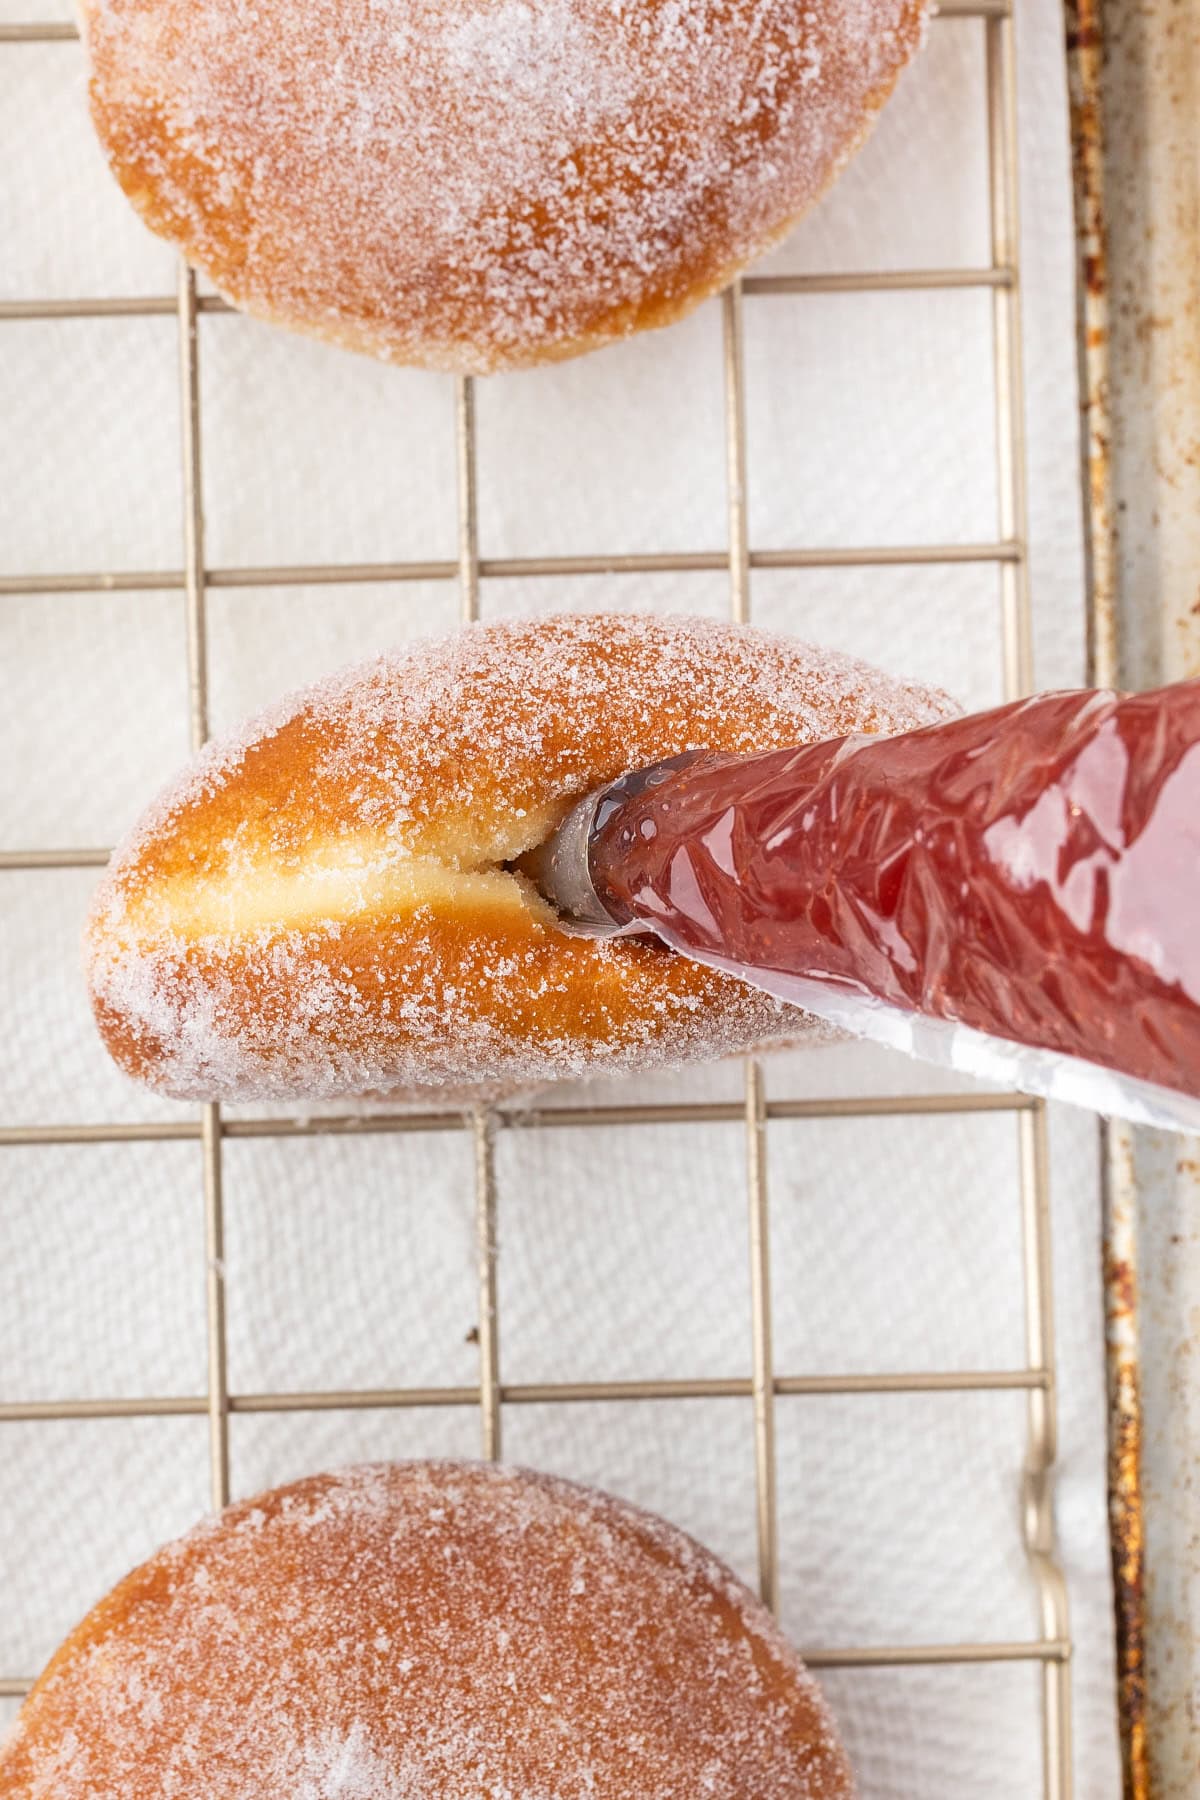
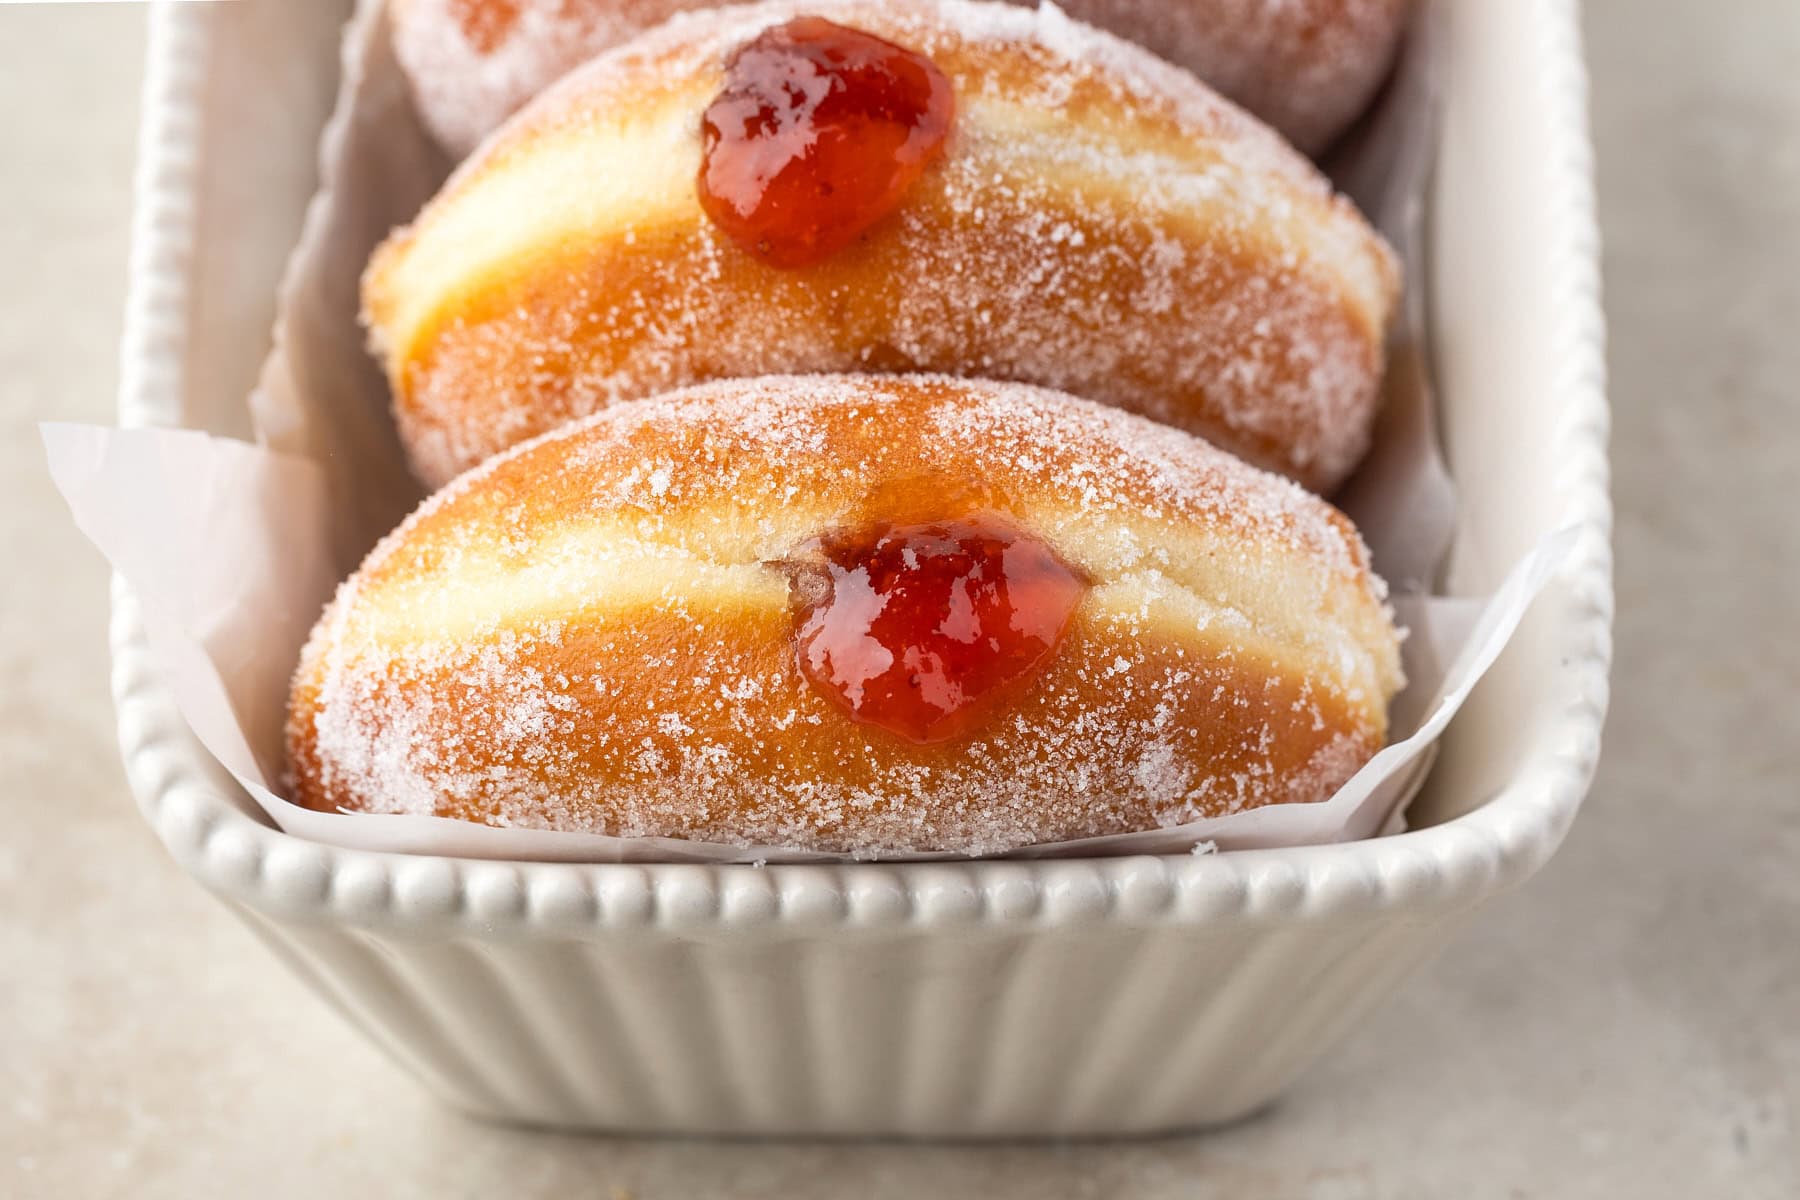
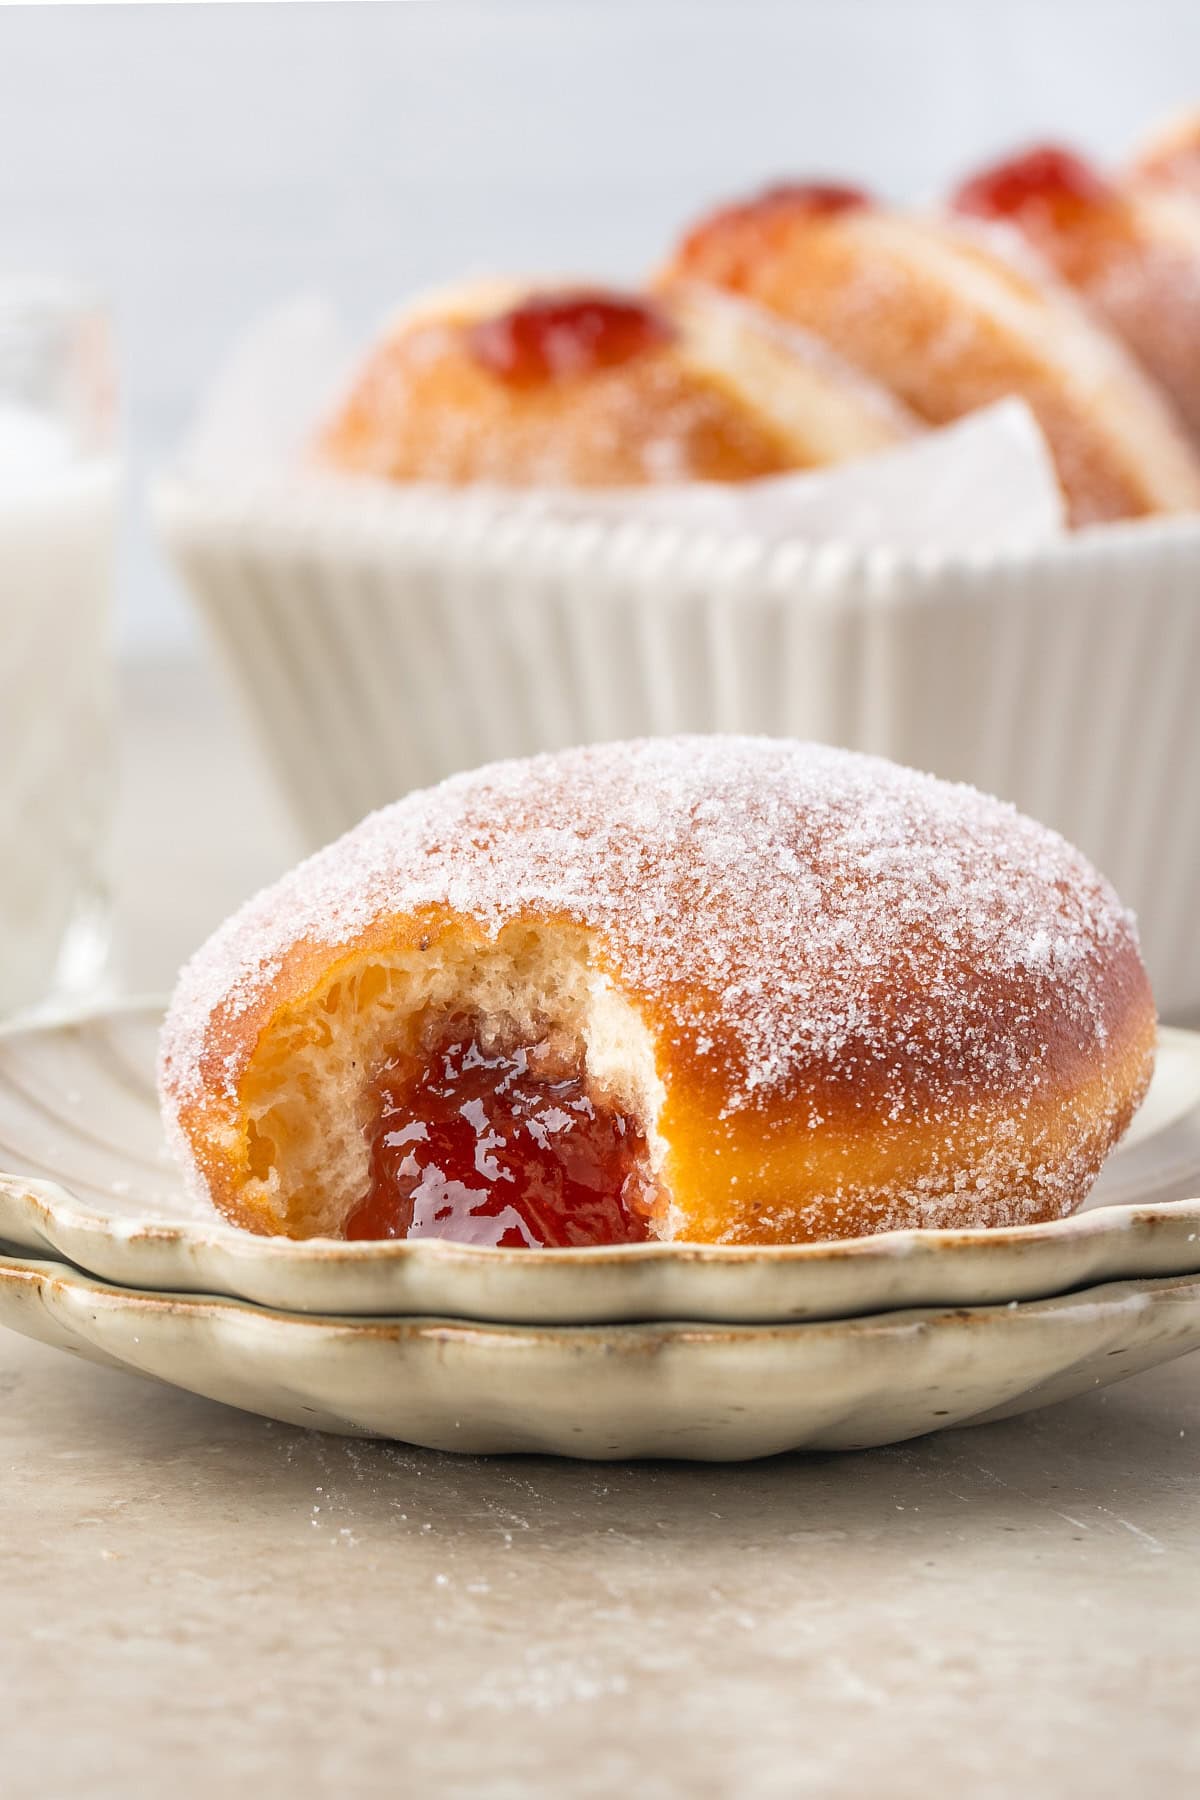
Use a piping bag (with or without a tip) to fill each donut with strawberry or raspberry jam. Take a steak knife and insert a small slit and hole. Insert the tip into the side and pipe until the donut feels slightly heavier and a small amount of jam pushes back toward the opening.
I recommend using the overnight method, as it is easier. Instructions for same-day are below, but if someone is more on the beginner side of doing donuts, I would do the overnight version, as the dough is much easier to work with when chilled.
Same-Day Option
Follow the dough mixing instructions. After kneading, let the dough rise for 1–1½ hours until puffy, then chill for 30–45 minutes before rolling. This brief chill helps keep the dough firm and easy to cut. Proceed with shaping, proofing, frying, and filling as described above.
The overnight dough is easier to work with and yields the most consistent results.
Tips: How to Know When Donuts Are Ready to Fry
Visual signs:
• Donuts look thicker and noticeably puffier
• Edges appear rounded and soft
• Surface is matte, not shiny
• Light jiggle when the tray moves
Side poke test:
A gentle poke to the side should spring back slowly and leave a faint indentation.
Lift test:
Slide a spatula under one donut:
• Lifts cleanly and holds shape → ready
• Feels dense or resists lifting → needs more time
• Sags or stretches → slightly overproofed
Recipe Pro Tips
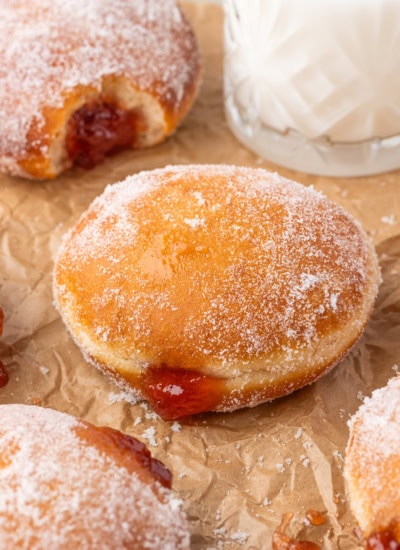
- This recipe makes 8–10 donuts, depending on how closely you space the cuts and how thick your dough is. Cutting at ½ inch thickness naturally produces fewer donuts but gives the fluffiest texture.
- Donut dough should only be rolled once. Rerolling softens and weakens the dough, leading to flat donuts, uneven frying, and greater oil absorption. Use all scraps for donut holes instead. The donut holes were not photographed for this recipe, but I recommend only using the scrap dough for the donut holes.
- The dough rests before adding sugar and salt because this short pause allows the flour to hydrate and the gluten to start forming on its own. Adding sugar and salt later prevents them from slowing down that process and creates a smoother, easier-to-handle dough.
- The overnight method produces the easiest dough to work with. Cold dough rolls cleaner, cuts sharply, and holds its shape during proofing. You’ll also get taller, softer donuts with better flavor.
- If the dough feels overly soft after mixing, add 2–4 tablespoons of flour. The dough should be tacky but not loose or gluey. This small adjustment greatly improves shaping.
- Keep your cutter lightly floured and press straight down when cutting the donuts. Twisting can pinch the edges and prevent an even rise during frying.
- When transferring donuts to a tray, use a thin spatula or bench scraper. Lifting them by hand can stretch the dough and lead to lopsided donuts.
- Proofing time varies depending on temperature. Donuts are ready when they look puffy, feel light, and a gentle poke to the side springs back slowly with a faint indentation.
- A warm, humid environment is ideal for proofing. Placing the tray in the oven with a mug of hot water (oven off) works well and prevents the dough from drying out.
- To avoid pale or overly dark donuts, keep the oil temperature between 340–350°F. Too hot and they brown before cooking through; too cool and they absorb oil.
- You can fill the donuts with or without a piping tip. A simple piping bag works well and creates a clean jam pocket.
- Granulated sugar must be applied while the donuts are hot so it adheres well. Powdered sugar or glaze should be added once the donuts have cooled.
- Strawberry and raspberry jam are classic, but thicker jams like blueberry, blackberry, apricot, black cherry, or lemon curd also work beautifully for filling.
- Oil is required for frying but is not included in the ingredient shot. Use a neutral oil with a high smoke point such as canola, vegetable, or peanut oil.
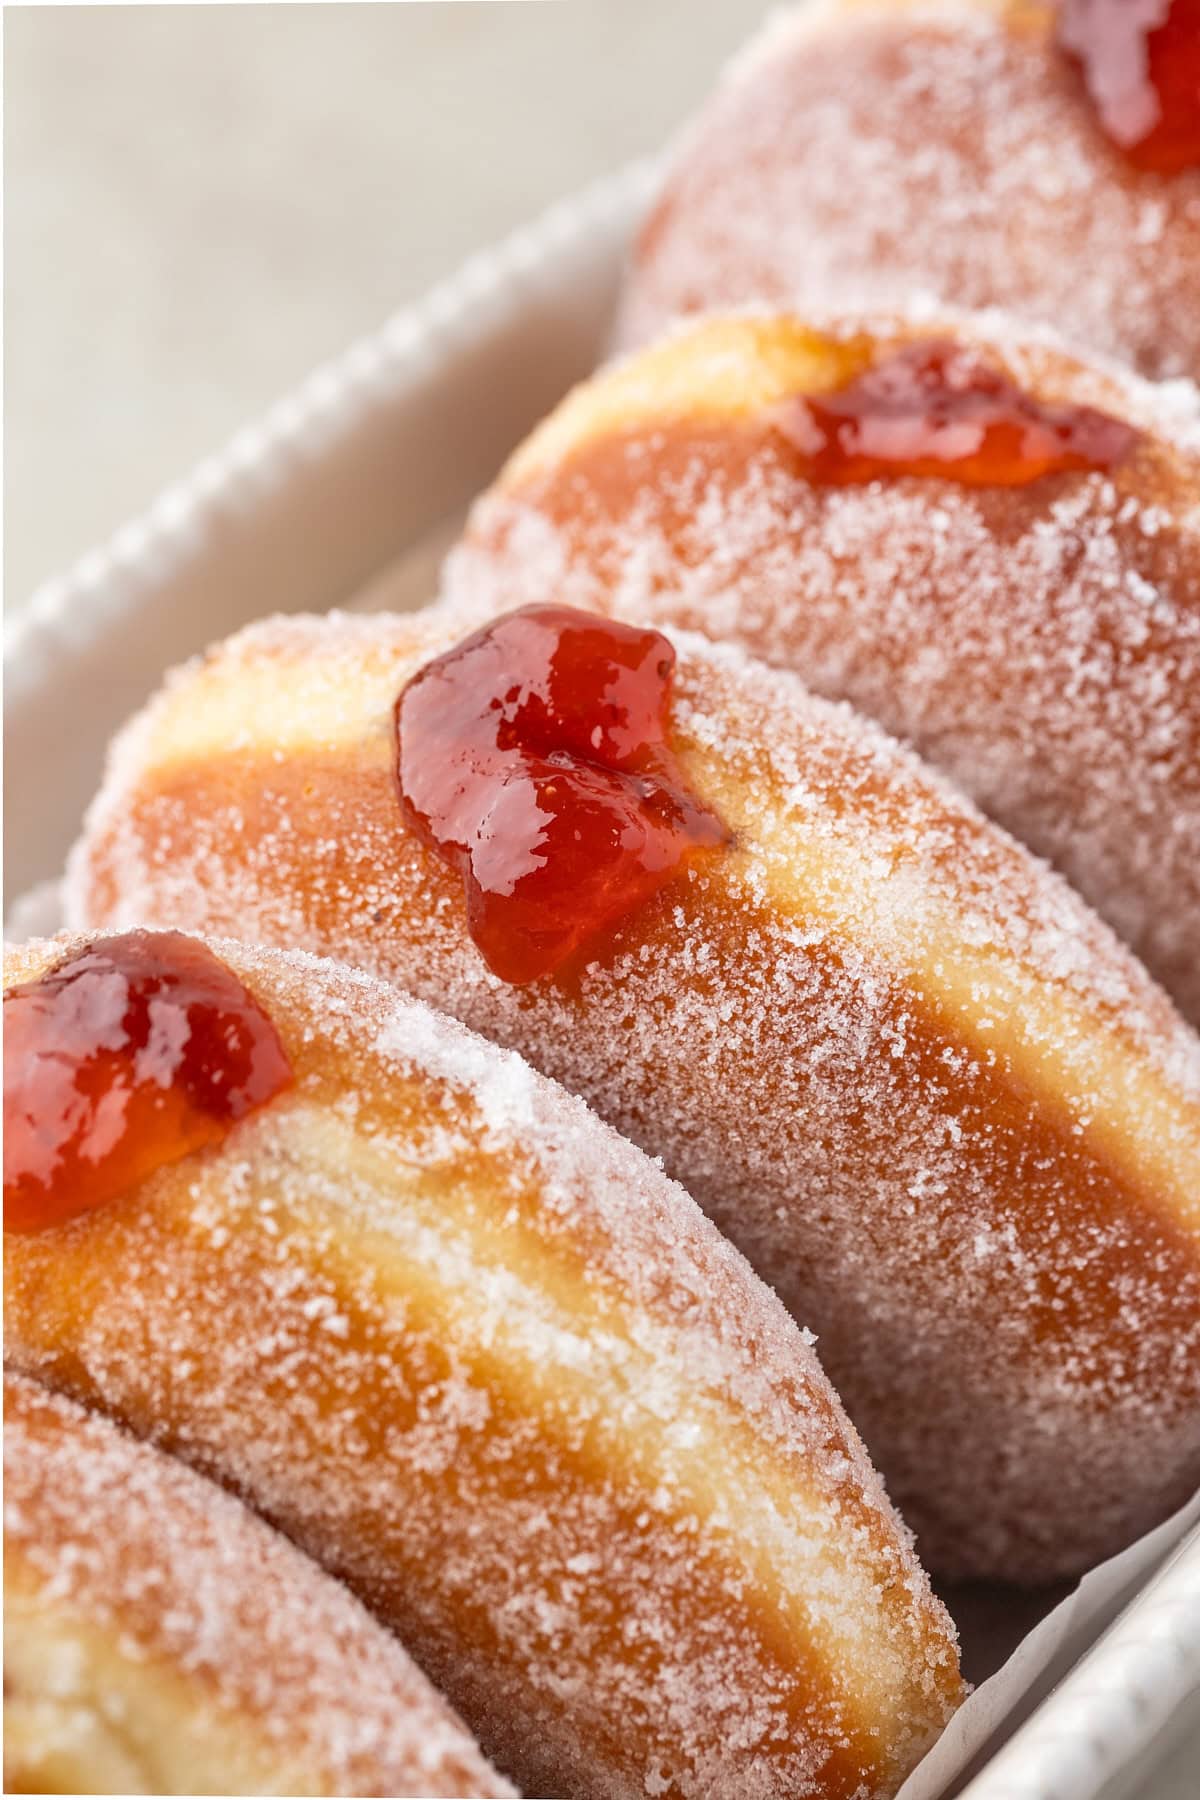
Storage Information
These donuts are best enjoyed the day they’re fried for the softest, fluffiest texture.
If storing:
• Keep unfilled donuts in an airtight container for up to 1 day
• Filled donuts are best eaten the same day
• Avoid refrigerating filled donuts (the dough becomes gummy)
• Freeze unfilled donuts up to 2 months; thaw and fill before serving
• To refresh unfilled donuts, warm for 8–10 seconds in the microwave
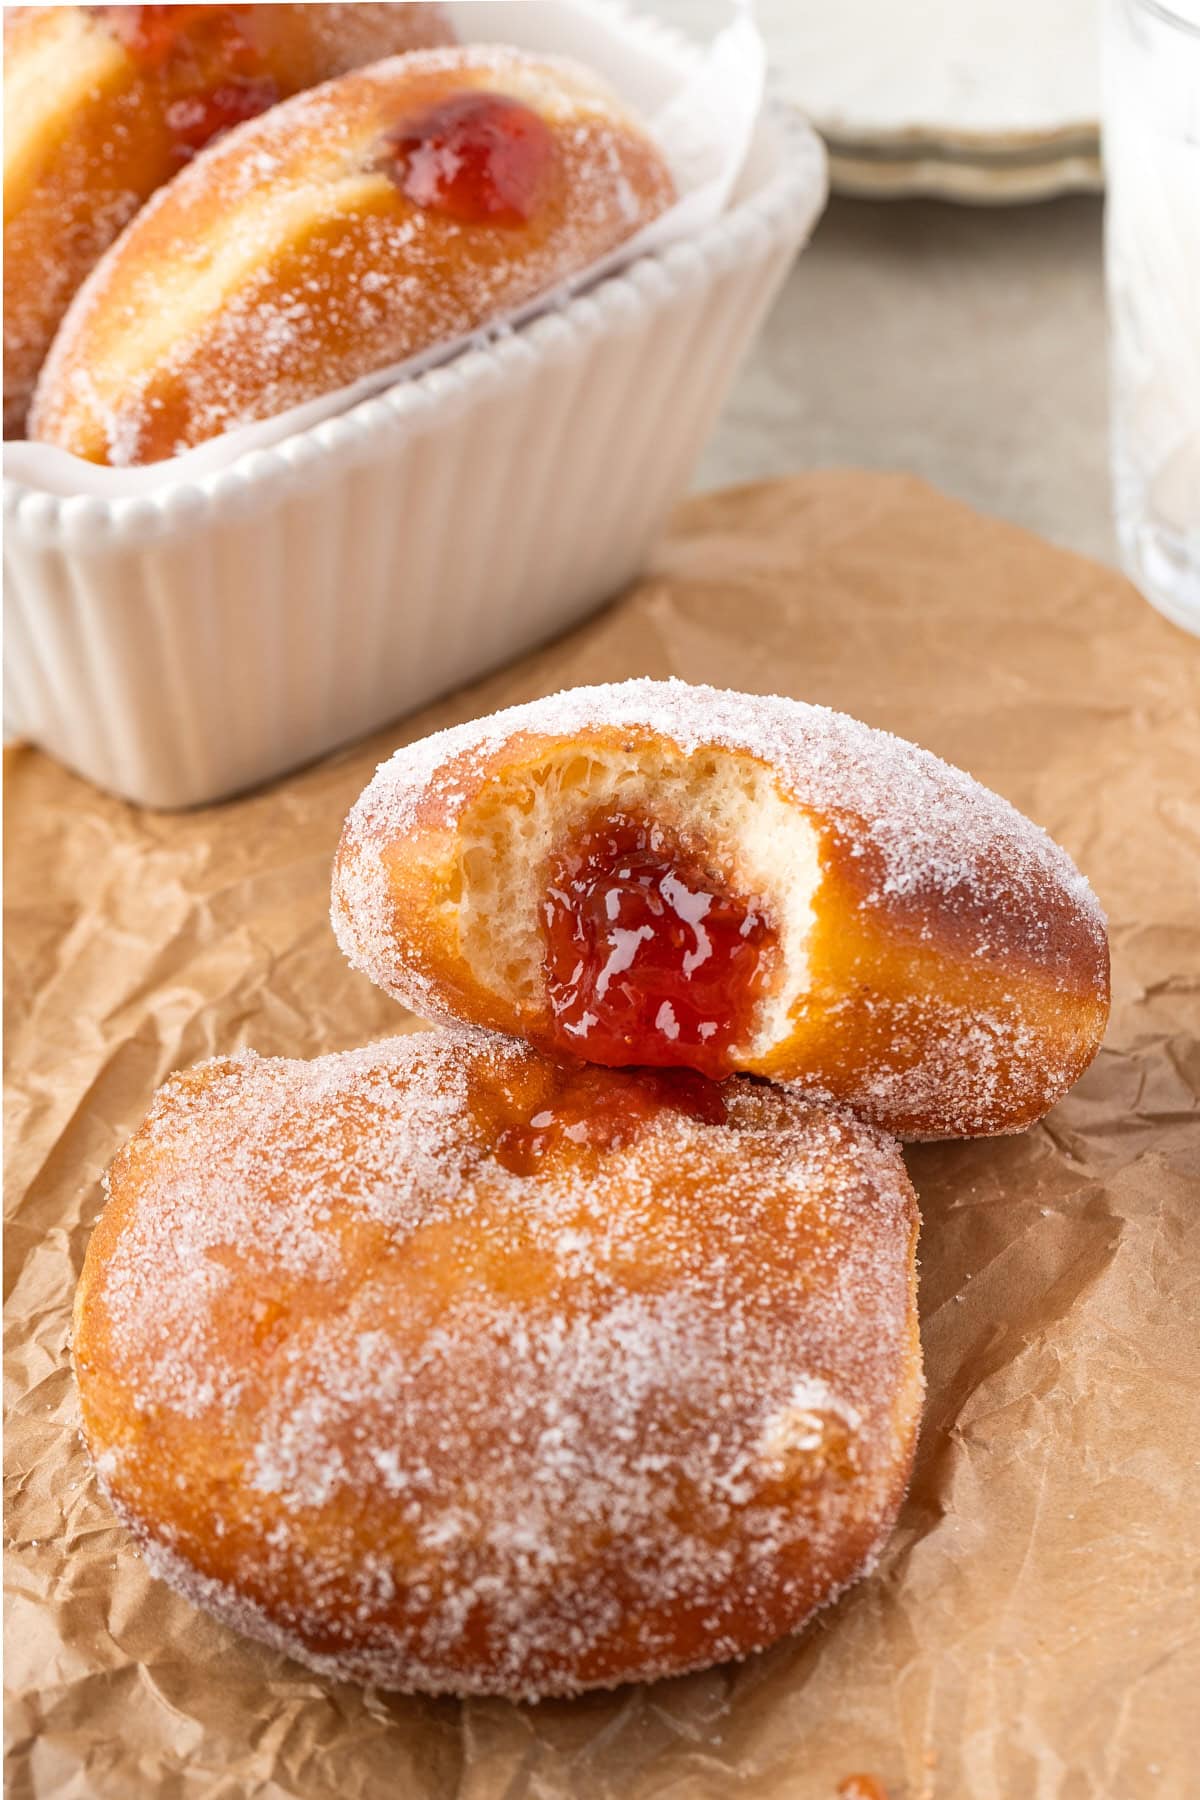
FAQ
Can I make the donuts ahead?
They’re best the day they’re fried. Store unfilled donuts for a day; fill right before serving.
How do I store leftovers?
Room-temperature storage only. Filled donuts do not refrigerate well. Freeze unfilled donuts if needed.
Why didn’t my donuts rise much?
Cold dough needs extra time. Move to a warm, humid environment (oven off + hot water) and allow them to puff.
Why don’t we reroll the dough?
Rerolling weakens structure and makes donuts fry flat or oily. Use scraps for donut holes.
Do I need a piping tip?
No — a piping bag alone works well.
Can I make these same day?
Yes, but the dough is easier to handle when fully chilled overnight.
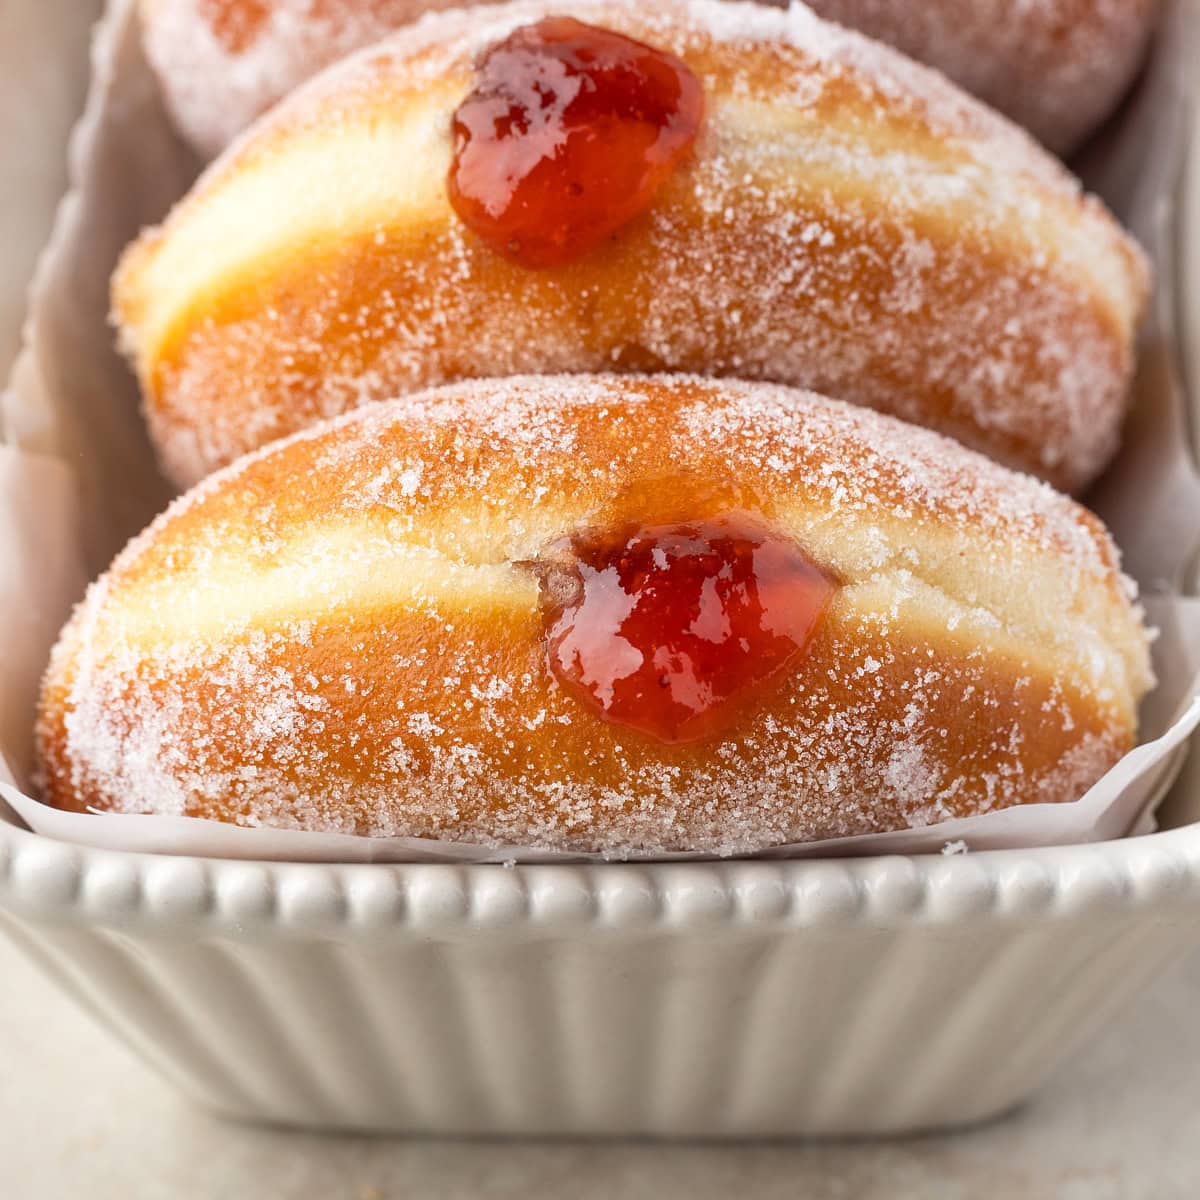
WANT MORE DONUTS?
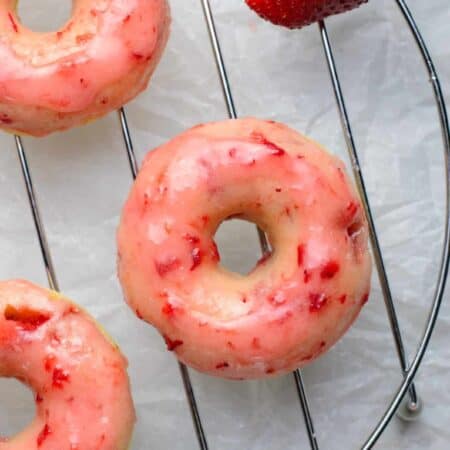
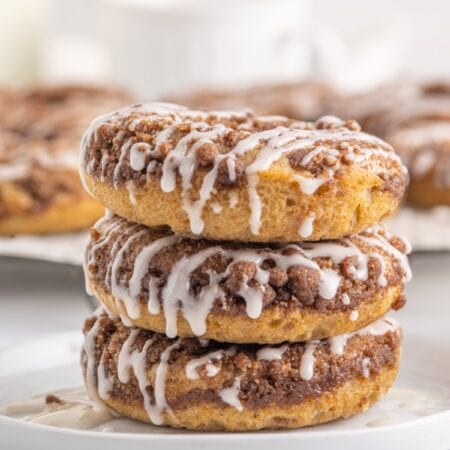
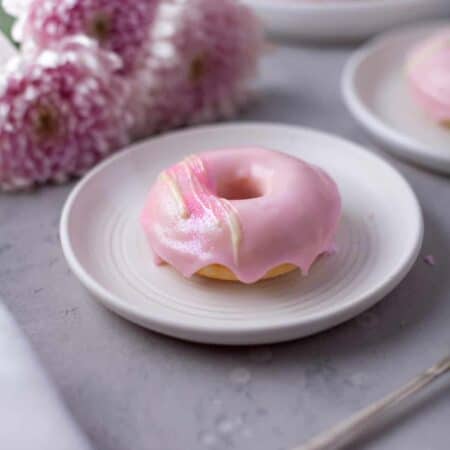
We have loved making cake-baked donuts and have lots to share. These are our favorites.

Pin it HERE!!



Bismark Donut Recipe
Ingredients
Ingredients
- 1 cup Milk 240g, warmed to 100–105°F
- 1 tbsp Instant yeast
- 3½ cups All-purpose flour 420g, plus 2–4 tablespoons extra if needed
- 2 large Eggs room temperature
- ¼ cup Granulated sugar 50g
- ½ tsp Salt
- 4 tbsp Unsalted butter 56g, very soft
- ⅛ tsp Ground nutmeg can be left out, but is recommended
- ½ to ¾ cup Strawberry blueberry or raspberry jam for filling
- Granulated sugar powdered sugar, or simple glaze for finishing
- Plus oil for frying
Instructions
Instructions — Overnight Method (Recommended)
- In a large bowl, whisk the warm milk and eggs until smooth. Add the flour, instant yeast, and nutmeg. Mix until the dough forms a shaggy, sticky mass. Cover the bowl and let the dough rest for 15–20 minutes to hydrate the flour and begin gluten development.
- Add the sugar and salt and mix until incorporated. Add the softened butter one tablespoon at a time, letting each addition fully blend in. Continue mixing or kneading until the dough becomes smooth, elastic, and tacky but not gluey. If the dough still feels loose or overly soft, add 2–4 tablespoons of additional flour.
- Place the dough in a lightly greased bowl, cover, and let it rest at room temperature for 10–15 minutes. Transfer the covered bowl to the refrigerator and chill overnight for 12–16 hours.
- The next morning, allow the dough to rest at room temperature for 20–30 minutes. Lightly flour your counter and gently roll or pat the dough to ½ inch thickness. Lightly flour the top and cut 3-inch rounds, pressing straight down. Use a thin spatula or bench scraper to transfer each donut to a parchment-lined baking sheet. Do not reroll the scraps; use them for donut holes.
- Cover lightly and let the donuts rise until puffy and soft, about 45–75 minutes depending on kitchen temperature.
- Heat oil to 340–350°F. Fry the donuts for 1–2 minutes per side until golden. Immediately toss warm donuts in granulated sugar, or let them cool and dust with powdered sugar. Place on a rack to cool before filling.
- Use a piping bag (with or without a tip) to fill each donut with strawberry or raspberry jam. Take a steak knife and insert a small slit and hole. Insert the tip into the side and pipe until the donut feels slightly heavier and a small amount of jam pushes back toward the opening.
- I recommend using the overnight method, as it is easier. Instructions for same-day are below, but if someone is more on the beginner side of doing donuts, I would do the overnight version as the dough is much easier to work with when chilled.
Same-Day Option
- Follow the dough mixing instructions. After kneading, let the dough rise for 1–1½ hours until puffy, then chill for 30–45 minutes before rolling. This brief chill helps keep the dough firm and easy to cut. Proceed with shaping, proofing, frying, and filling as described above.
- The overnight dough is easier to work with and yields the most consistent results.




Comments & Reviews
Cheryl says
Can the donuts be refrigerated after they’ve been cut and before they’re cooked?
Tara Noland says
They can be but they will continue to rise, the cold from the refrigerator will retard the rising but you don’t want to overproof them. How long were you wanting to refrigerate?