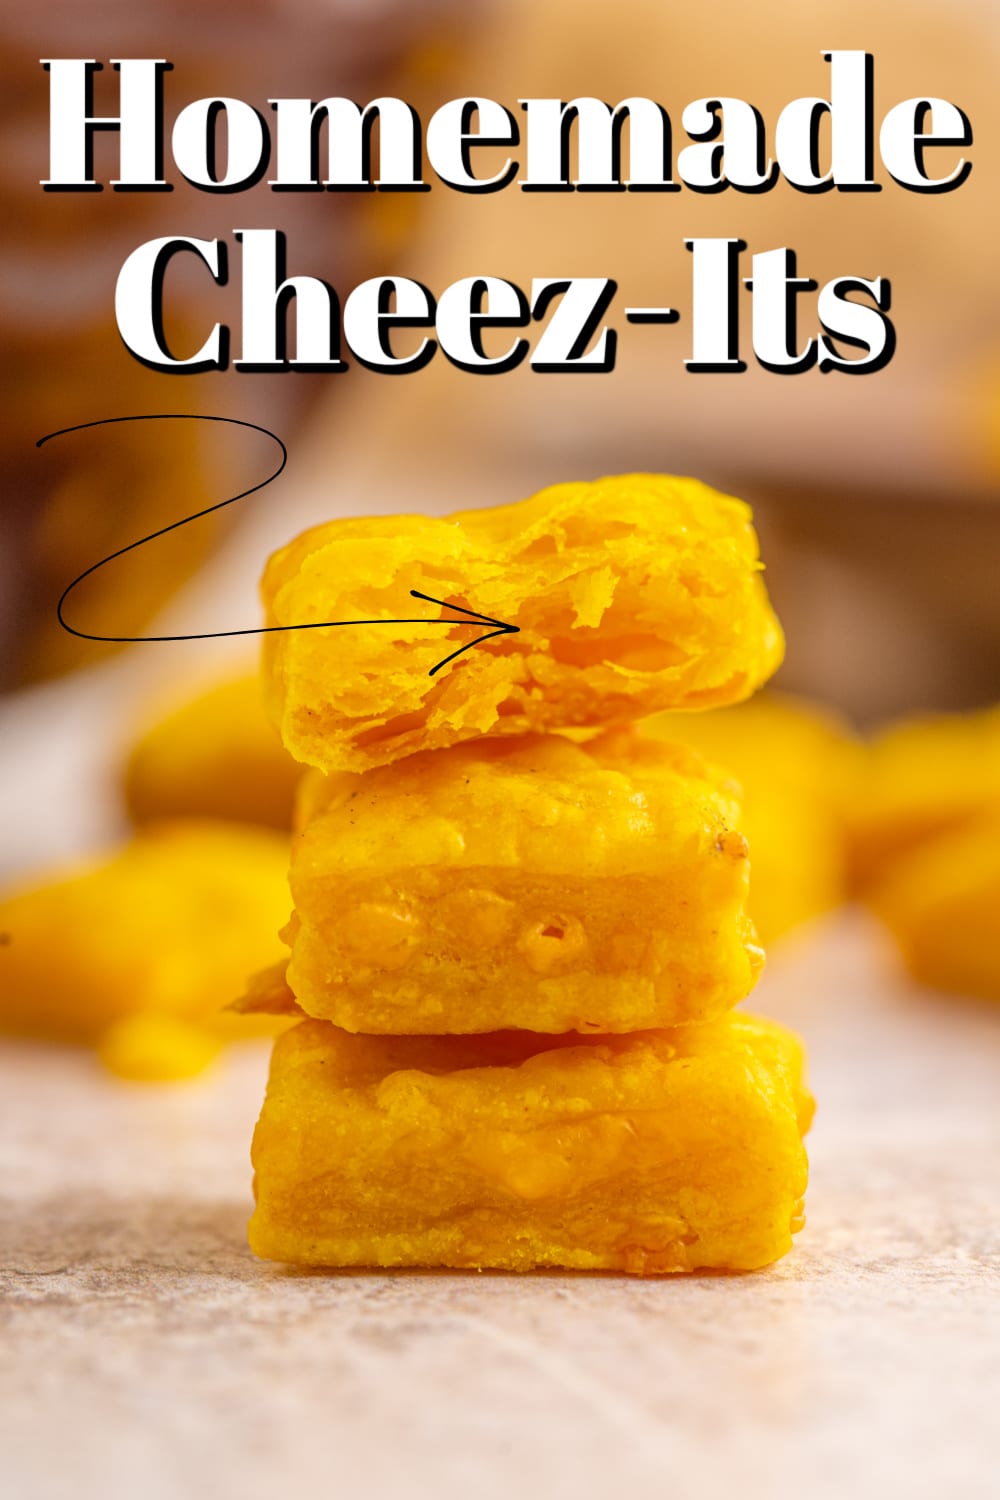
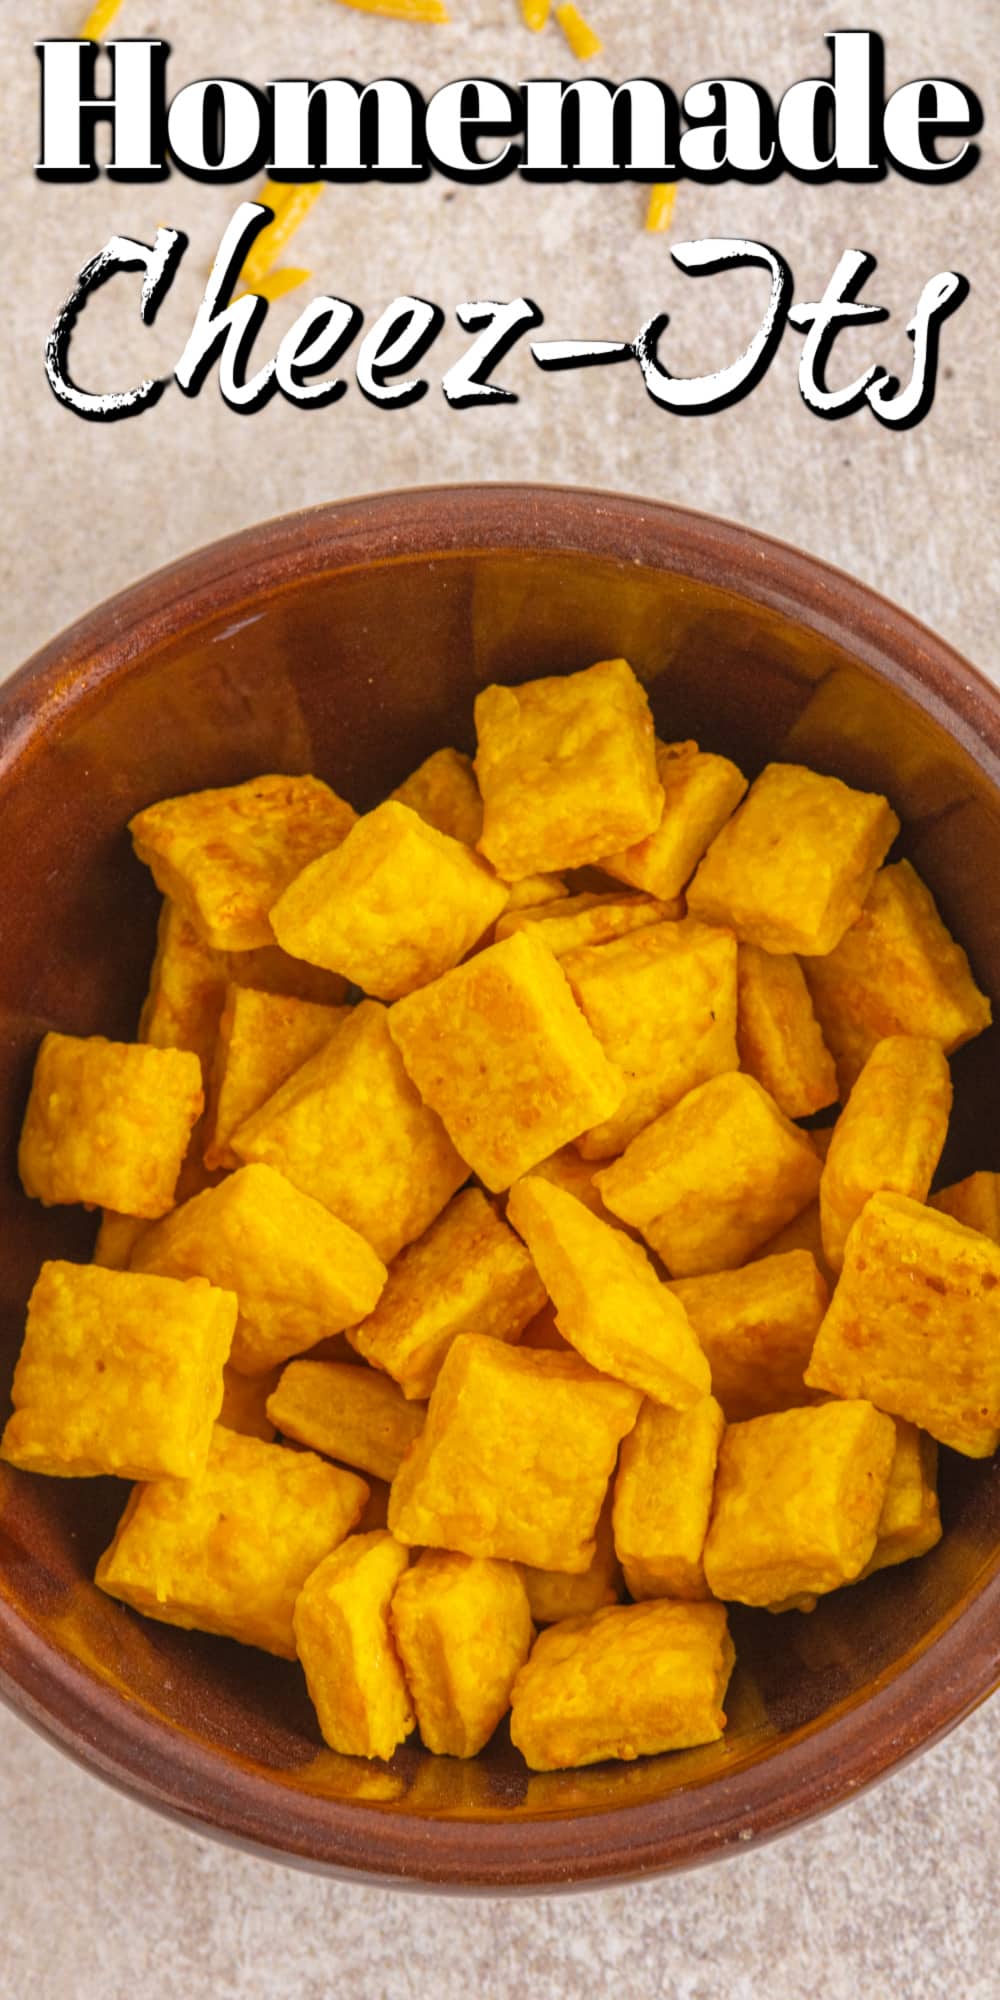
Crunchy, salty, thick, and cheesy, Homemade Cheez-Its crackers. These taste exactly like Cheez-Its and are incredibly easy to make. They make a great snack for after-school, lunch boxes, game day, and more.
If you want more great nibbles, try our Homemade Chex Mix or Peanut Butter Popcorn. Or serve up a gorgeous Sour Cream and Onion Dip with veggies to go along with these little munchies.
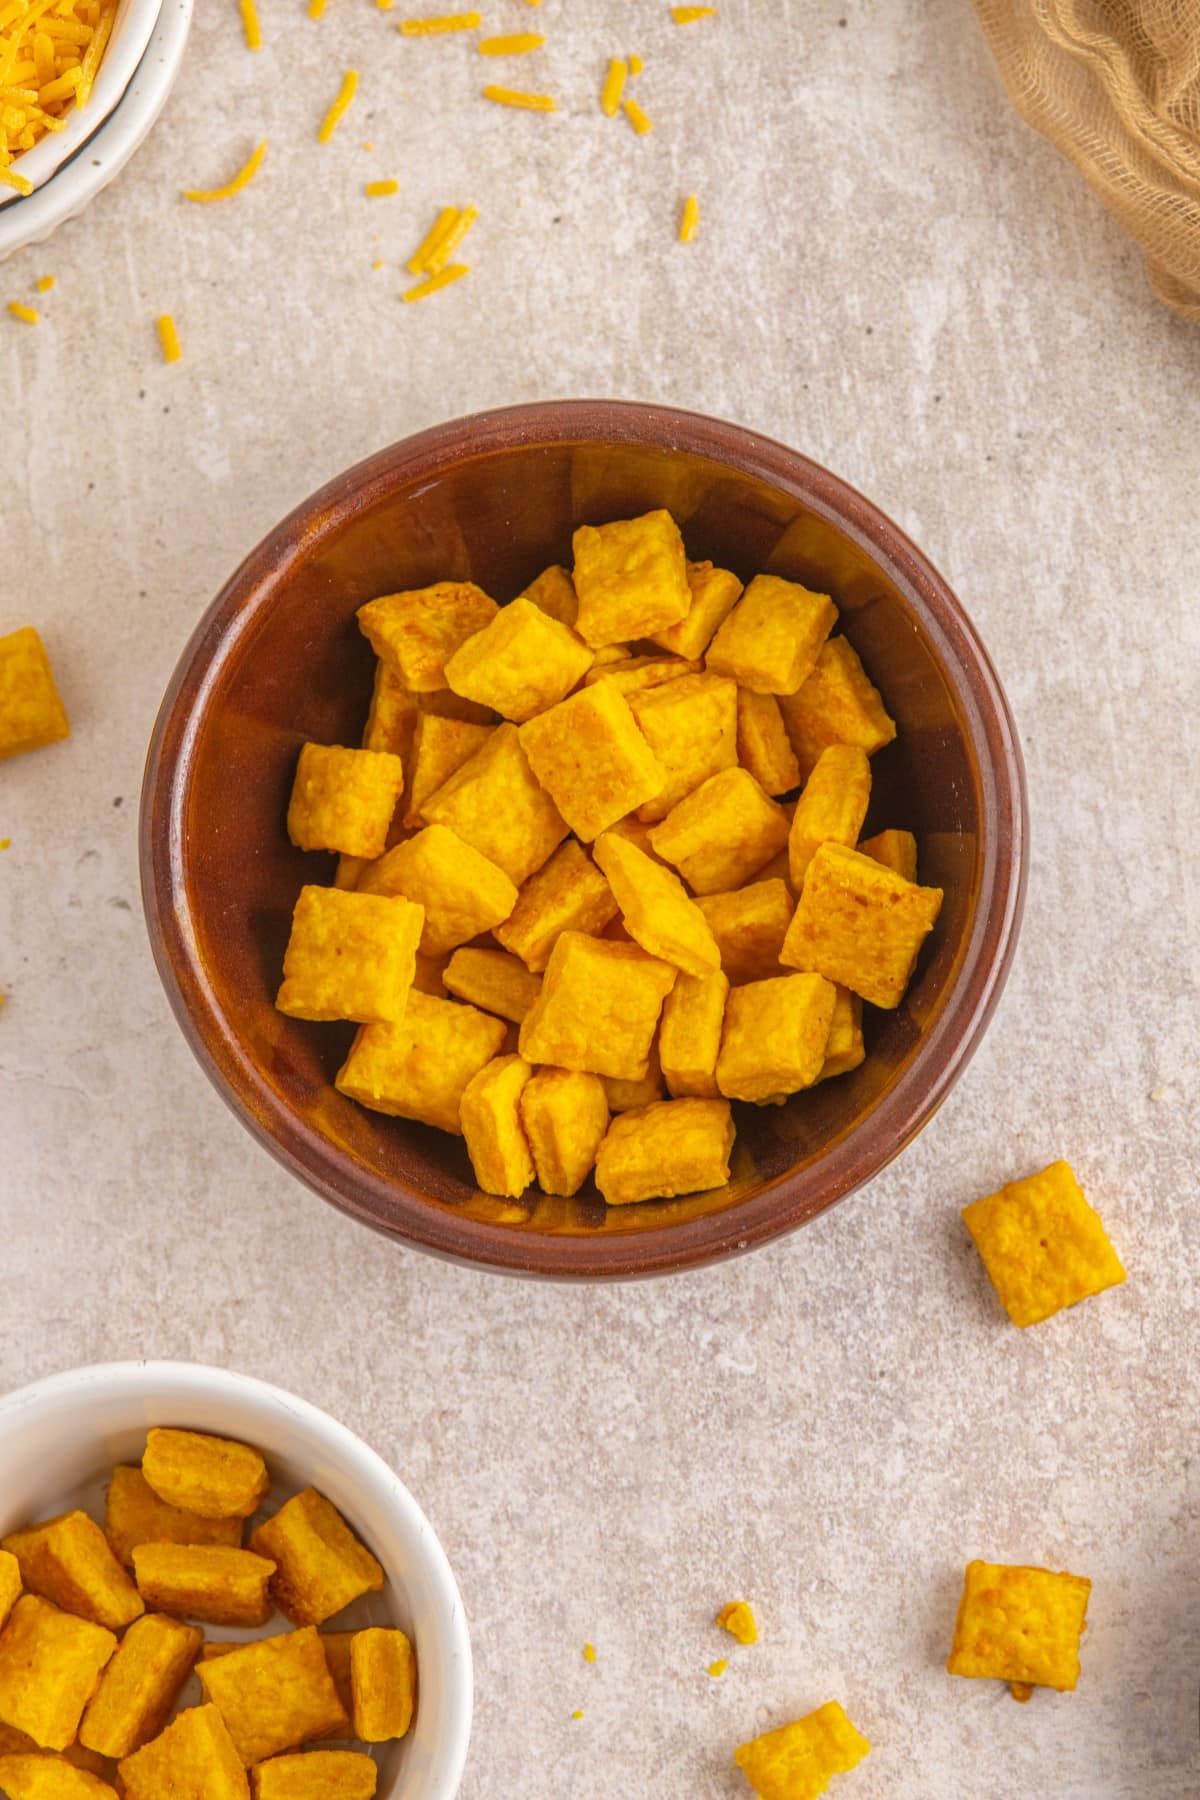
These little popables are easy to make, and your family will be asking for them again and again.
Helpful Items For This Recipe
This post contains affiliate links. As an Amazon Associate, I earn a small portion from qualifying purchases at no extra charge to you.
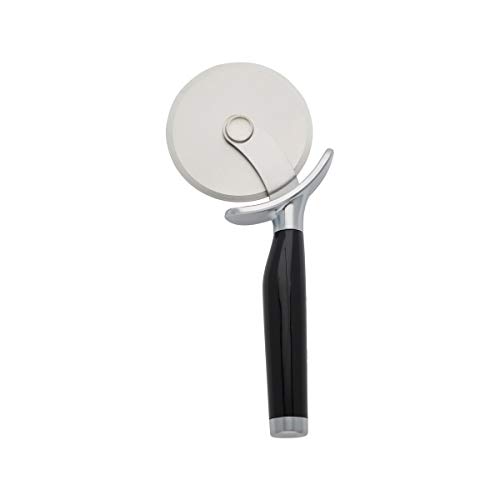
KitchenAid Classic Pizza Wheel with Sharp Blade, 9 inches, Black
What Ingredients Are in Homemade Cheez-Its?
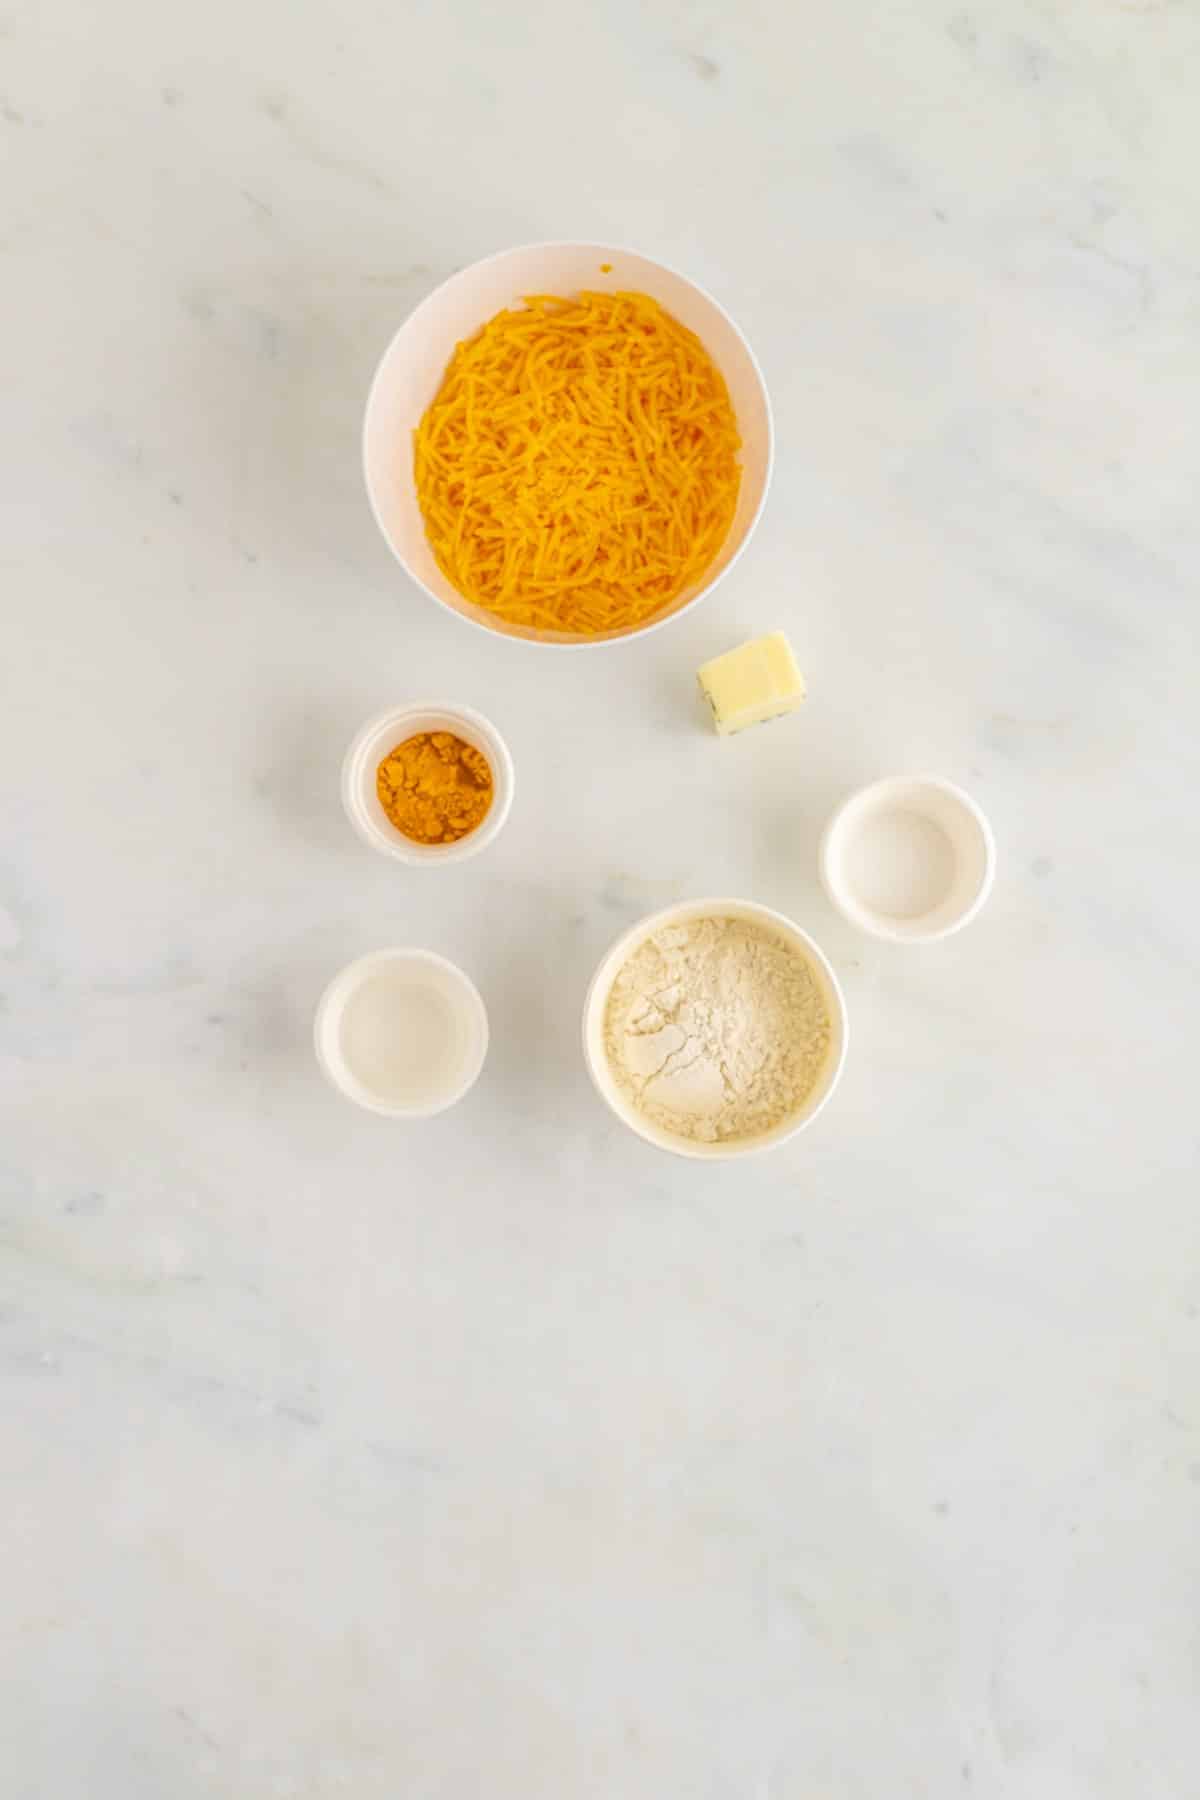
Really simple ingredients that you may have in the house already.
Ingredients
Shredded cheddar cheese – I like to use a sharp cheddar; the older, the better to give the Cheez-Its a really good cheddar flavor.
Salted butter, room temp – You can use unsalted butter also.
All-purpose flour – This flour works and gives you a lovely flaky result; I have not tried GF flour, though.
Turmeric, optional* for color – This is only added for color, so it may be left out if desired.
Salt – Adjust the salt to your liking.
Ice water – This keeps the butter in the dough and keeps it cold.
How to Make Homemade Cheez-Its
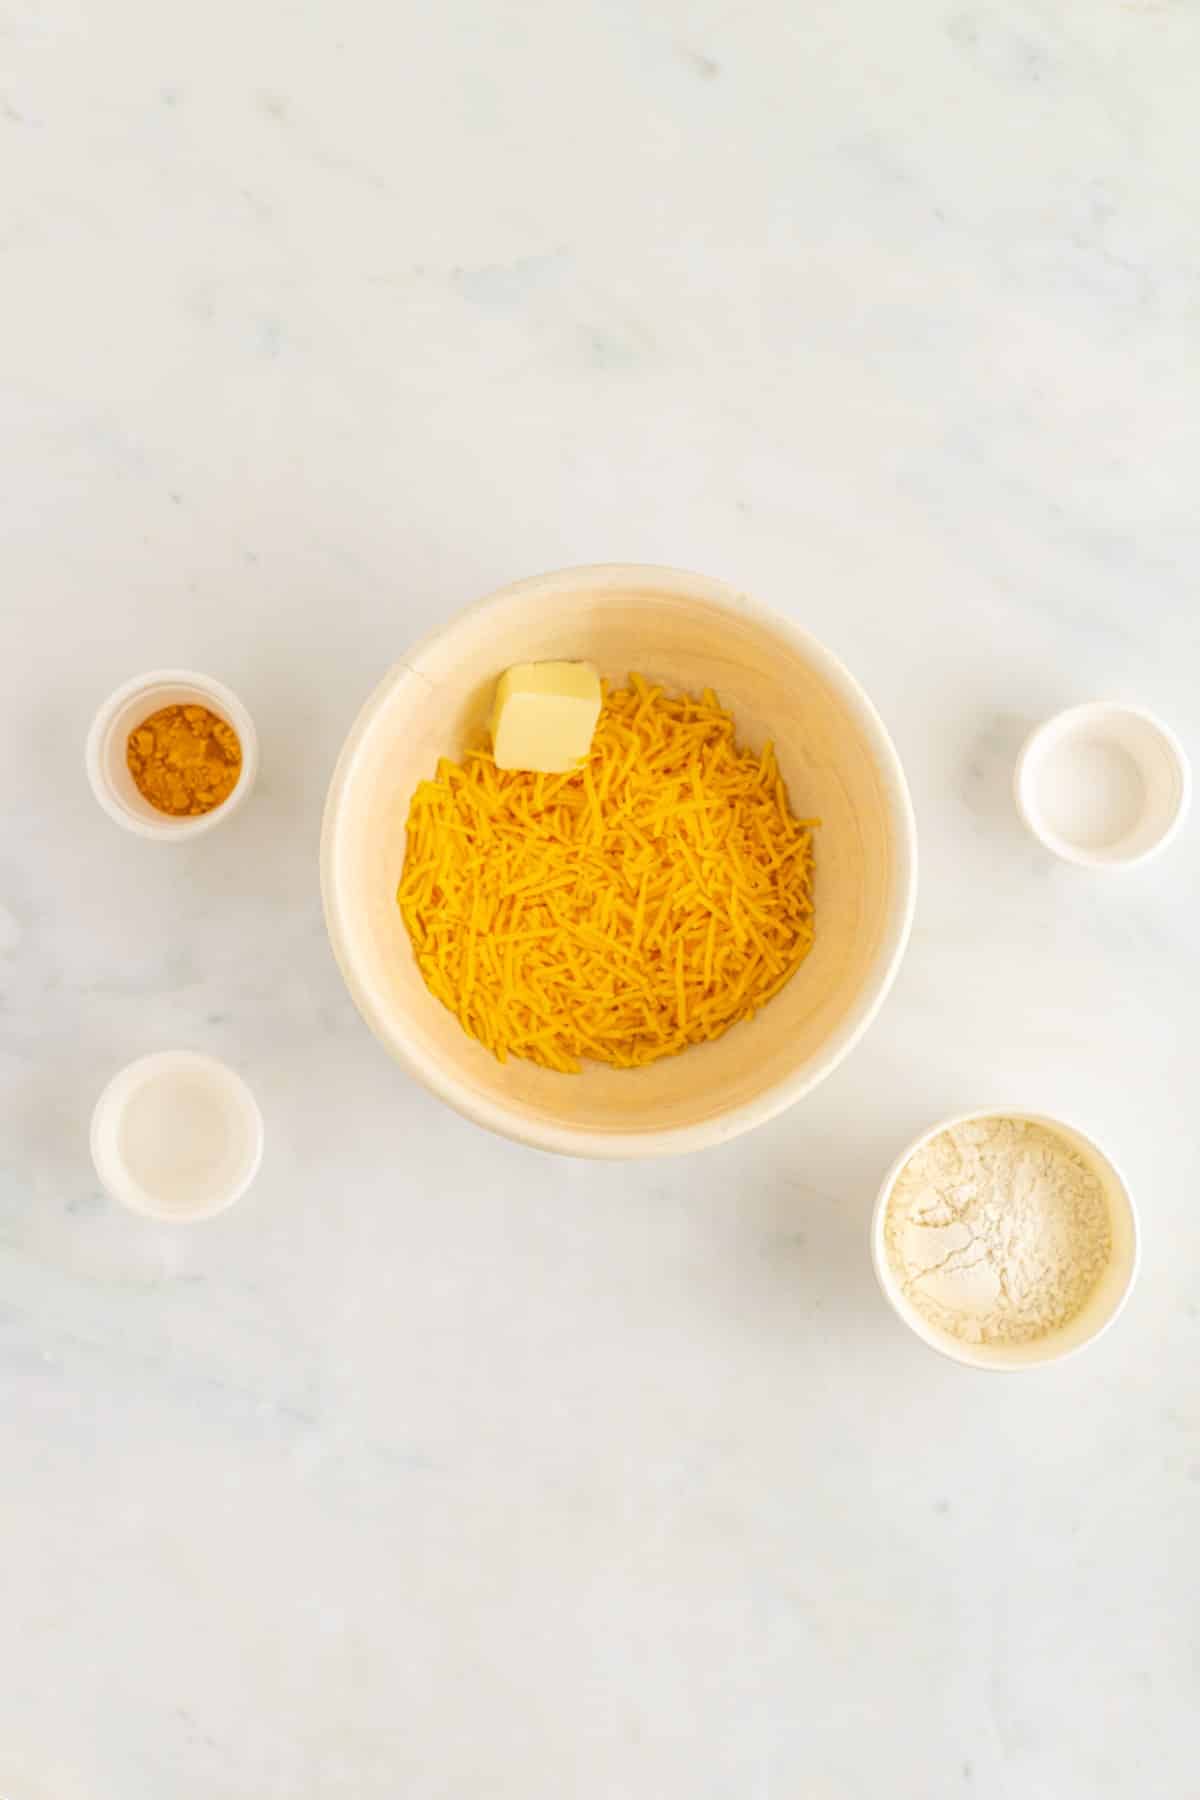
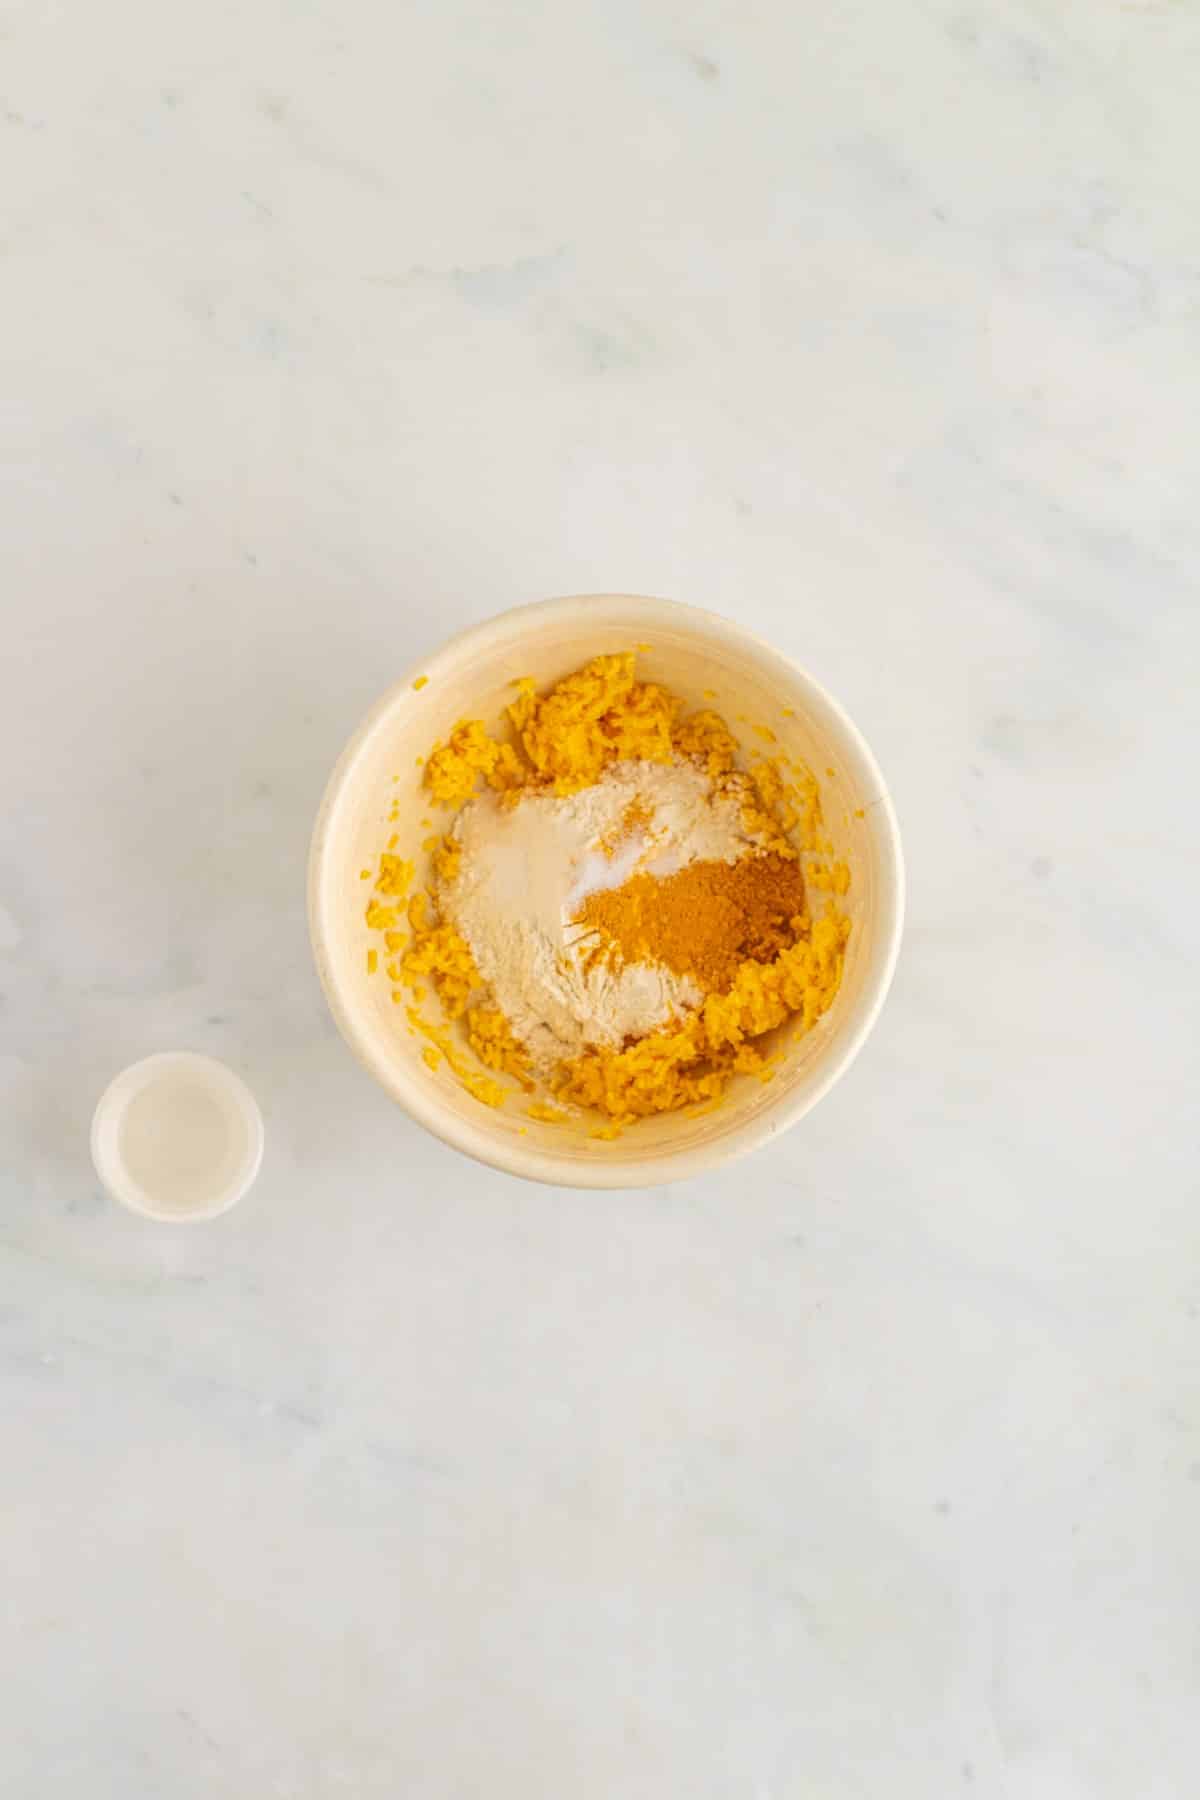
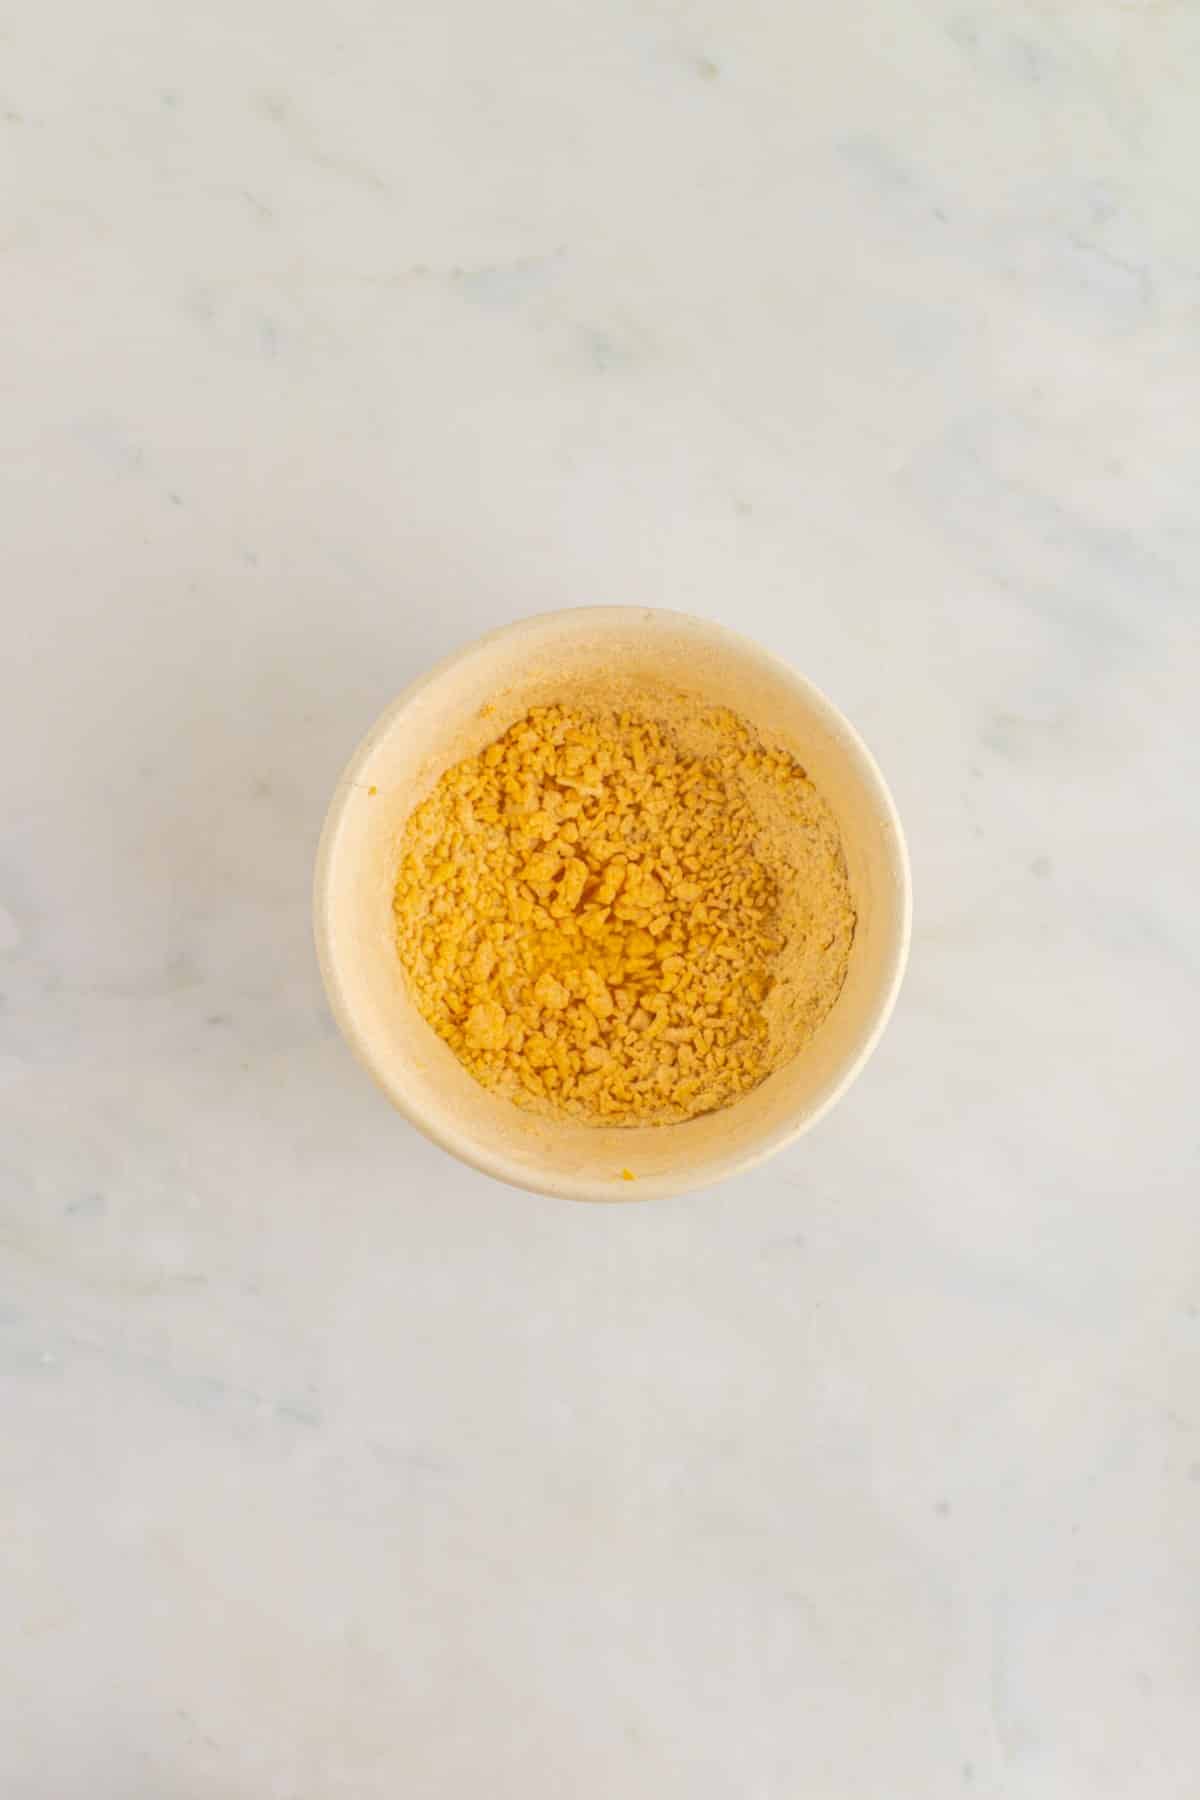
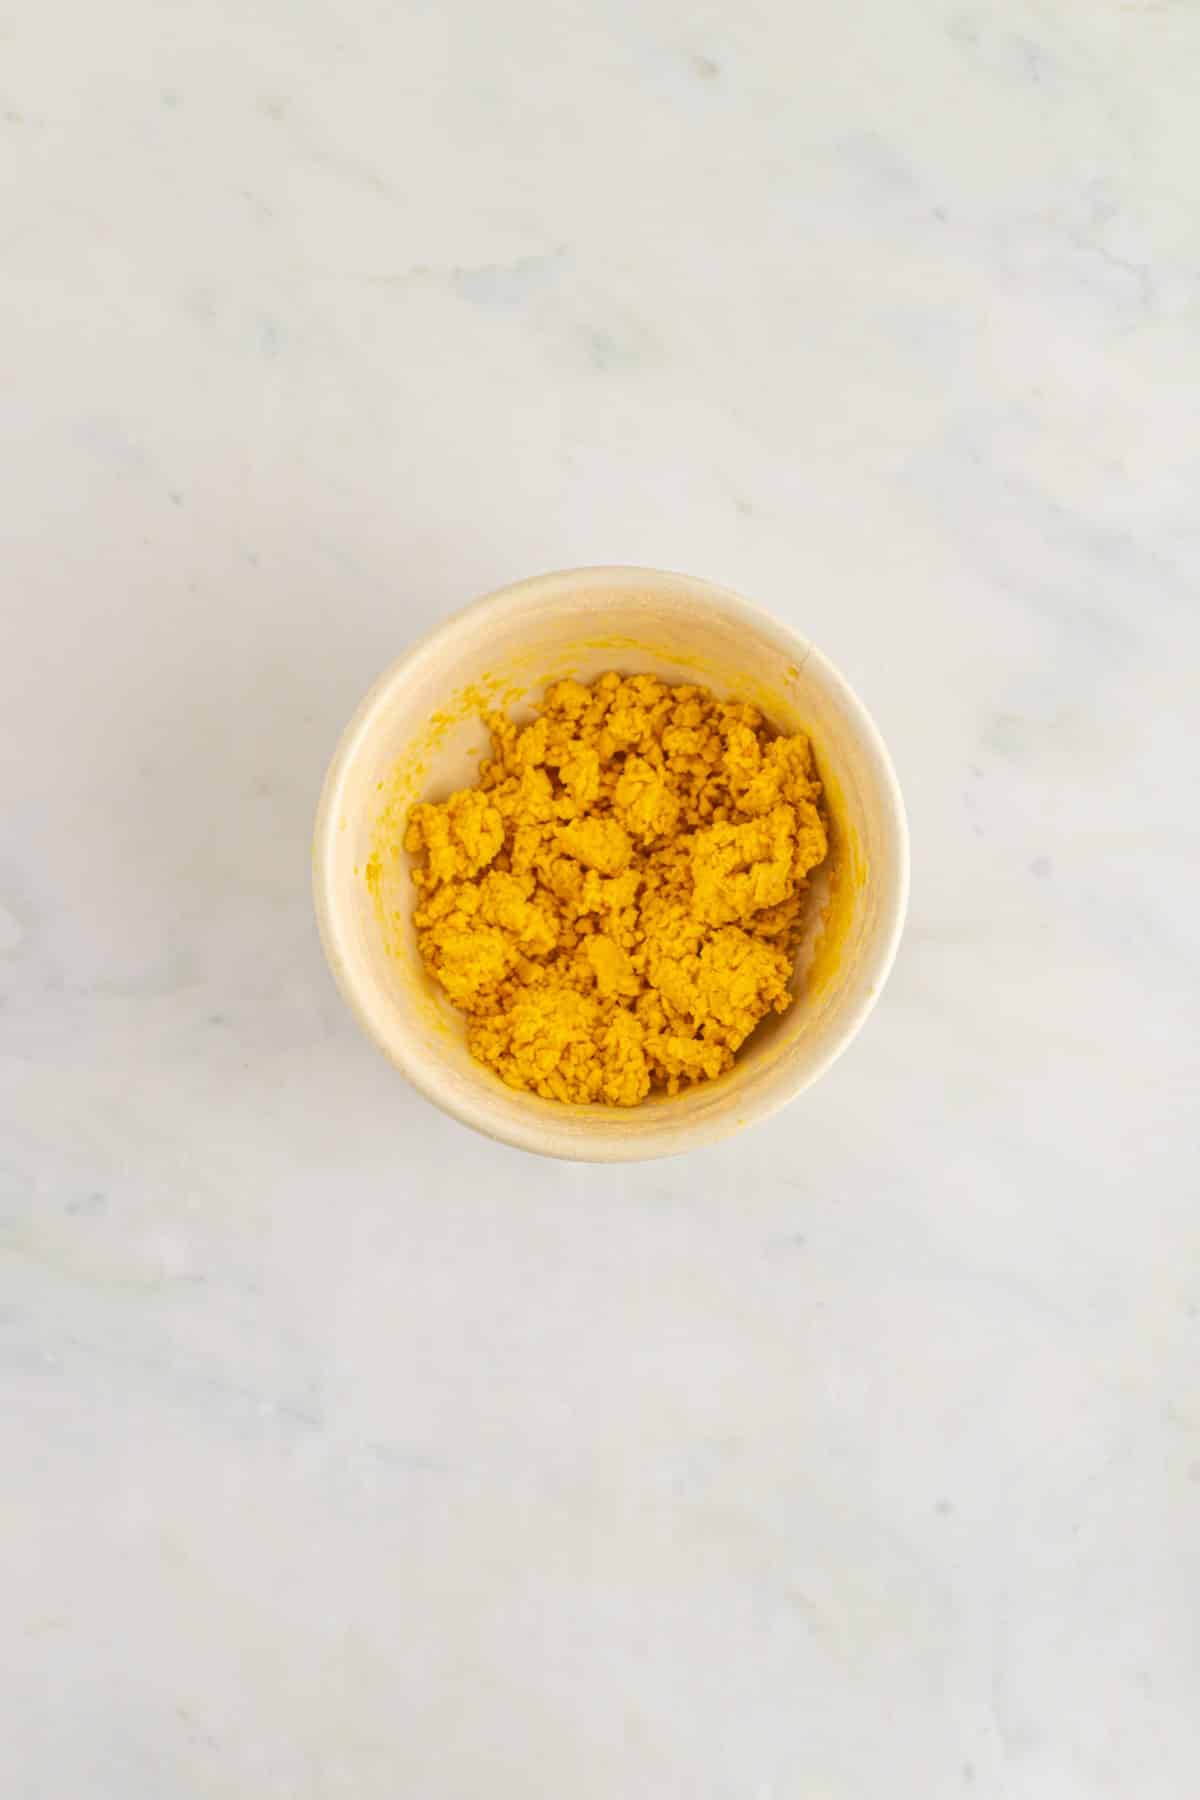
In a medium-sized mixing bowl, combine cheese and butter. Mix together with a handheld mixer or pulse in a food processor until well combined. Add in the flour, turmeric, and salt, and mix to combine. Stream in the ice water while mixing until the mixture starts to clump together. Bring the mixture together using your hand, then press it into a disc. Cover well with plastic wrap, then place into the fridge to chill for 1 hour.
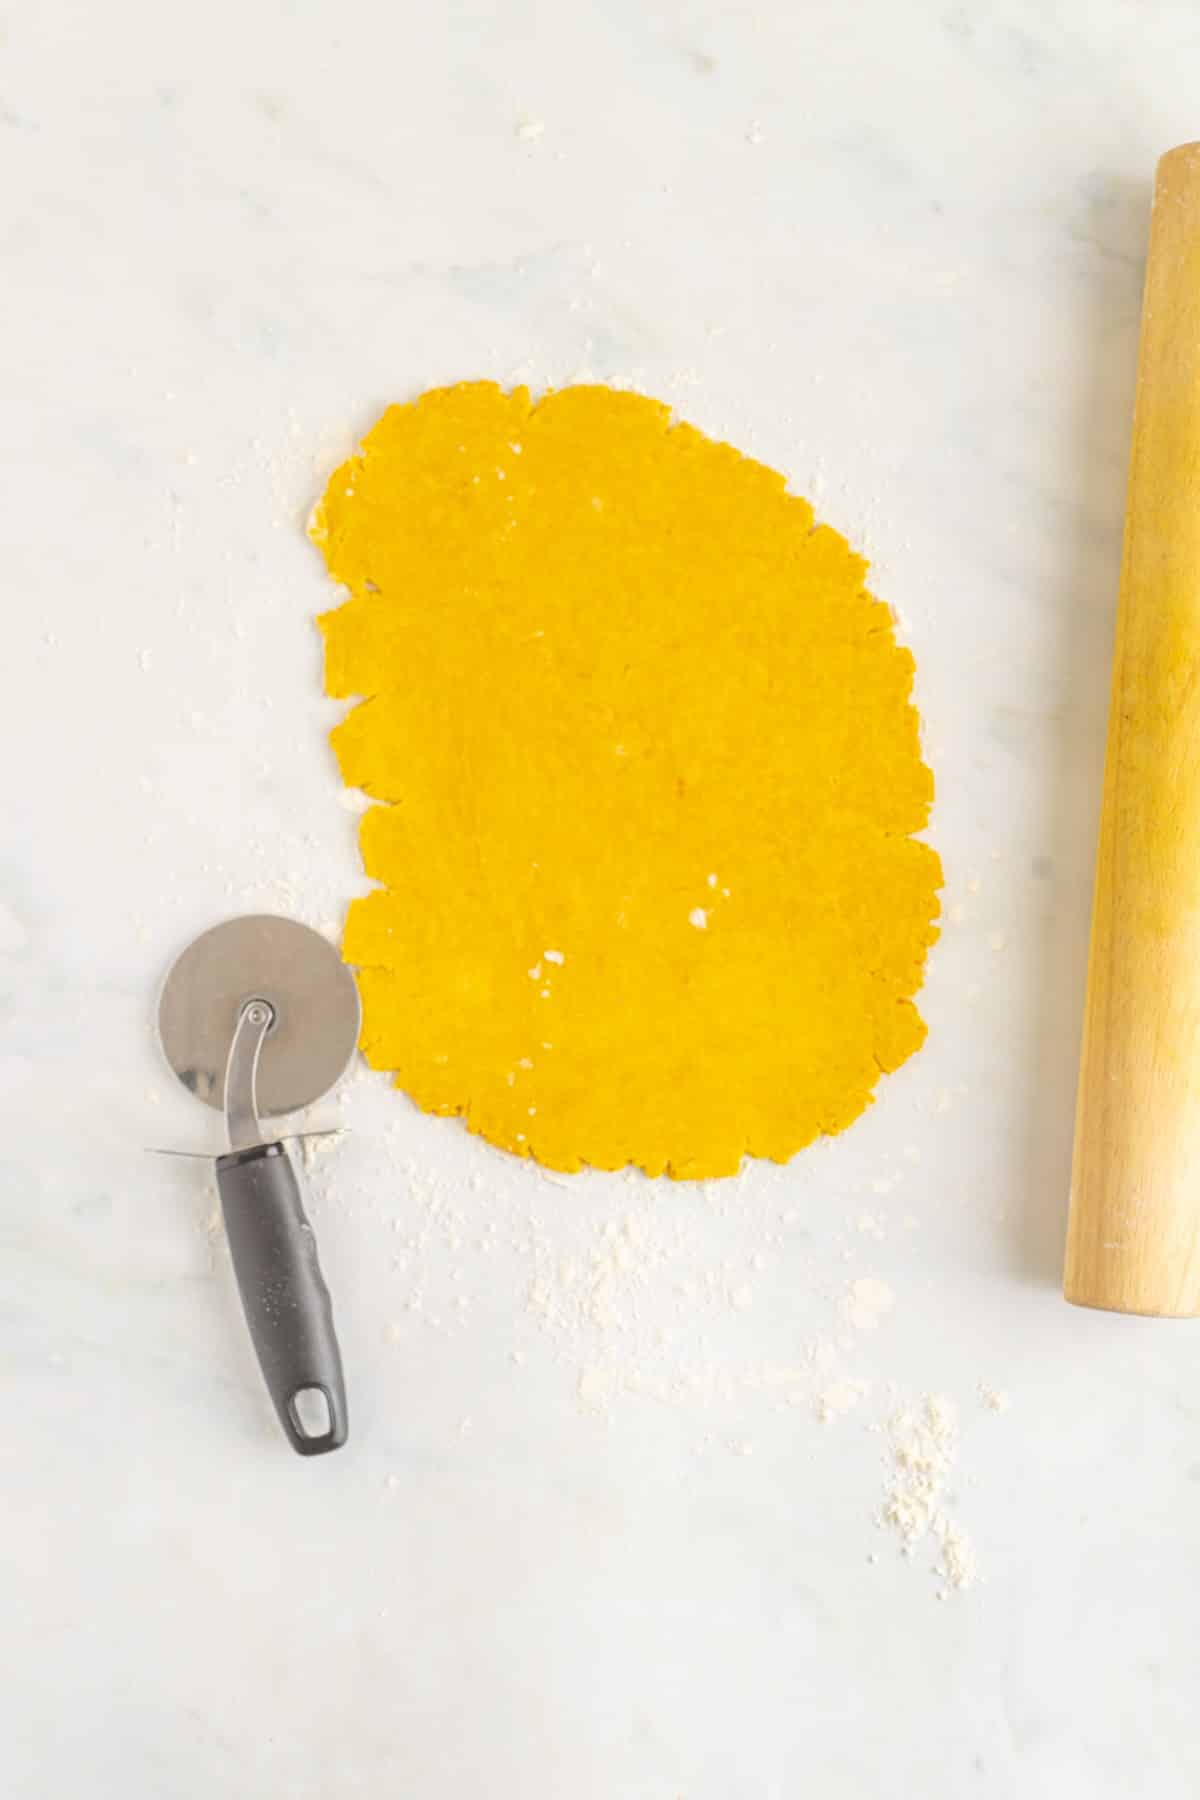
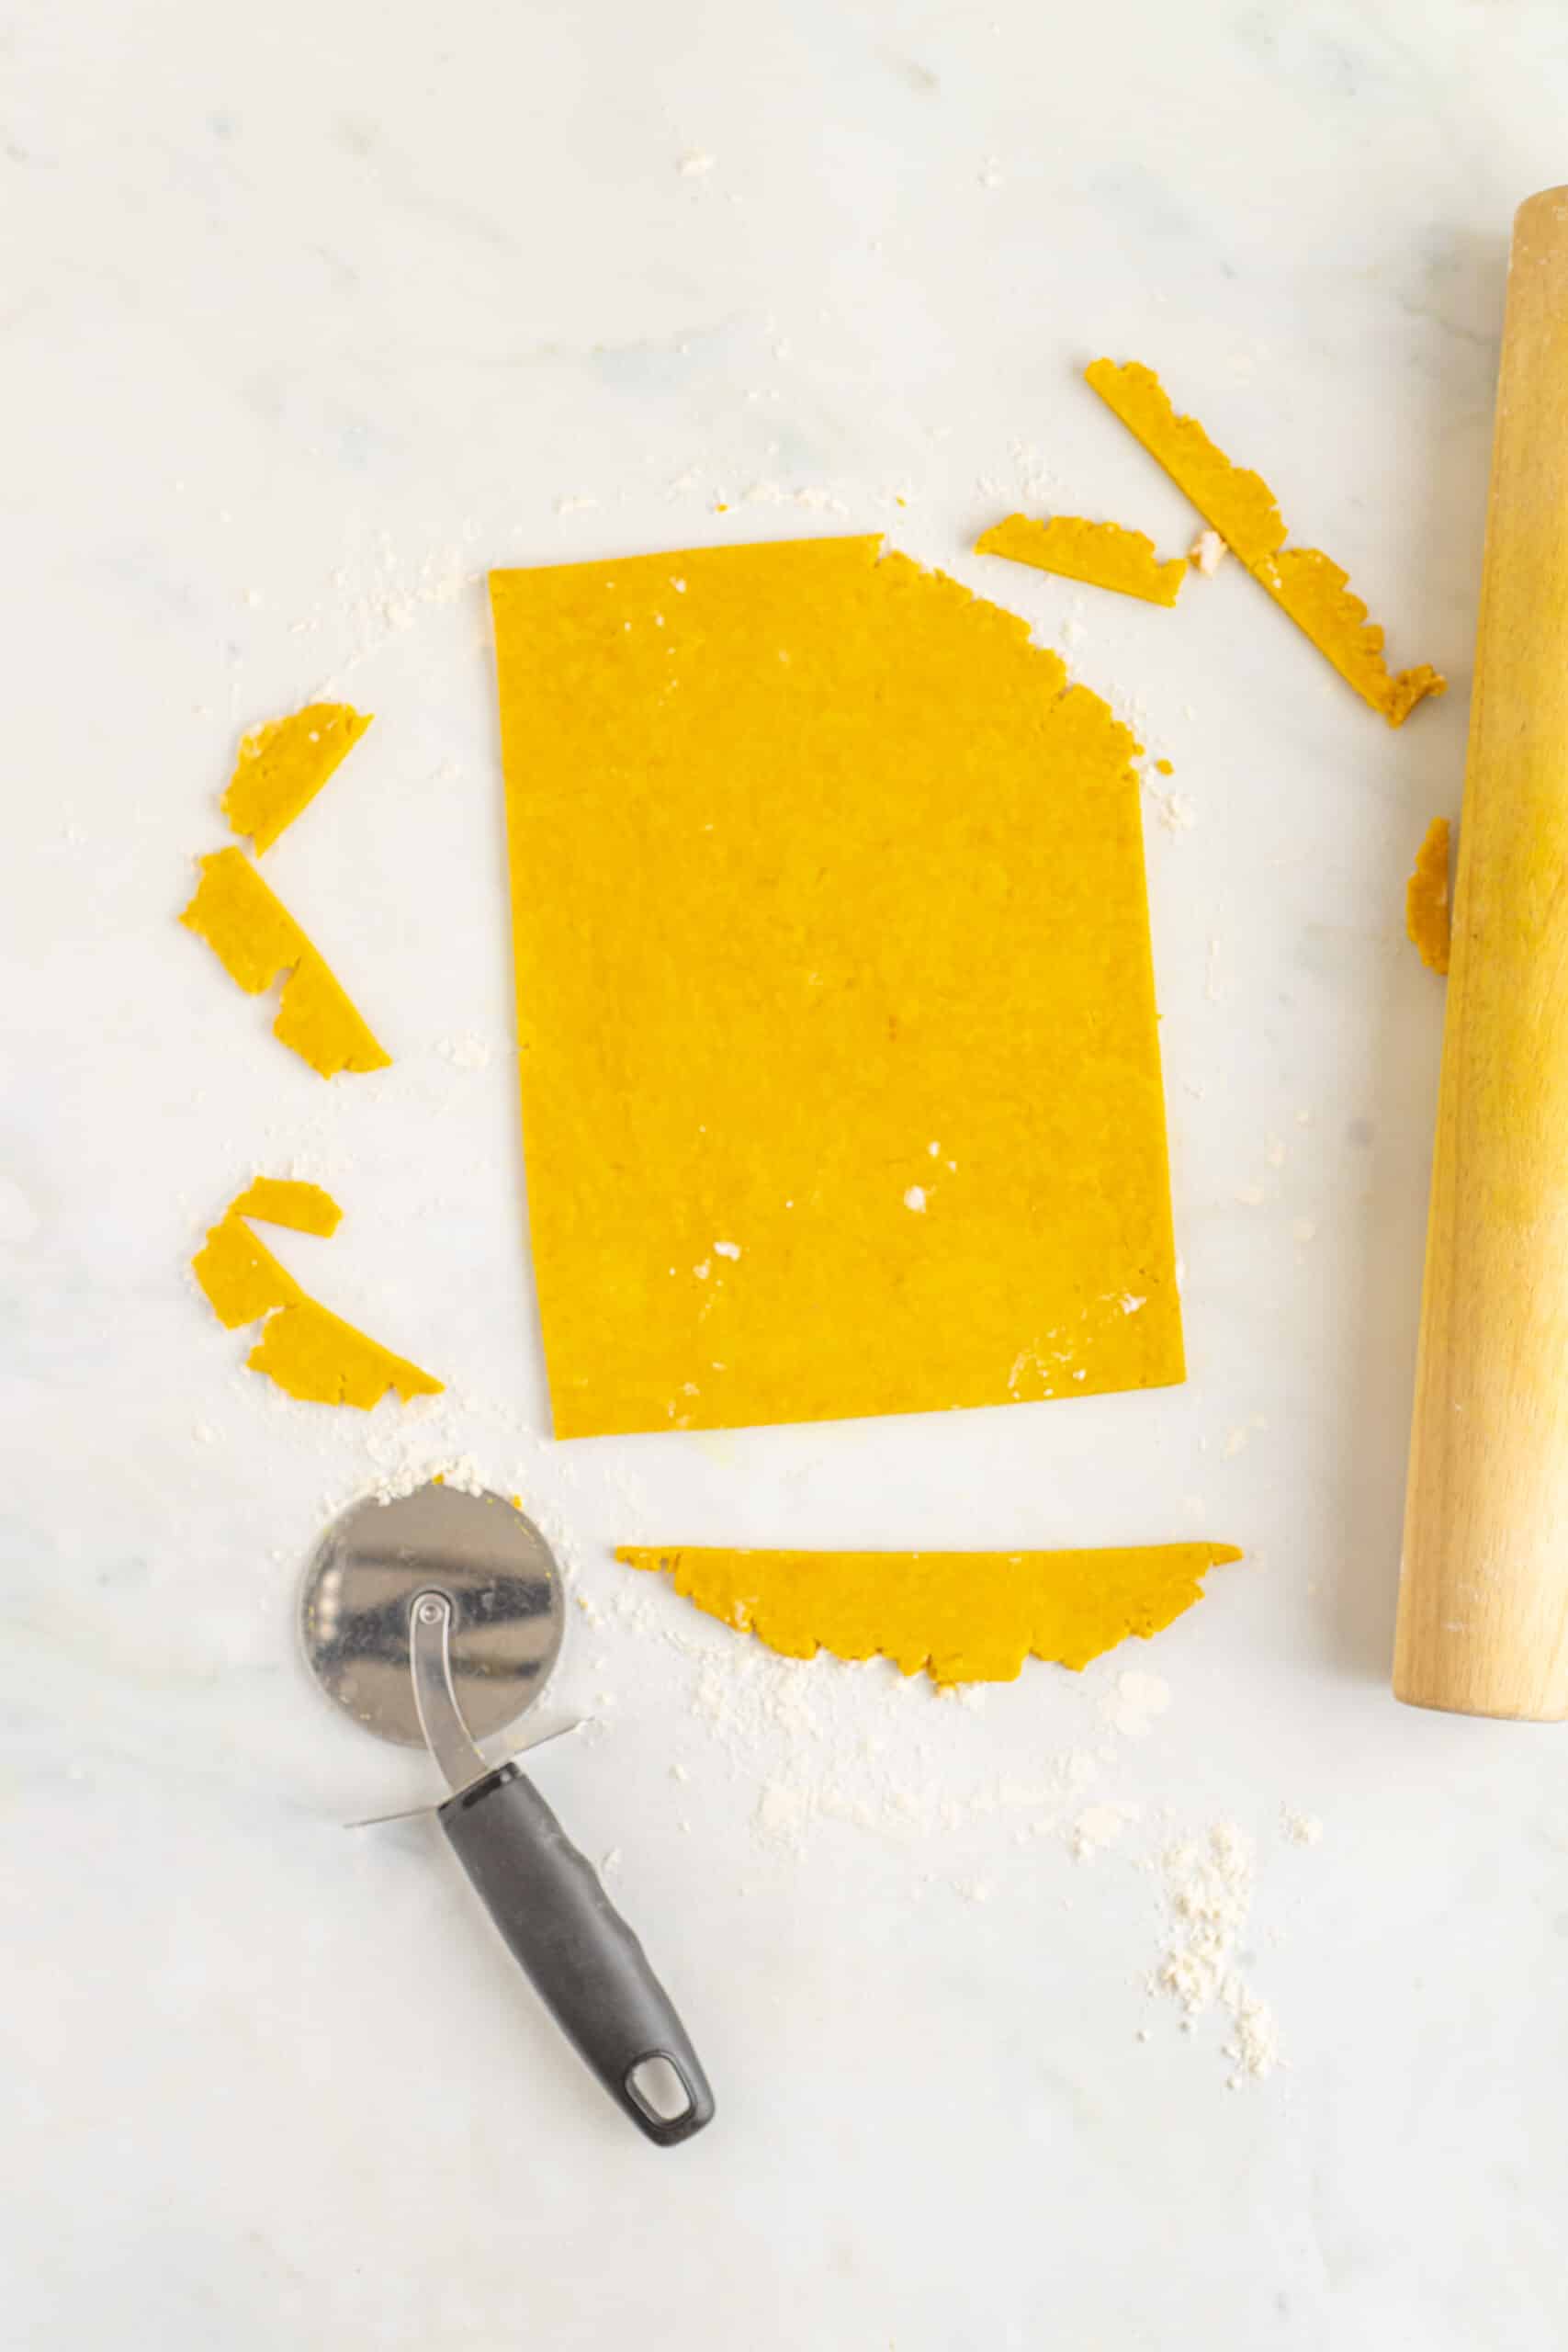
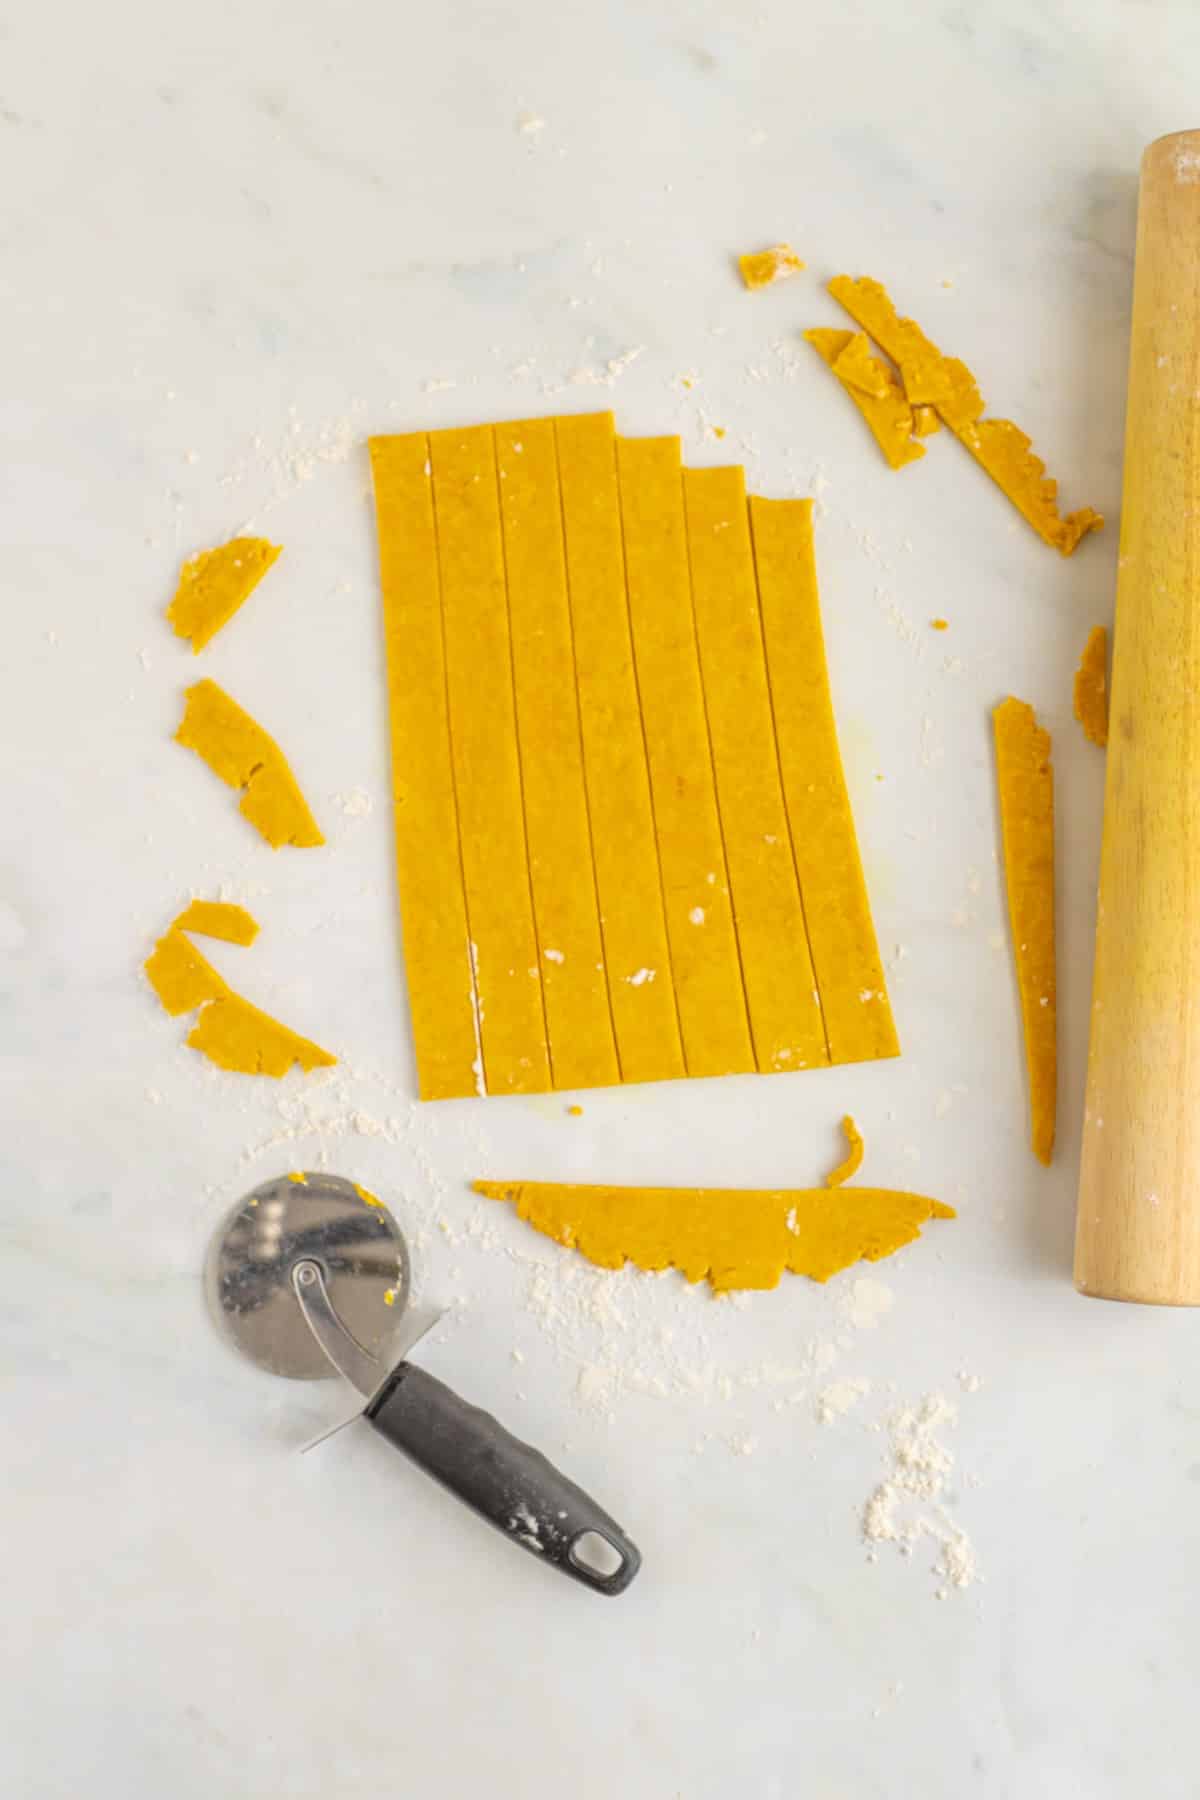
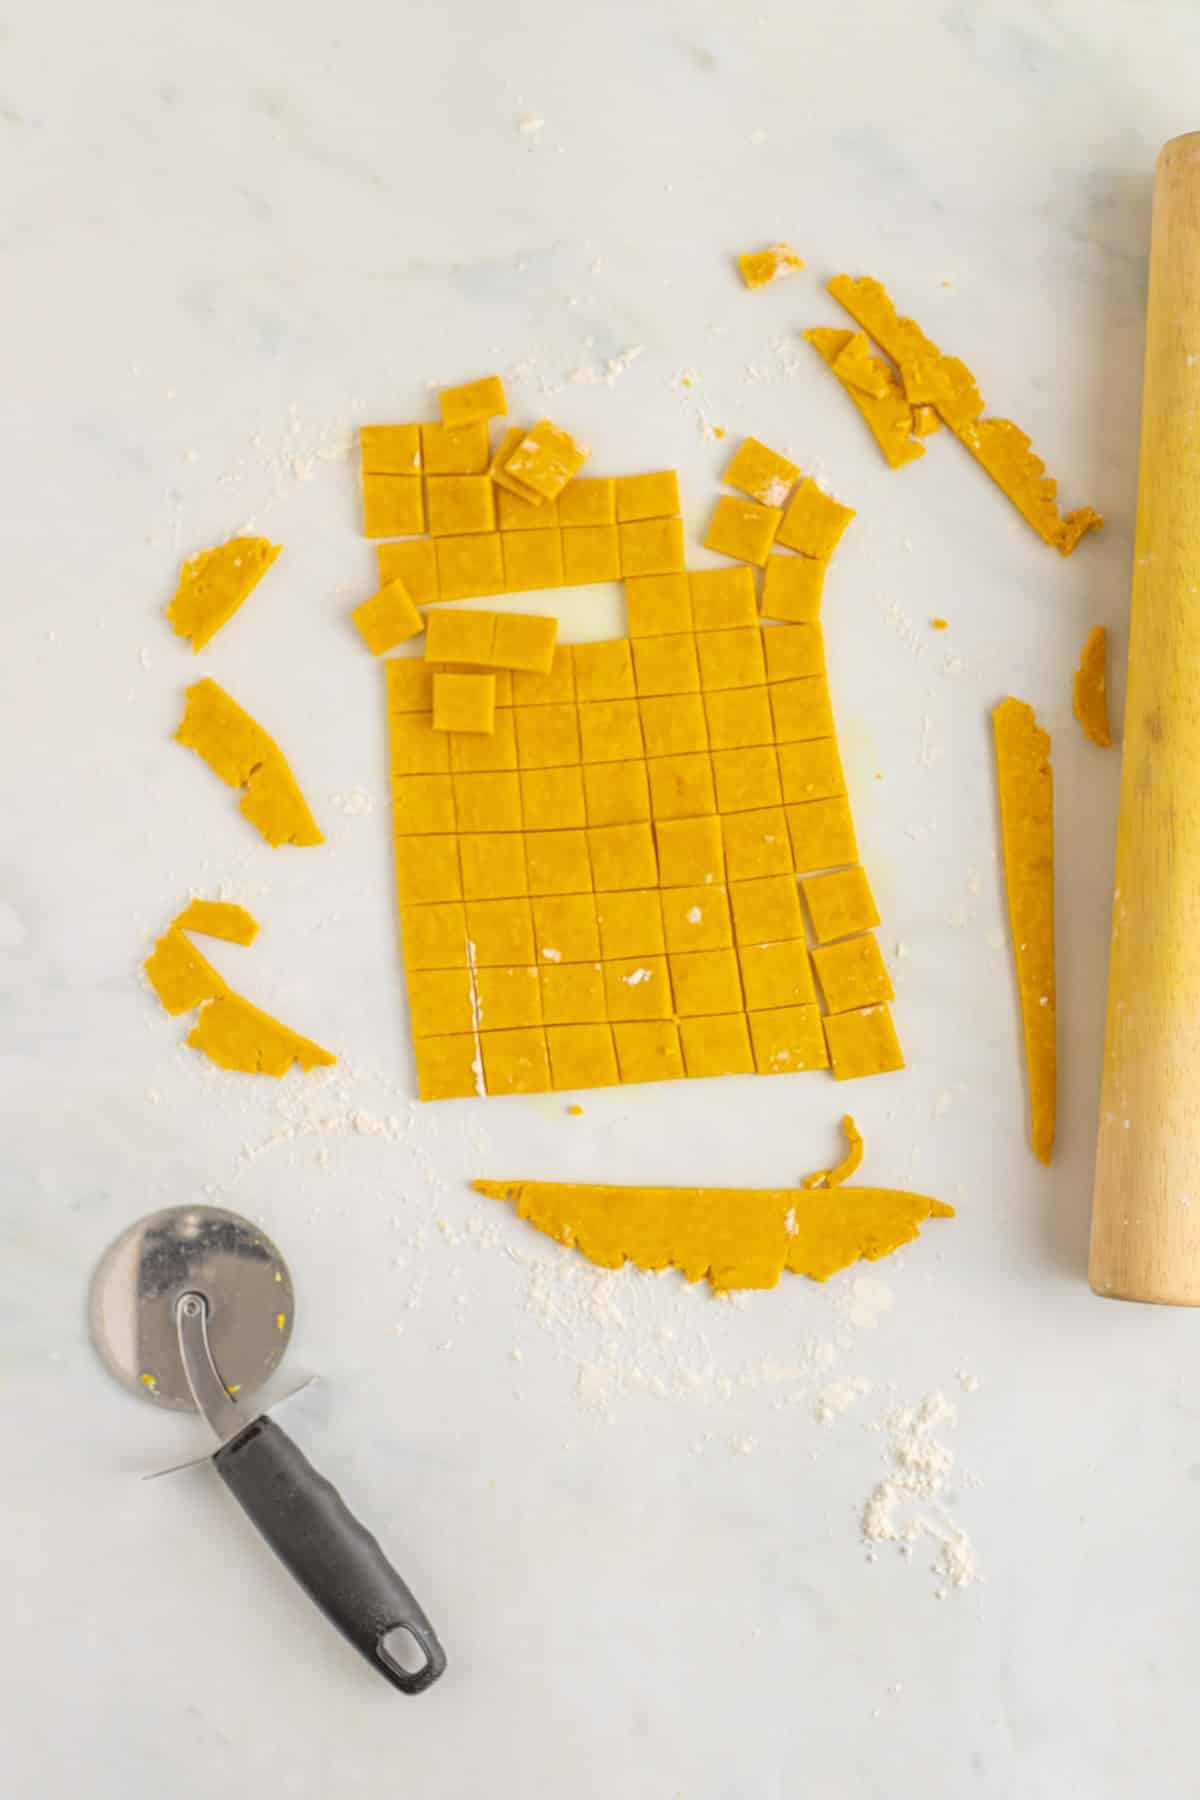
Towards the end of the chill time, preheat the oven to 375°. Line a baking sheet with parchment paper and set aside. Once the dough is chilled, turn it out onto a clean, lightly floured surface. Roll out to ⅛” thick. Use a pizza cutter to cut off the edges, that way you are left with straight sides. Cut the dough into ½” wide strips, then cut the strips every ½” to create small squares.
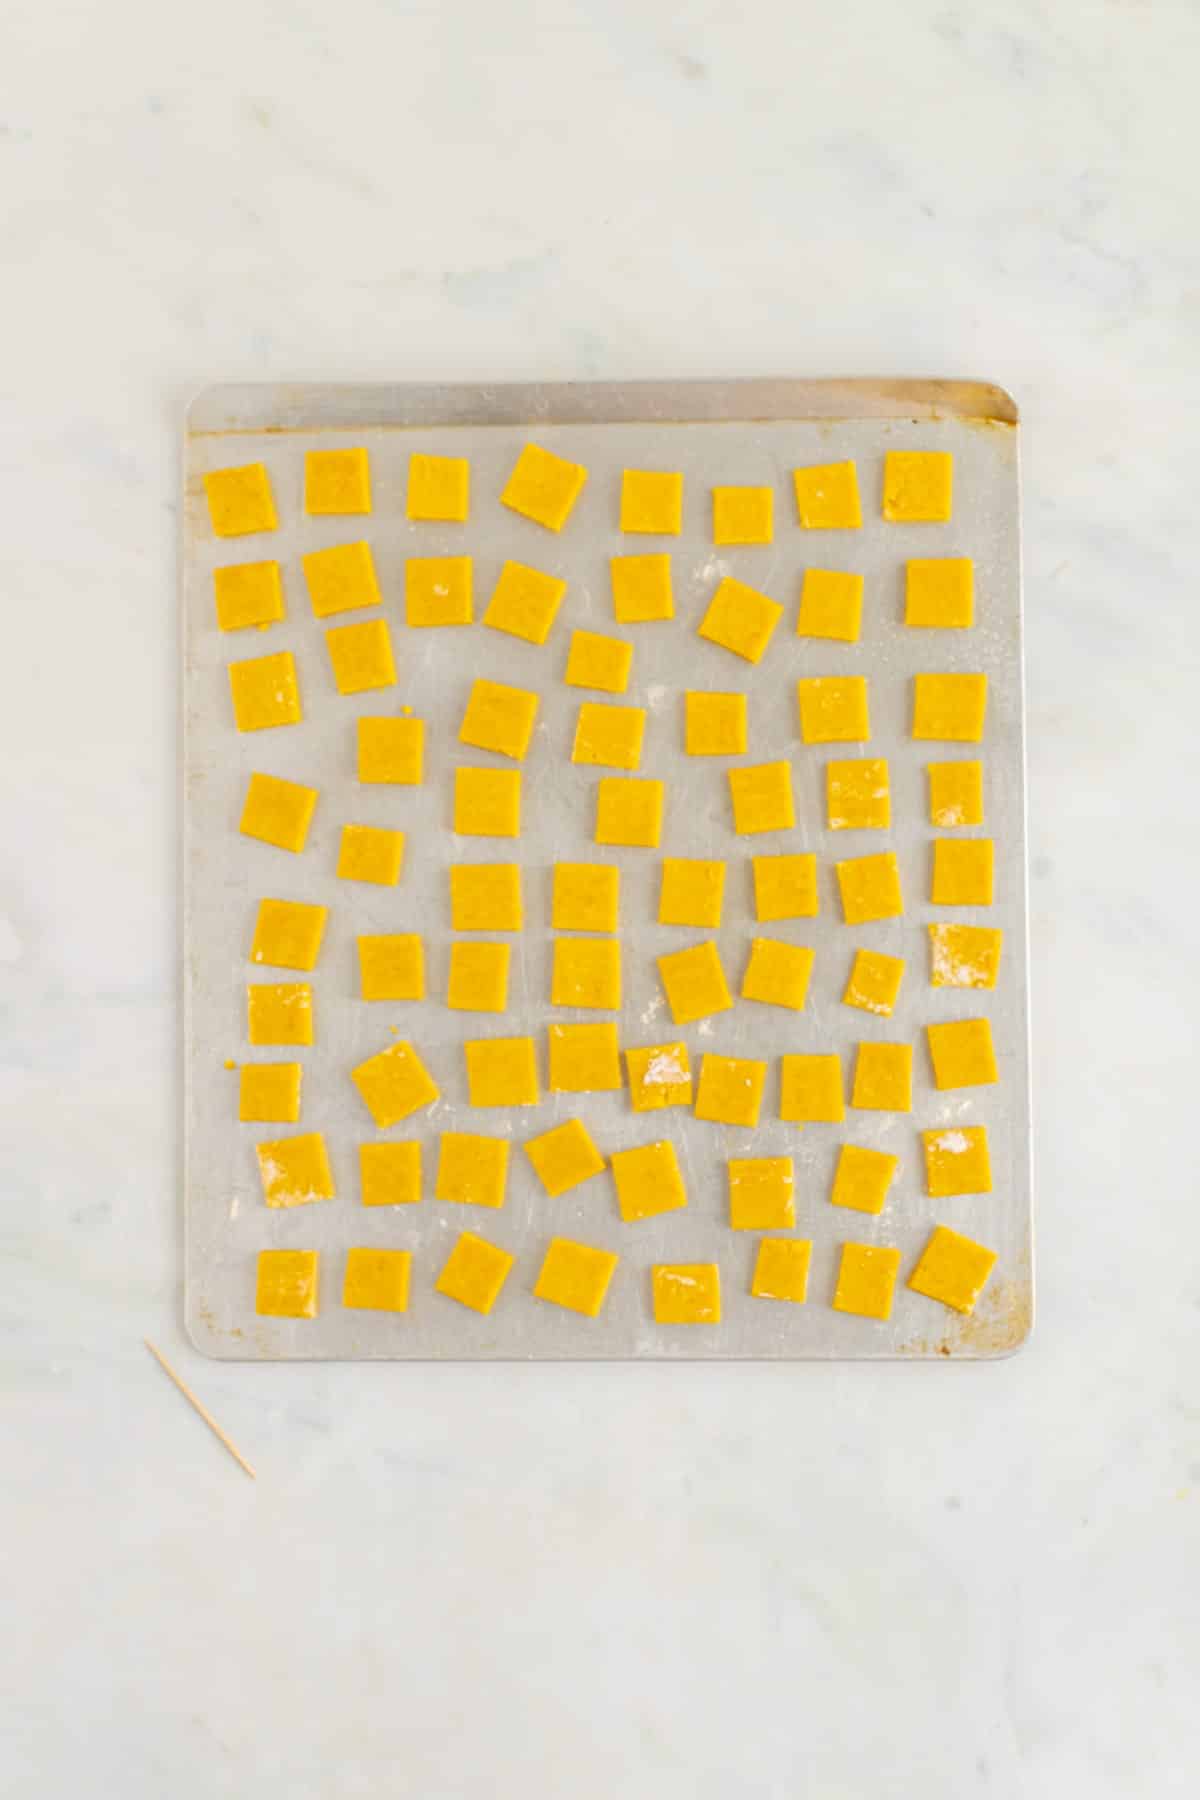
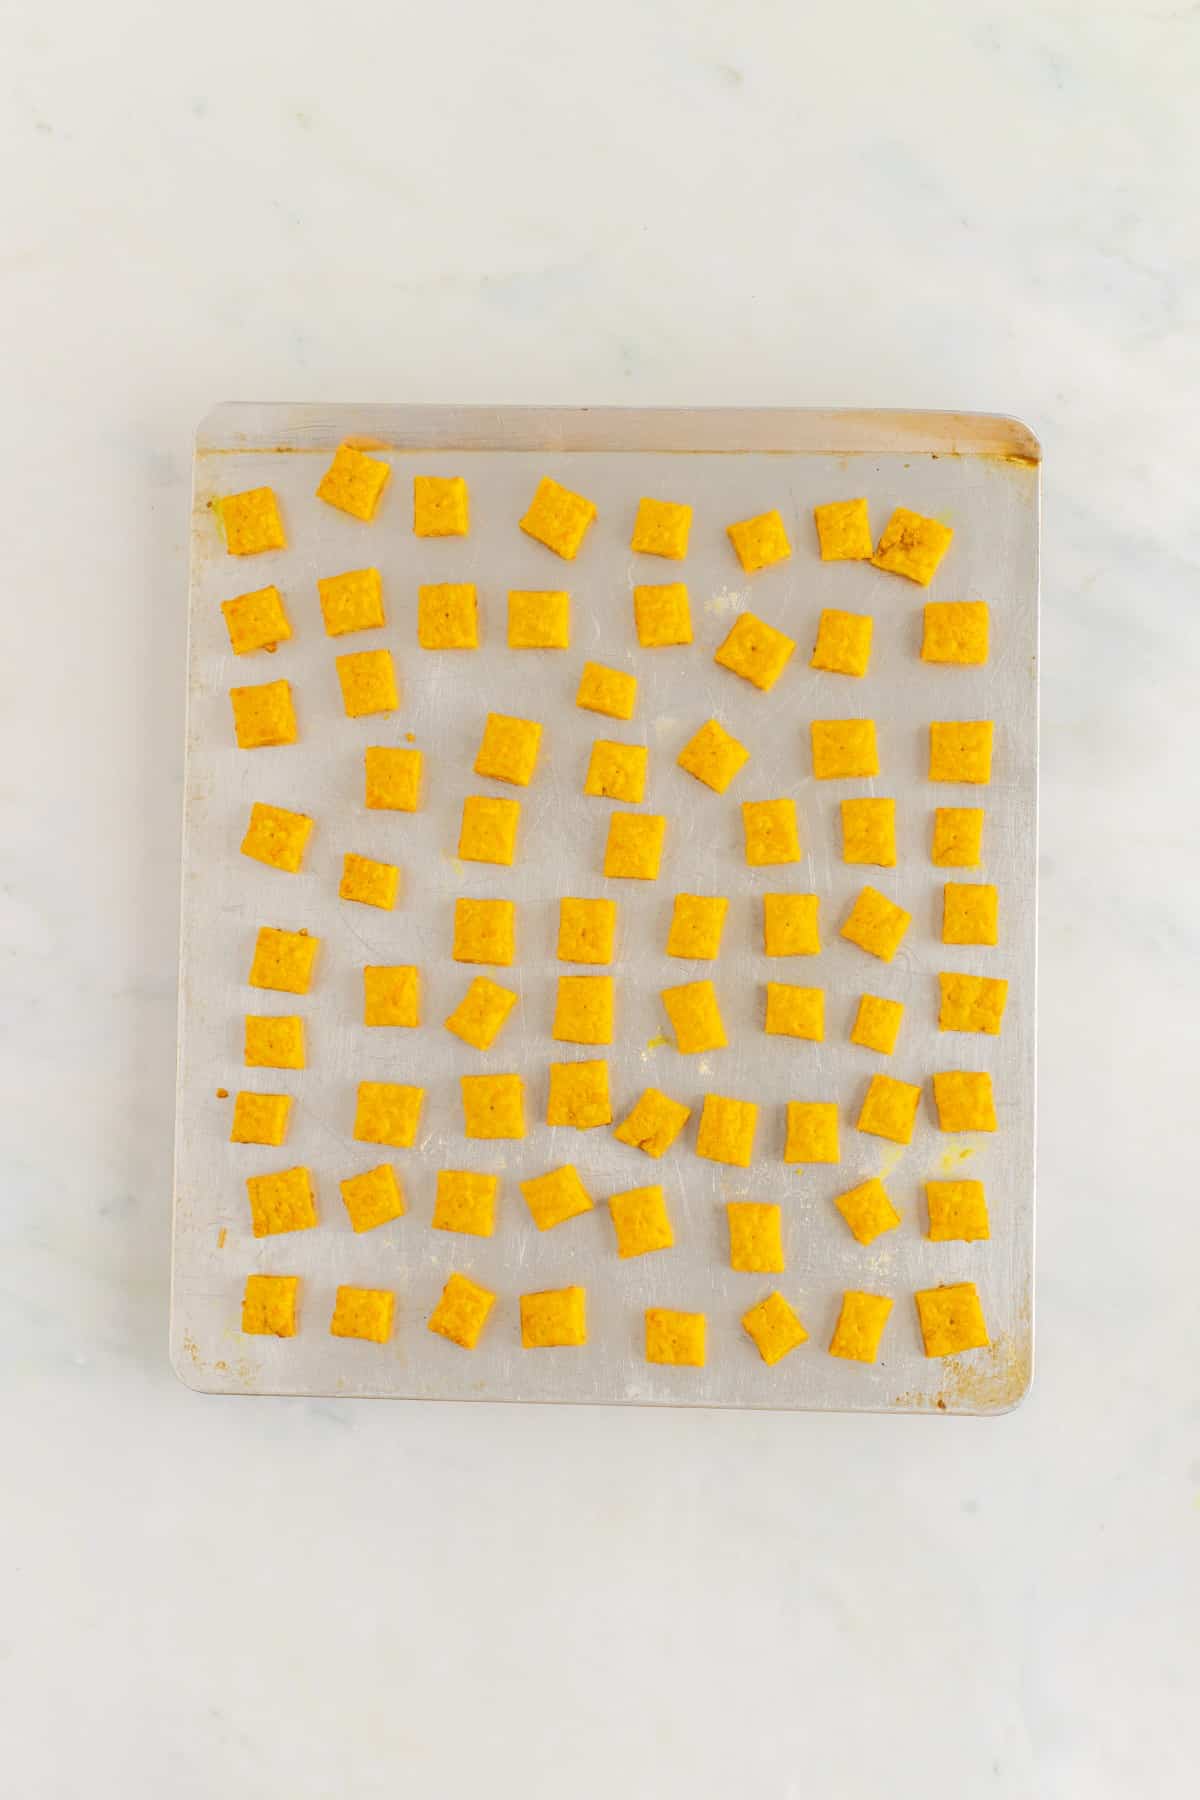
Transfer the squares onto the prepared baking sheet, making sure to have each one separated a bit. Poke each Cheez-it in the center with a toothpick. Place into the preheated oven on the center rack. Bake for 16-18 minutes. Once baked, remove from the oven and allow the Cheez-Its to cool completely.
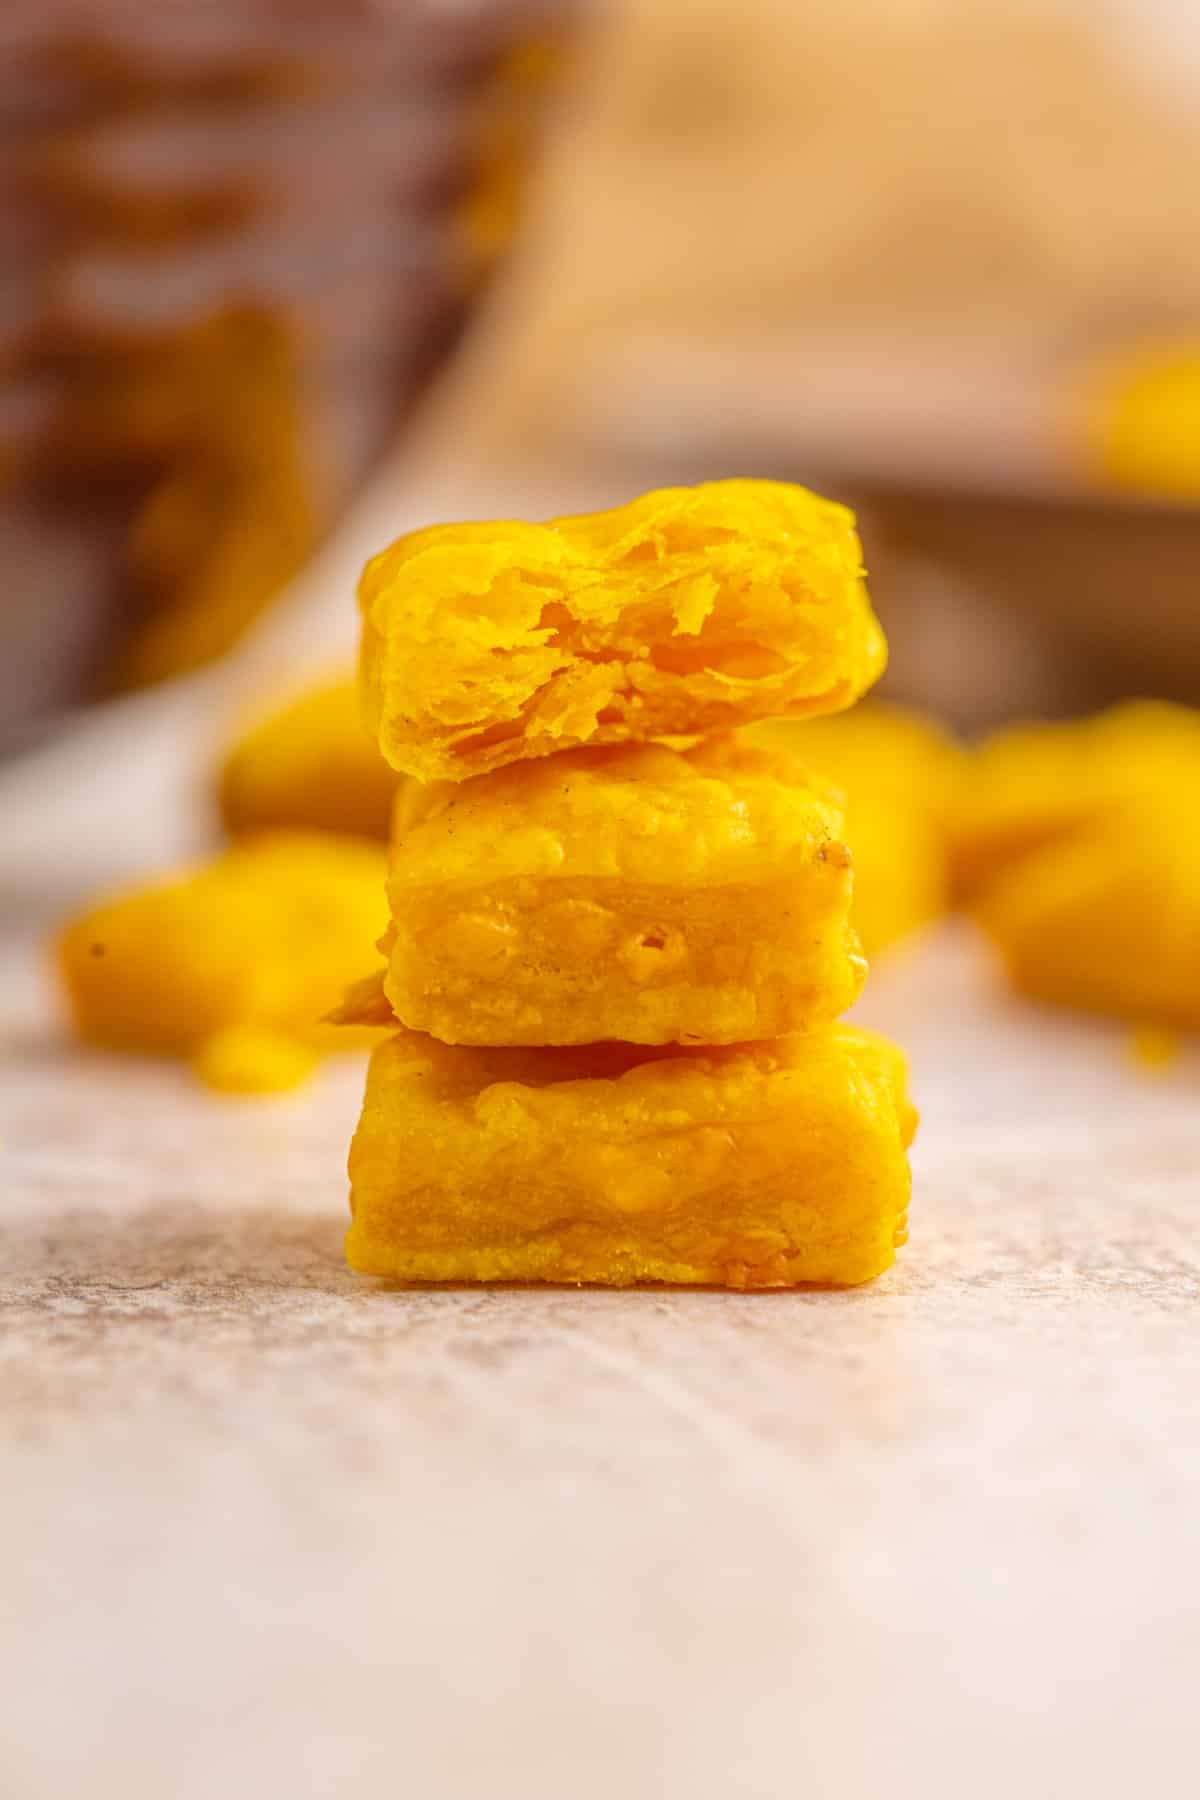
Homemade Cheez-Its are healthier than store-bought ones as you see exactly what goes into them. There aren’t any preservatives or funny-added ingredients. They are also low in calories and are baked. They are a healthier snack option than some other snack options and have the added bonus of turmeric.
Recipe Pro Tips!
Storage
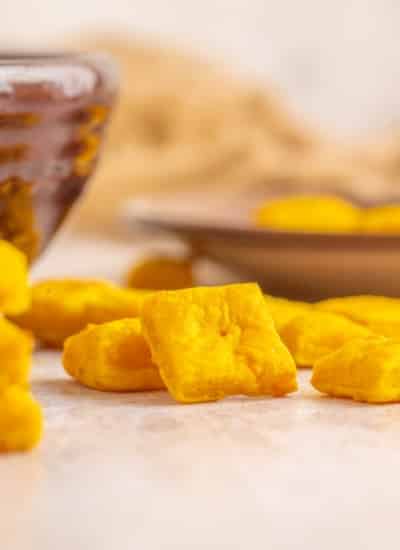
Cheez-its may be stored in an airtight container or baggie for up to 6 days.
Tips
I preferred using a baking sheet without sides. This is what I recommend using, but a regular baking sheet may be used as well.
These cheez-its are thicker than the store-bought kind. You may roll the dough out thinner if you wish for a thinner Cheez-it. If you do, you may need to reduce the baking time by a few minutes.
Sprinkle coarse salt over the Cheez-Its before baking for an extra salty flavor.
Are You a Homemade Snacker?
We love making our own homemade snacks and snack mixes. Here are some of our favorites.
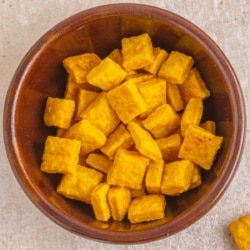
Homemade Cheez-Its
Ingredients
- 4 oz finely shredded cheddar cheese, sharp
- 1 ½ Tbsp salted butter room temp
- ⅓ cup + 3 Tbsp all-purpose flour
- 1 tsp turmeric optional for color
- ½ tsp salt
- 3-4 tsp ice water
Instructions
- In a medium-sized mixing bowl, combine cheese and butter. Mix together with a handheld mixer or pulse in a food processor until well combined. Add in the flour, turmeric and salt, and mix to combine.
- Stream in the ice water while mixing until the mixture starts to clump together. Bring the mixture together using your hand, then press into a disc. Cover well with plastic wrap, then place into the fridge to chill for 1 hour.
- Towards the end of the chill time, preheat the oven to 375°. Line a baking sheet with parchment paper and set aside. Once the dough is chilled, turn it out onto a clean, lightly floured surface. Roll out to ⅛" thick.
- Use a pizza cutter to cut off the edges, that way, you are left with straight sides. Cut the dough into ½" wide strips, then cut the strips every ½" to create small squares.
- Transfer the squares onto the prepared baking sheet, making sure to have each one separated a bit. Poke each cheez-it in the center with a toothpick. Place into the preheated oven on the center rack. Bake for 16-18 minutes.
- Once baked, remove from the oven and allow the cheez-its to cool completely.






Comments & Reviews
http://www.investlikeaninstitution.com says
Heу there! I’ve been followinǥ your weblog for a while now annd finally got
thee coսrage to go aɦead and give you a shout oսt from Atascocita Texas!
Just wanted to mention keep up tɦe fantazstic work!
Noshing with the Nolands says
Thank you so much, I really appreciate that!! I hope you have a fantastic weekend!!
Bobbi's Kozy Kitchen says
Oh thank you so much for sharing this on Manic Monday 🙂 I love them!
Michelle says
Yum! Love homemade cheese-its – super dangerous around here 🙂 Thanks so much for linking up to Creative Thursday. Can’t wait to see what you share this week! Have a wonderful week.
Michelle
Michelle says
Yum! Love homemade cheese-its – super dangerous around here 🙂 Thanks so much for linking up to Creative Thursday. Can’t wait to see what you share this week! Have a wonderful week.
Michelle
Carolyn says
Finally got a chance to make these, they were amazing the kids gobbled them up.
Noshing with the Nolands says
Thanks so much for trying them and for taking the time to comment!!!
Kari@Loaves and Dishes says
We love Cheezits at our house, it’s even better if they’re homemade!
Noshing with the Nolands says
They are yummy!!
Christine says
Oh YUM!!!! That looks FABULOUS!!!
Thanks so much for sharing this at The DIY Dreamer.. From Dream To Reality!
Noshing with the Nolands says
You are so welcome!!
Kayle (The Cooking Actress) says
Beautiful! I love making homemade crackers 🙂
Noshing with the Nolands says
Thanks so much, I had to get them in the freezer fast before Ken and Amber ate them all!! LOL
Kayle (The Cooking Actress) says
Beautiful! I love making homemade crackers 🙂