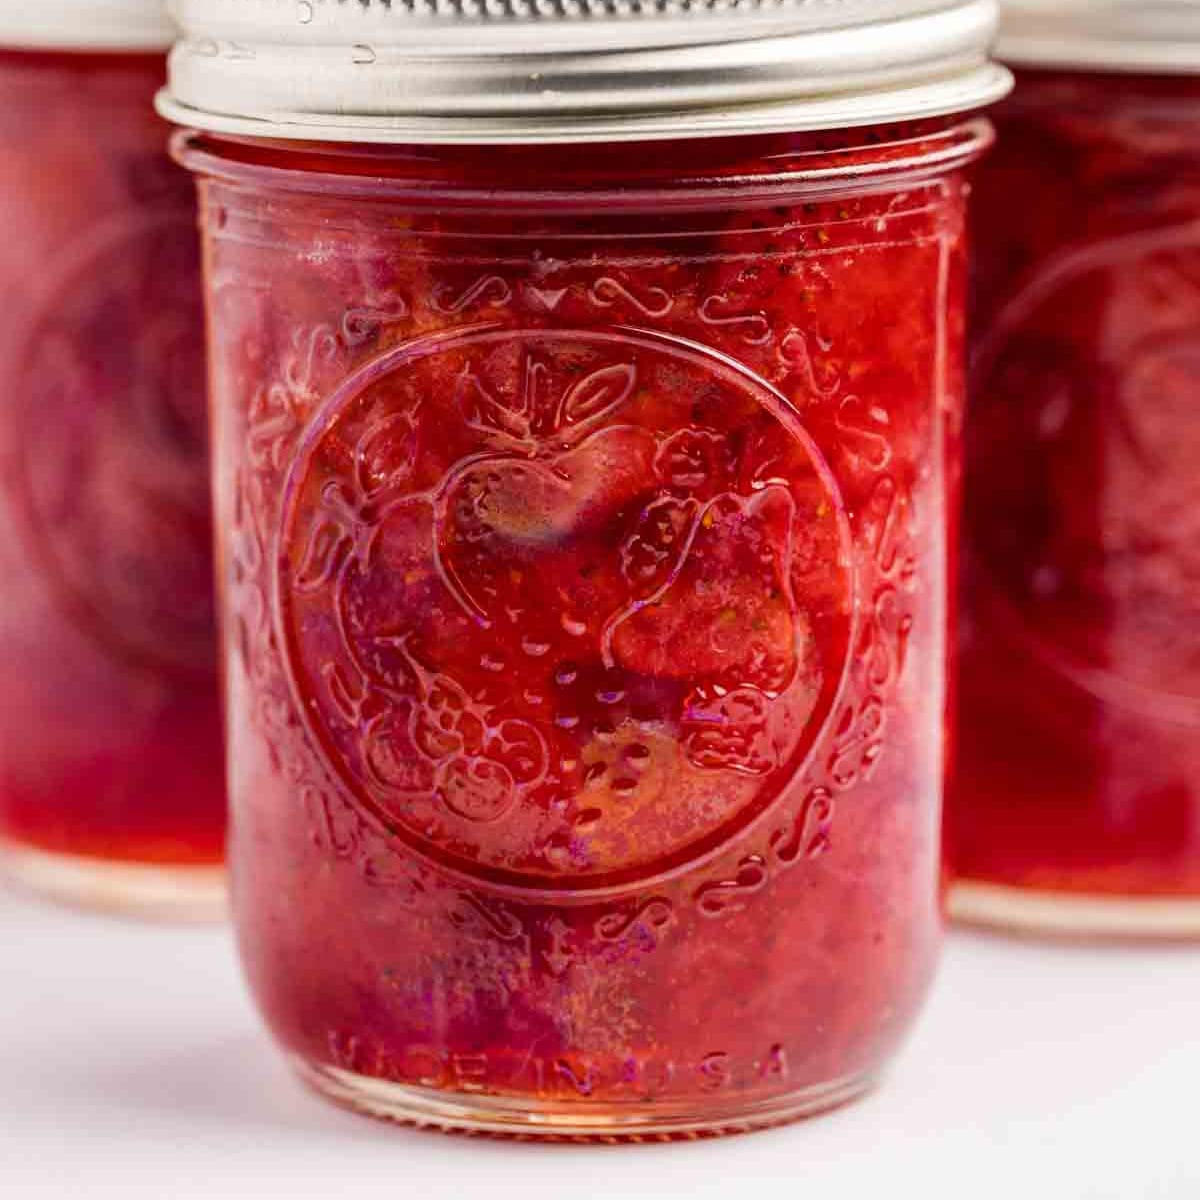
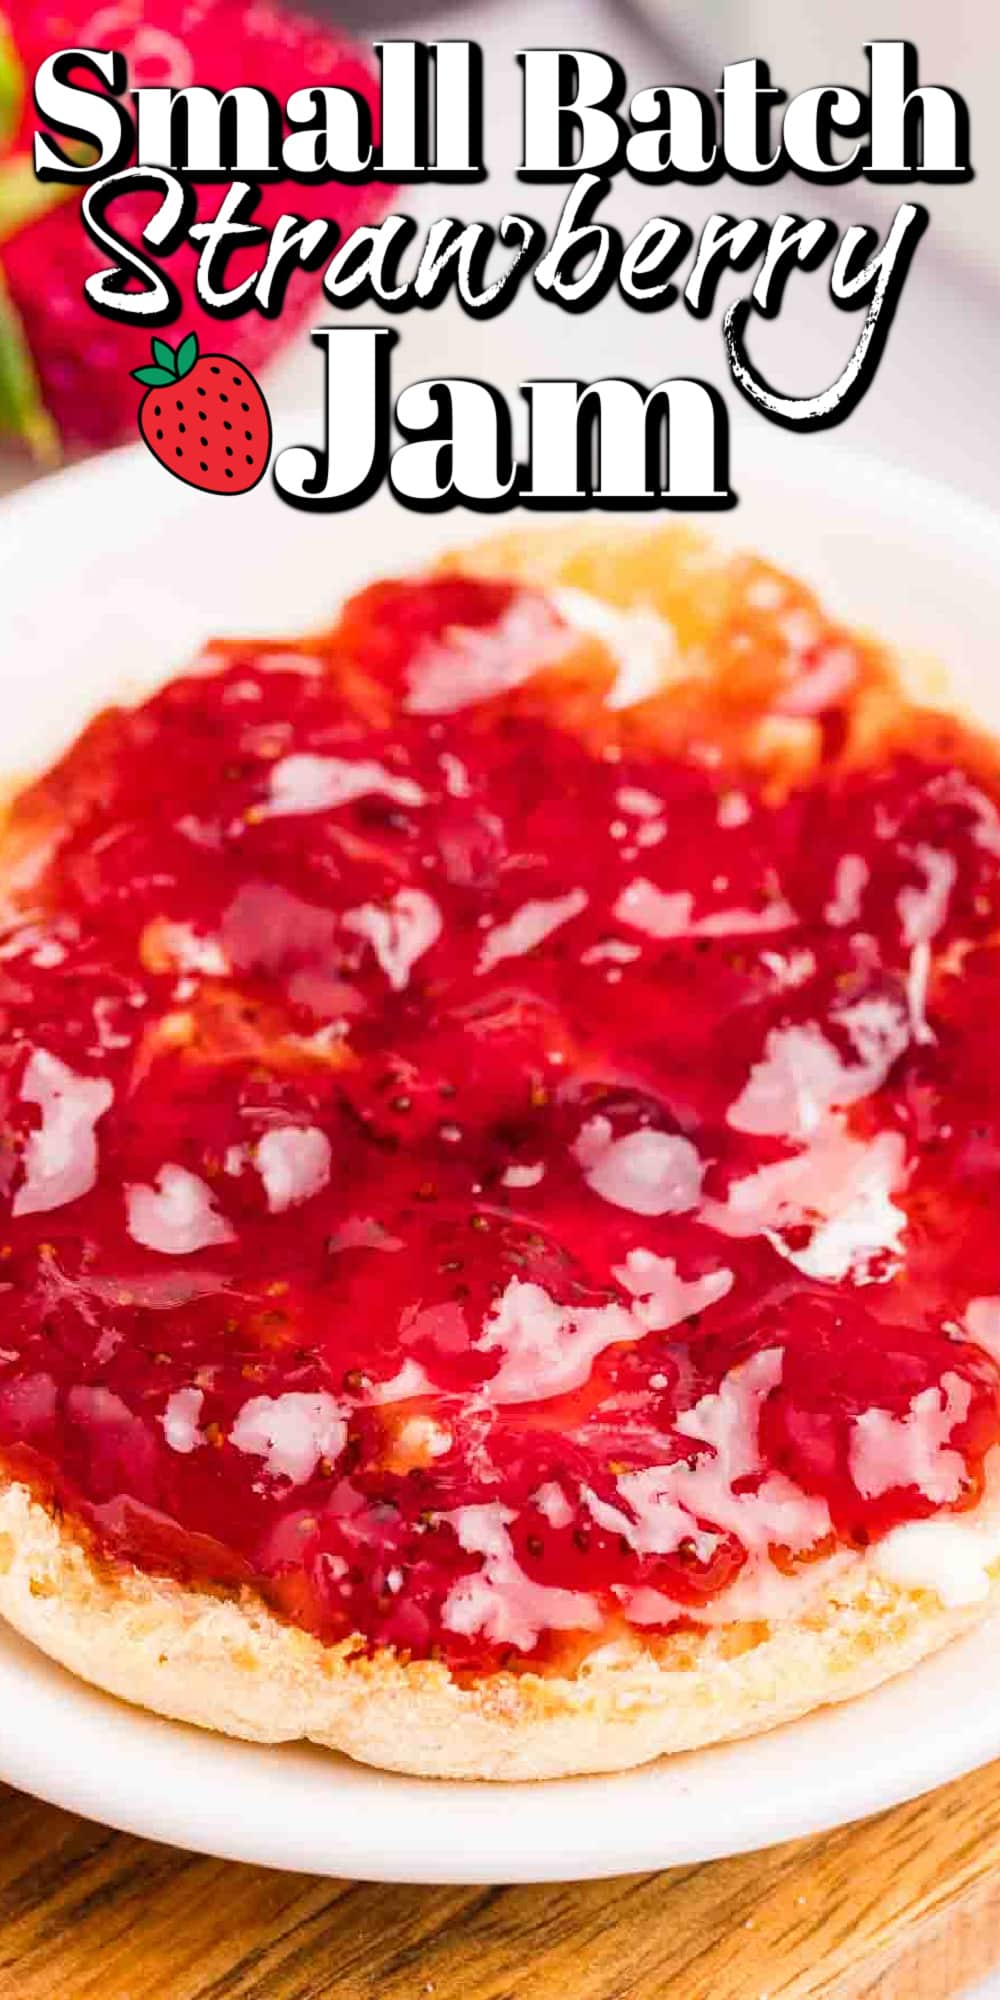
This easy Small Batch Strawberry Jam is fresh and delicious and only has 3 ingredients and no pectin. It is a breeze to make up this homemade jam when you see strawberries on sale at your favorite local market.
If you like making small batch jams, then try our Homemade Fig Jam Recipe or our Blackberry Freezer Jam.
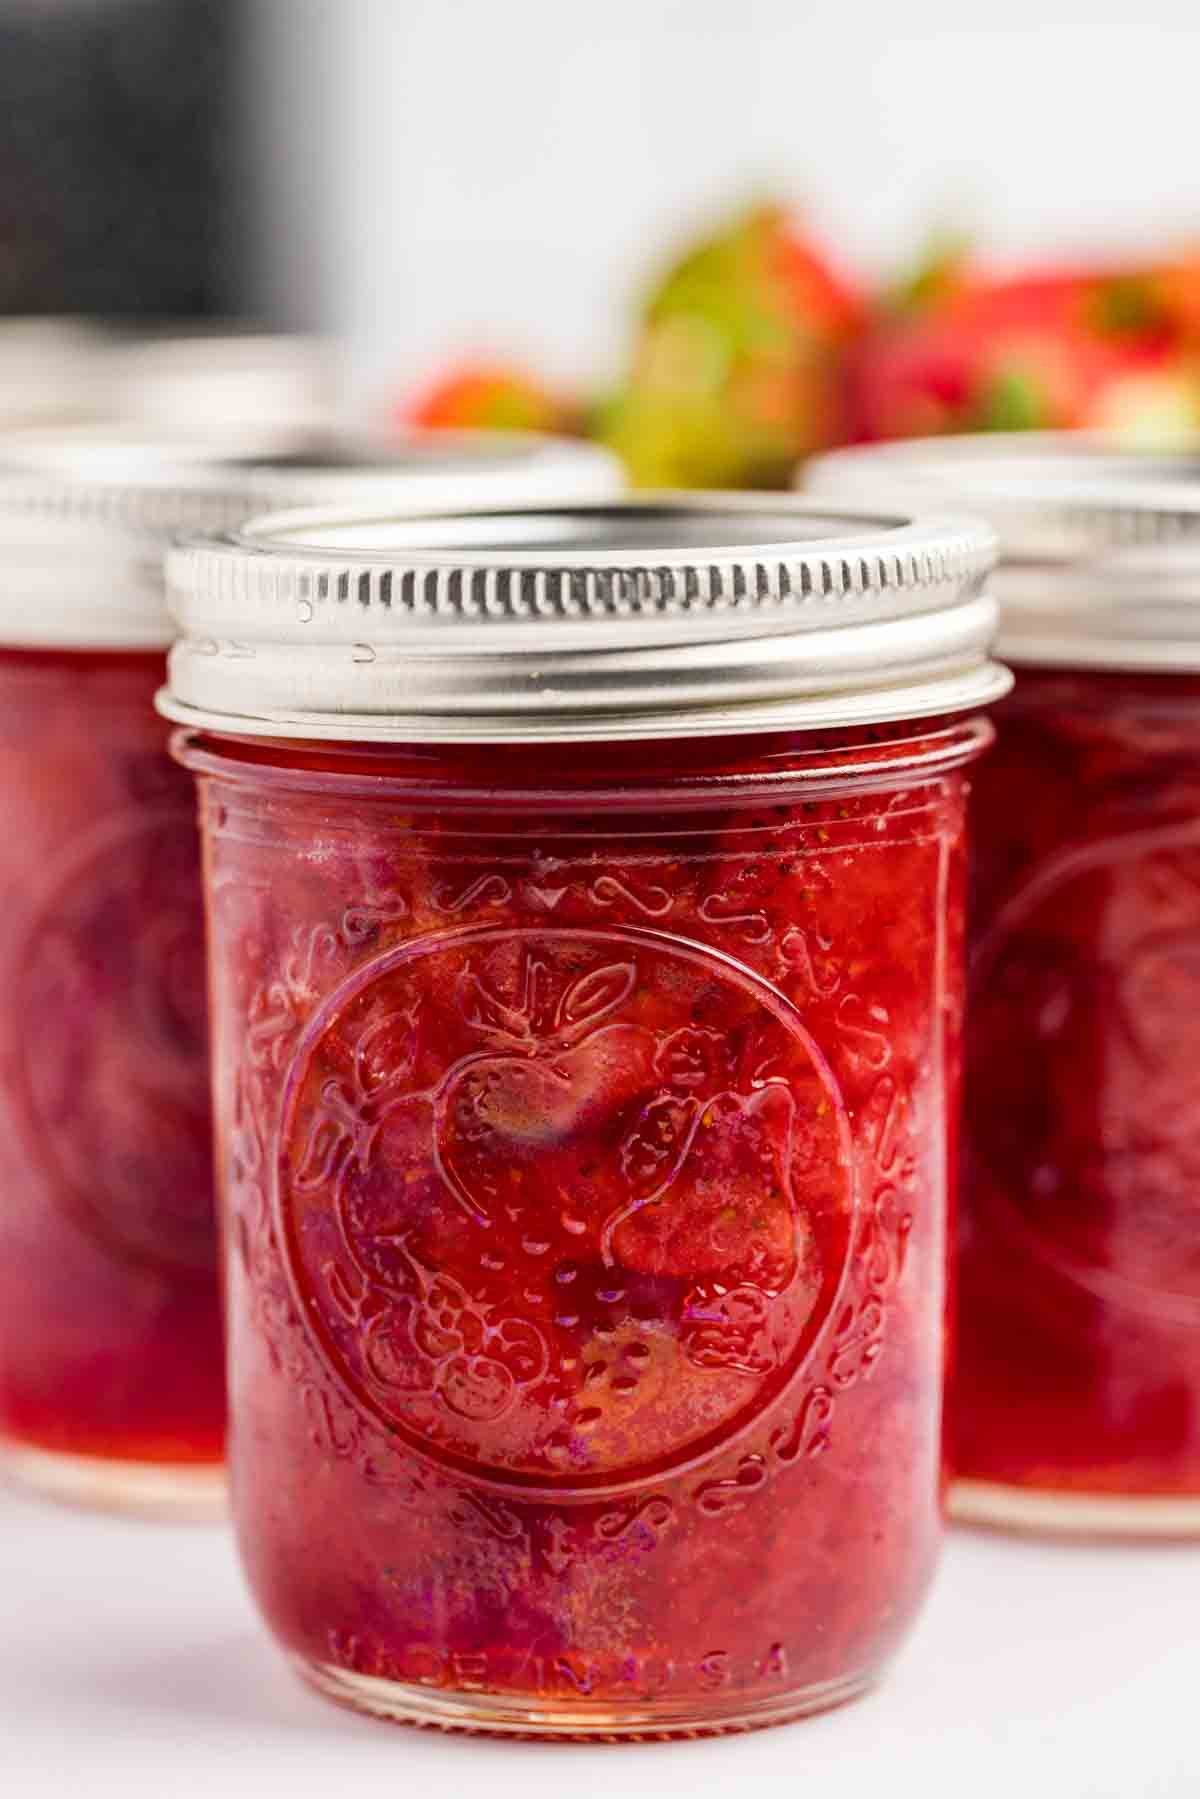
Strawberries are lower in pectin, but it is still very easy to make jam without using pectin. It is a bit softer in texture, but that is what I like. I find that pectin either doesn’t work or gets crazy thick. Plus, you use much less sugar without using pectin.
Helpful Items For This Recipe
This post contains affiliate links. As an Amazon Associate, I earn a small portion from qualifying purchases at no extra charge to you.
Mason Jars 8 oz 24 Pack Canning Jars with Labels Included
Strawberry Lemon Dish Towels – Strawberry Lemon Gifts Waffle Weave
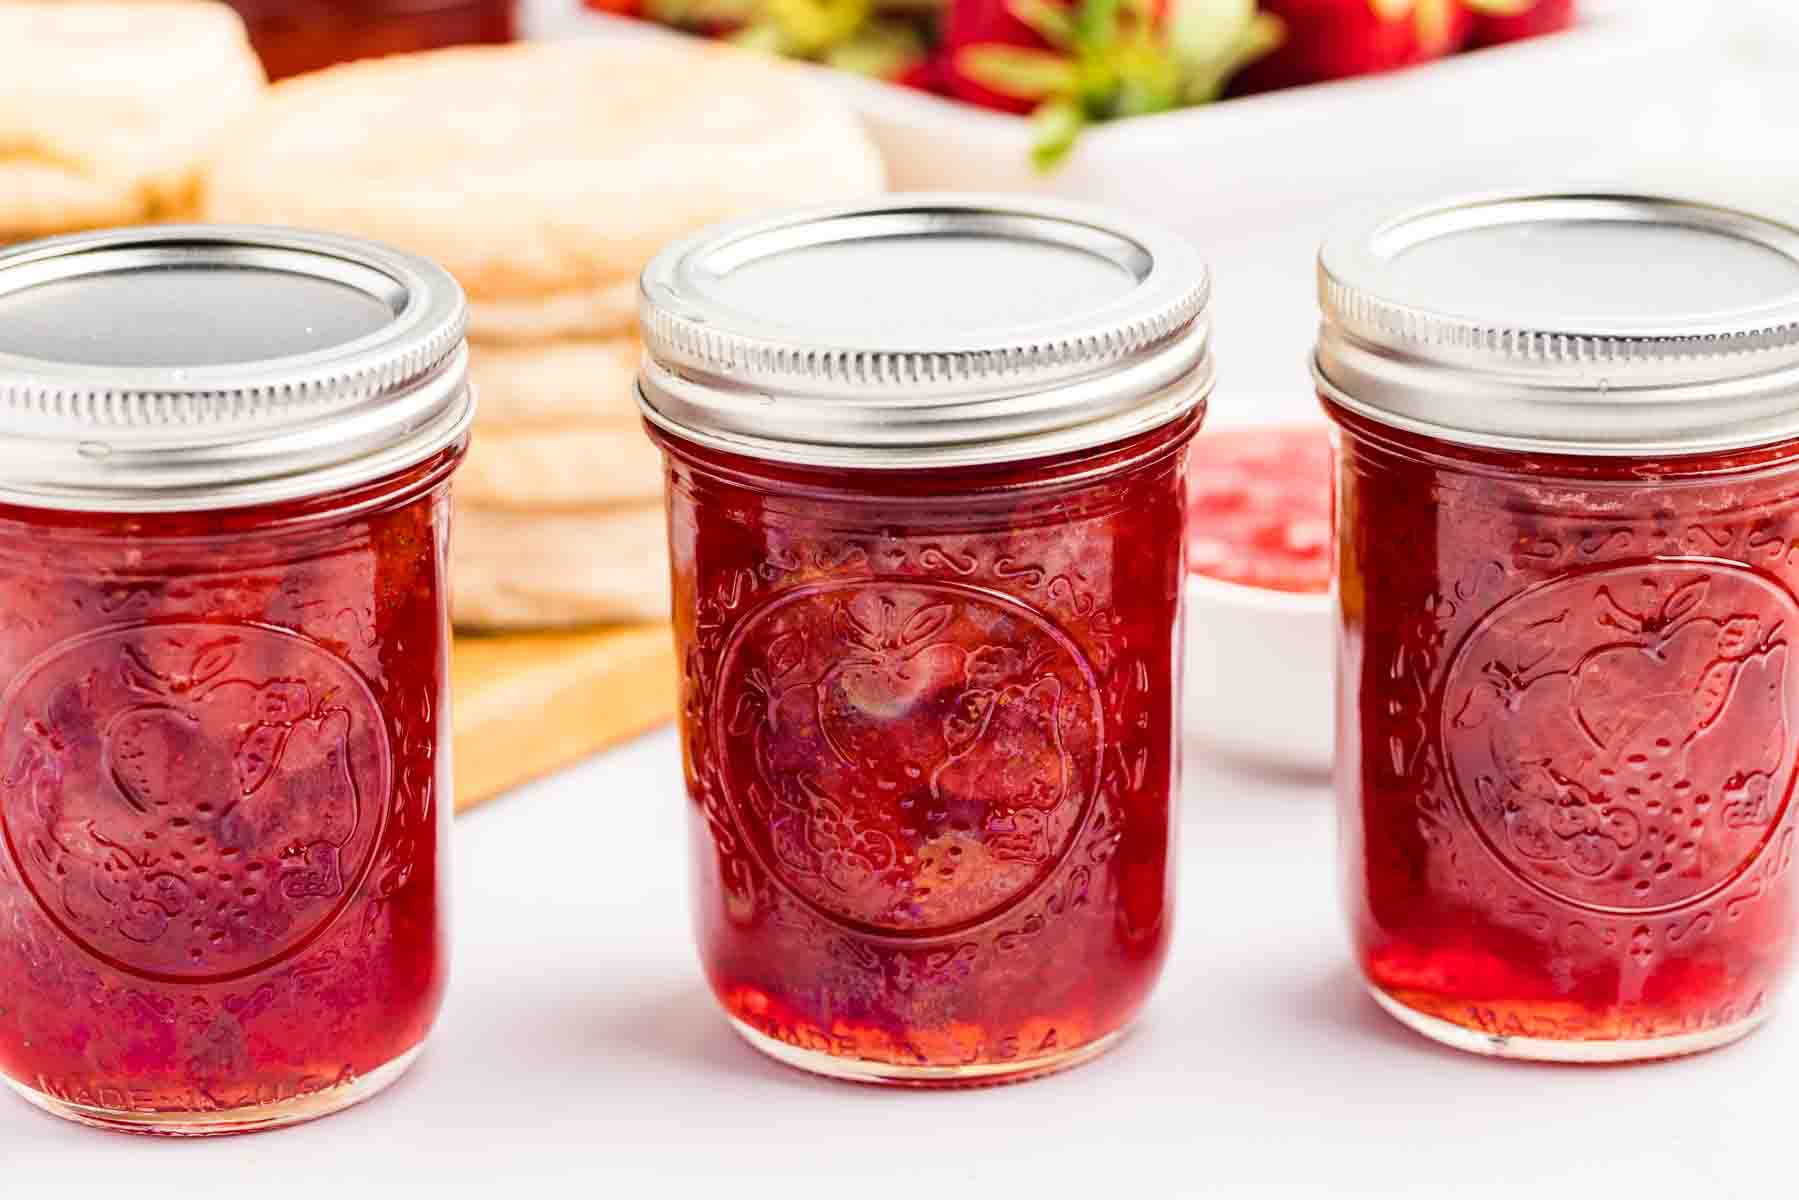
What Ingredients are Needed to Make Strawberry Jam
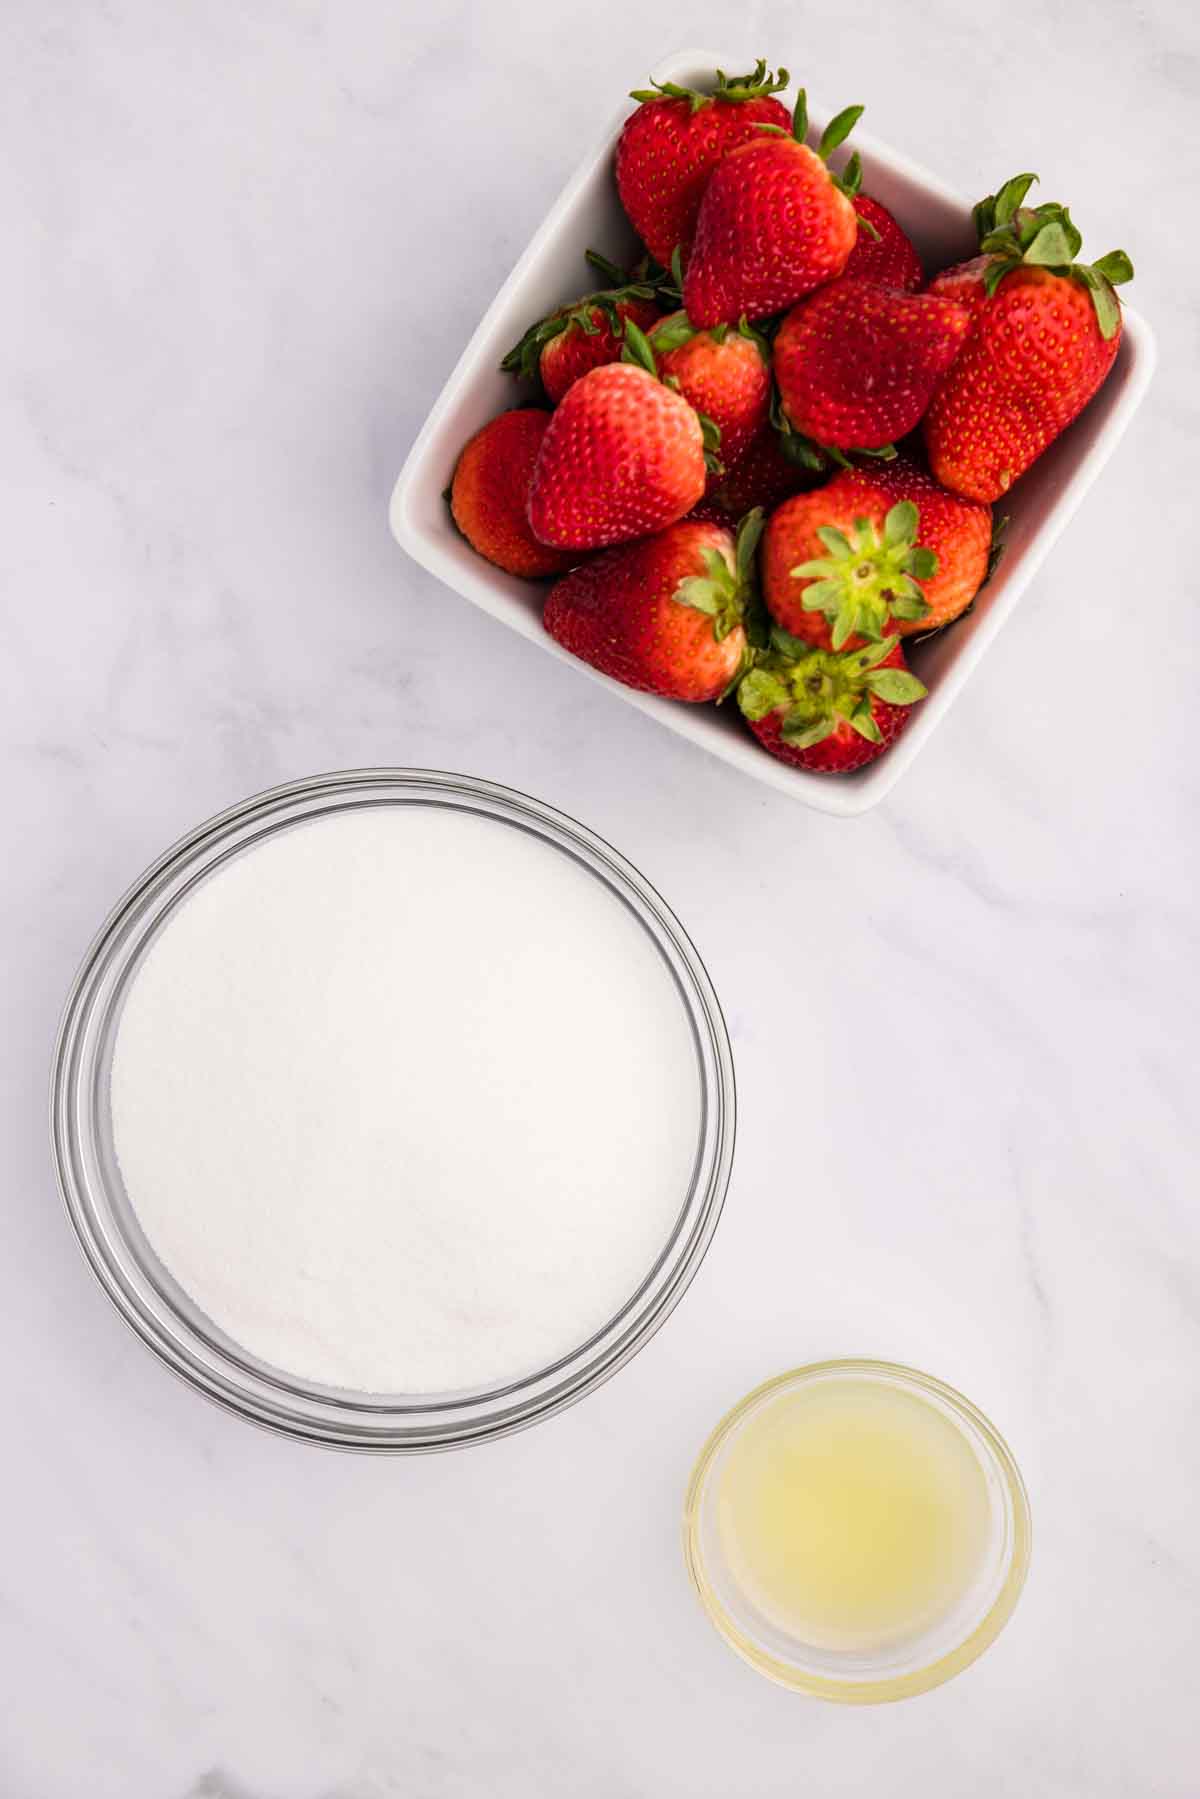
Yup, all you need is three ingredients to make delicious homemade pectin-free jam. Nothing could be simpler than that.
Ingredients
Fresh ripe strawberries, washed, stemmed, and sliced – Get the freshest strawberries you can find and ones that are flavorful and sweet.
Granulated sugar – Just plain white sugar is all that is needed.
Lemon juice – Adding lemon juice along with the natural pectin in strawberries, although they are low in pectin, does help the jam set.
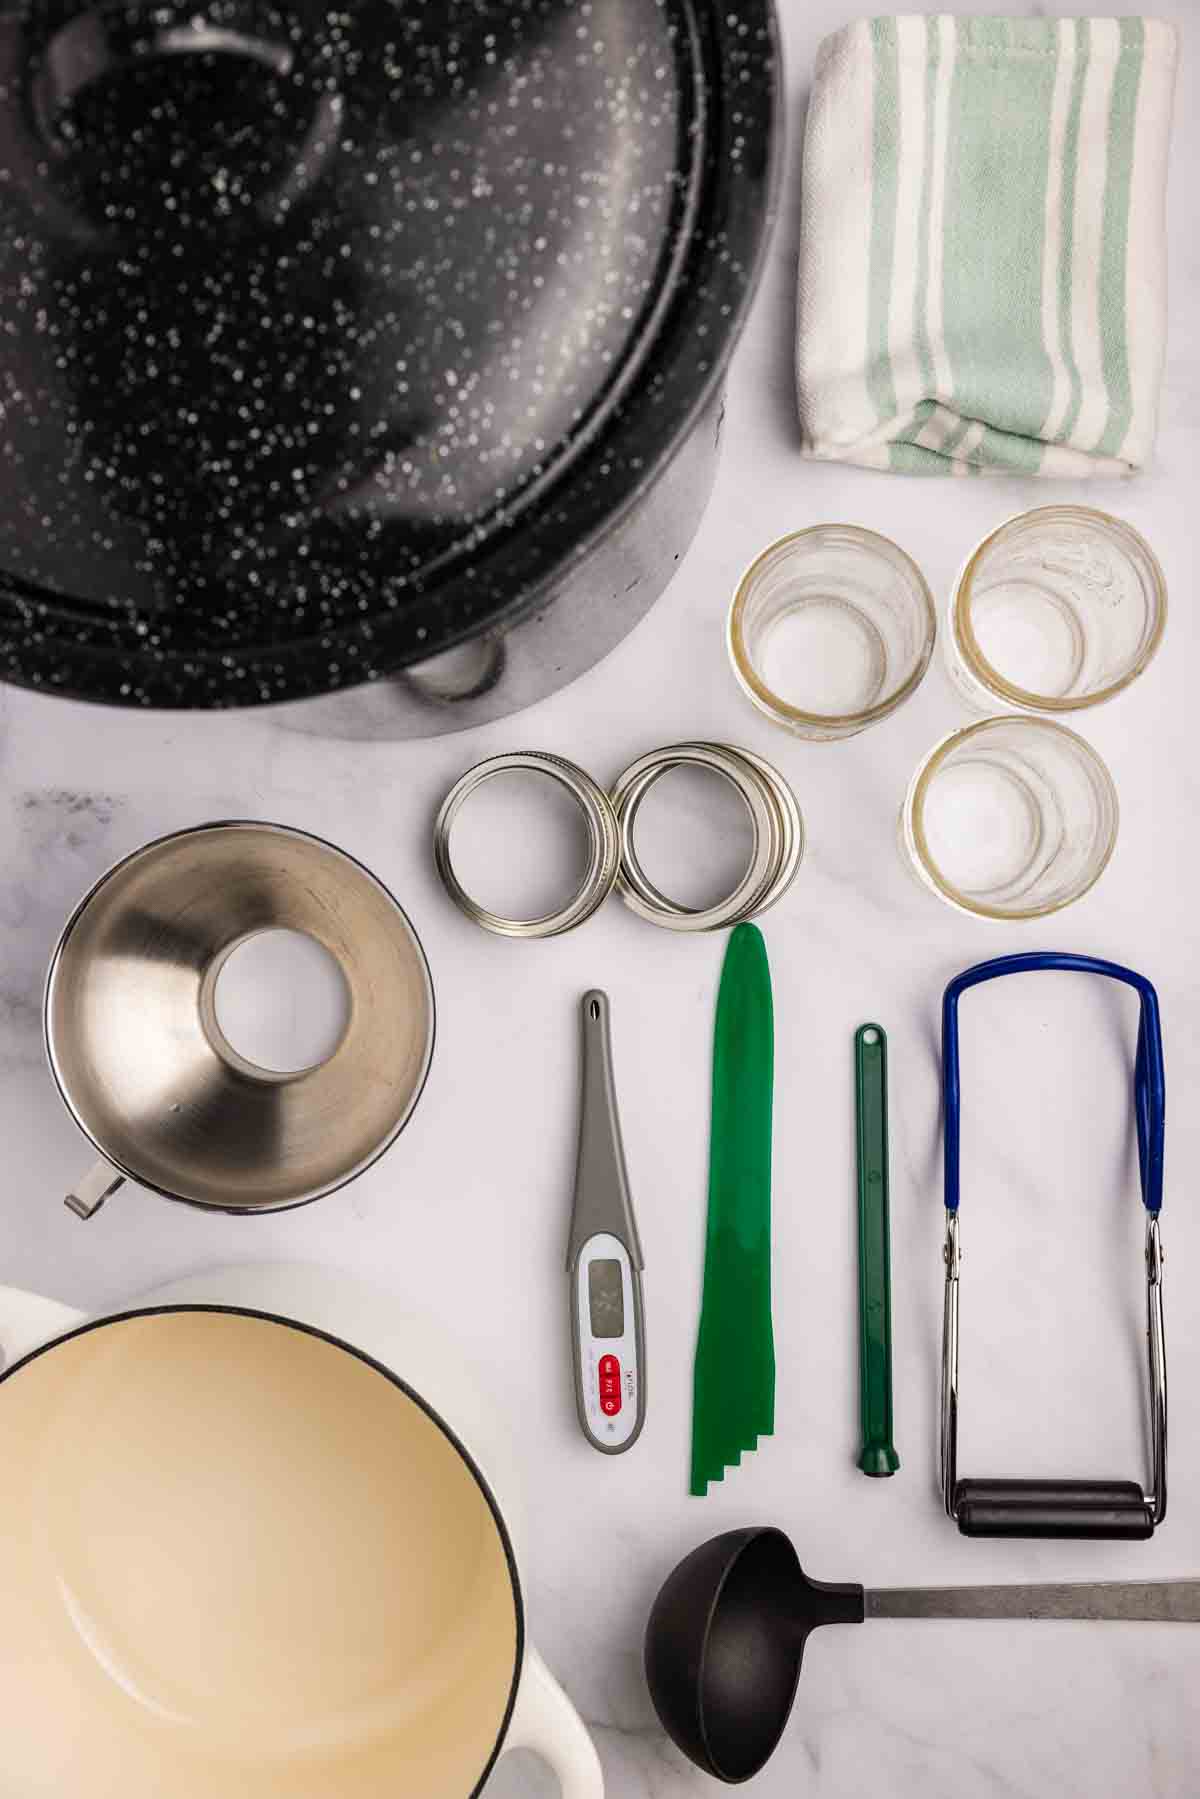
If you can, you will have all this equipment. If not, see the above Amazon links for an easy, inexpensive starter kit.
Equipment
Medium to Large-sized pot – Any larger-sized pot you have on hand will do.
Ladle – You can use your own ladle; it doesn’t need to be anything specific.
Thermometer – I love using Thermoworks Thermapen Instant Read Thermometer, but I have also given instructions for the plate/freezer method of checking if the jam has jelled.
Bubble remover – This comes in a lot of the canning kits, but you can also use a knife.
Magnetic Lid Lifter – This is handy for very hot lids, but you can also let them cool and safely put them on with clean hands.
Jar Lifter – This one is kind of a must to get the jars out of boiling water.
Funnel – A funnel makes quick and, more importantly, less messy work of filling jars with fluids.
Jars with Lids and Rims – You need fresh lids always, but you can reuse the rims if they are not dented.
Canning Pot with Rack – You must have a pot with a rack so the jars aren’t sitting on the bottom of the pot as they will crack.
Paper Towels – You need something very clean to wipe the lids with, paper towels or a clean cloth work.
Tea Towels – You can use clean tea towels that you have on hand.
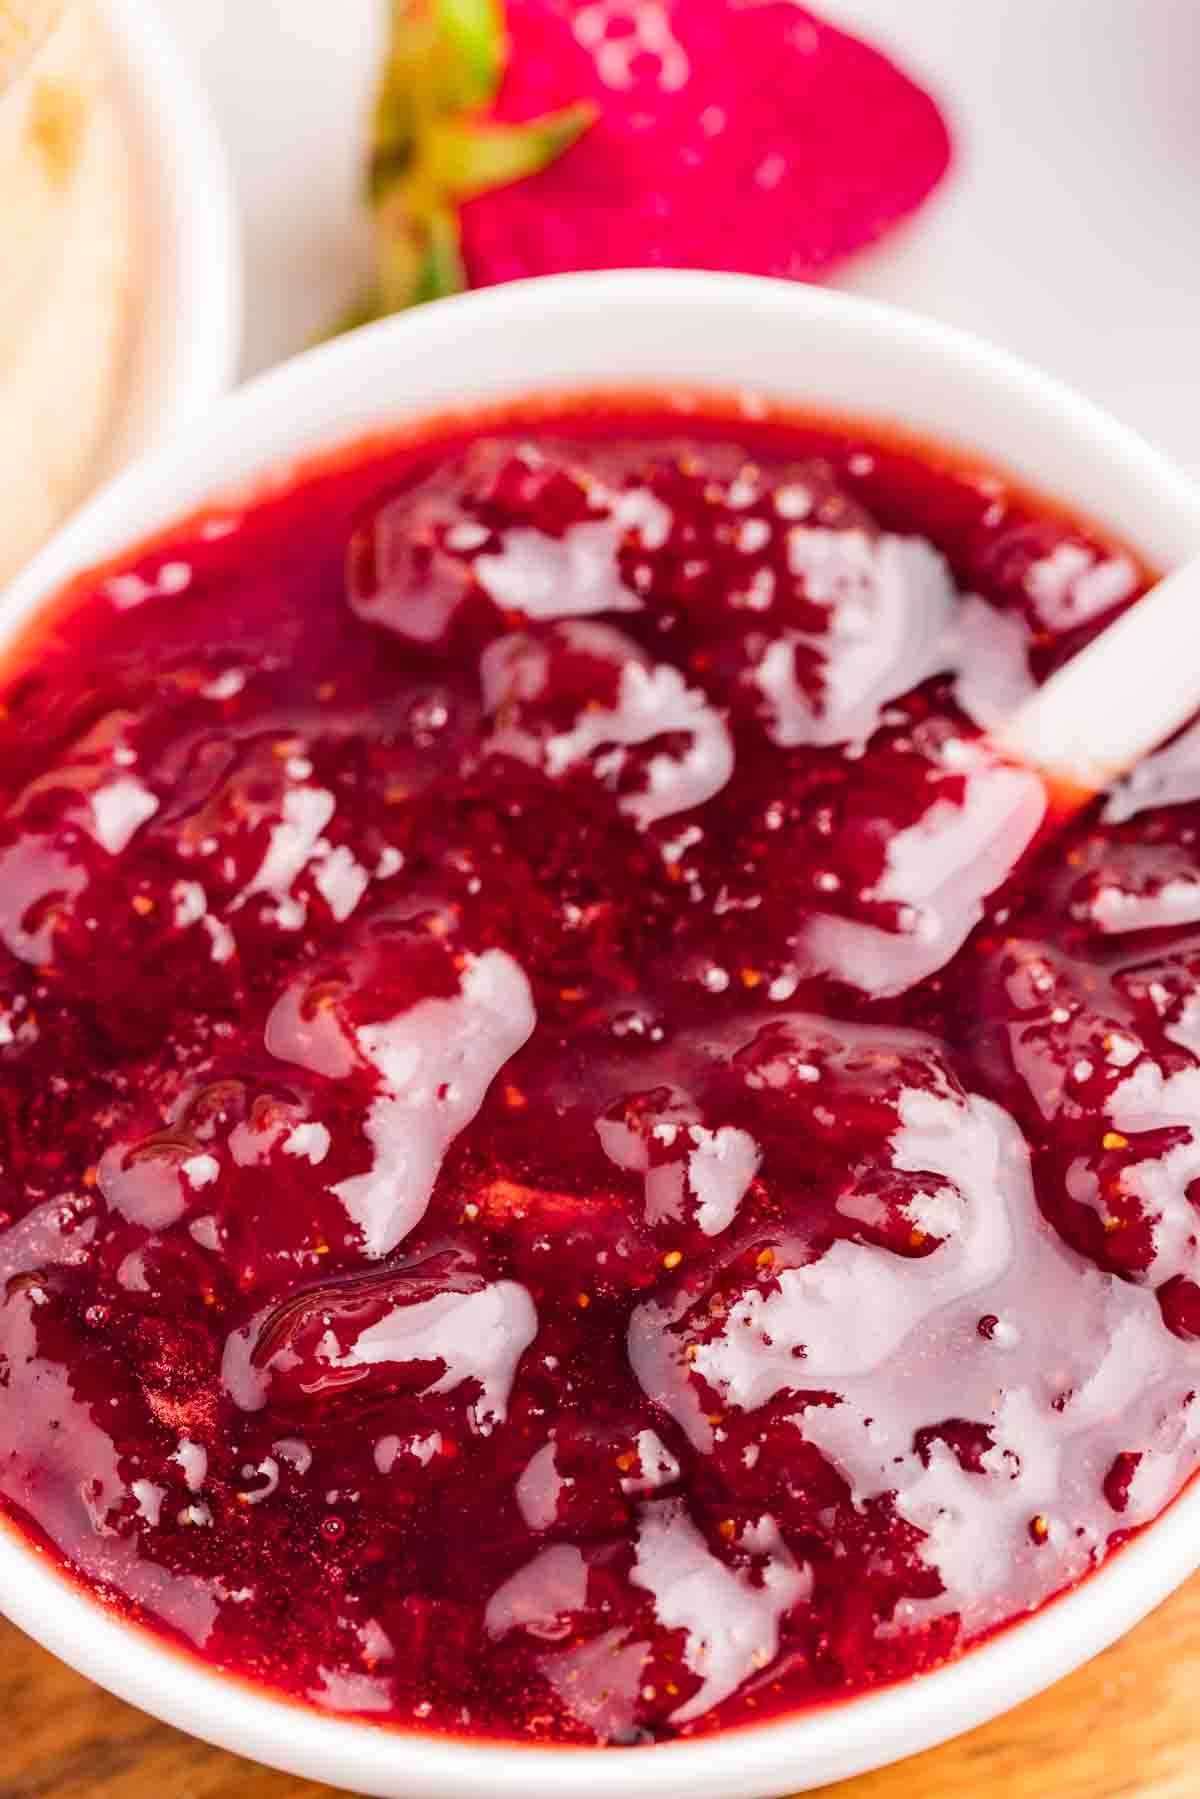
How to Make Small Batch Strawberry Jam
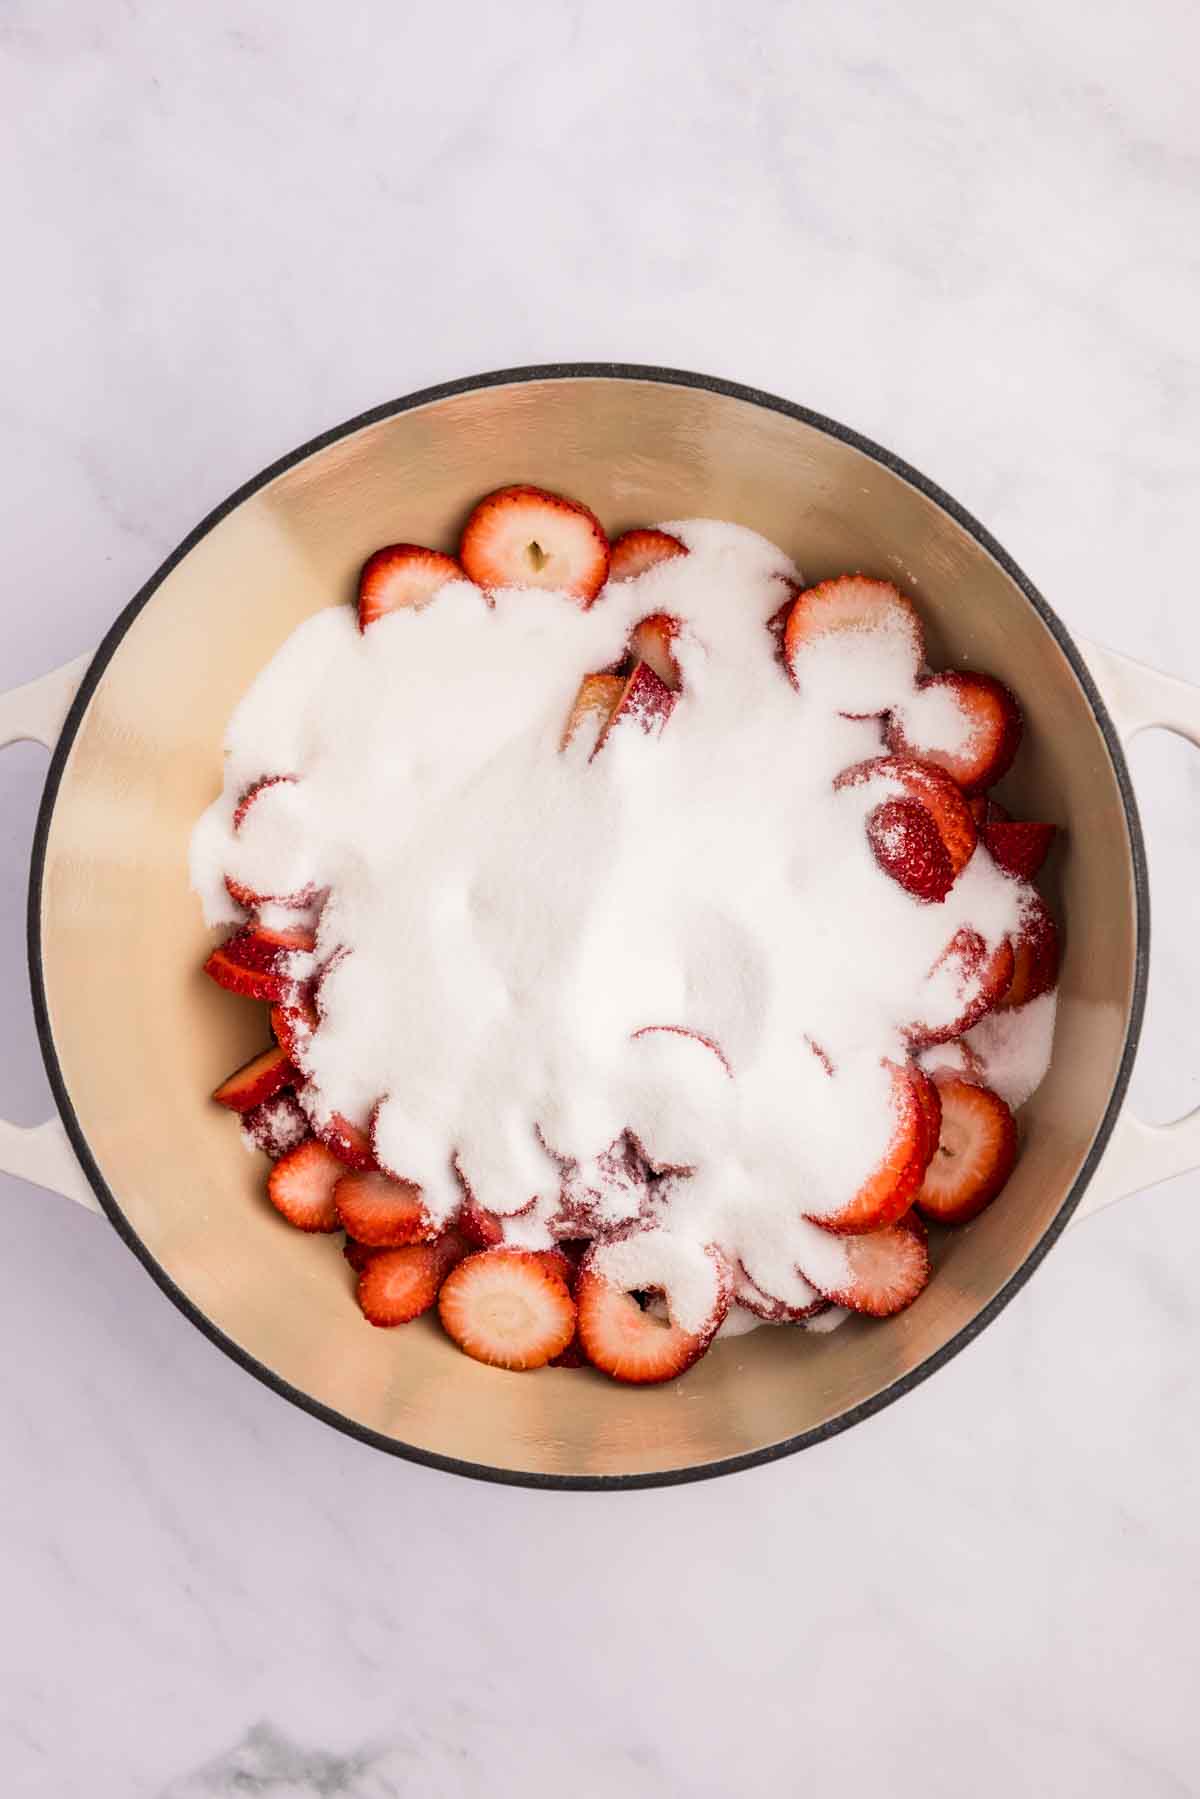
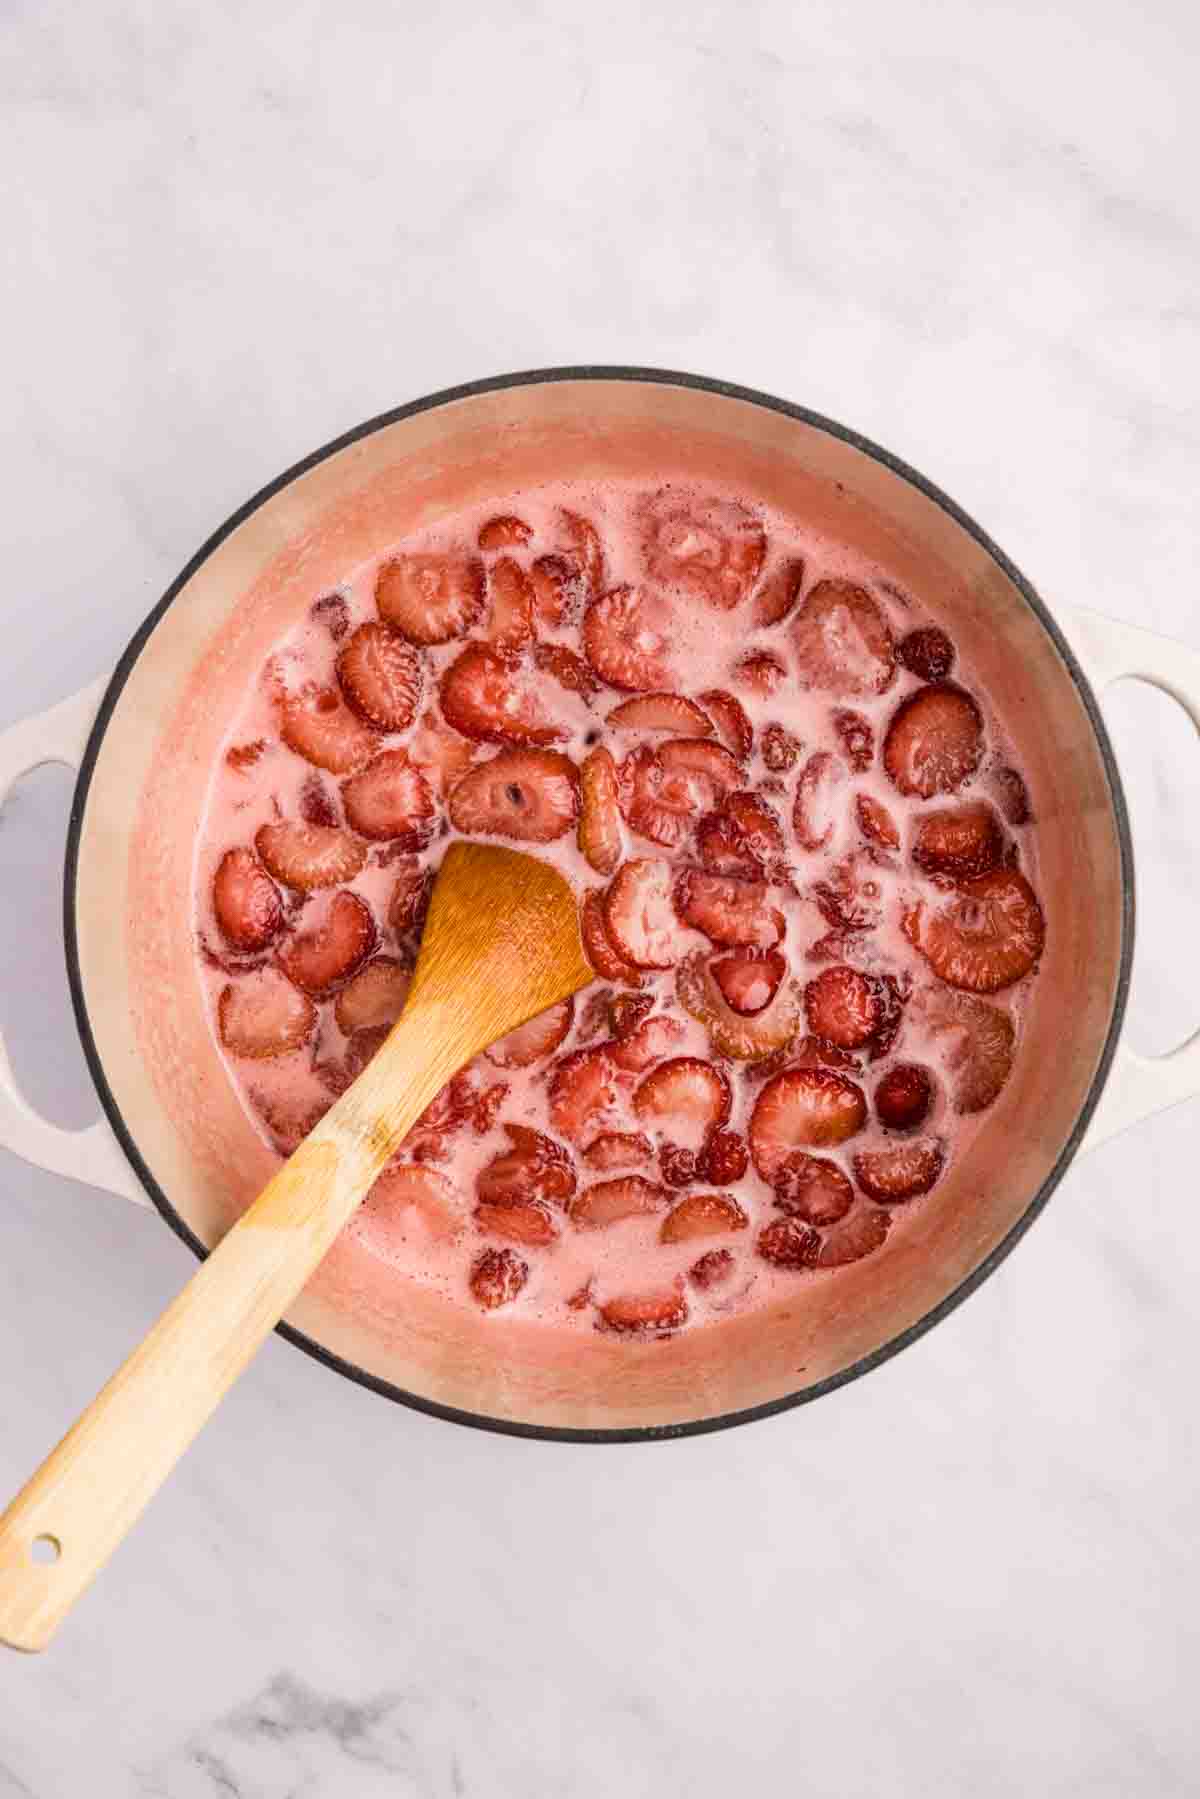
Place all the ingredients into a medium-large, heavy-bottom saucepan and stir to combine.
Cook over medium heat until the sugar is completely dissolved.
Once the sugar is dissolved, increase the heat to medium-high and bring to a rolling boil. Boil for 2 minutes, stirring constantly. It will bubble and foam up quite a bit as it boils.
Reduce heat to low and continue to simmer with the lid off. Make sure you stir often so that it doesn’t stick to the bottom of the pan.
Simmer for 20 – 30 minutes or until the desired thickness is reached. Remember, it will continue to thicken as it cools. Use a wooden spoon to break down the strawberries for a smoother jam consistency.
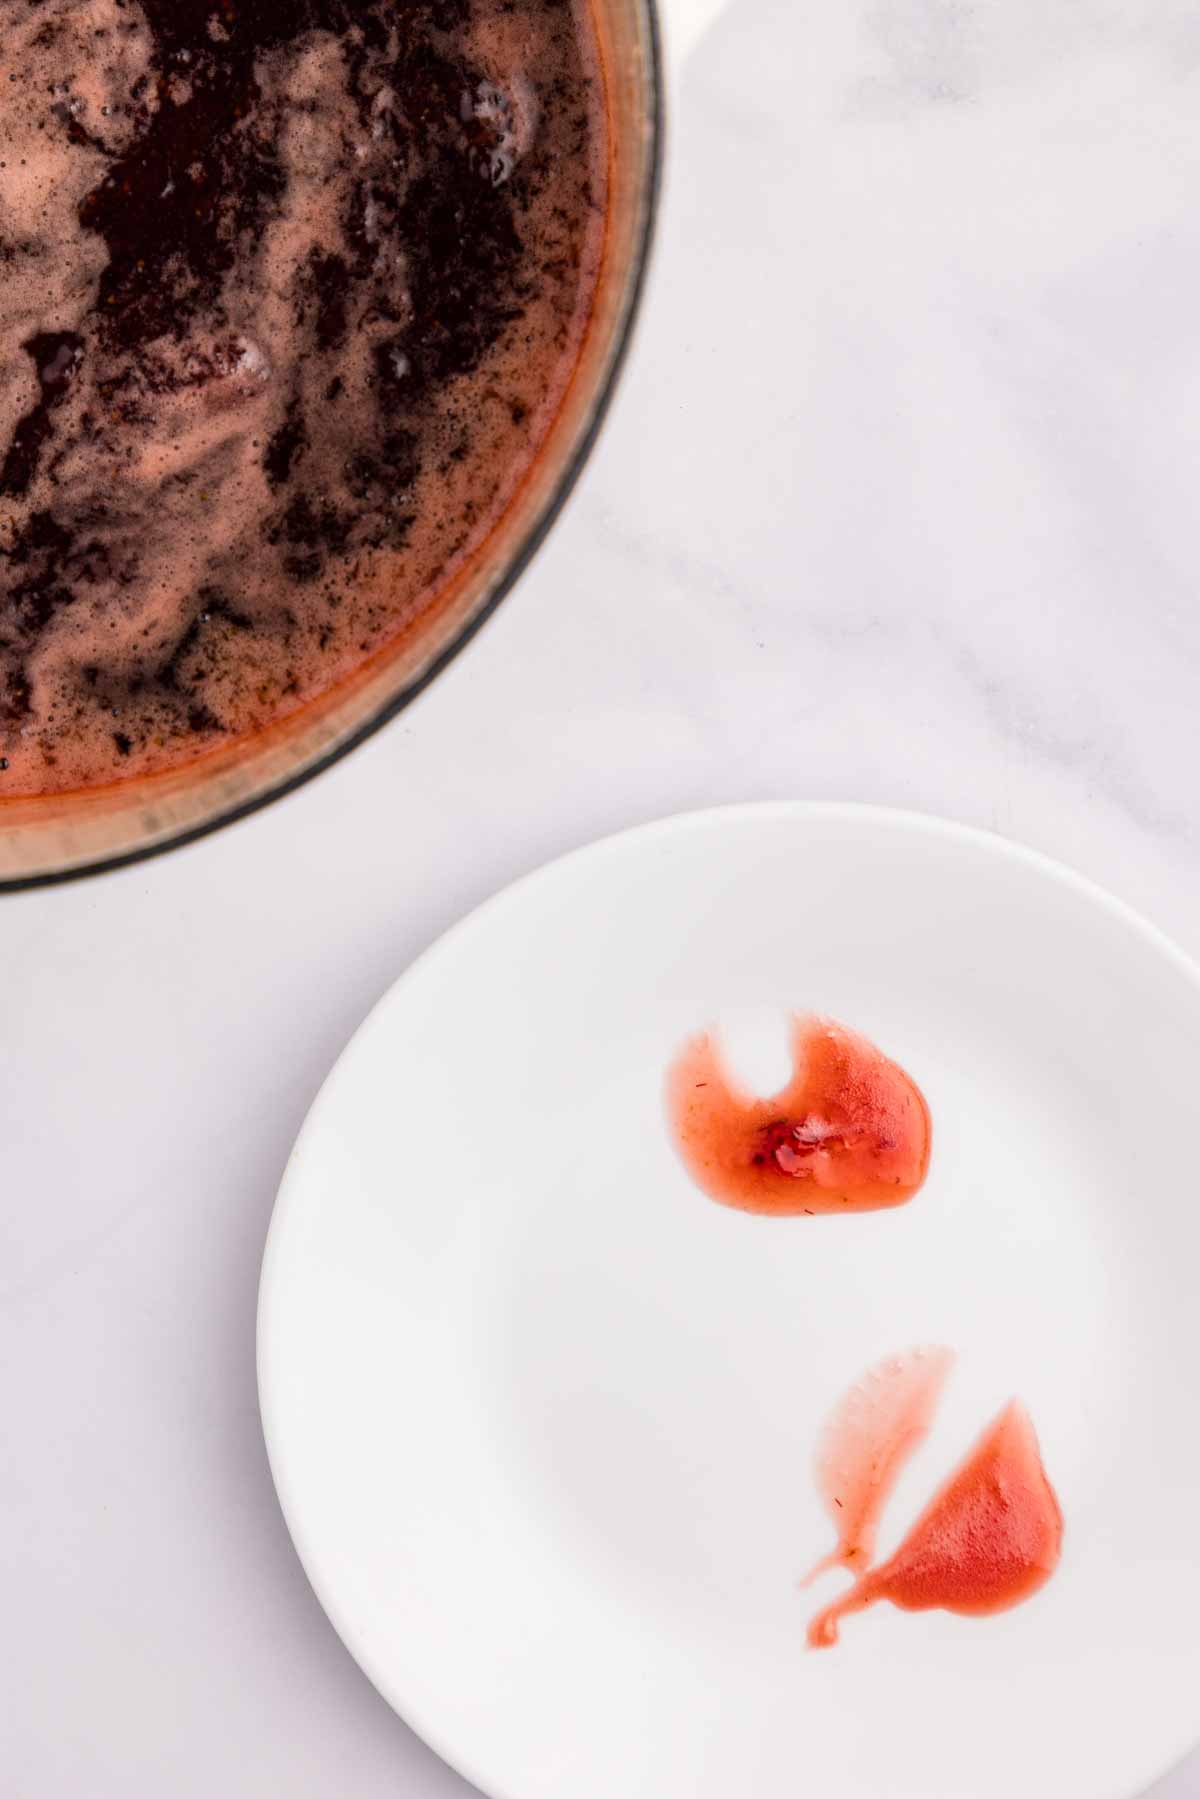
When the jam reaches 105 degrees C / 221 degrees F, remove it from heat. If you don’t have a candy thermometer, then place a plate in the freezer to get very cold. Place a small amount of the jam (1 tsp.) on the freezer plate and place the plate back in the freezer for a few minutes to cool. If the jam seems very close, then remove it from the heat while the plate is in the freezer to wait to see if it is done. If the jam wrinkles when pushed with your finger, the jam is done; if not, return to a boil for 5 min. and repeat. Be careful as the jam thickens; it can start to burn, so stir more frequently.
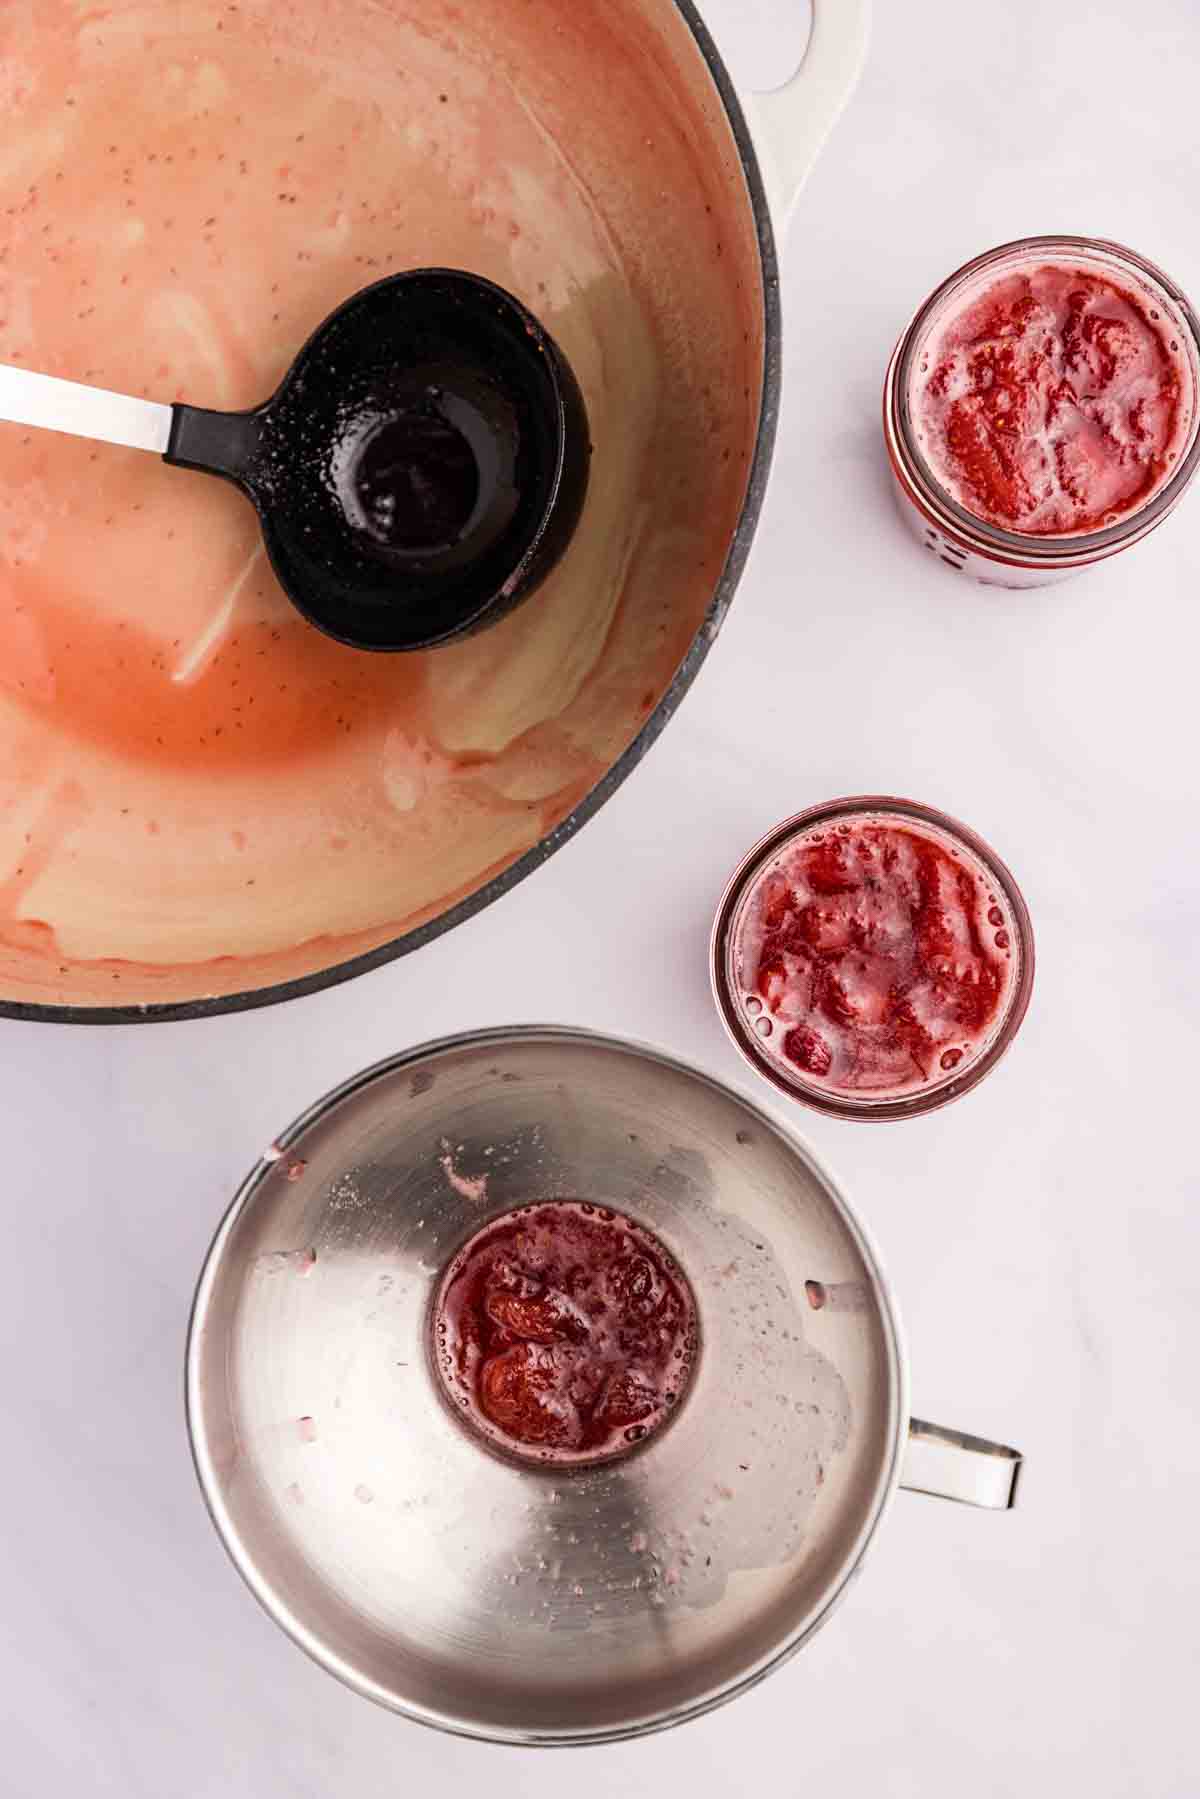
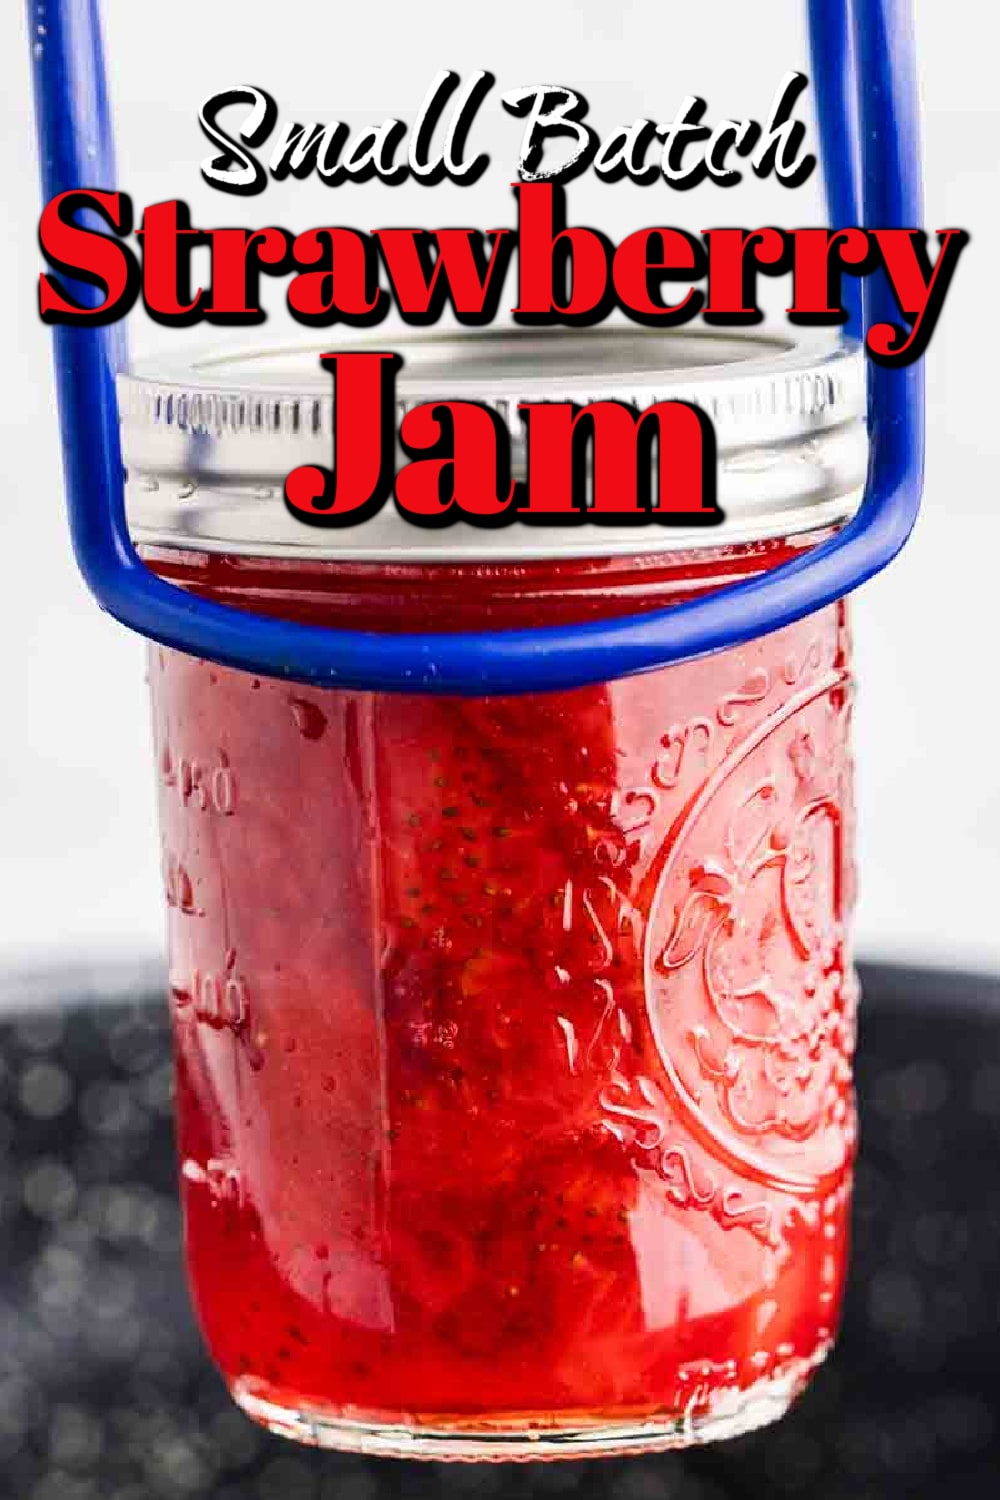
Pour the jam into warm sterilized jars, leaving 1/4 inch headroom at the top. Use a clean spoon or knife to gently stir the jam in the jars to remove air pockets.
Water Bath Canning
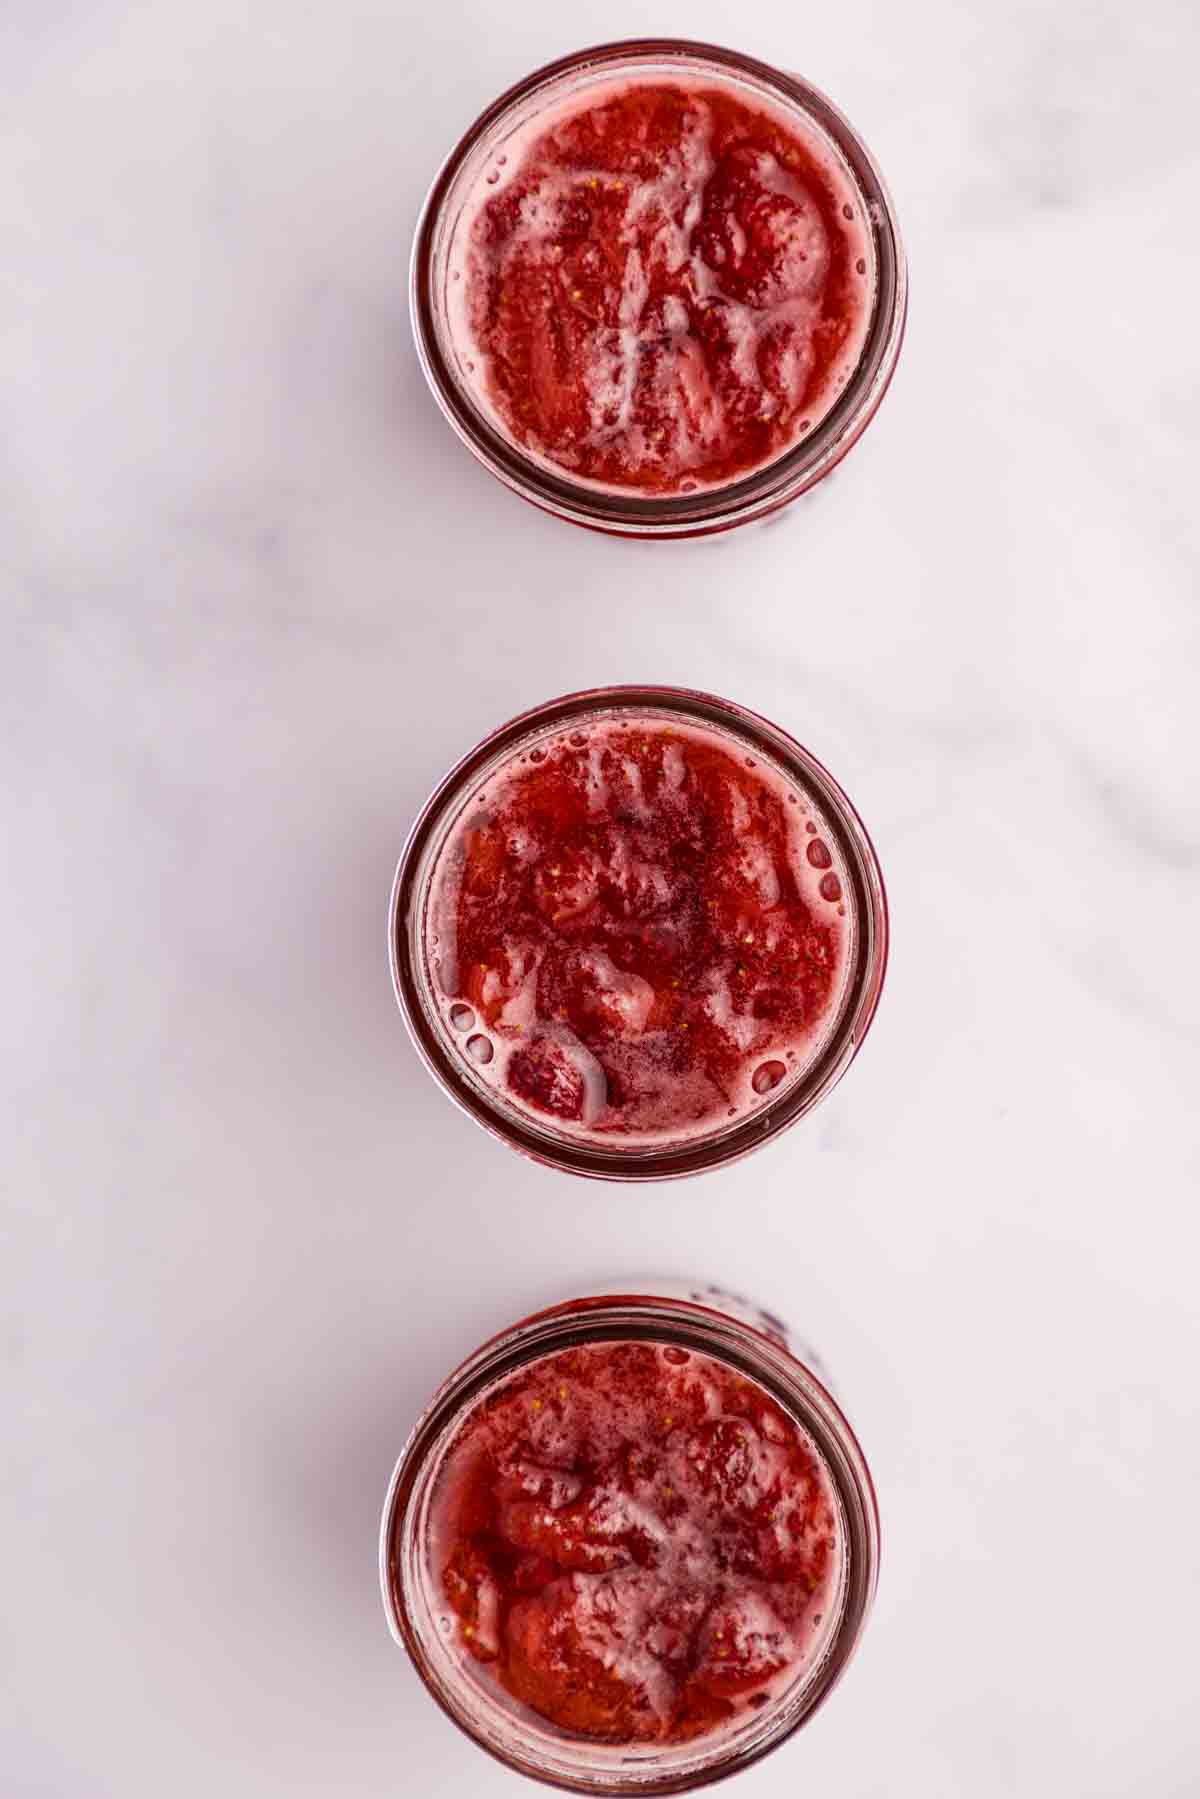
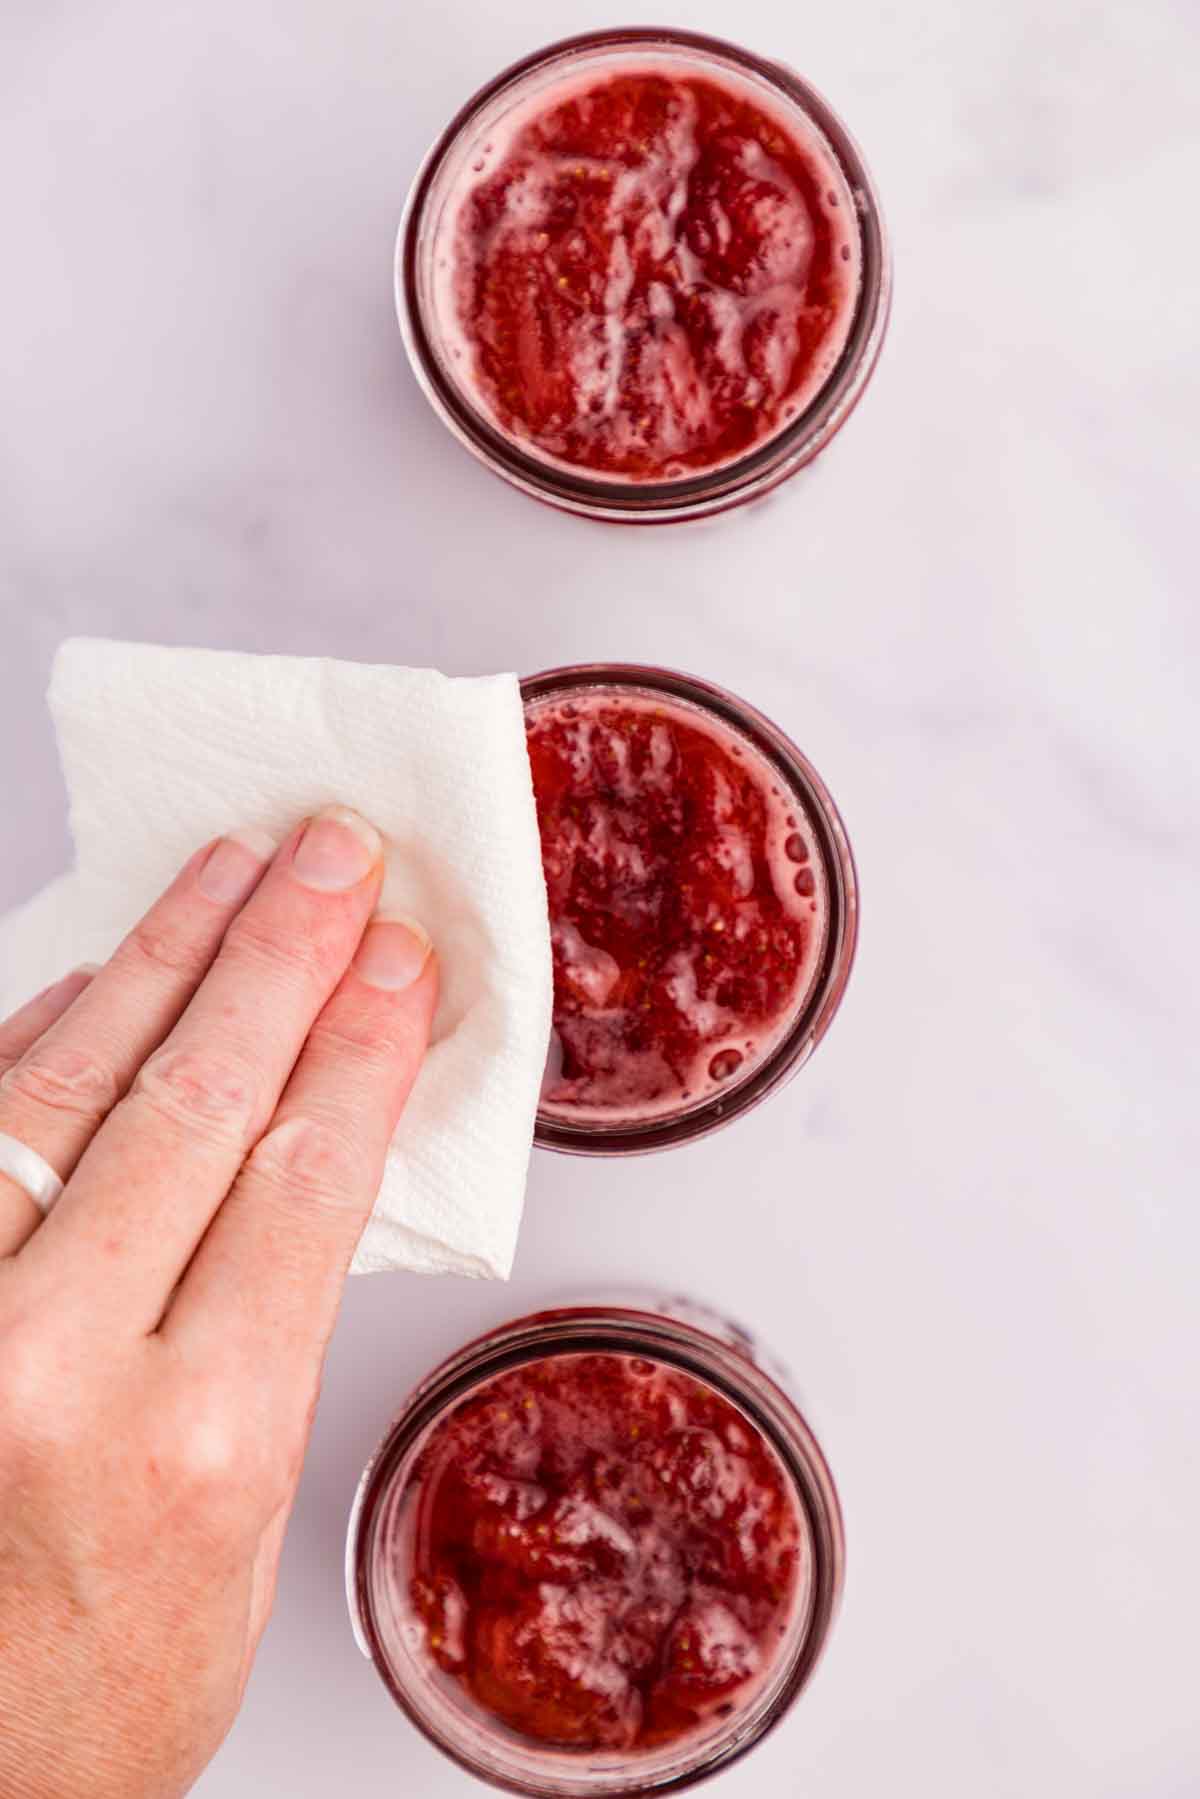
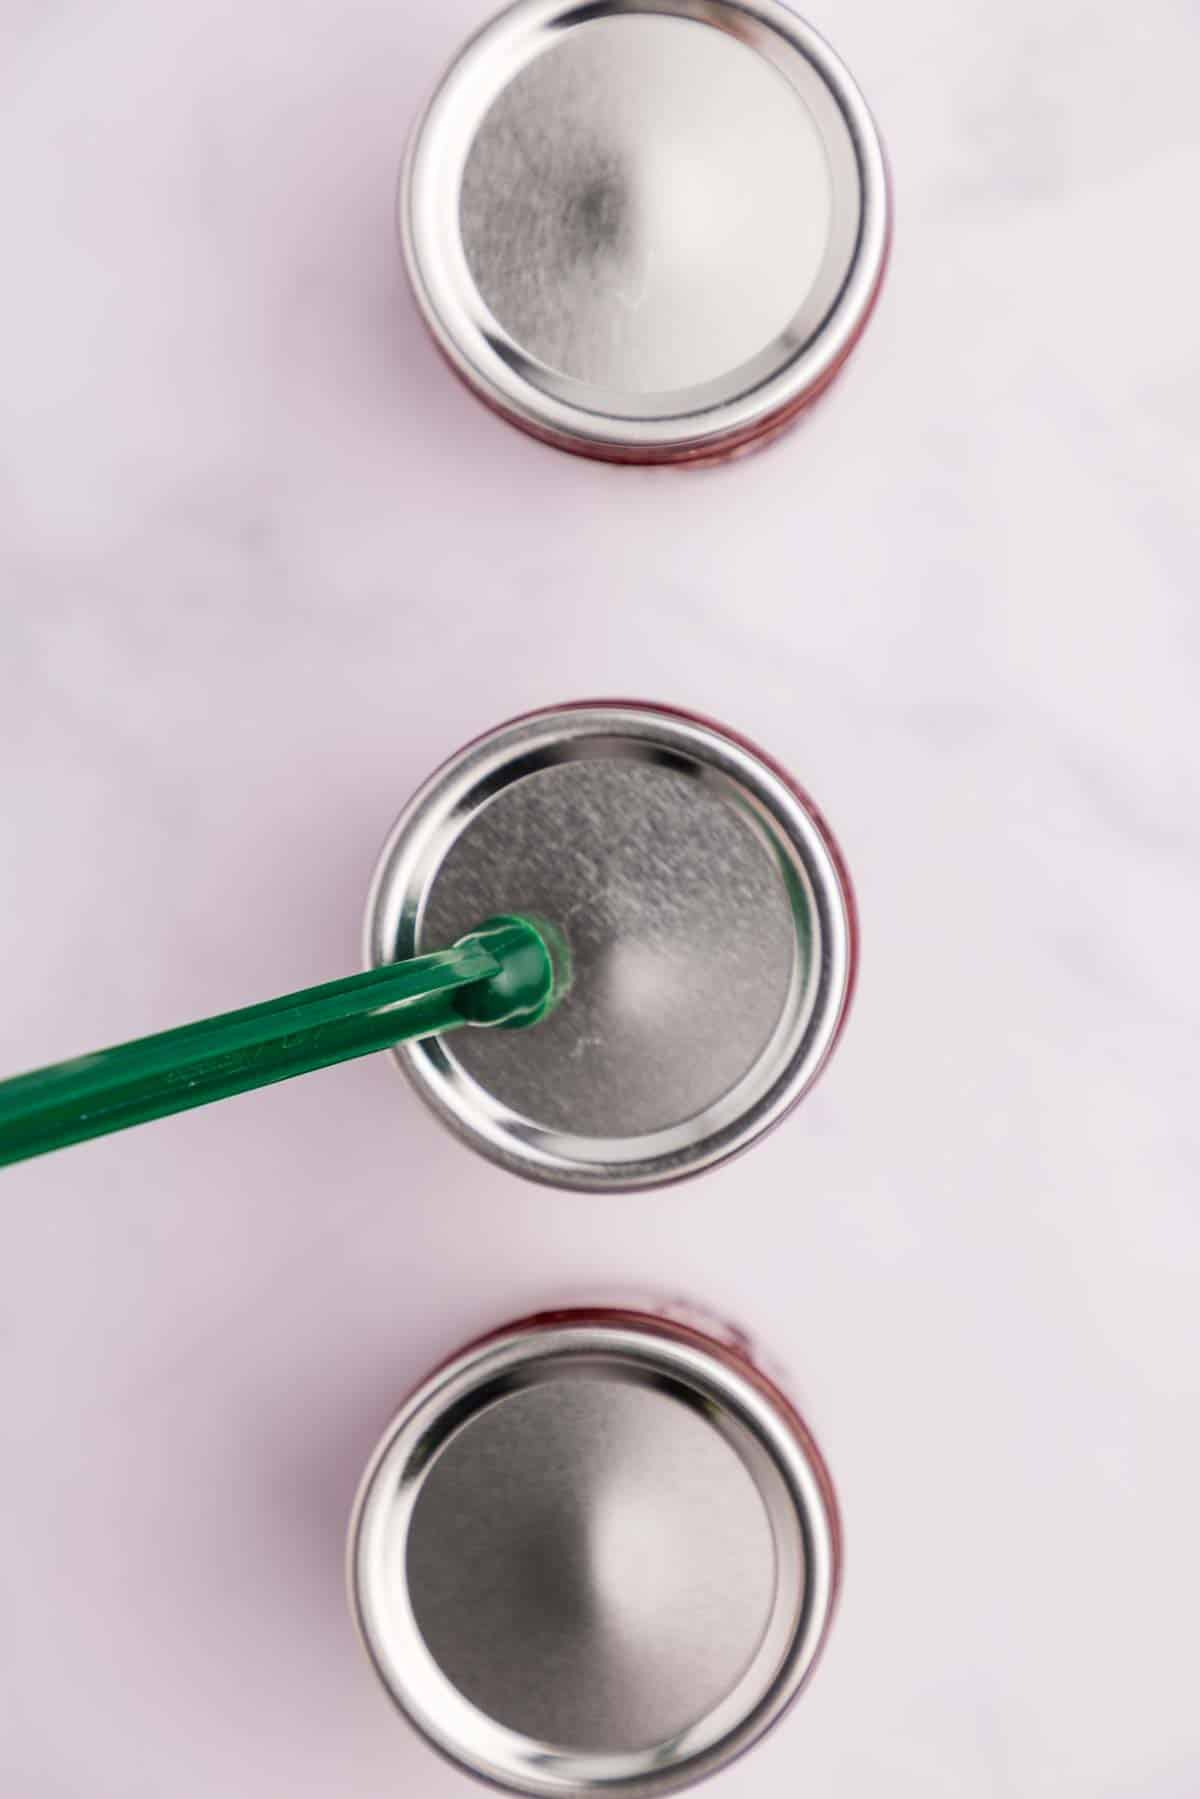
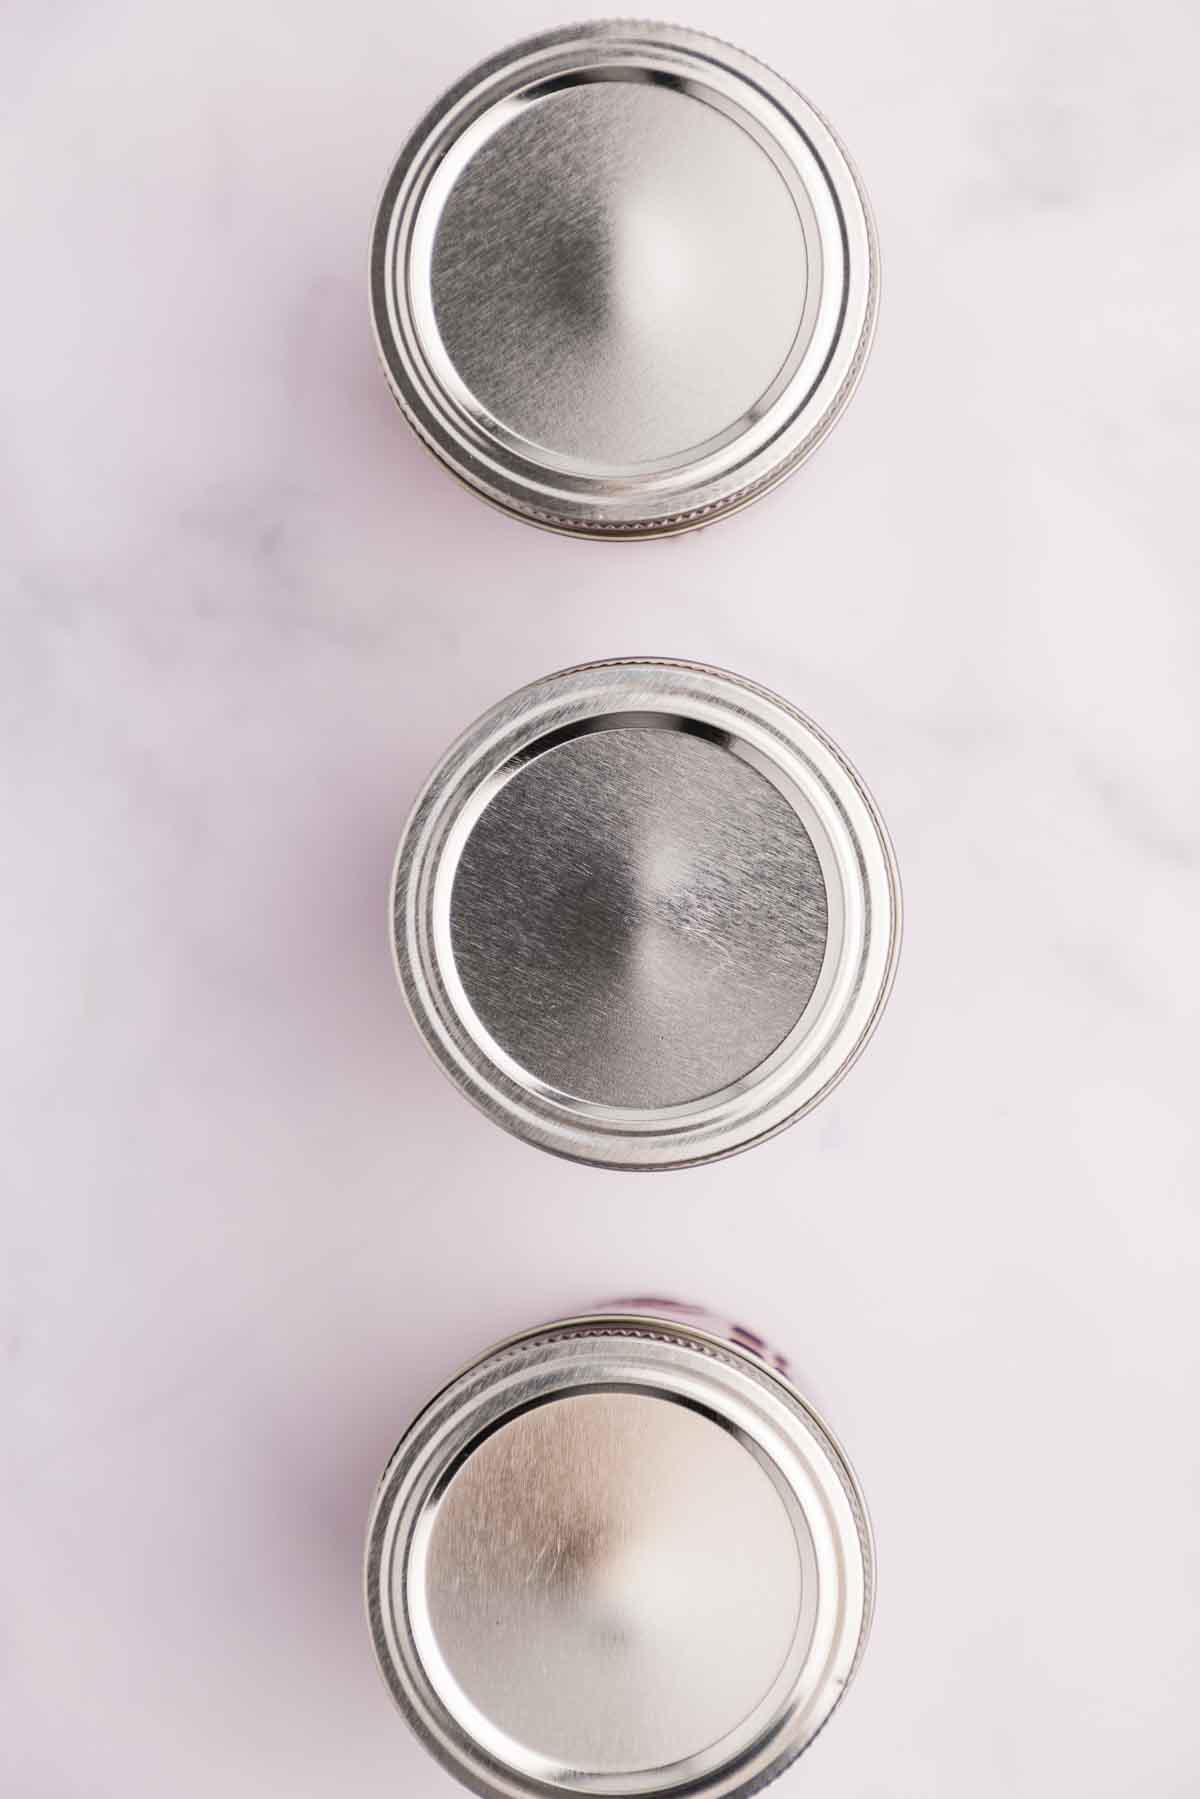
Clean the rims of the jars with a clean, warm, wet cloth. Place lids on and screw to tighten until finger-tip tight only.
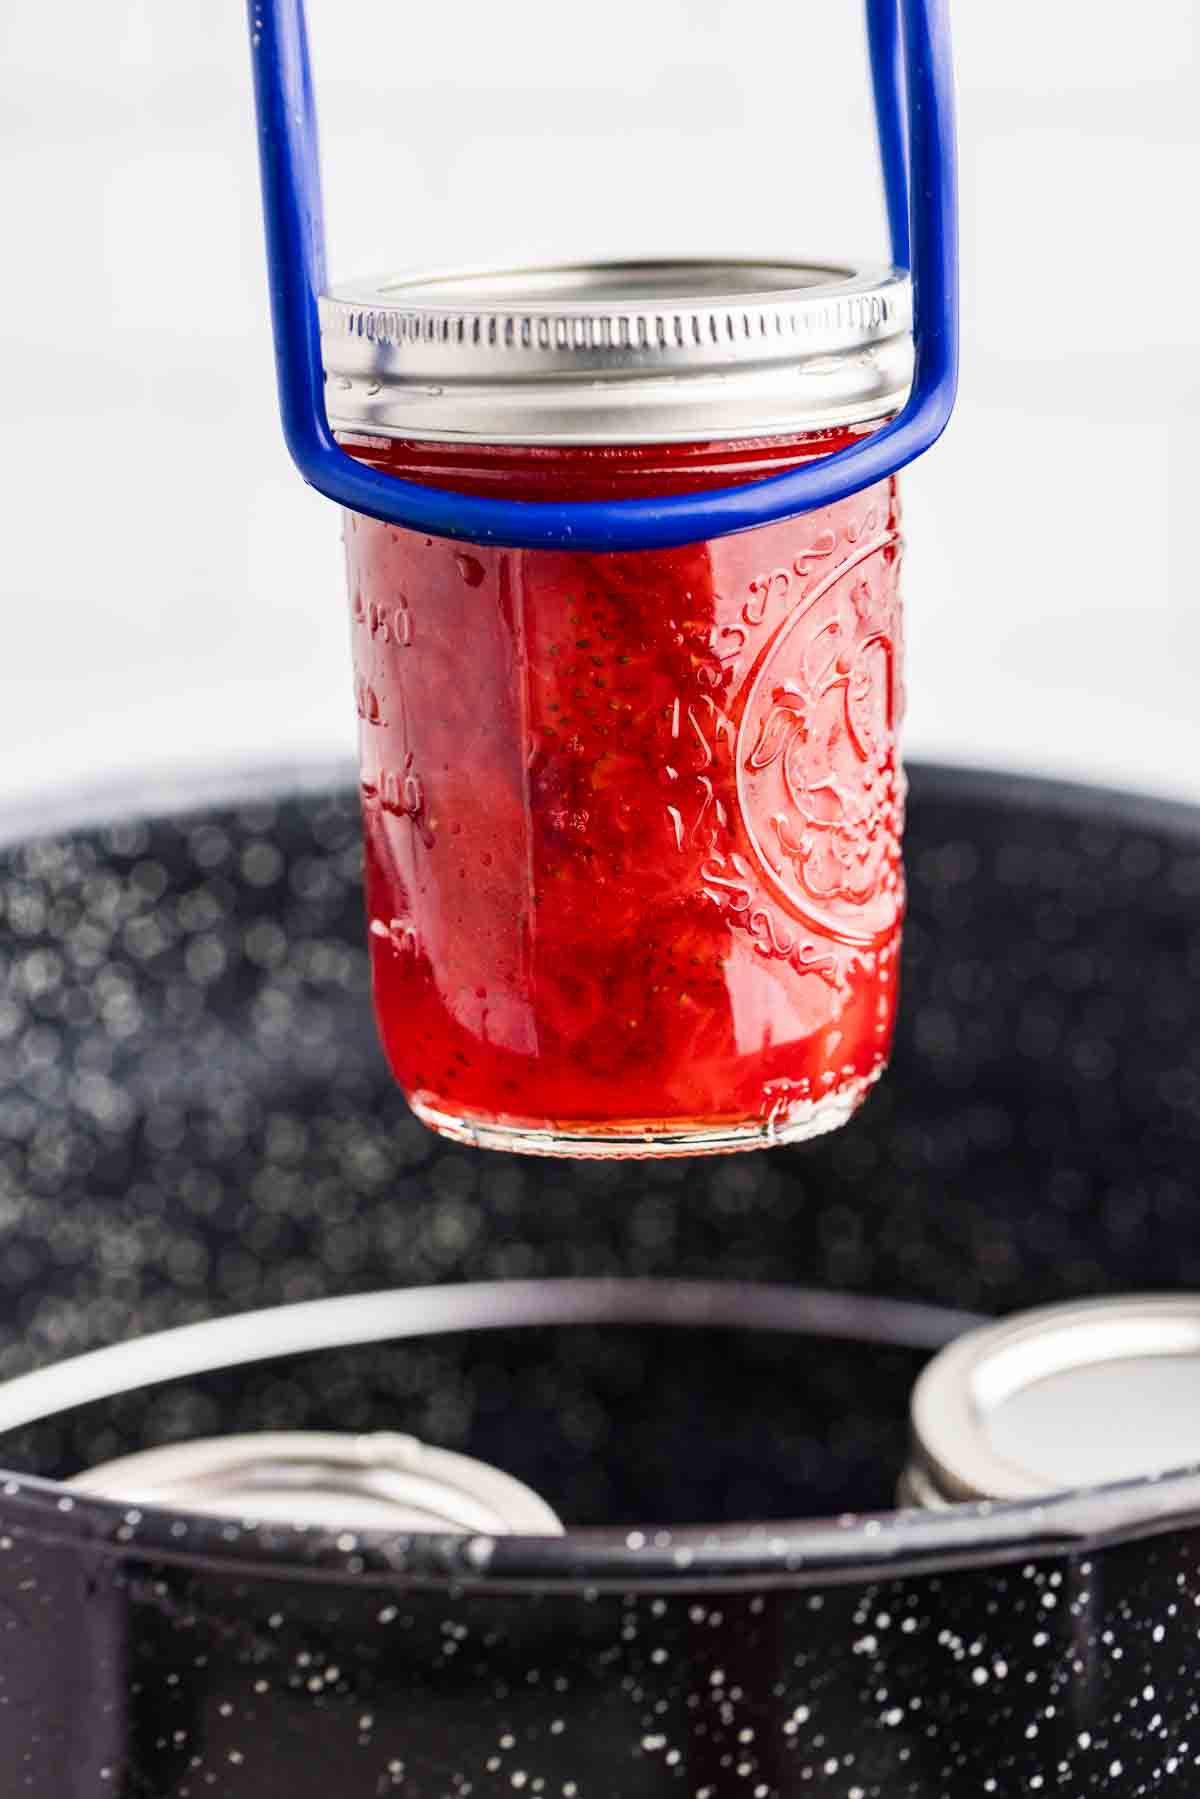
Place in a water bath canner and process for 10 min. or according to altitude.
When the jam has been processed for its allotted time, remove the jars to a towel-lined counter to cool. You should hear the popping of the lids as they seal. If any jars don’t seal, refrigerate and eat right away or freeze.
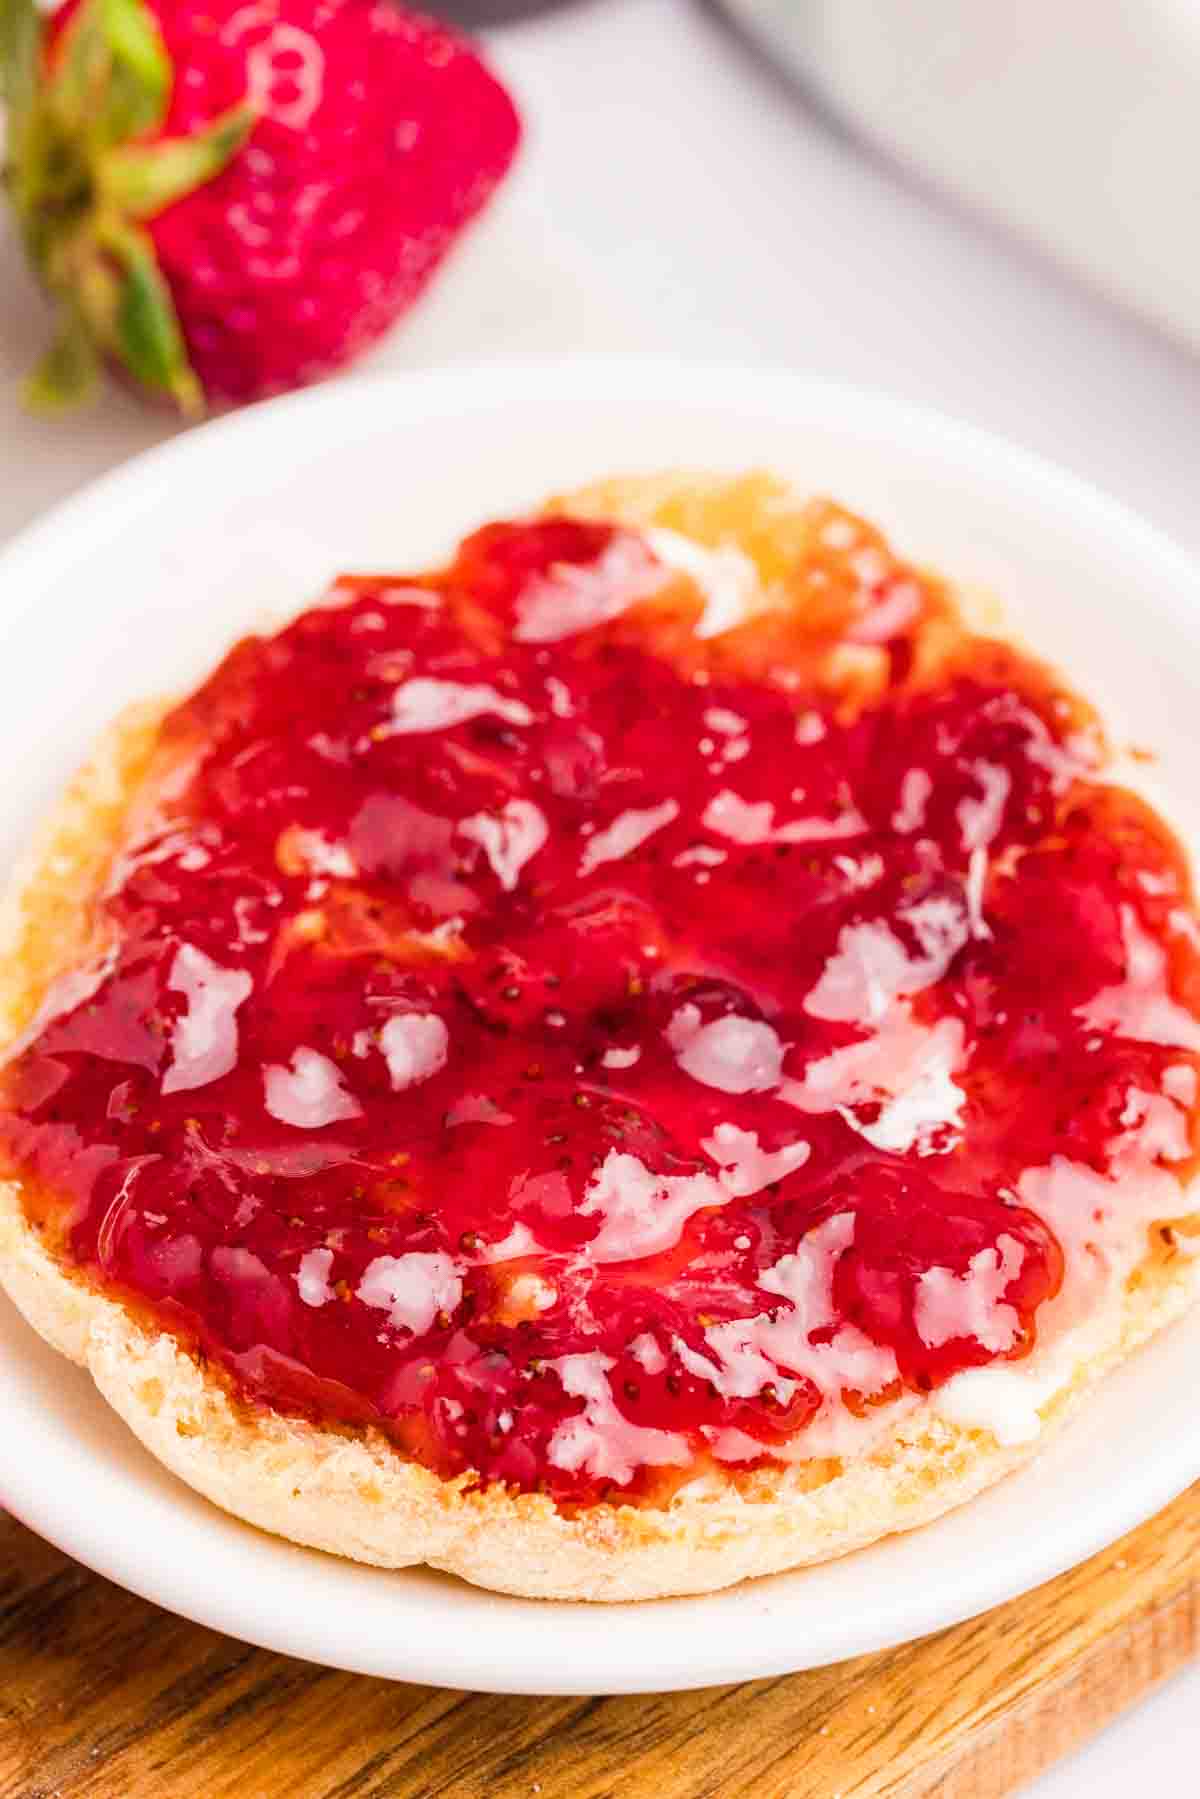
Recipe Pro Tips!
What are Some Good Fruit Combinations for Homemade Jam?
Lots of berries go very well together so you can try a combination of those. I love a rhubarb jam with strawberries; they pair so nicely together. Also, blueberry/lemon or peach/raspberry. You can also pair some spices like ginger with figs or vanilla with peaches. More exotic pairings are around, too, but you have to decide which you like.
What is the Shelf-Life for Homemade Jams?
I like to say a year for jams; it is nice to use them up in that time frame and then make a fresh batch. Making a small batch jam allows you to use the jam up quickly and not have a ton hanging around.
How do I Make Freezer Jam?
Freezer jam is basically the same recipe, but you don’t can the jam, but place the jars in the freezer. If jam is in the fridge, it should be used up in about 10 days and about 3 months in the freezer.
DO YOU LOVE CANNING?
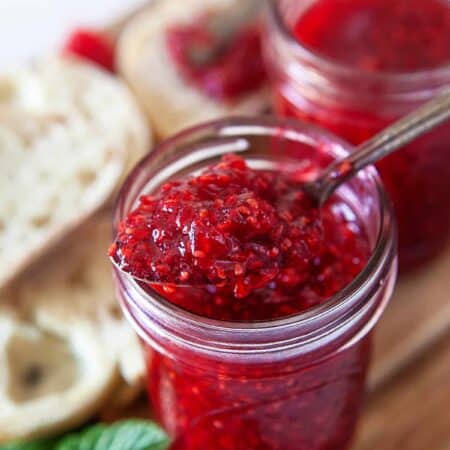
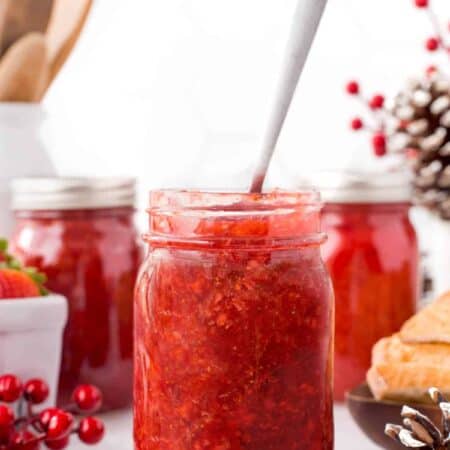
Here are more of our favorite sweet jams and one savory jam for canning. Enjoy!
Small Batch Strawberry Jam
Ingredients
- 2 lbs fresh ripe strawberries washed, stemmed and sliced
- 2 1/2 cups granulated sugar
- 2 Tbsp lemon juice
Instructions
- Place all the ingredients into a medium – large, heavy-bottom saucepan and stir to combine.
- Cook over medium heat until the sugar is completely dissolved.
- Once the sugar is dissolved, increase the heat to medium-high and bring to a rolling boil. Boil for 2 minutes, stirring constantly. It will bubble and foam up quite a bit as it boils.
- Reduce heat to low and continue to simmer with the lid off. Make sure you stir often so that it doesn’t stick to the bottom of the pan.
- Simmer for 20 – 30 minutes or until the desired thickness is reached. Remember, it will continue to thicken as it cools. Use a wooden spoon to break down the strawberries for a smoother jam consistency.
- When the jam reaches 105 degrees C / 221 degrees F, remove it from heat. If you don’t have a candy thermometer, then place a plate in the freezer to get very cold. Place a small amount of the jam (1 tsp.) on the freezer plate and place the plate back in the freezer for a few minutes to cool. If the jam seems very close, then remove it from the heat while the plate is in the freezer to wait to see if it is done. If the jam wrinkles when pushed with your finger, the jam is done; if not, return to a boil for 5 min. and repeat. Be careful as the jam thickens; it can start to burn, so stir more frequently.
- Pour the jam into warm sterilized jars, leaving 1/4 inch headroom at the top. Use a clean spoon or knife to gently stir the jam in the jars to remove air pockets.
- Clean the rims of the jars with a clean, warm, wet cloth. Place lids on and screw to tighten until finger-tip tight only. Place in a water bath canner and process for 10 min. or according to altitude.
- When the jam has been processed for its allotted time, remove the jars to a towel-lined counter to cool. You should hear the popping of the lids as they seal. If any jars don't seal, refrigerate and eat right away or freeze.



Let us know what you think!
We’d love to know what you and your family think! Make sure to leave a review below and follow us on your favorite social network!