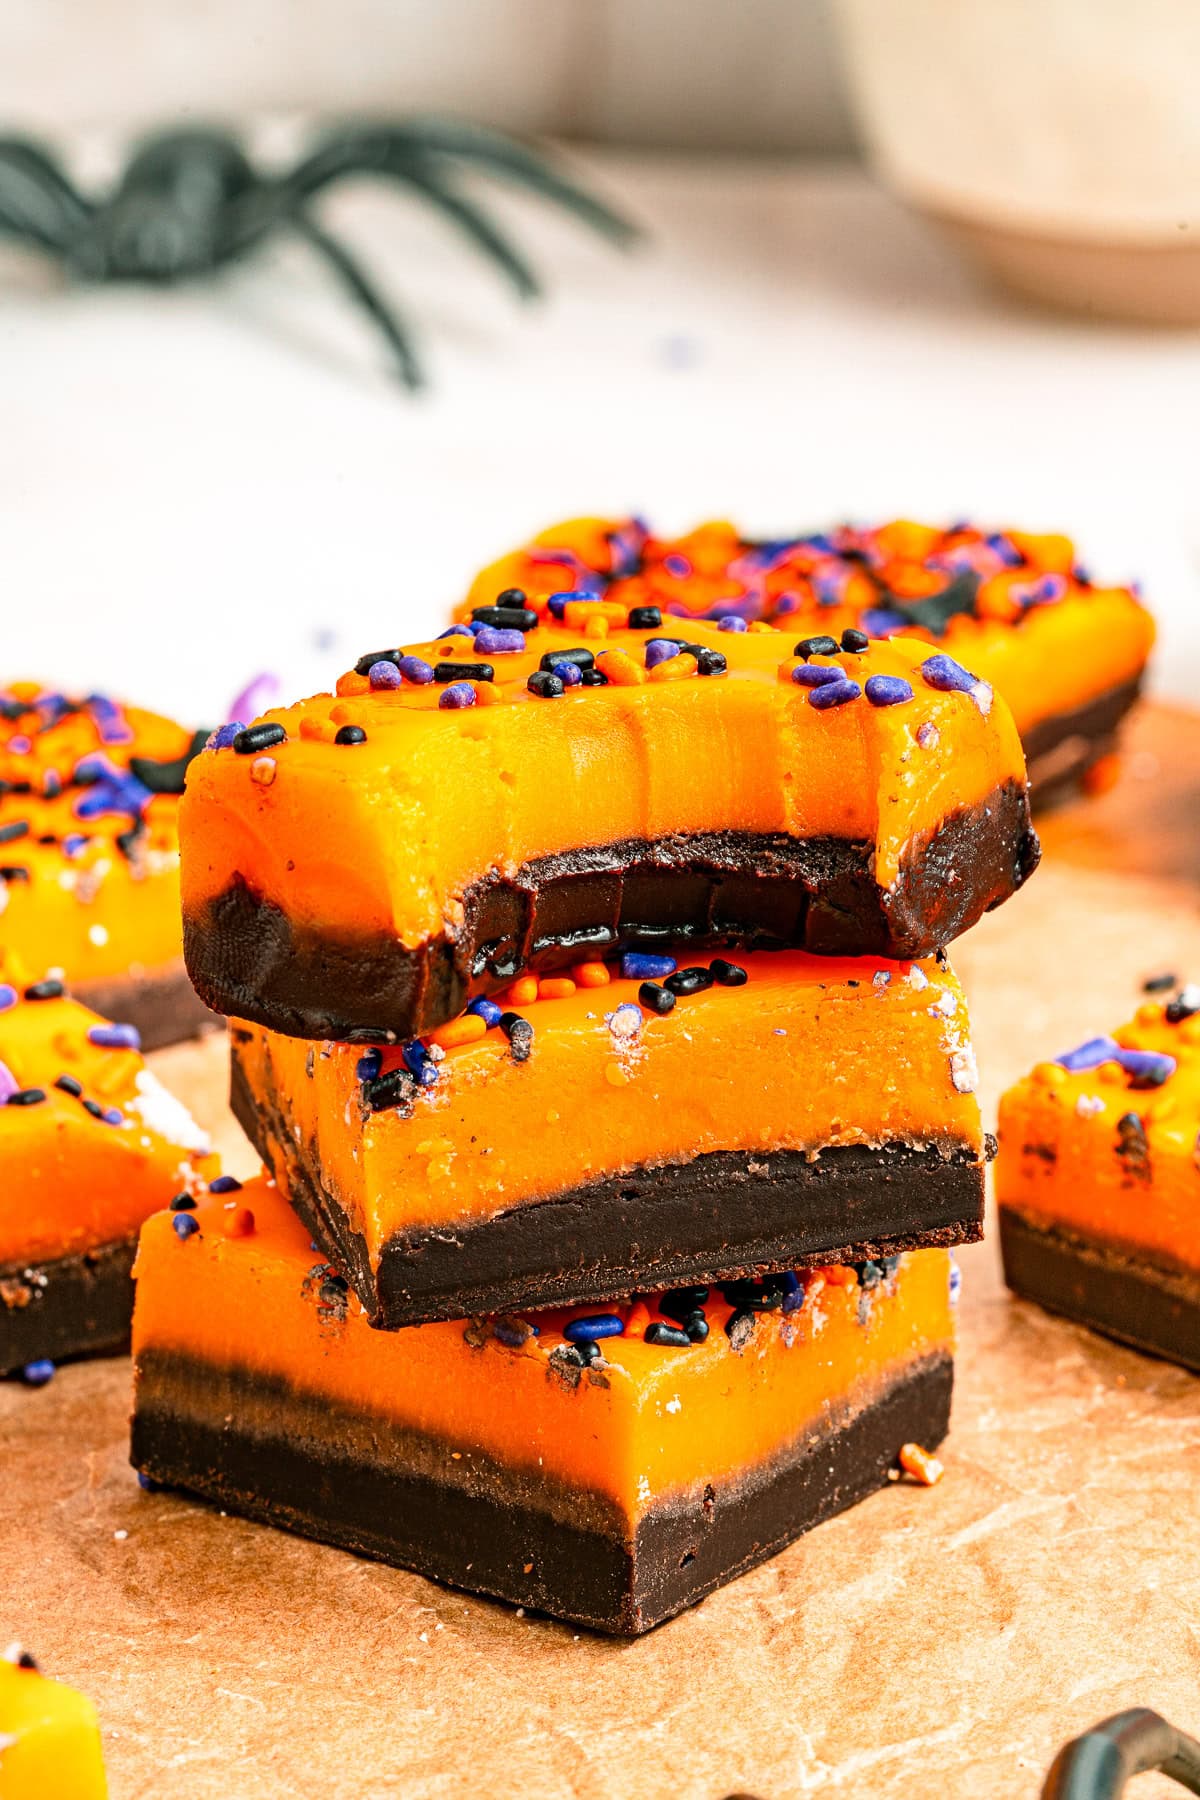
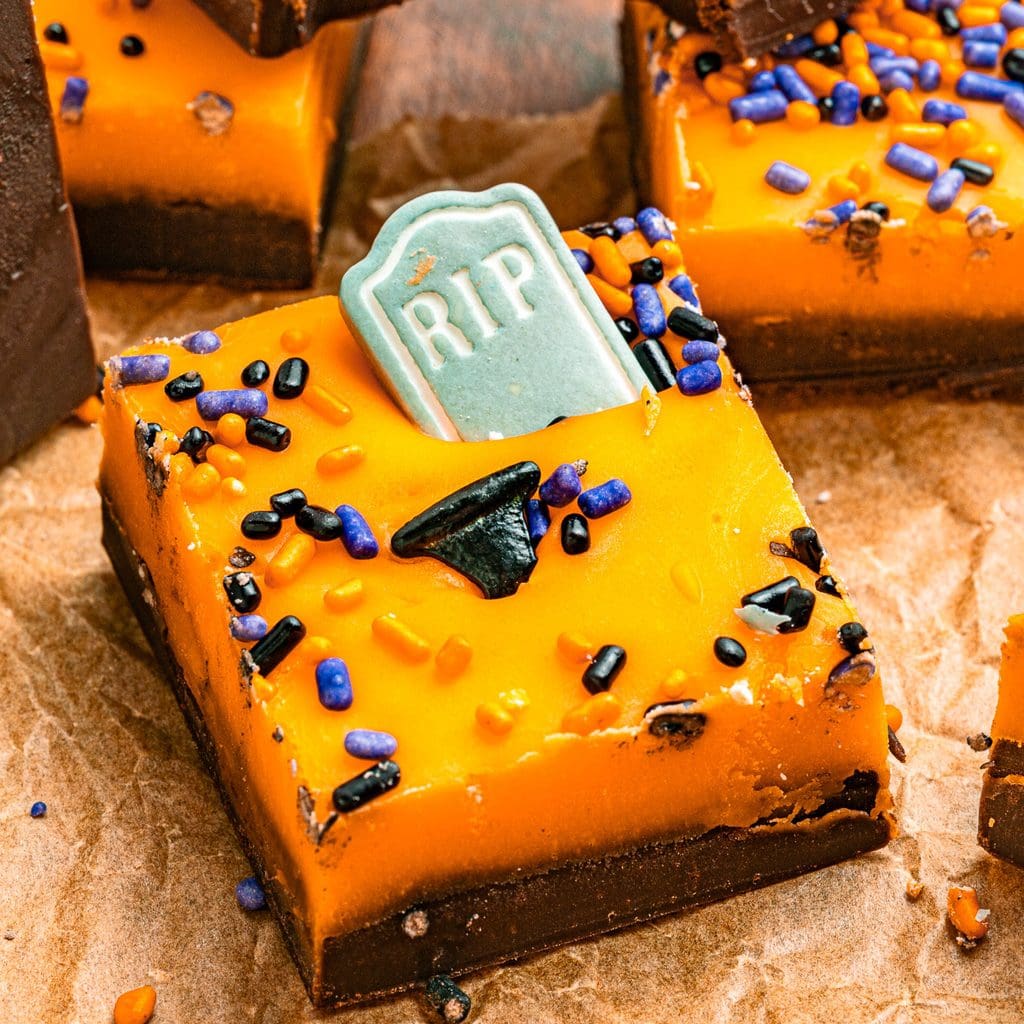
This Halloween Fudge is a shortcut to a scrumptious yet simple-to-make treat that requires minimal prep, and the result is a decadent, double-flavored chocolate-orange, sweet condensed milk treat that everyone will enjoy. Add some themed sprinkles on top and serve it on your party table this spooky season!
Looking for more delicious yet frightful recipes? Then check these out: Halloween Chocolate Spiders, Halloween Caramel Apples and Halloween Popcorn.
Why I Love This Recipe
- Very easy to make
- Love orange chocolate combination
- So delicious
- Perfect for the spooky season
- Fun for any Halloween gathering at school or home
HELPFUL ITEMS FOR THIS RECIPE
This post contains affiliate links. As an Amazon Associate, I earn a small portion from qualifying purchases at no extra charge to you.
Halloween Sprinkles- Edible Cake and Cupcake Sprinkles with Assorted Shapes
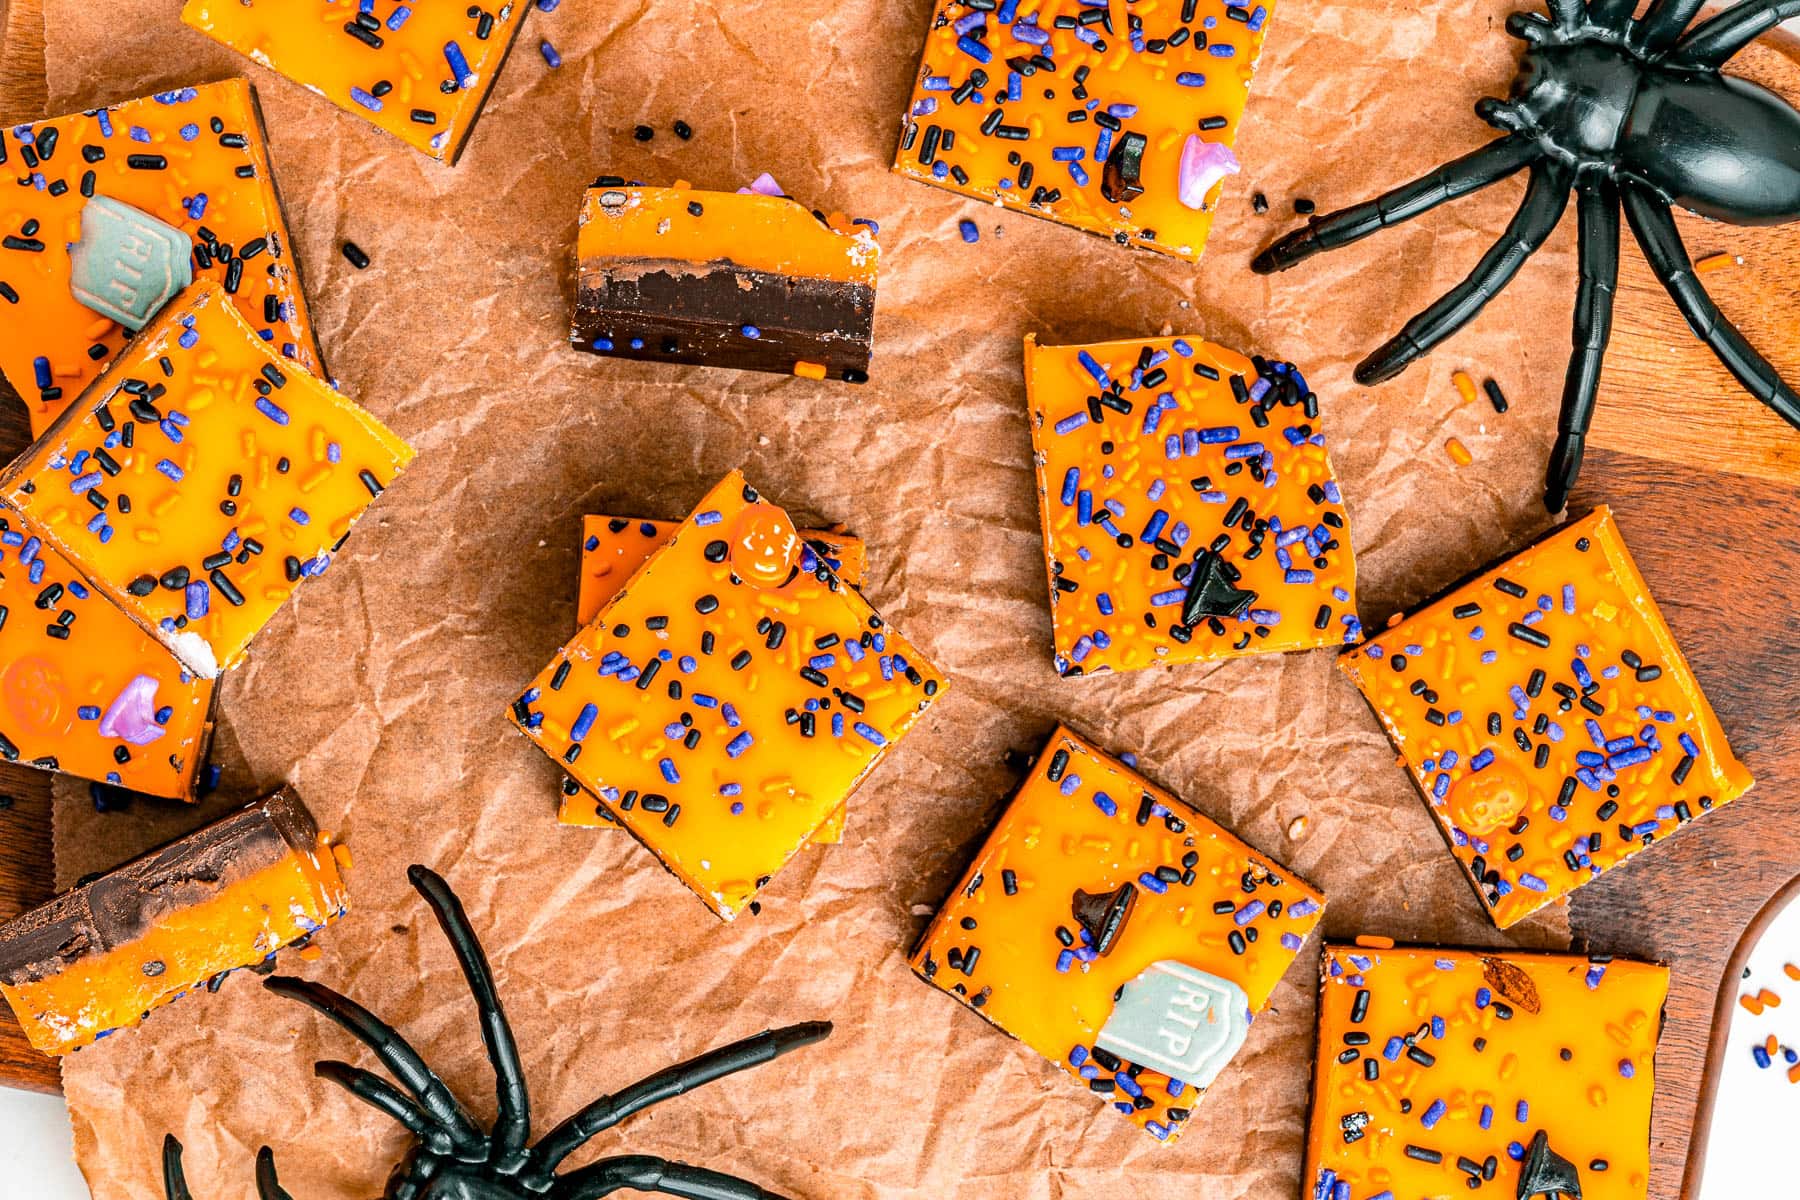
Ingredients for Halloween Fudge
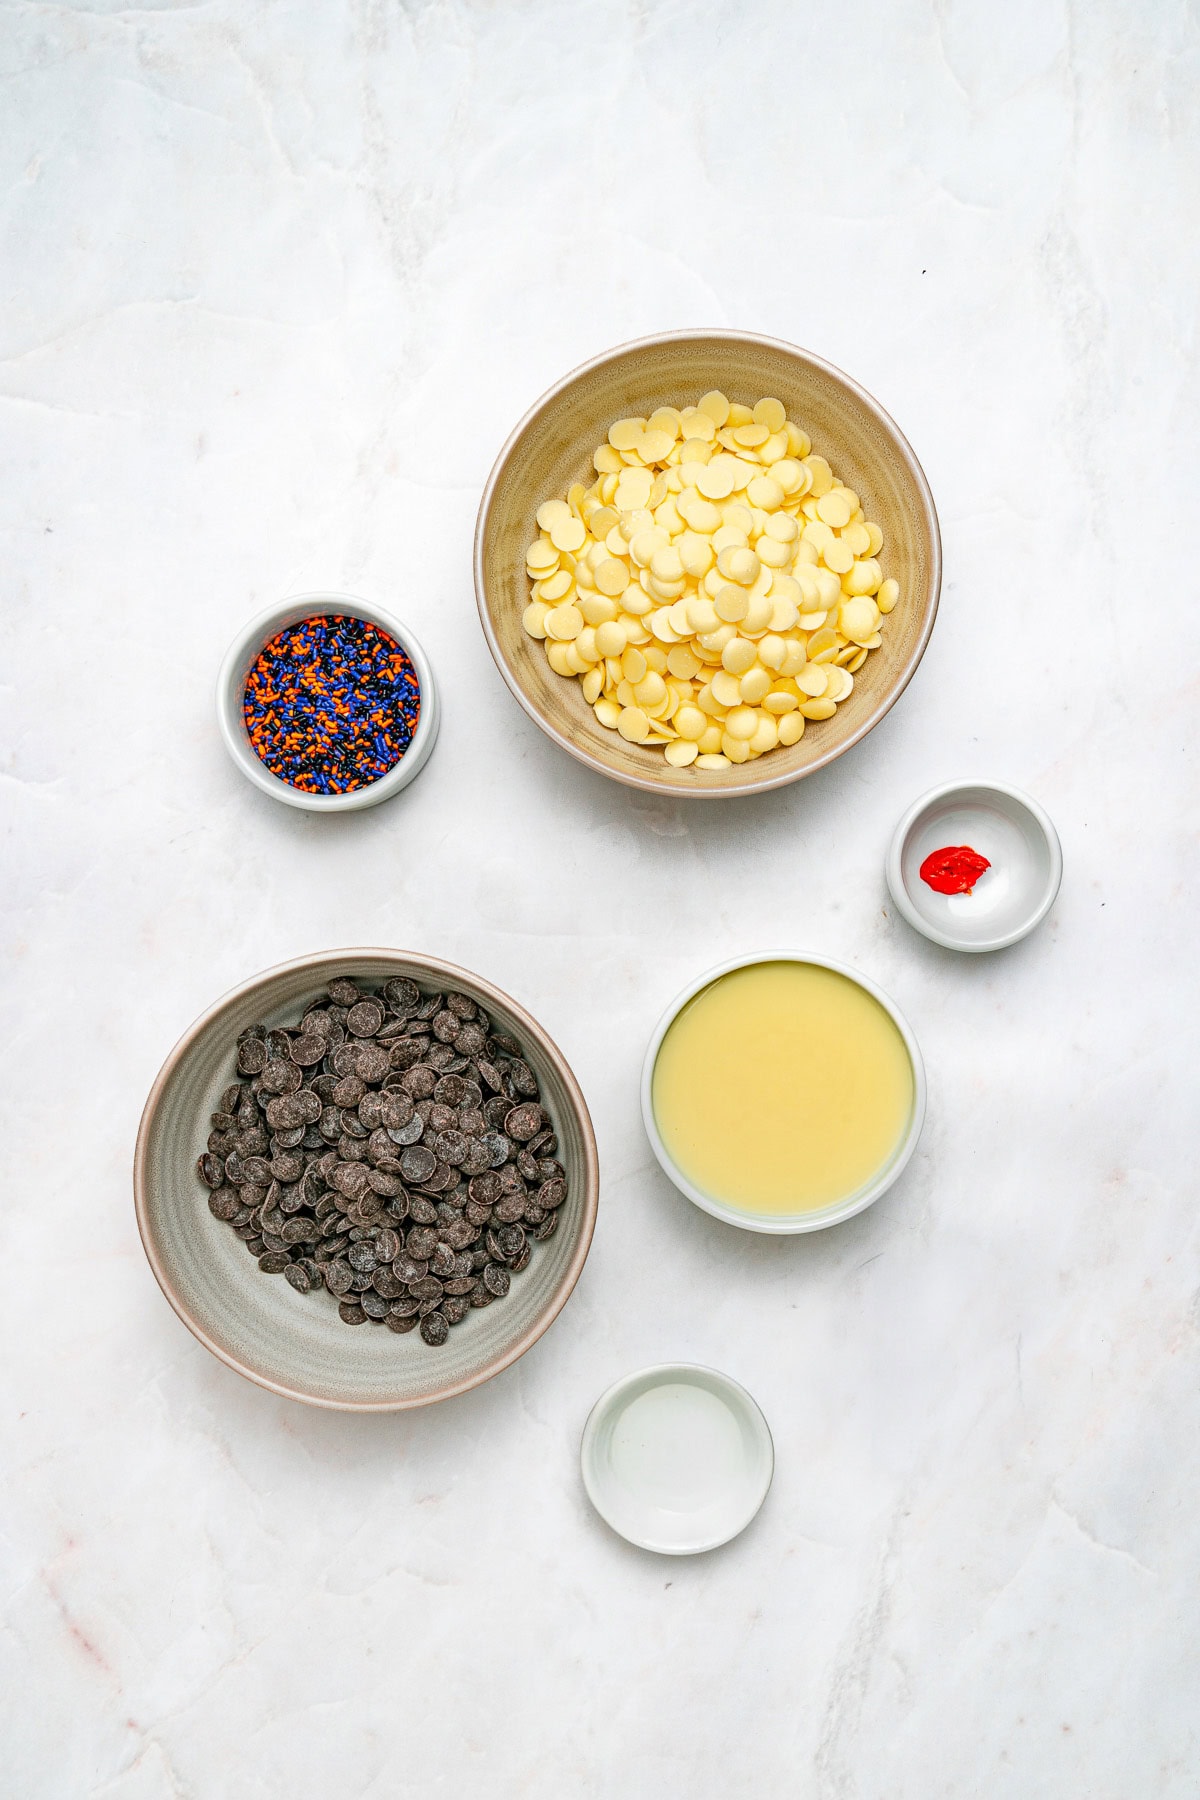
This easy Halloween Fudge is rich, creamy, and loaded with chocolate flavor! A fun, festive homemade candy for Halloween parties and dessert trays.
Recipe Ingredients
Semi-sweet and white chocolate melts or chips – I prefer using chocolate melts as they’re easier to work with, but any will work in this recipe.
Sweetened condensed milk – Is the base that helps the fudge to hold while staying smooth.
Orange extract – We used it to flavor the orange layer; adjust to taste, as different extracts vary in intensity.
Orange gel food coloring – Opt for gel food coloring instead of liquid one when working with chocolate-based desserts.
Halloween sprinkles – Use your favorite ones here; you can also add some candy on top of the fudge.
How to make Halloween Fudge
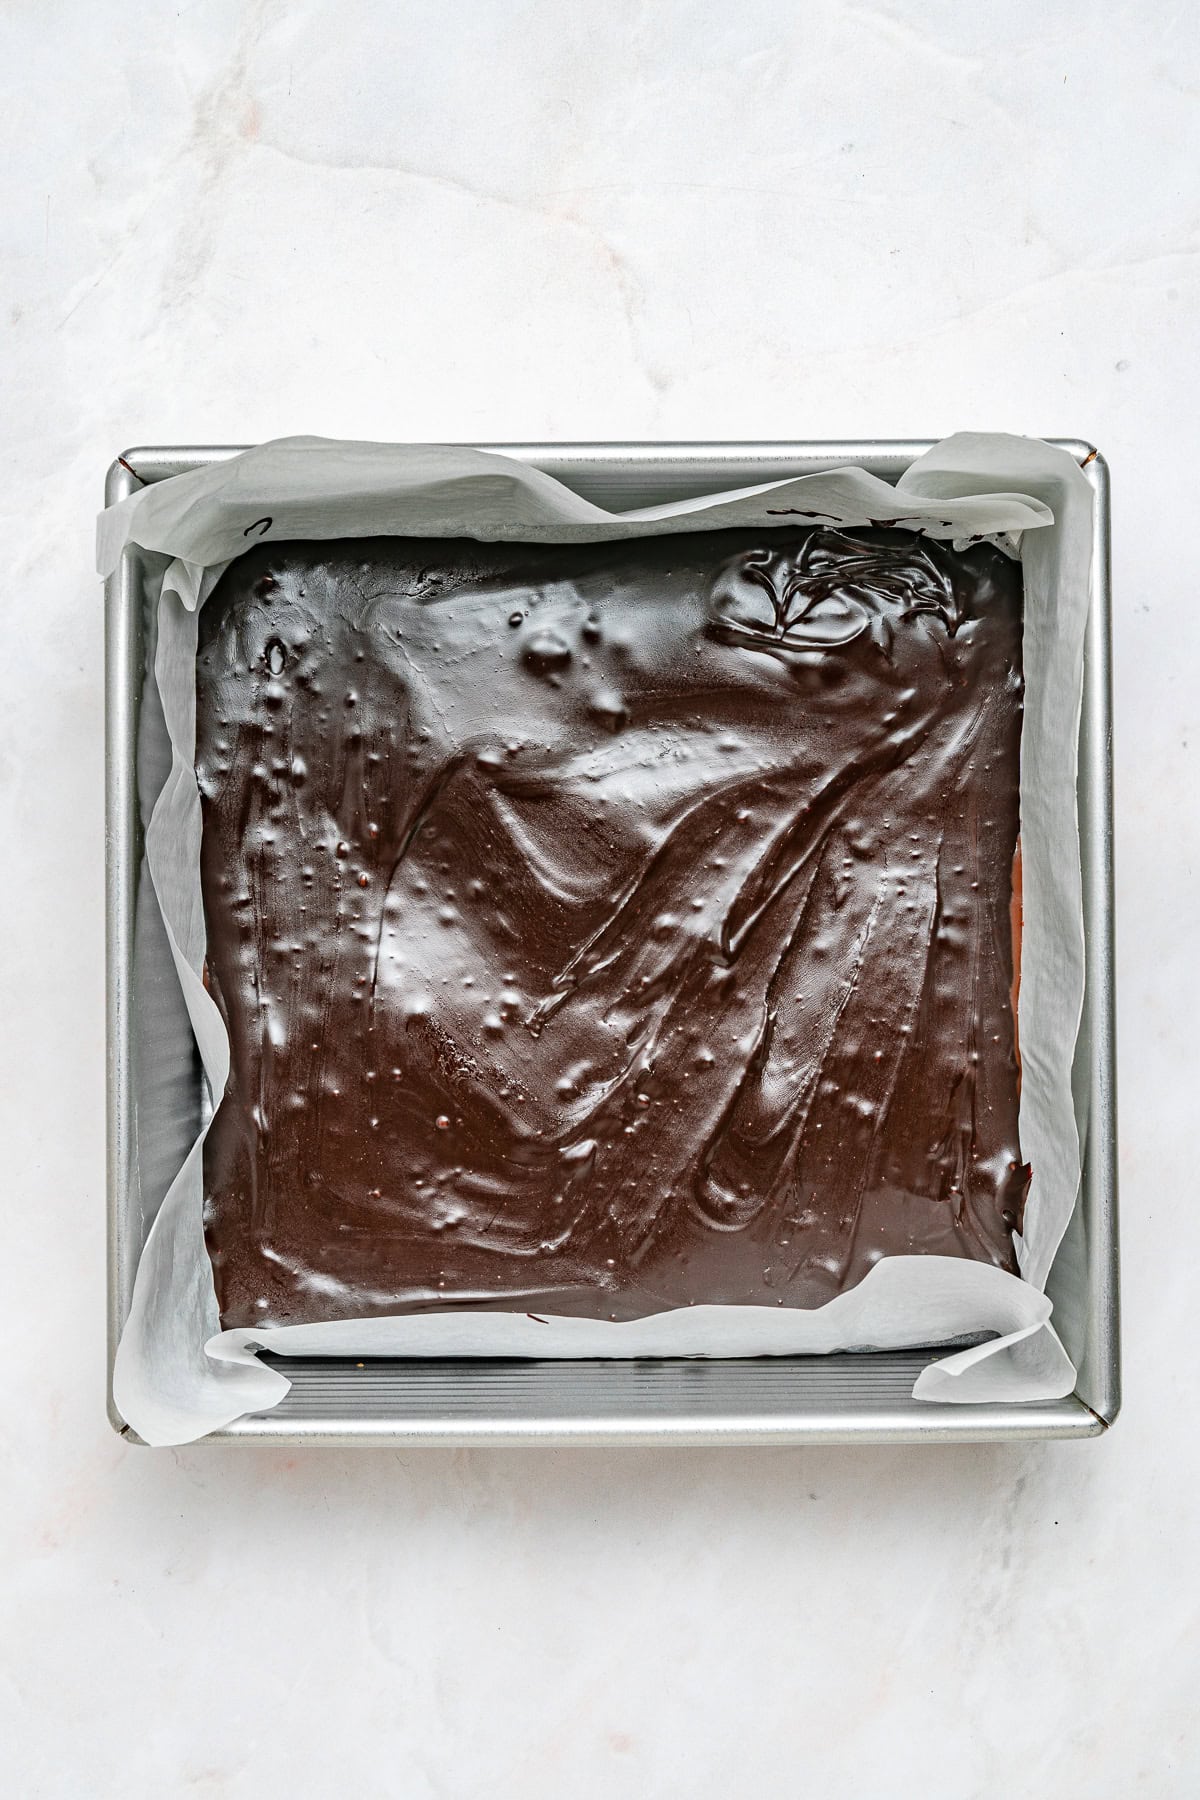
Line an 8-inch square baking pan with parchment paper, leaving a couple inches of overhang on two sides. That overhang is your handle for lifting the fudge out later.
Set up a double boiler. Fill a small saucepan with about an inch of water and bring it to a gentle simmer, then set a heatproof bowl on top. The bowl should sit above the water, not touch it. That gentle steam heat is what keeps the chocolate from scorching or turning grainy. Make sure the bowl is completely dry before you start.
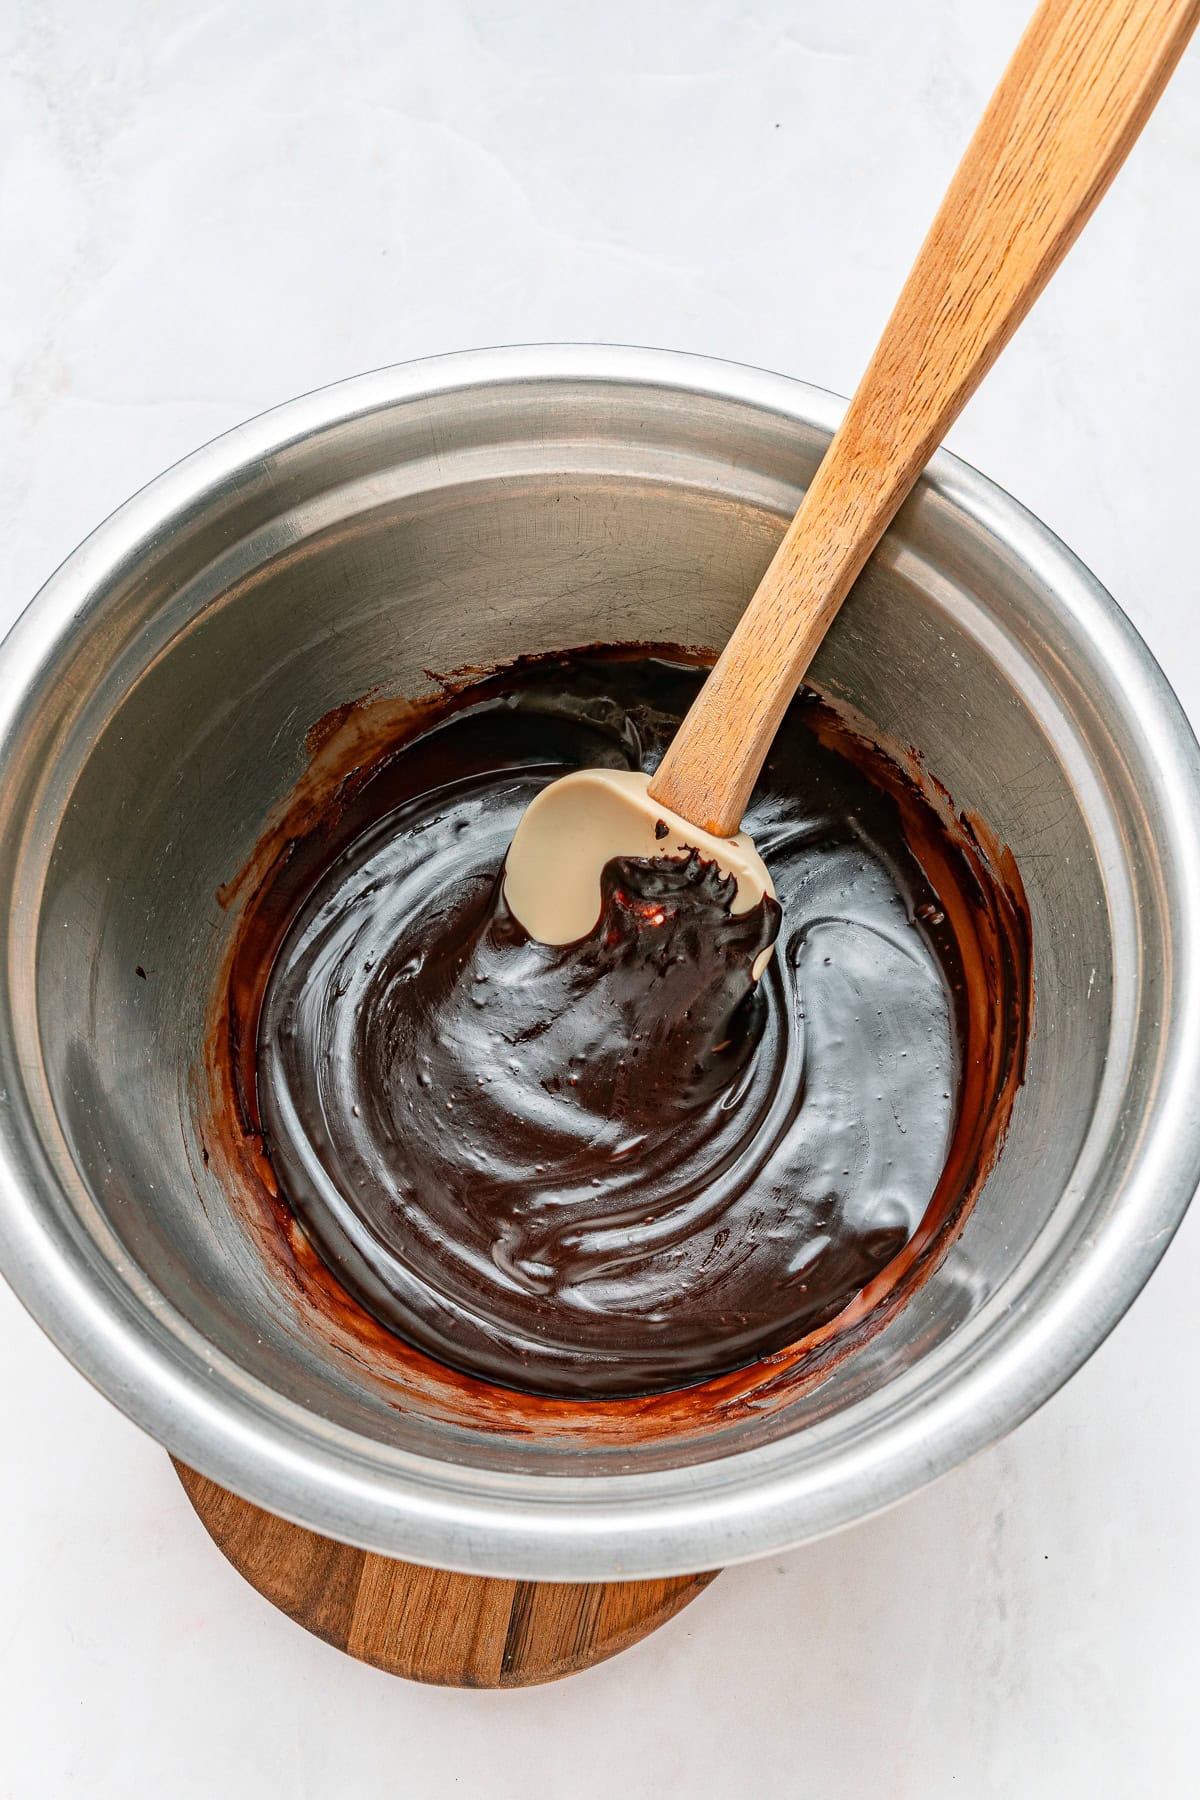
Add the semi-sweet chocolate and ⅔ cup of the condensed milk to the bowl. Stir with a silicone spatula until the chocolate is almost fully melted, then lift the bowl off the heat and keep stirring until the mixture is smooth, thick, and glossy. It stiffens fast, so work quickly.
Scrape the mixture into the prepared pan and spread it flat with an offset spatula. Refrigerate for 15 to 20 minutes, just until the surface firms up but still feels slightly tacky.
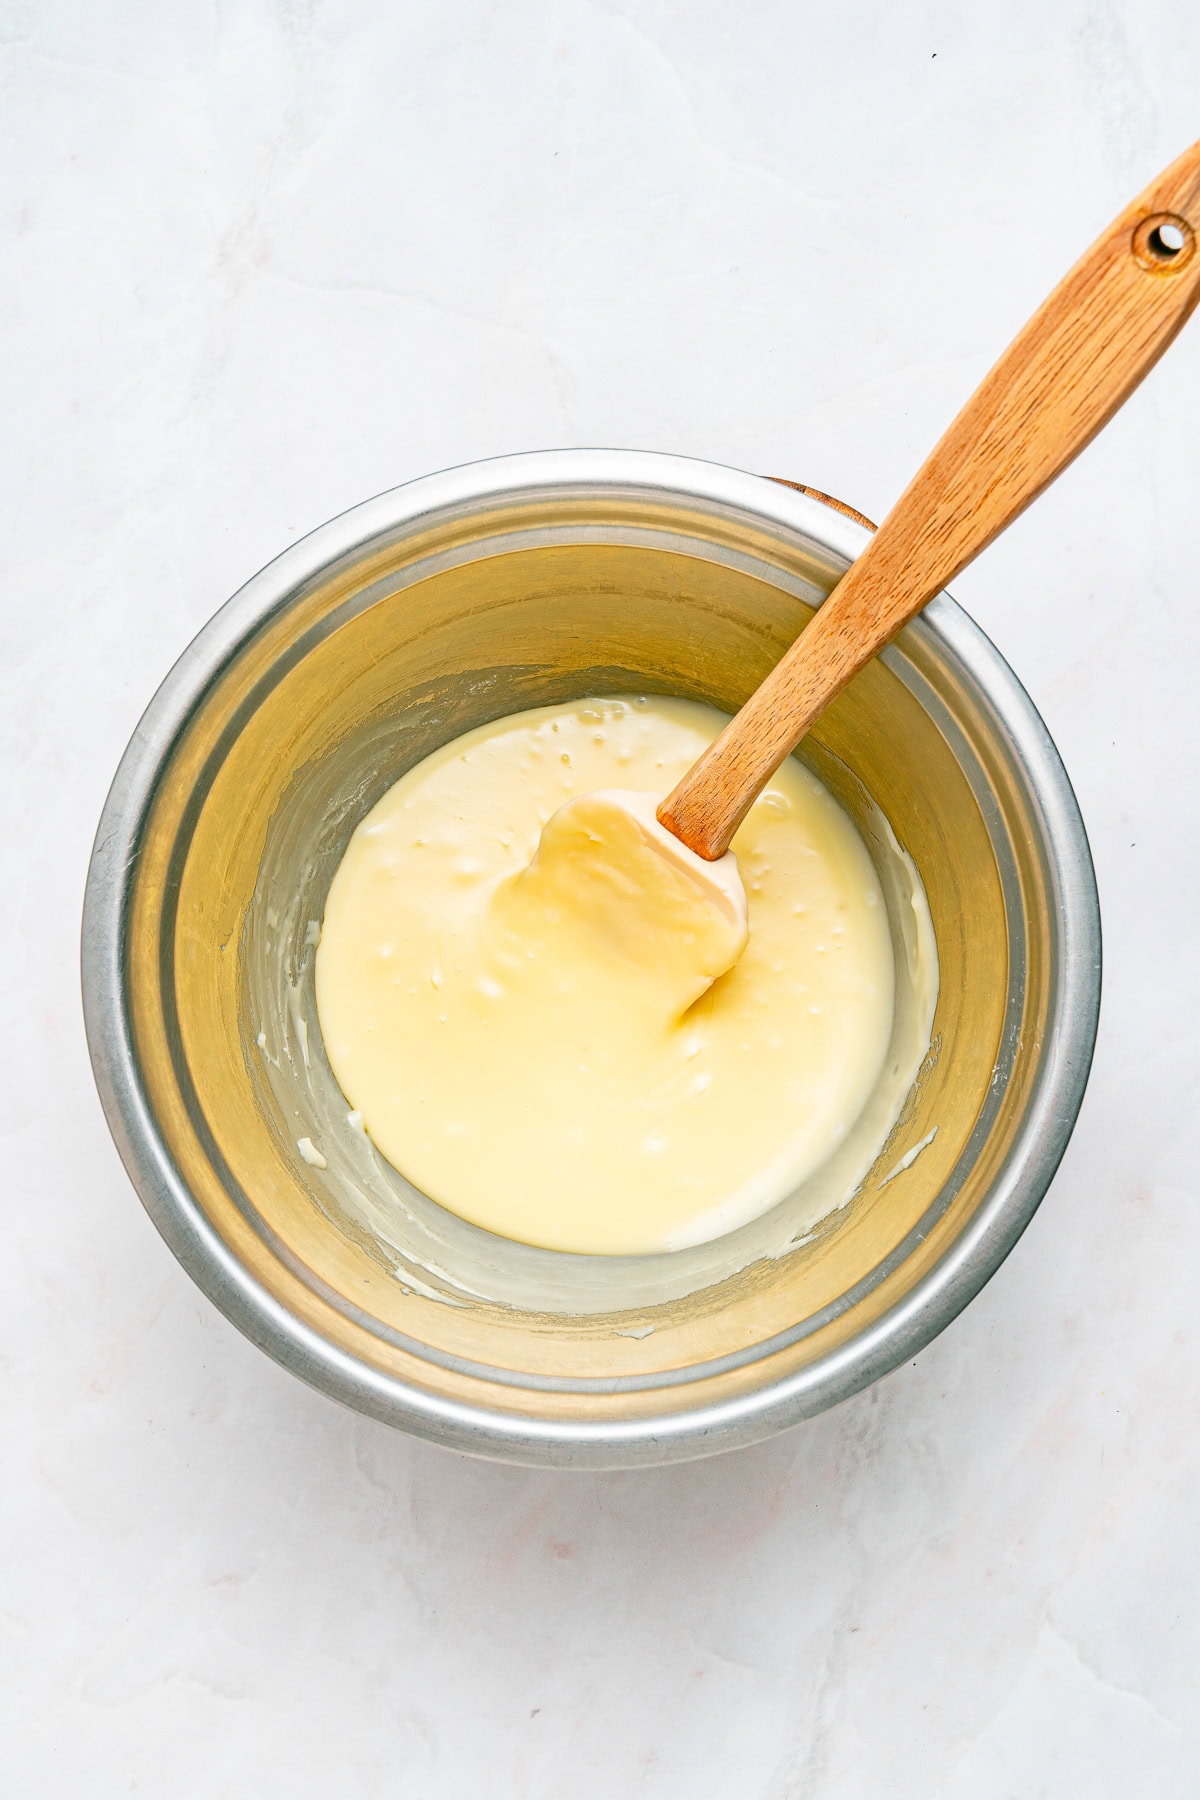
While that chills, wipe the bowl dry and melt the white chocolate with the remaining condensed milk the same way. White chocolate scorches faster than dark, so pull it off the heat when it’s almost melted and stir it the rest of the way.
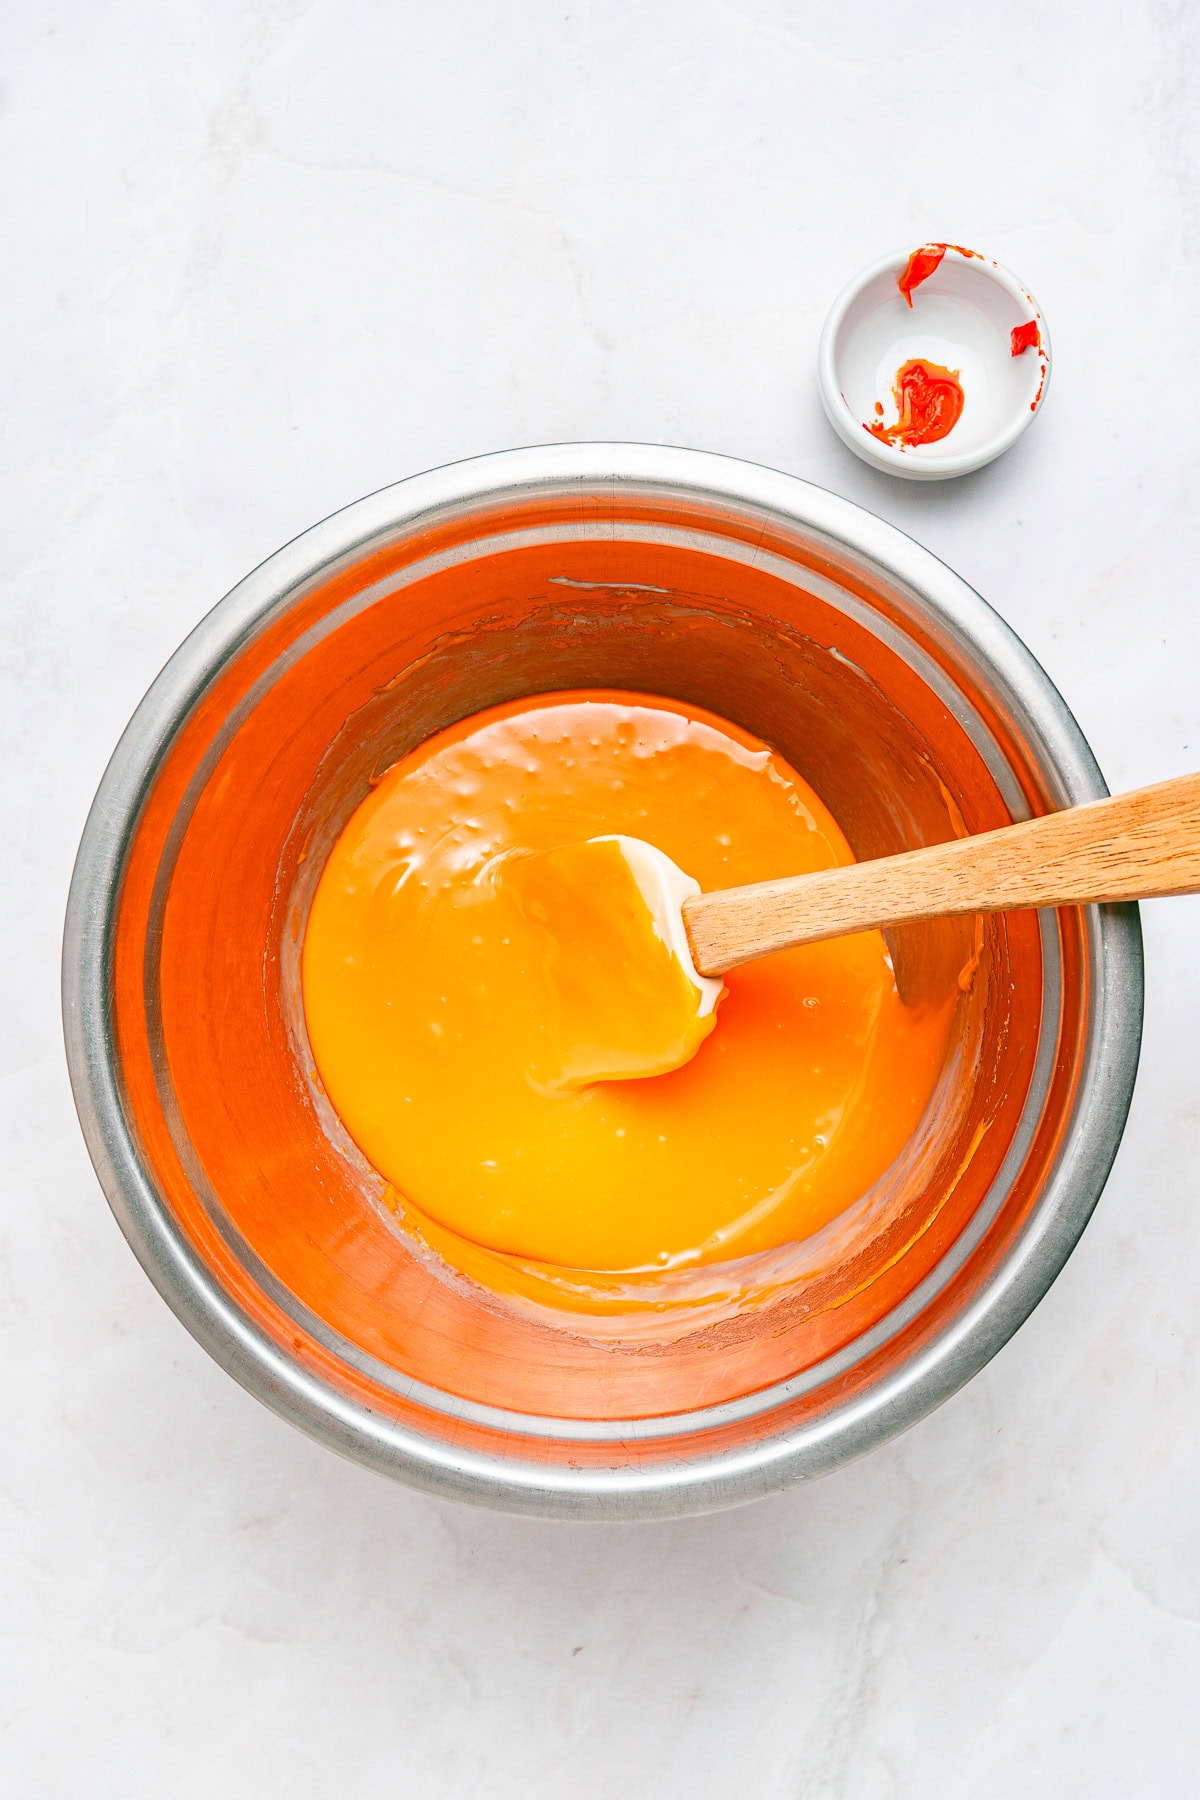
Stir in the orange extract, then add the gel coloring one small dash at a time, stirring between additions, until you reach the shade you want. If the mixture stiffens while you work, set it back over the warm water for a few seconds to loosen it.
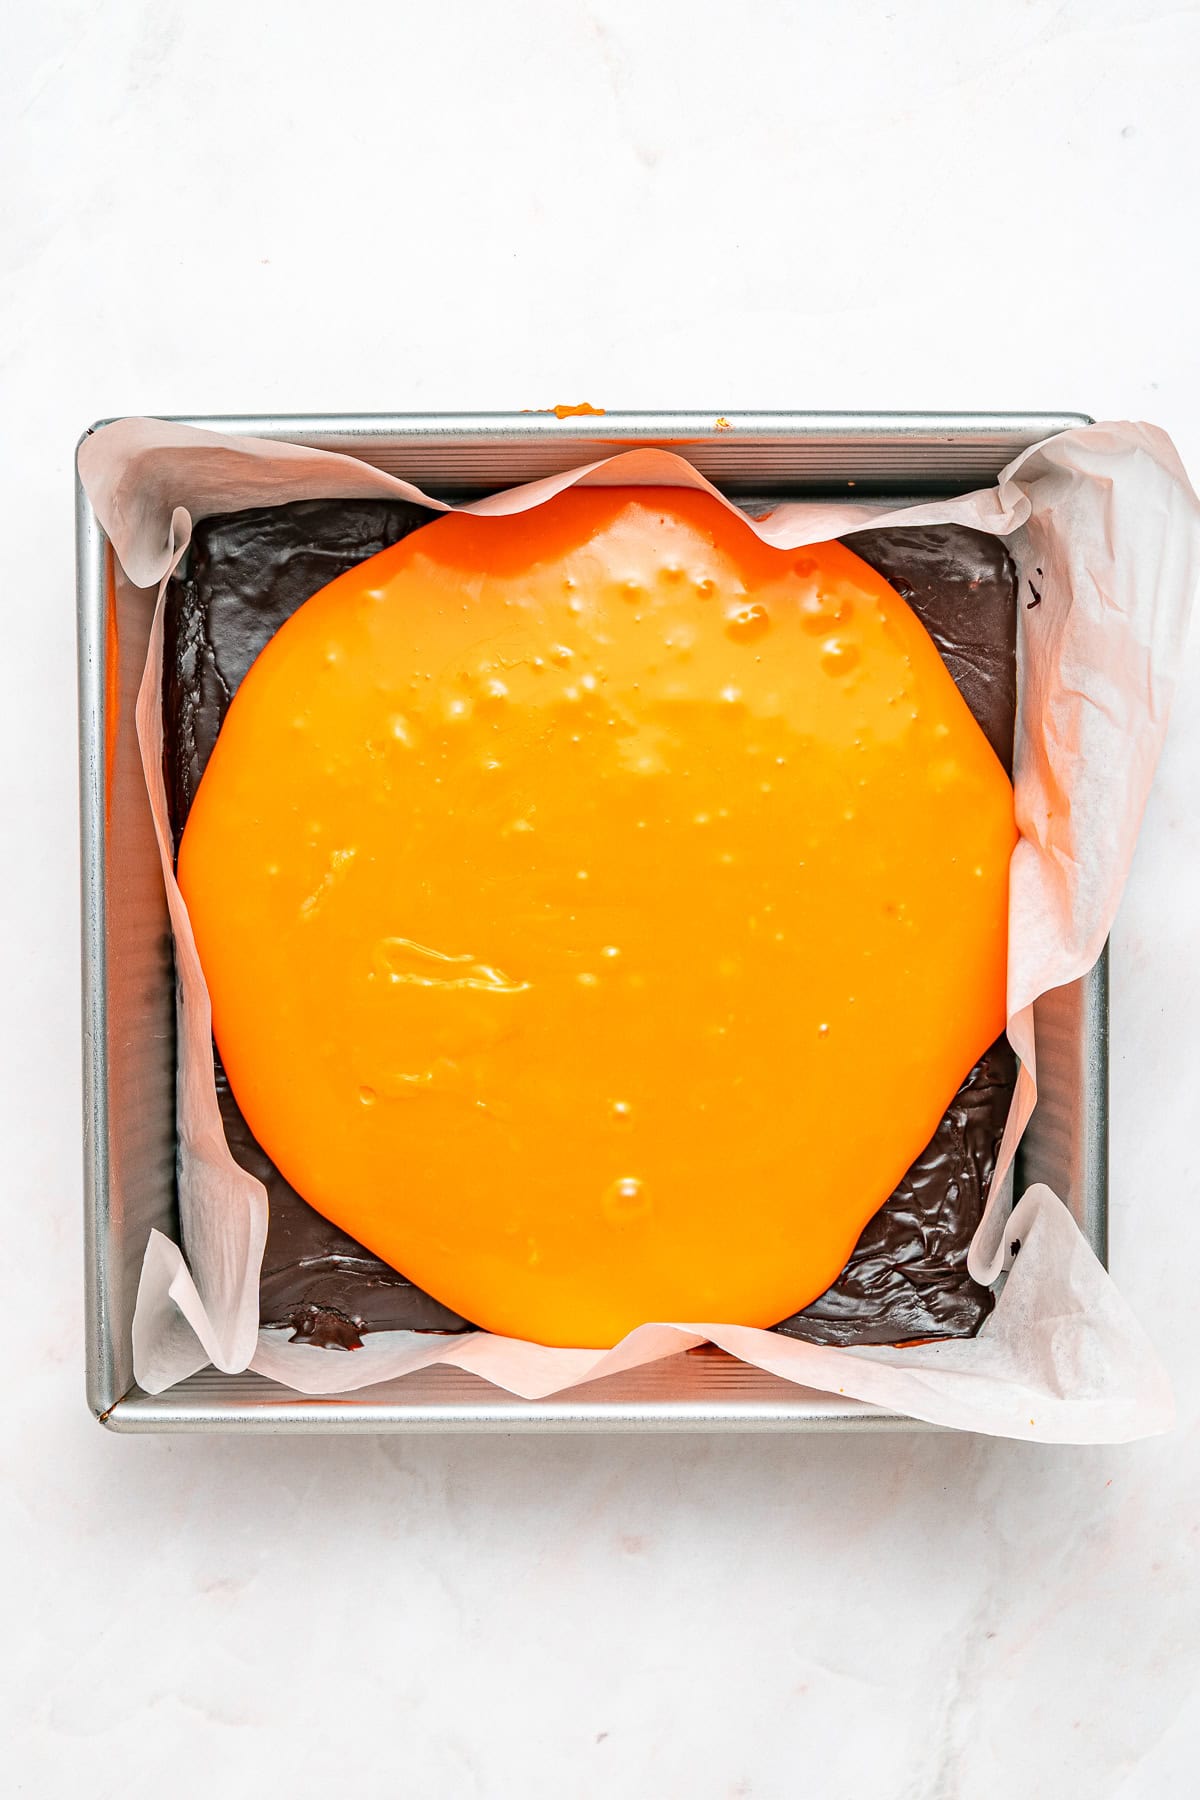
Spread the orange layer over the chocolate base right away, before either layer sets.
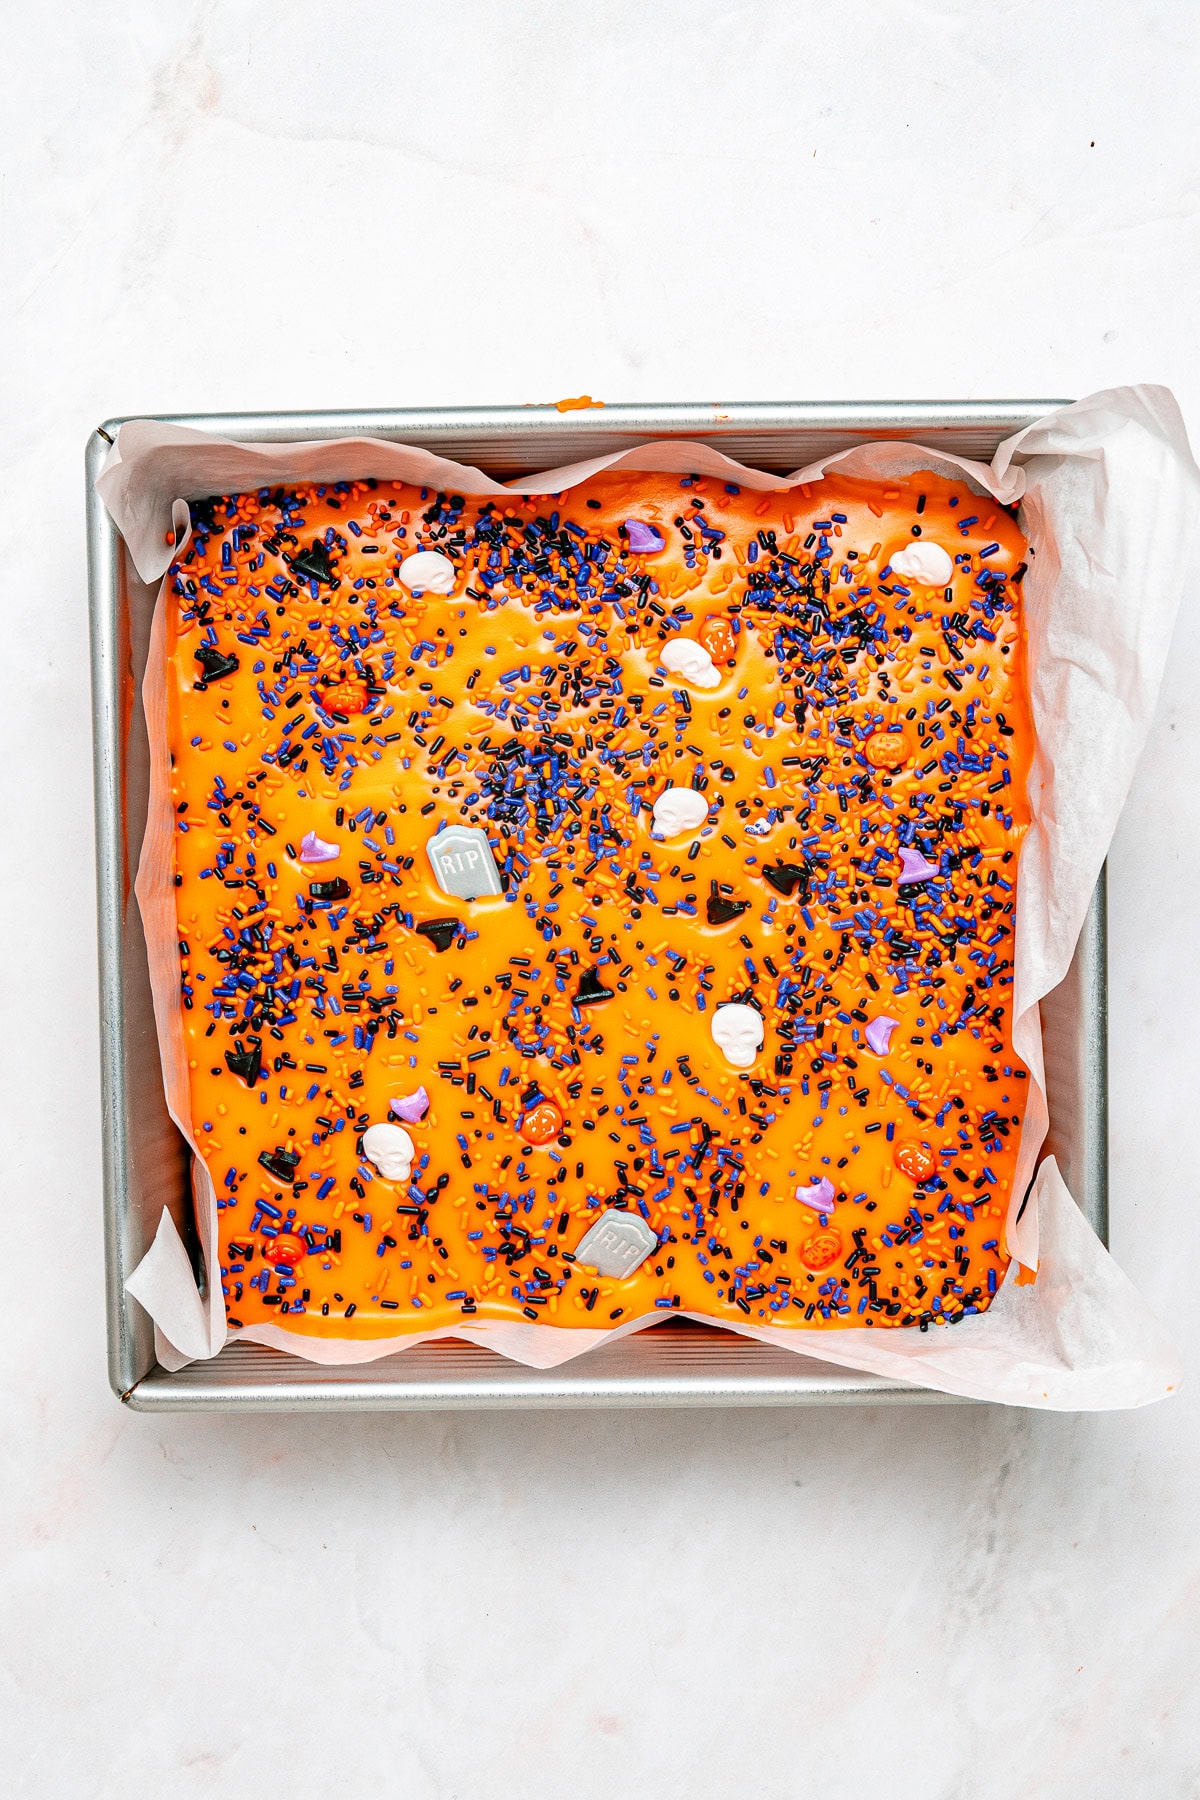

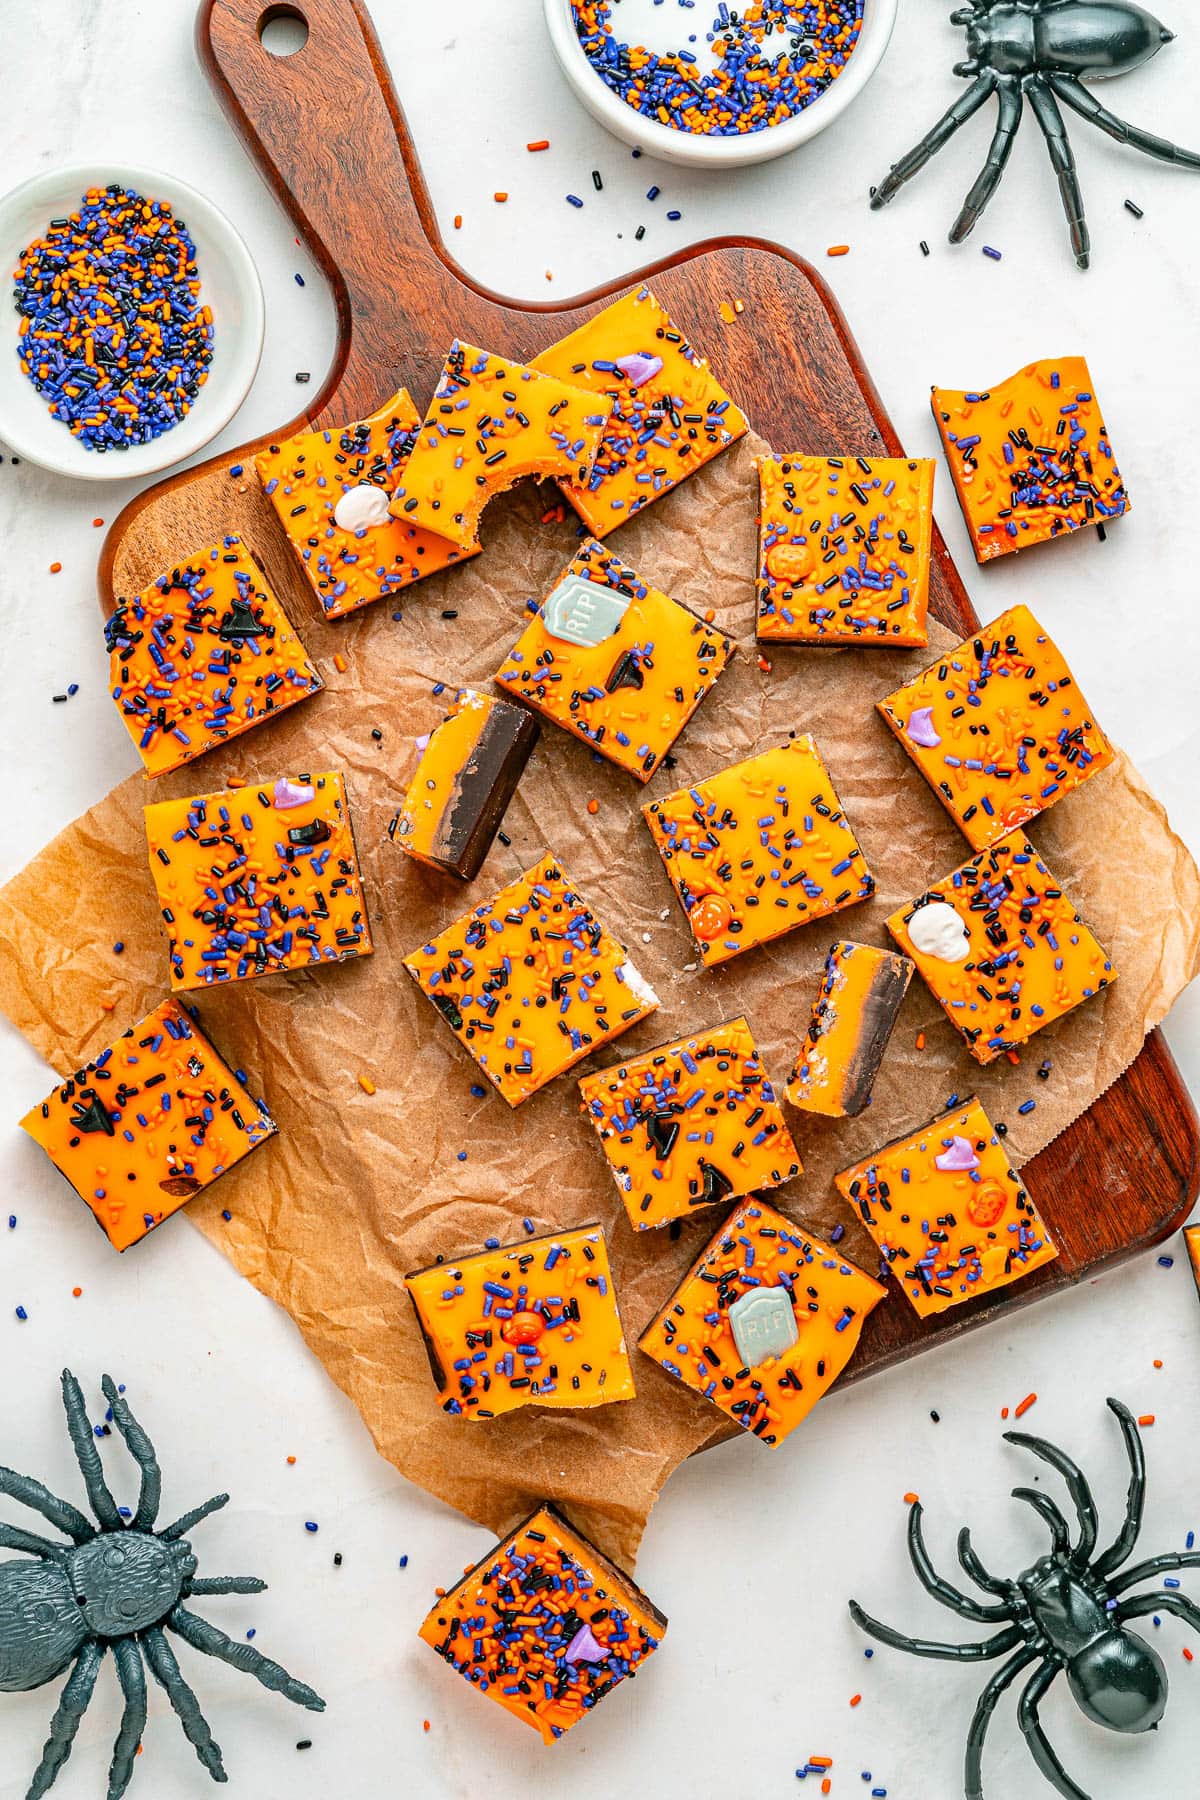
Scatter the sprinkles on top and press them in gently with your fingertips so they stick.
Refrigerate until firm, 1 to 2 hours. Lift the fudge out using the parchment overhang and cut into squares with a sharp knife, wiping the blade between cuts.
Recipe Pro Tips
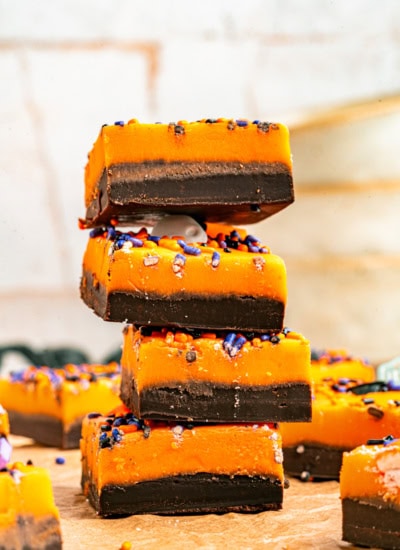
How to Store Halloween Fudge
Store the fudge in an airtight container in the fridge for up to 2 weeks. Separate the layers with parchment paper so the squares don’t stick together.
To freeze, wrap the squares in plastic wrap and place them in a freezer bag for up to 3 months. Thaw them overnight in the fridge. Thawing in the fridge keeps condensation from forming on the surface, which can make the sprinkles bleed their color.
Tips for cutting clean fudge squares
Wait until the fudge is completely set, at least one to two hours in the fridge.
Use a large and sharp blade. You can also slightly warm it with hot water for cleaner cuts. Just make sure is not hot enough to melt the fudge.
For picture-perfect squares, trim the edges by cutting a thin strip off each side first.
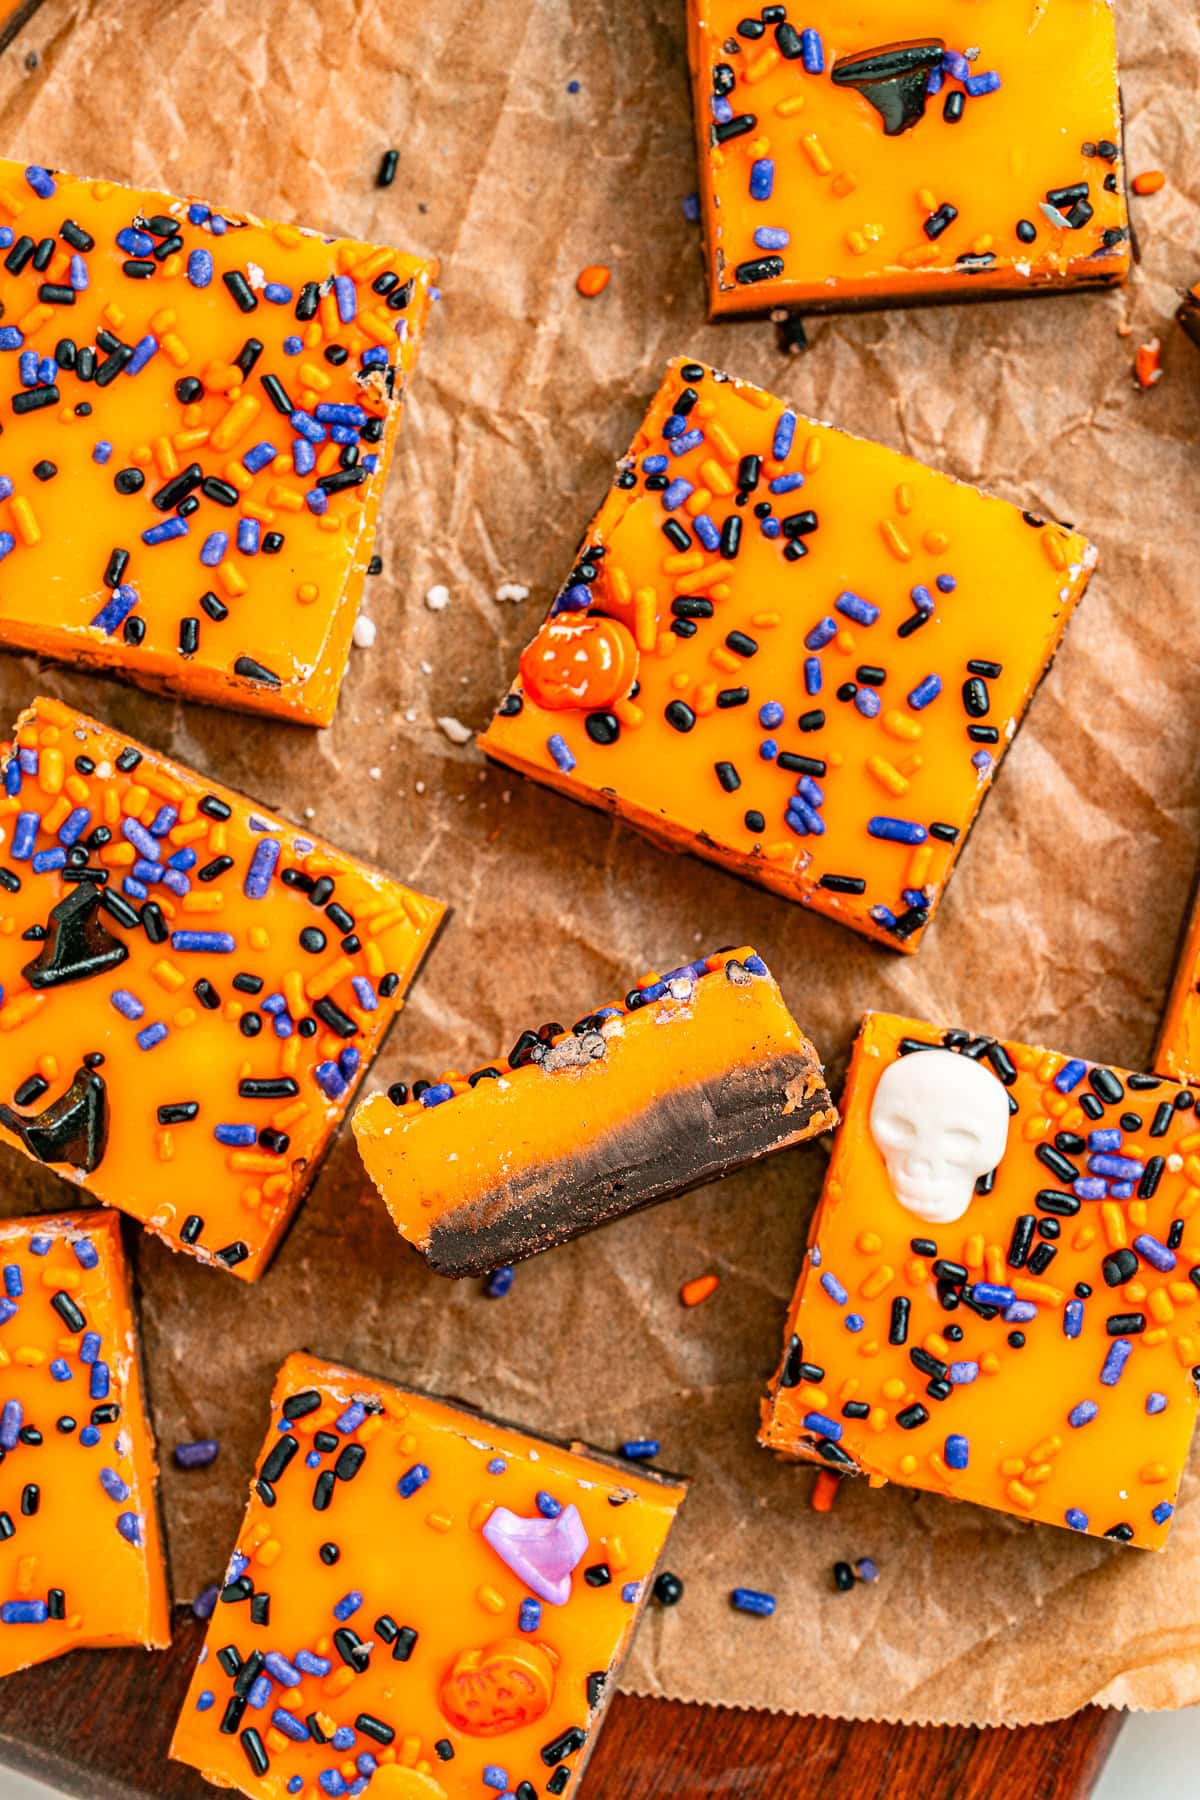
How do you know when fudge is bad?
Fudge keeps well in the fridge for a couple of weeks, but if you notice any of these, discard it.
- Texture changes: Fudge that’s turned hard, dry, or crumbly is past its best. It’s still safe to eat; it just won’t be as creamy.
- White streaks or spots. That’s usually sugar or fat bloom from temperature changes. It looks a little dull, but it’s harmless.
- Off smell or sour taste. Since this recipe uses condensed milk, a sour or stale smell means it’s time to toss it.
WANT MORE SPOOKTACULAR HALLOWEEN TREATS?
We absolutely love Halloween here and still love making treats, cookies and more. Here are some of our favorite.



Pin it HERE!!
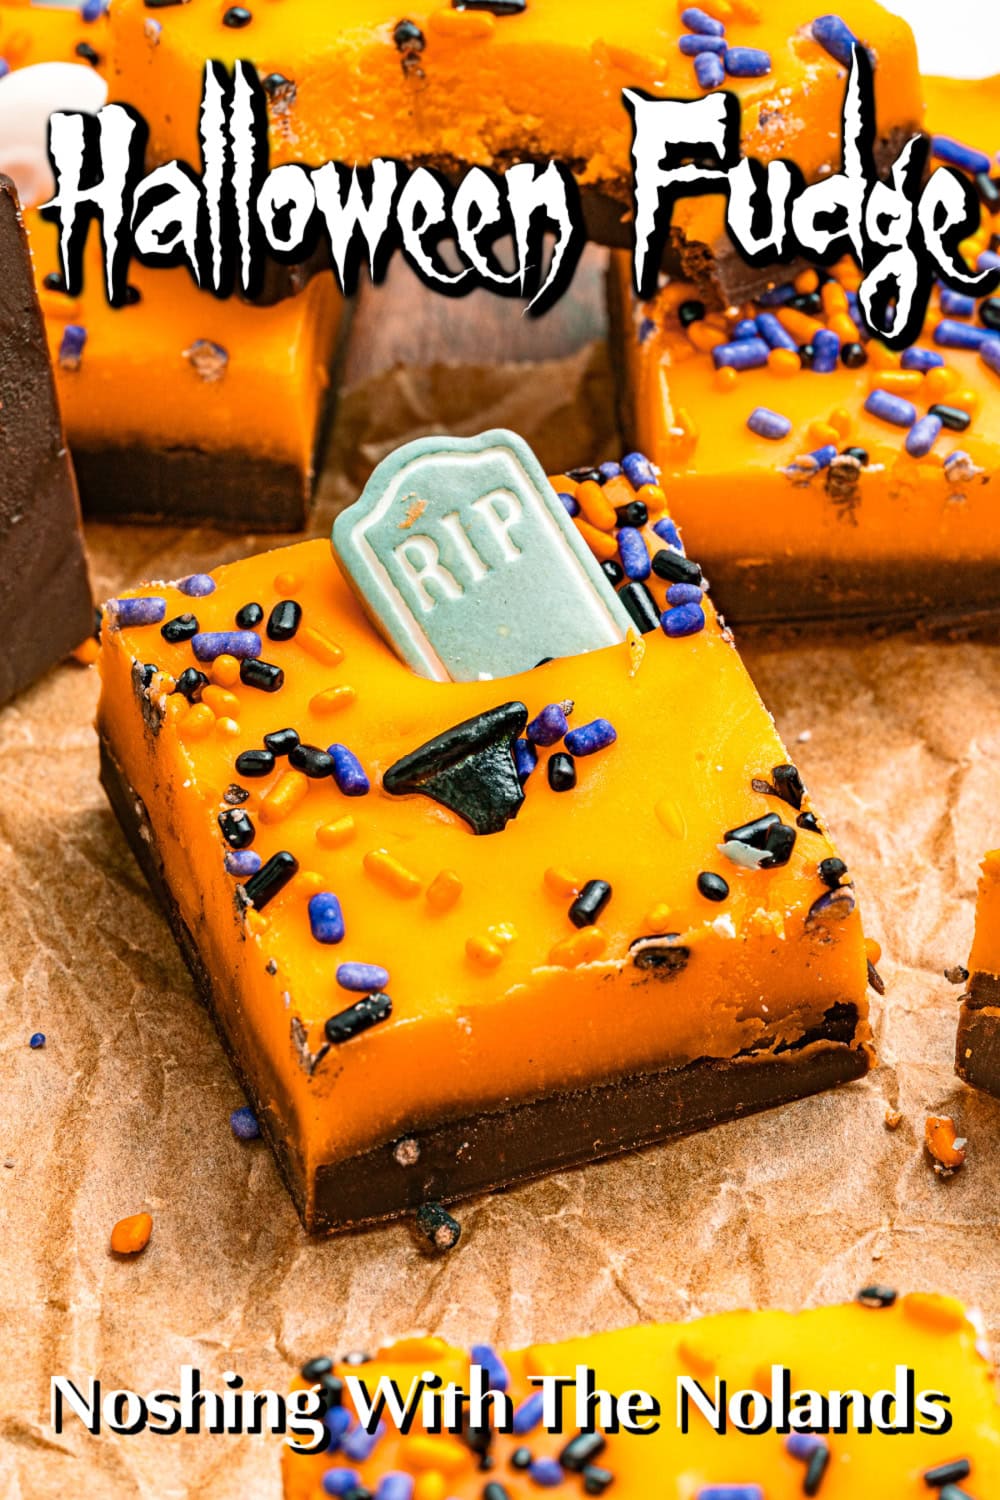
Pin it HERE!!
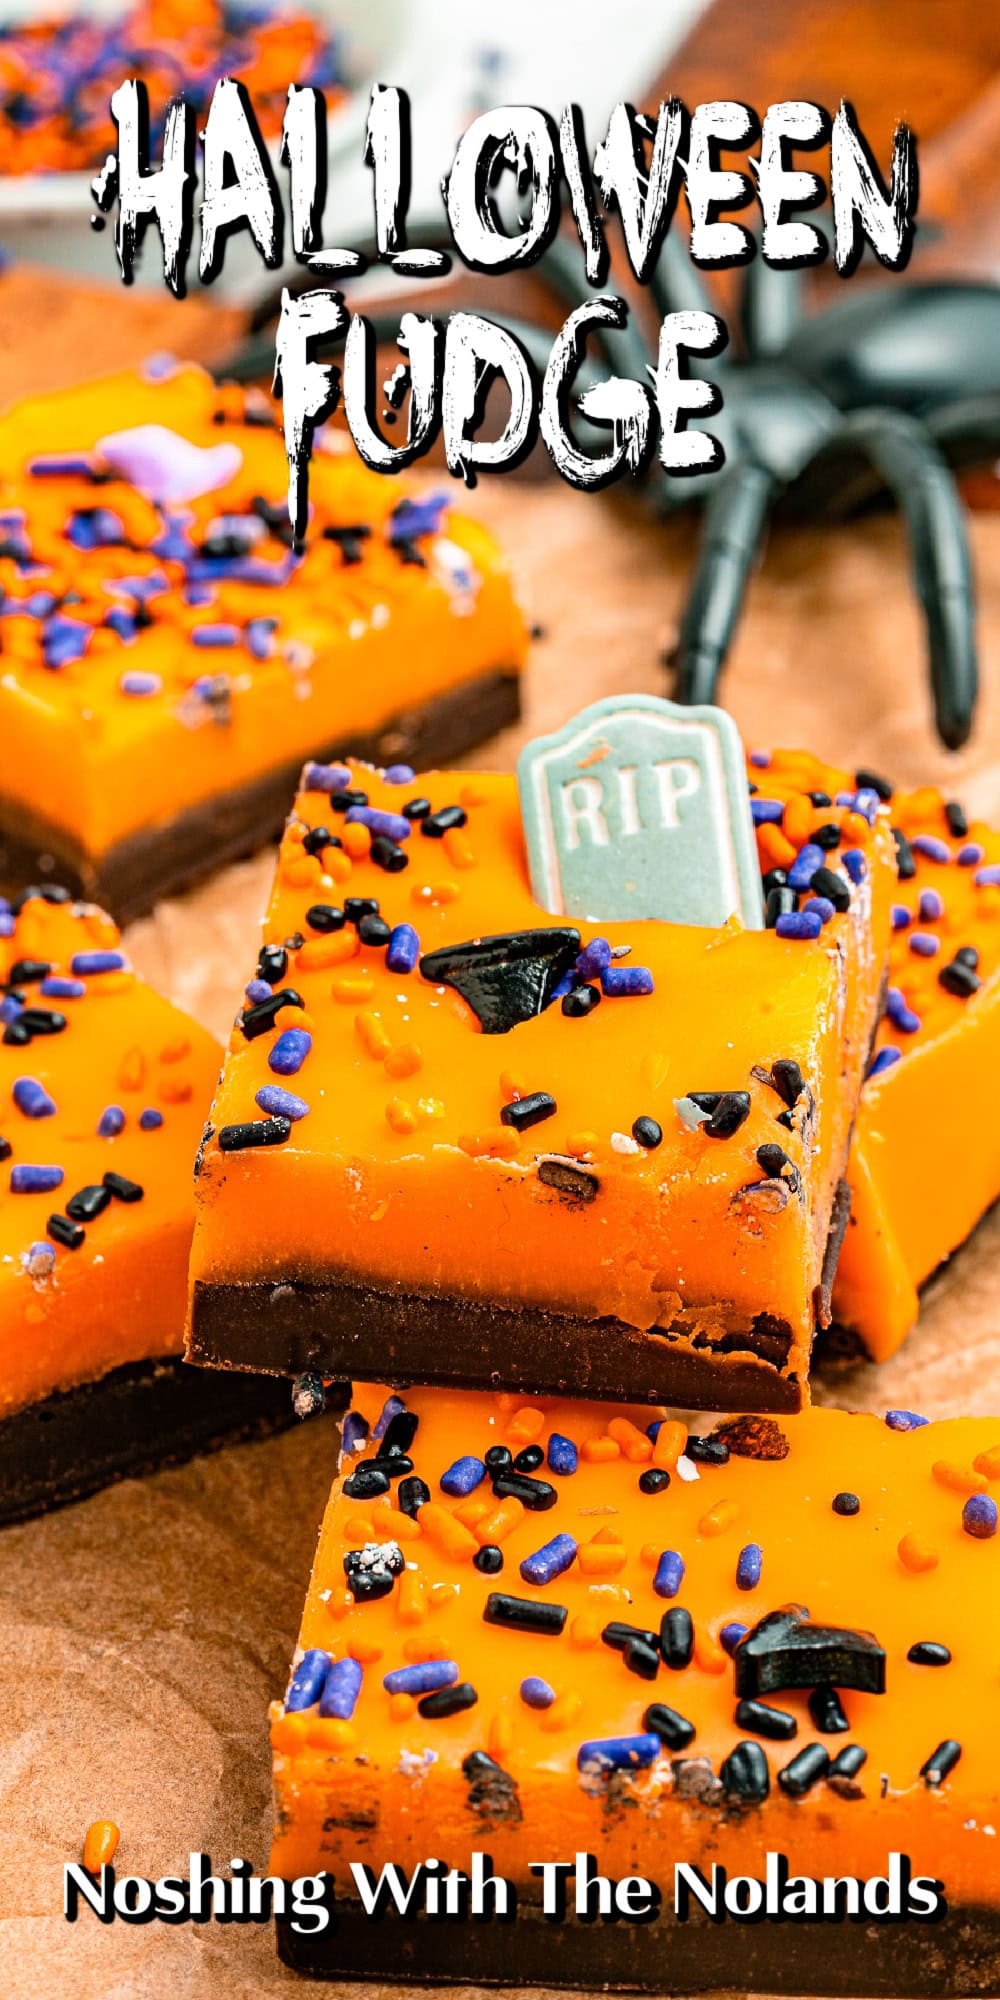
Halloween Fudge Recipe
Ingredients
- 8 oz semi-sweet chocolate chips or melts
- 8 oz white chocolate chips or melts
- 14 oz sweetened condensed milk can divided
- ¼ – ½ tsp orange extract adjust to taste
- Orange gel food coloring
- 2 tbsps Halloween sprinkles
Instructions
- Line an 8-inch square baking pan with parchment paper, leaving a couple inches of overhang on two sides. That overhang is your handle for lifting the fudge out later.
- Set up a double boiler. Fill a small saucepan with about an inch of water and bring it to a gentle simmer, then set a heatproof bowl on top. The bowl should sit above the water, not touch it. That gentle steam heat is what keeps the chocolate from scorching or turning grainy. Make sure the bowl is completely dry before you start.
- Add the semi-sweet chocolate and ⅔ cup of the condensed milk to the bowl. Stir with a silicone spatula until the chocolate is almost fully melted, then lift the bowl off the heat and keep stirring until the mixture is smooth, thick, and glossy. It stiffens fast, so work quickly.
- Scrape the mixture into the prepared pan and spread it flat with an offset spatula. Refrigerate for 15 to 20 minutes, just until the surface firms up but still feels slightly tacky.
- While that chills, wipe the bowl dry and melt the white chocolate with the remaining condensed milk the same way. White chocolate scorches faster than dark, so pull it off the heat when it’s almost melted and stir it the rest of the way.
- Stir in the orange extract, then add the gel coloring one small dash at a time, stirring between additions, until you reach the shade you want. If the mixture stiffens while you work, set it back over the warm water for a few seconds to loosen it.
- Spread the orange layer over the chocolate base right away, before either layer sets. Scatter the sprinkles on top and press them in gently with your fingertips so they stick.
- Refrigerate until firm, 1 to 2 hours. Lift the fudge out using the parchment overhang and cut into squares with a sharp knife, wiping the blade between cuts.








Let us know what you think!
We’d love to know what you and your family think! Make sure to leave a review below and follow us on your favorite social network!