There sure is a chill in the air here as we went very quickly from a hot, dry, smoky summer to a very cold and wet September even with snow. With that though it has thrown me from summer into fall very quickly. I now have my eyes on Halloween and with that these Halloween Tombstone Cookies have poked up!
I have made these for years and years, creating funny little names for them and they have always been a hit. These are made with my standard sugar cookie recipe and royal icing. Edible markers are used for the writing.
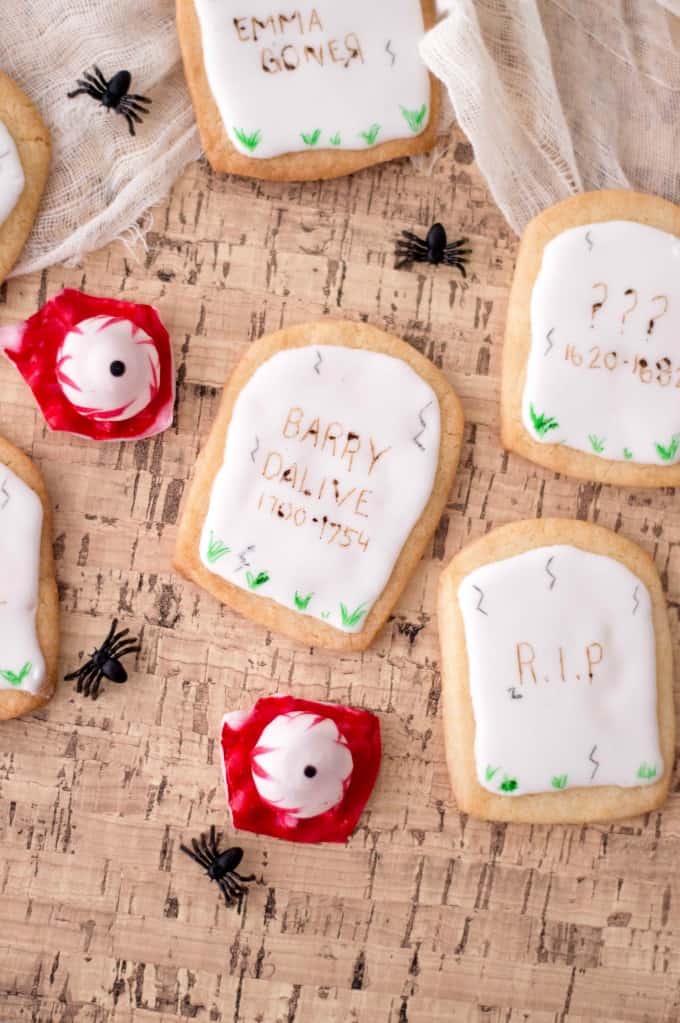
I like a funny Halloween, still a bit creepy but more along the lines of the Addams Family than anything really scary. These fit right in with my sense of humor and deliciousness.
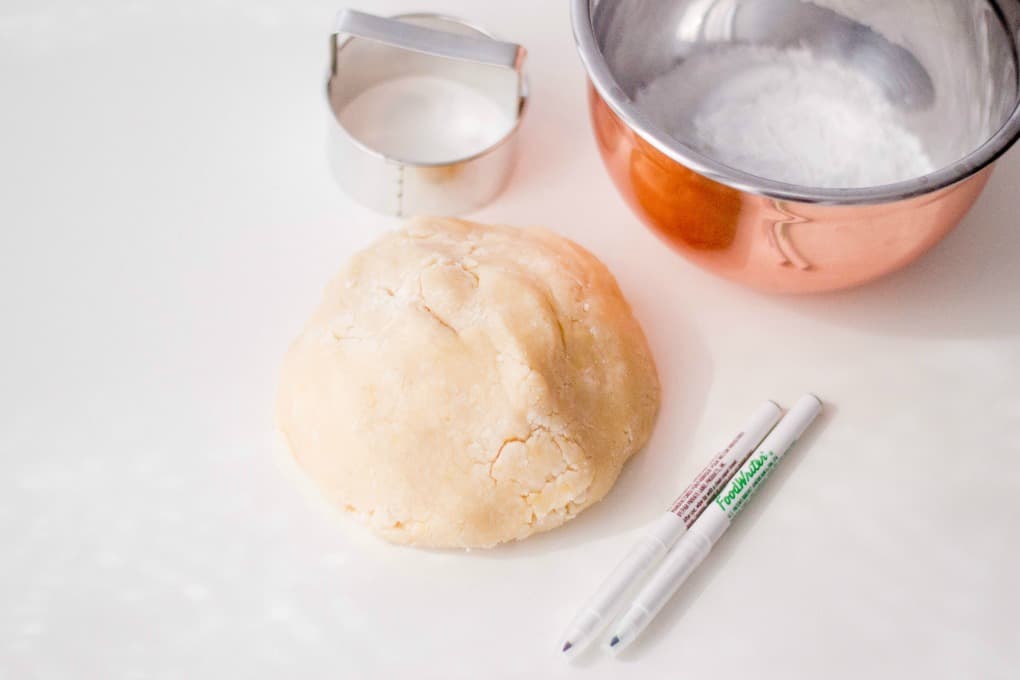
A simple sugar cookie dough is made up and rested for at least 2 hours or overnight in the refrigerator.
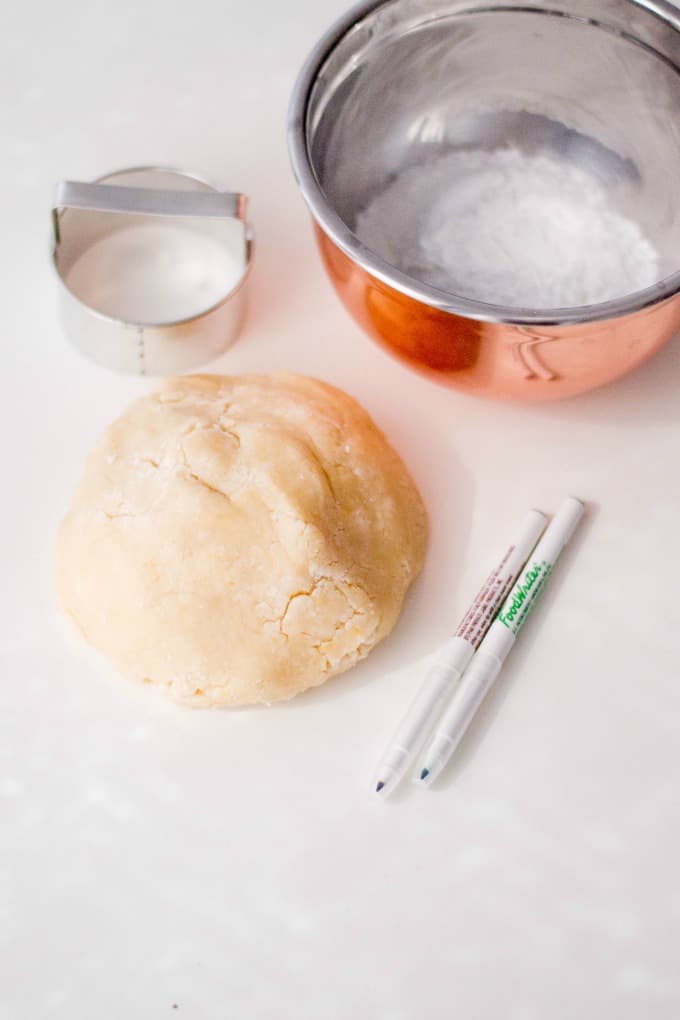
This simple dough I have used for many recipes and seasons like Valentine’s Day Sugar Cookies, Shamrock Cookies, Bunny Bum Cookies, Snowflake Sugar Cookies, and Christmas Sugar Cookies.
Tombstone Cookies
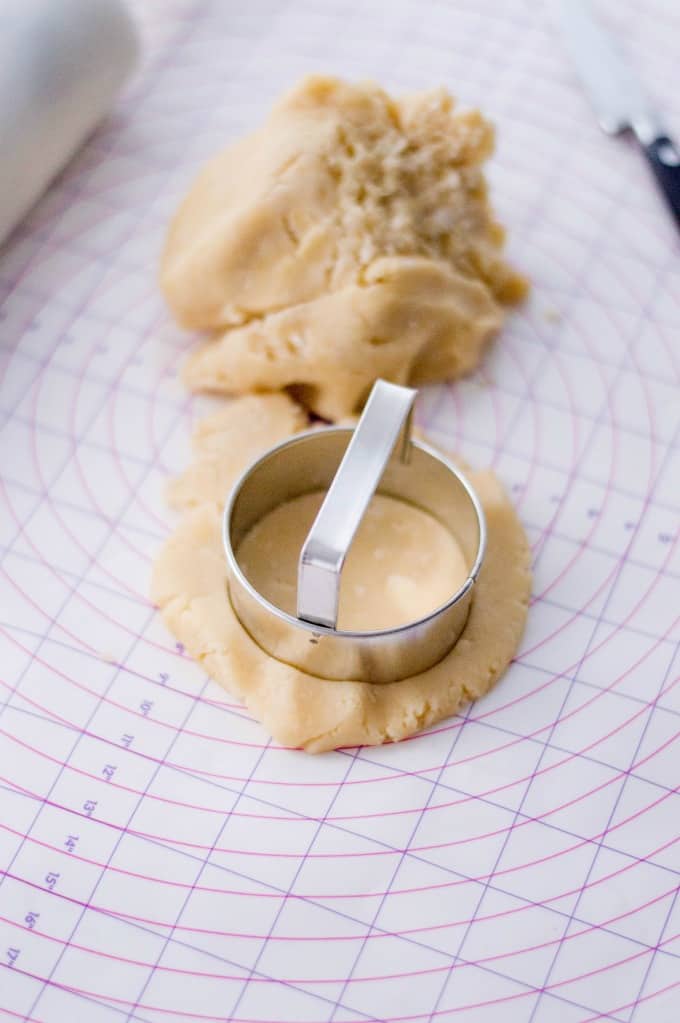
If you do not have a tombstone cookie cutter, you can still get a tombstone shape by using a circular cutter and then cutting 3 sides to achieve the same look.
I also have used candy corn cookie cutters that looked very similar too.
Make sure to flour a clean working surface and roll out the dough so it’s about ¼” of an inch thick.
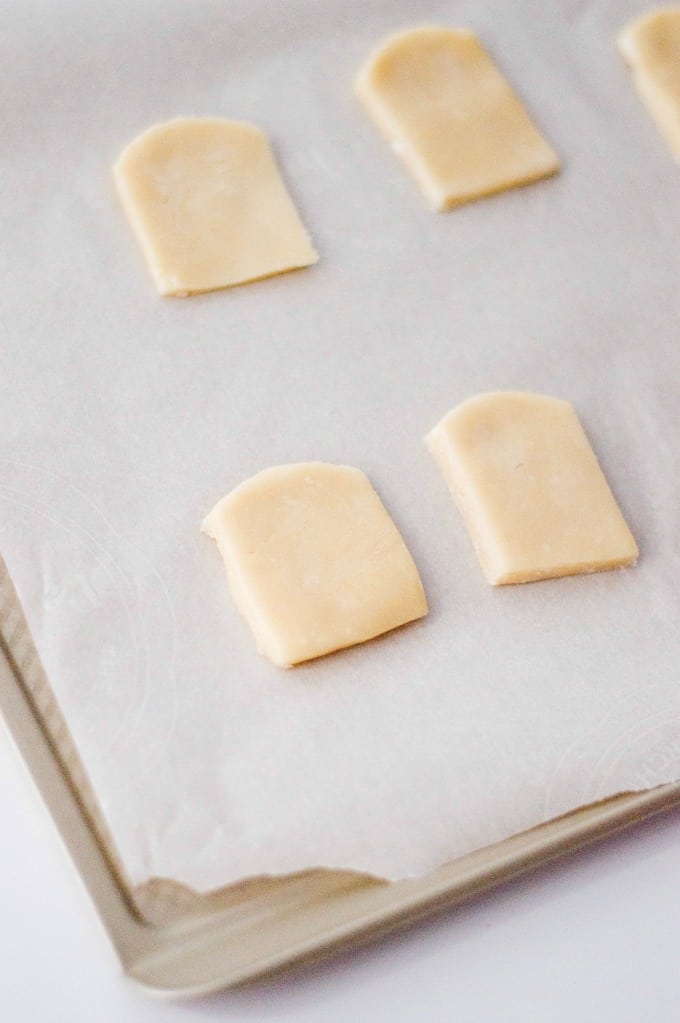
Line your baking sheets with parchment or a baking mat then the cookies will just slide right off and not break in the process.
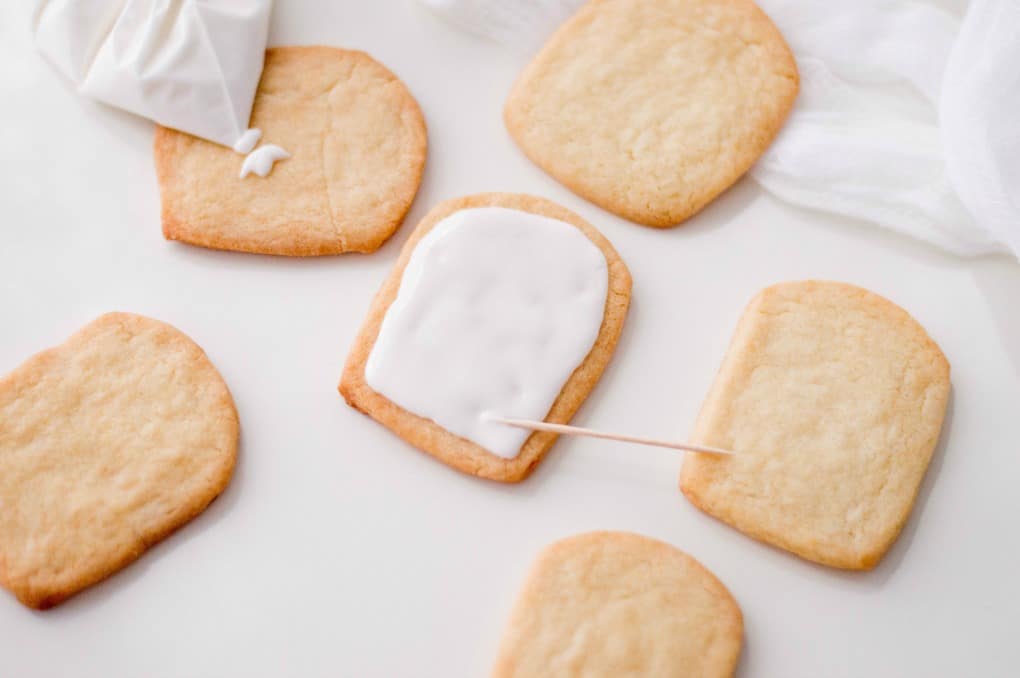
After baking make sure the cookies cool completely. I put the icing in a pastry bag fitted with a small tip outlining them first and then flooding them.
Alternatively, you can use a ziplock bag and cut a small opening in one of the corners to use as a piping bag.
You can use a toothpick to get the icing to fill in to all the areas.
How to Decorate Tombstone Cookies
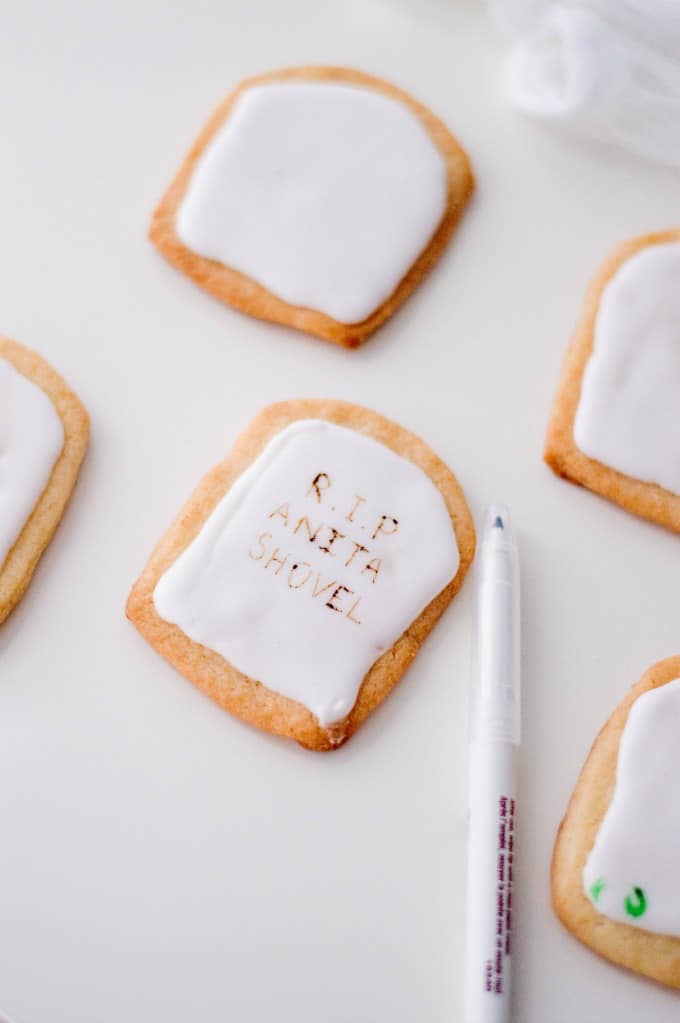
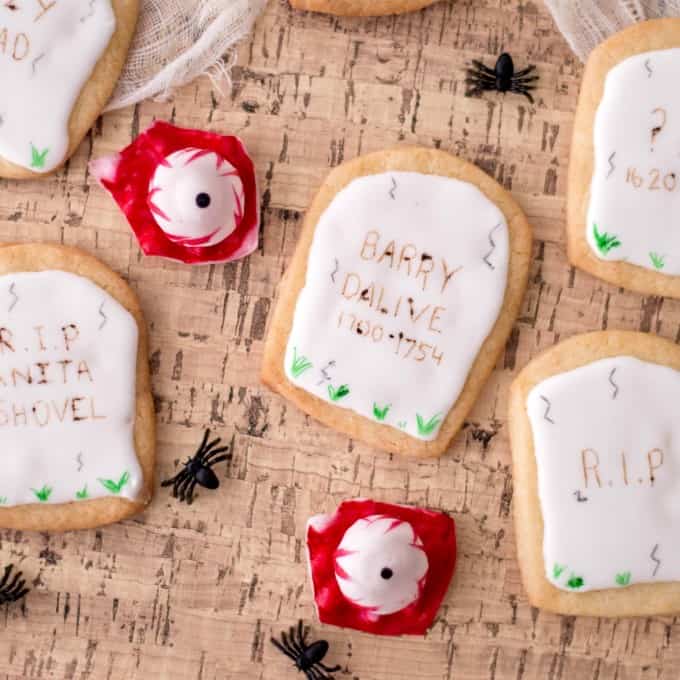
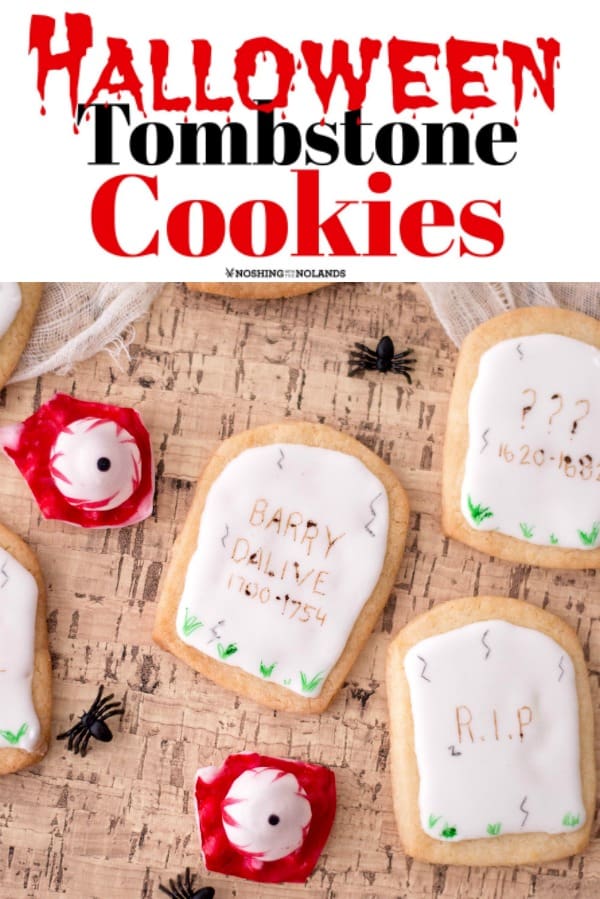
Halloween tombstone cookies are easy to decorate. You can pipe letters like RIP do question marks or include funny names like:
“Barry Dalive”
“Emma Goner”
“Izzy Dead”
“Anita Shovel”
“I P Knightly”
“Yule B. Sorry”
“Dawn Under”
The edible markers are a great trick to use for this cookie.
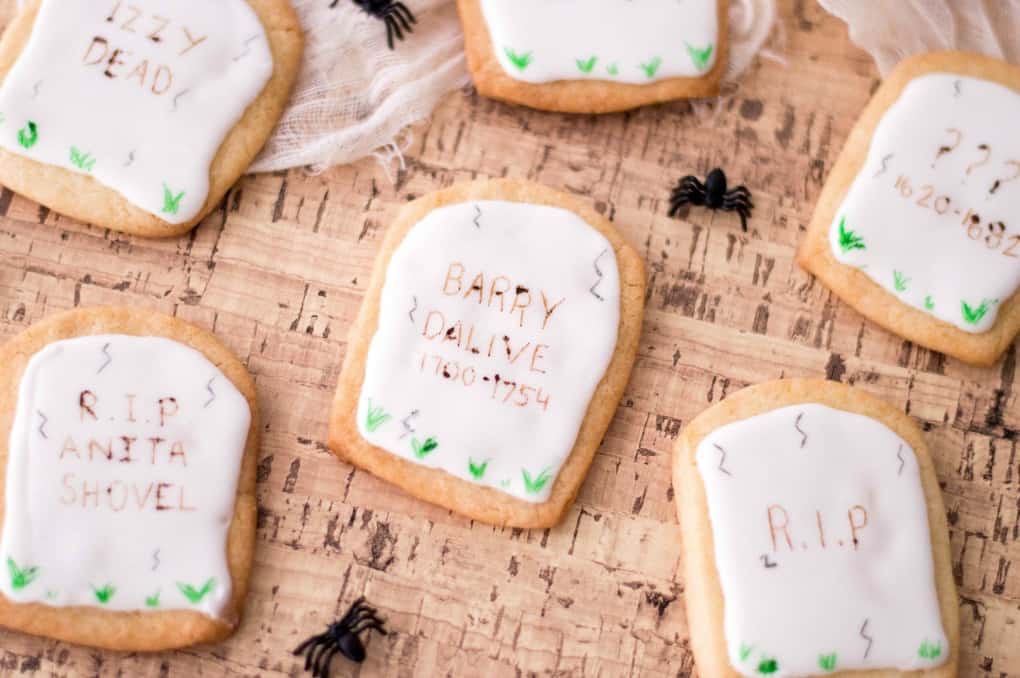
These are fun to play with and kids can help decorate, come up with funny names and draw on their own ghoulish remarks. They are a blank slate for fun for Halloween.
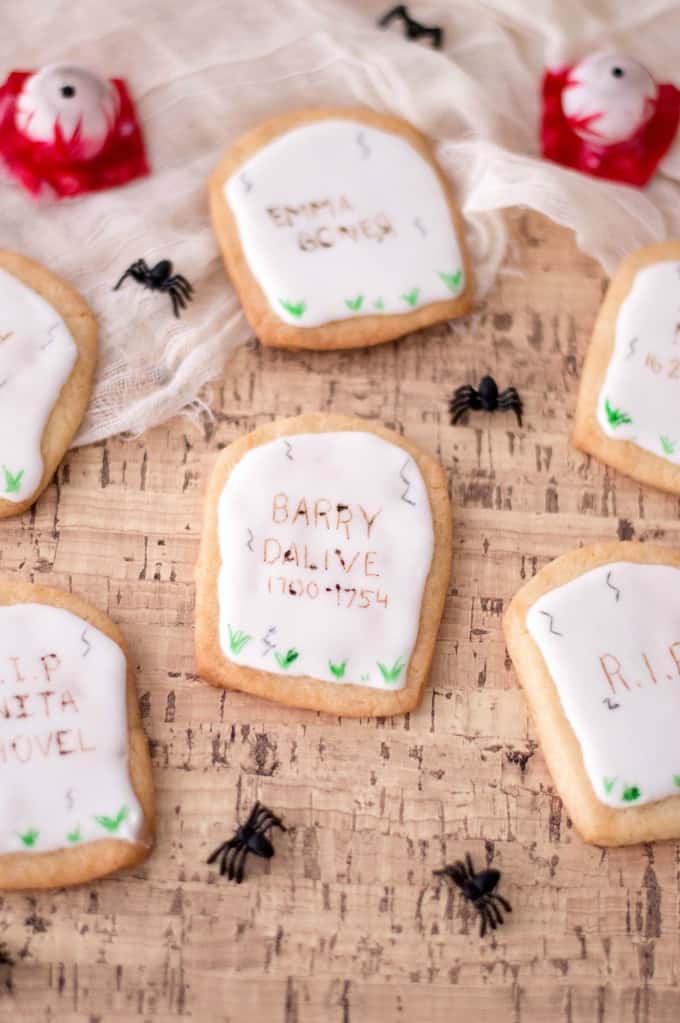
We have made these for Halloween parties that we used to have. It started off as a small event and morphed into something quite large with about 100 people coming and having a blast.
The Halloween party was something that we planned on for the entire year. We would have a separate dessert table that we would have a lot of wonderfully ghoulish and yet scrumptious treats!
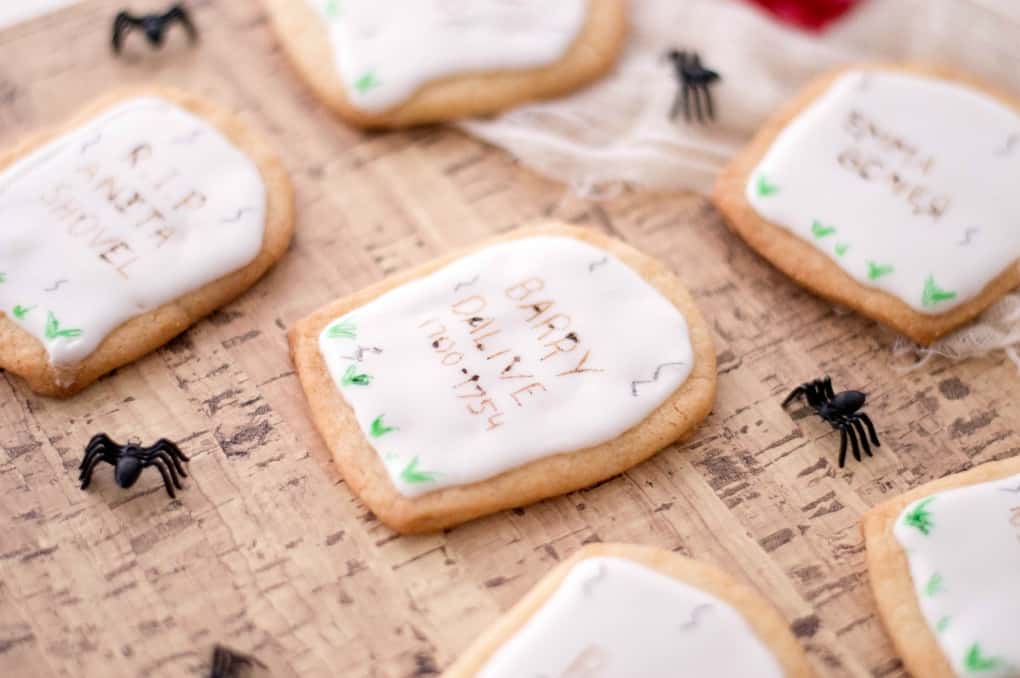
Kids just love cookies and they are a great project to bring the whole family together. You could wrap up a few of these cookies and give them to special trick or treaters as they arrive at your door.
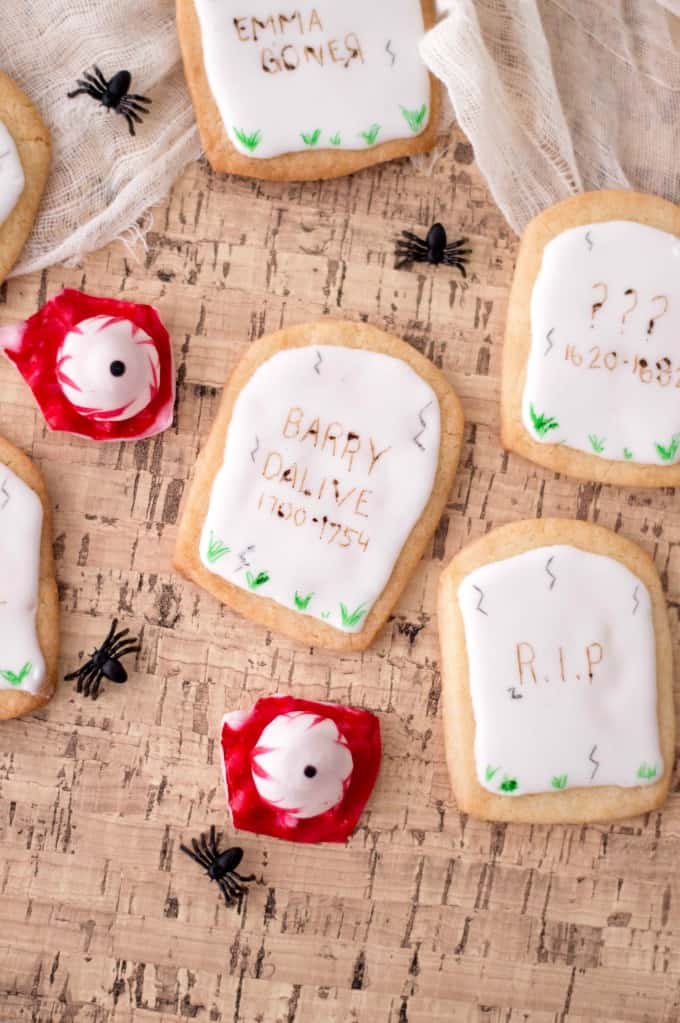
Halloween is a candy and treats holiday and kids know that through and through. To make it some fun for the whole family is so important too.
These cookies are simple to make and you can get as creative as you want. Happy Hauntings everyone!!
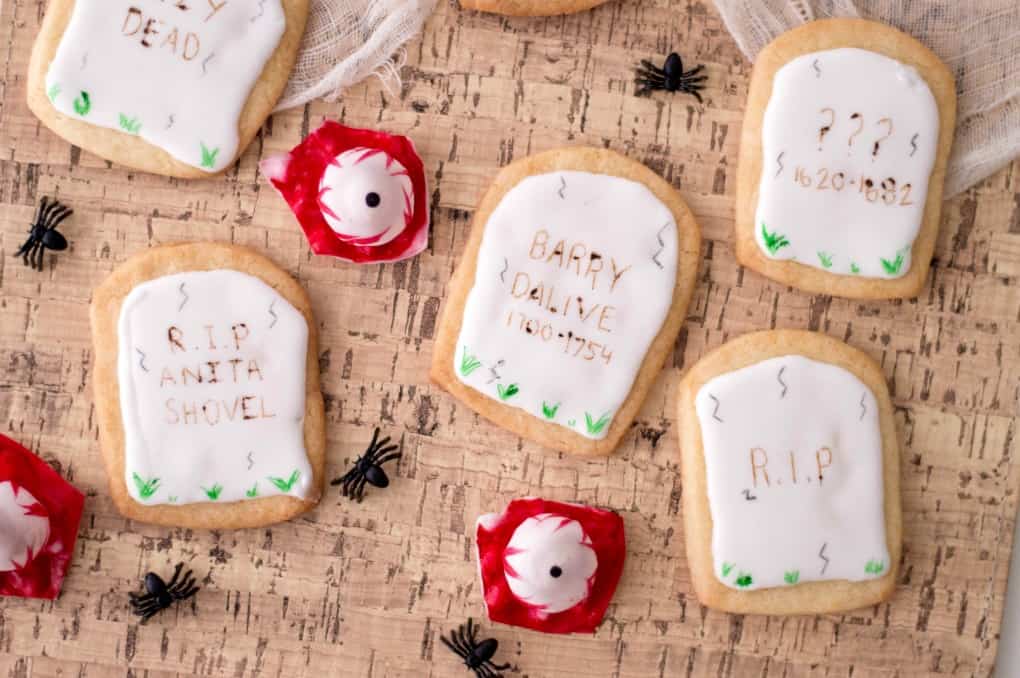
Tombstone Cookie Recipe
Halloween Tombstone Cookies
Ingredients
For the cookies:
- ½ cup brown sugar
- ½ cup white sugar
- 1 cup butter softened
- 2 eggs
- 1 tsp. vanilla
- ½ cup white corn syrup
- pinch of salt
- 2 tsp. baking powder
- 3¼ cups flour
To decorate:
- White royal icing
- 4 cups confectioners’ sugar
- 3 Tbsp. meringue powder
- 5-6 Tbsp. water plus more to thin
- Edible color markers
Instructions
- Using an electric mixer, beat butter and both sugars together until creamy. Add eggs and mix well.
- Add vanilla and syrup and continue to beat on medium speed.
- Whisk together dry ingredients and slowly add to the wet ingredients. Mix well until all is incorporated.
- Chill the dough for at least 2 hours (best if overnight).
- Flour a clean working surface and roll the cookie dough so it’s about ¼ of an inch thick. Use a cookie cutter to cut out tombstone shapes. If you do not have a tombstone cookie cutter, use a circular one and then cut 3 sides to achieve the same look.
- On a parchment paper or baking mat lined cookie sheet, bake at 325 degrees F for 8-10 min and allow to cool completely on a wire rack.
For the icing:
- Add the ingredients to a standup mixer with a paddle attachment and mix for 5-7 min. until soft and glossy, if too thick add more water. Add additional water to thin to a toothpaste consistency. Take out about ½ cup for piping the outside, depending on the size and shape of cookies you may want more. Thin the rest of the icing sugar to a corn syrup consistency, continuing to beat. Place in piping bags with plain tips. Cover any remaining icing with a damp towel.
- Outline cookies with the thicker frosting and flood with the thinner, use a toothpick to guide the icing right up to the border or use the tip of the icing bag itself to come in closer and finish off any tiny areas with a toothpick.
- Alternatively you can use a royal icing mix and follow the directions.
Once the cookies are cool, ice and flood the cookies with royal icing. For details you can see our Valentine’s Day Sugar Cookies. Once the icing is set, write and draw on tombstones with funny sayings. We suggest:
- “Barry Dalive”
- “Emma Goner”
- “Izzy Dead”
- “Anita Shovel”
- “I P Knightly”
- “Yule B. Sorry”
- “Dawn Under”
- Let cookies dry for 1-2 days before storing. Cookies freeze well and also last in a sealed container for a couple of weeks.
- Happy Halloween!



Comments & Reviews
Eldred Bernier says
What a wonderful cookies this is. I tried it and I simply loved it.
Tara Noland says
So glad you enjoyed them!
Bianca Dottin says
These are super cute and perfect for Halloween!
Toni | Boulder Locavore says
I love this! Such a fun idea for the Halloween!
1stopmom says
These cookies are adorable! I think they would be perfect for a Halloween party and you can add the names of your guests on them.
Felicita Moncada says
So cute! I think my kids would get a kick out of this! I had no idea edible markers were a thing! Can’t wait to try this with the kids.
Krystal says
Love that edible marker for designing! How cute and tasty.
Scott says
I had never seen those pens for writing on food before! I can think of 1000 uses for them!
Mama to 6 Blessings says
What a creative cookie! I have never seen anything like this before. I need to get some of those markers and use them in my baking with my kids!
Mommy Moment says
These cookies would be great for a Halloween party.
I love how simple they are to make.
Kathy says
Those cookies turned out great. I’m always looking for Halloween type recipes, and this would be a great one. I know my daughters would have a lot of fun decorating them too.
Liz Mays says
These are so fun and I like the idea of personalizing or writing something clever on each of them. They’ll definitely impress at a party!
Melissa Chapman says
These cookies were so much fun, I love your sayings and the shape is perfect. I am not a good baker but these are great for Halloween and fall.