These Small Ice Cream Cakes are the perfect individual-sized dessert for birthdays, celebrations, holidays, or hot summer days. Made with layers of your favorite creamy ice cream, and delicious toppings, they’re easy to customize for any occasion. Whether you’re serving a crowd or creating personalized desserts, these mini ice cream cakes are a fun and impressive treat that everyone will love.
Love mini desserts like this and want more, think cupcakes!! Like our Happy Birthday Cupcakes, or for a more adult treat, try our Coffee Cupcakes with Caramel Filling.
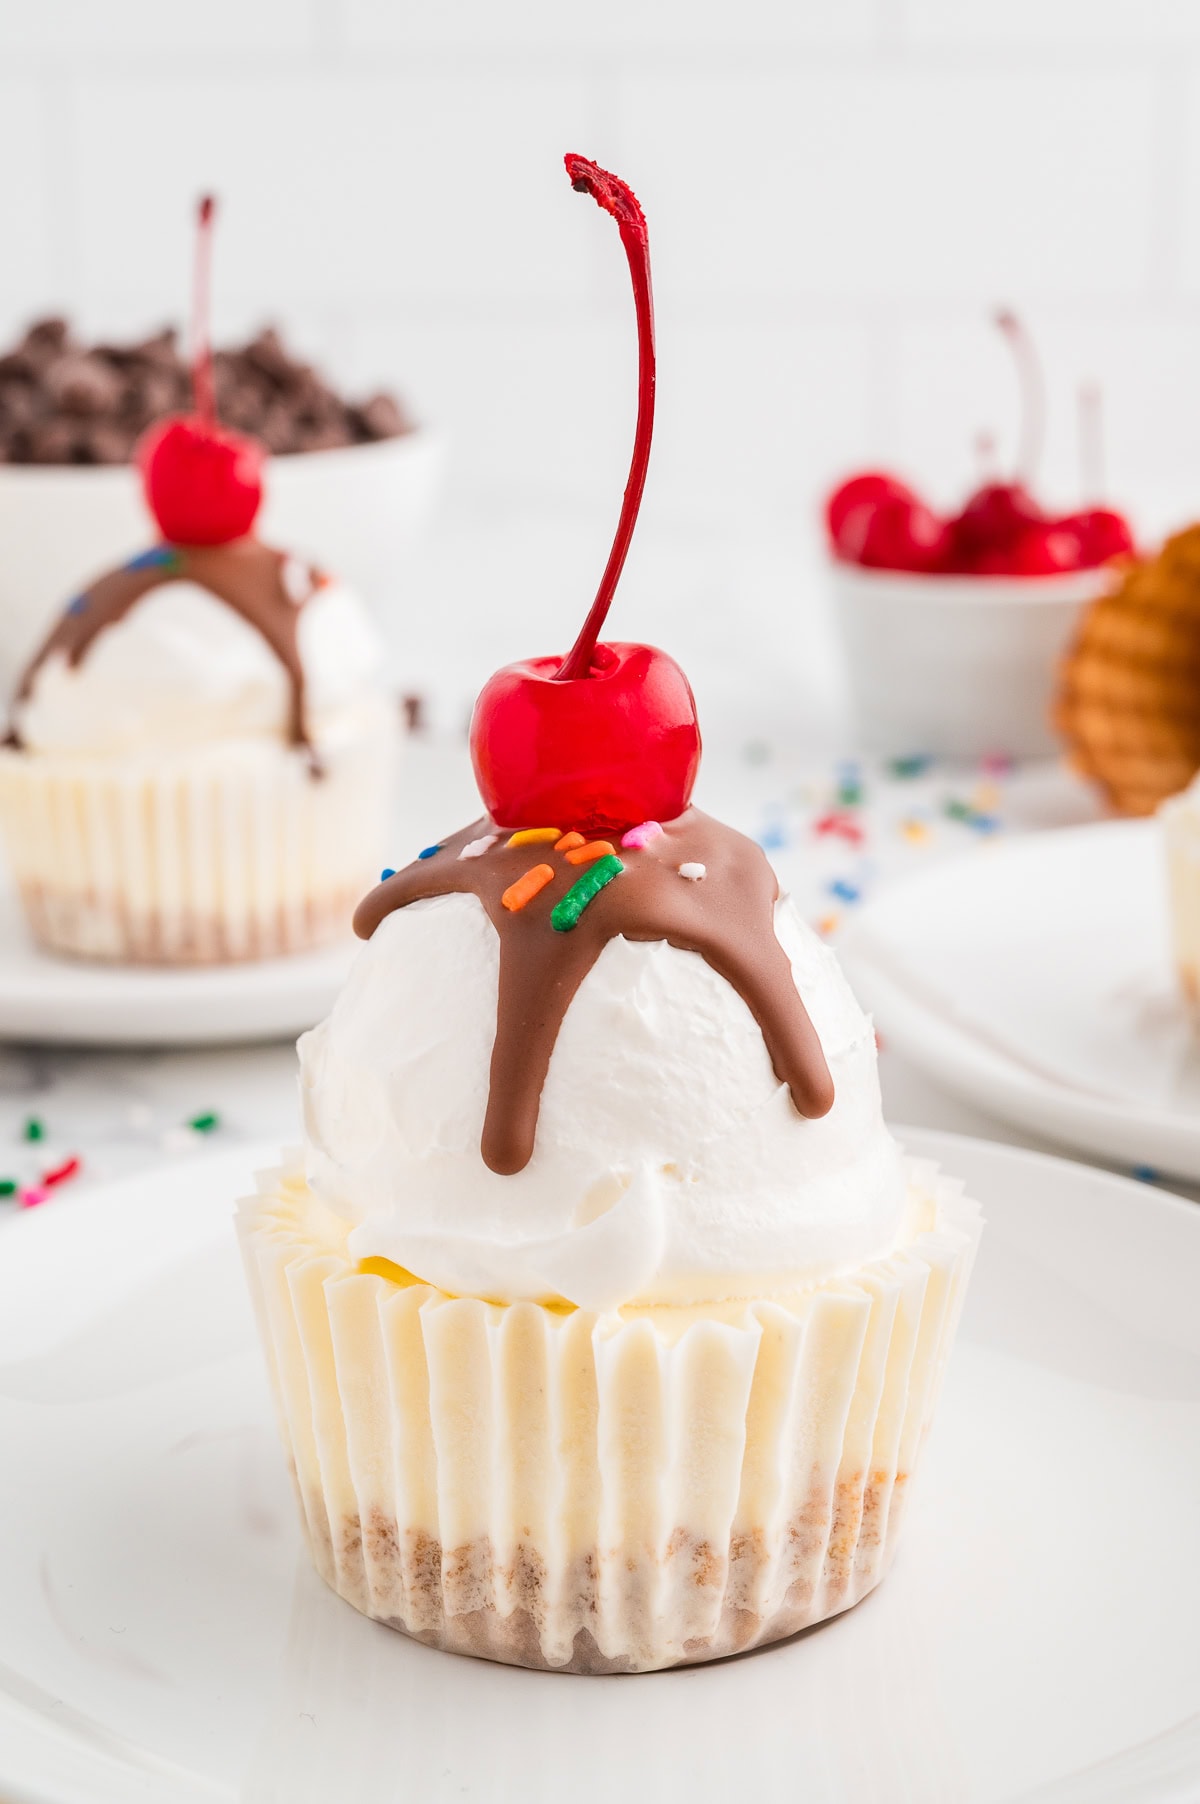
Why I Love This Recipe
- Fun to make!
- You can add any flavor of ice cream
- Change up the toppings, go crazy with what you love
- Great make-ahead for a crowd
- Love the waffle cone crumb base, so much!!
HELPFUL ITEMS FOR THIS RECIPE
This post contains affiliate links. As an Amazon Associate, I earn a small portion from qualifying purchases at no extra charge to you.
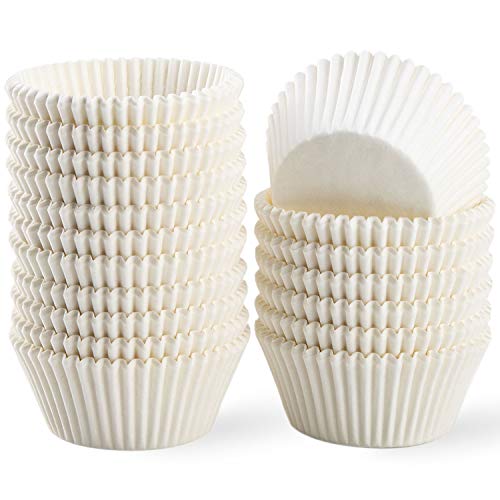
Standard White Cupcake Liners 500 Count, No Smell, Food Grade & Grease-Proof
Bake Choice 2 Pack Muffin Pan for Baking, Standard Cupcake Pan includes 100 Natural Cupcake Liners

What Ingredients are in Small Ice Cream Cakes
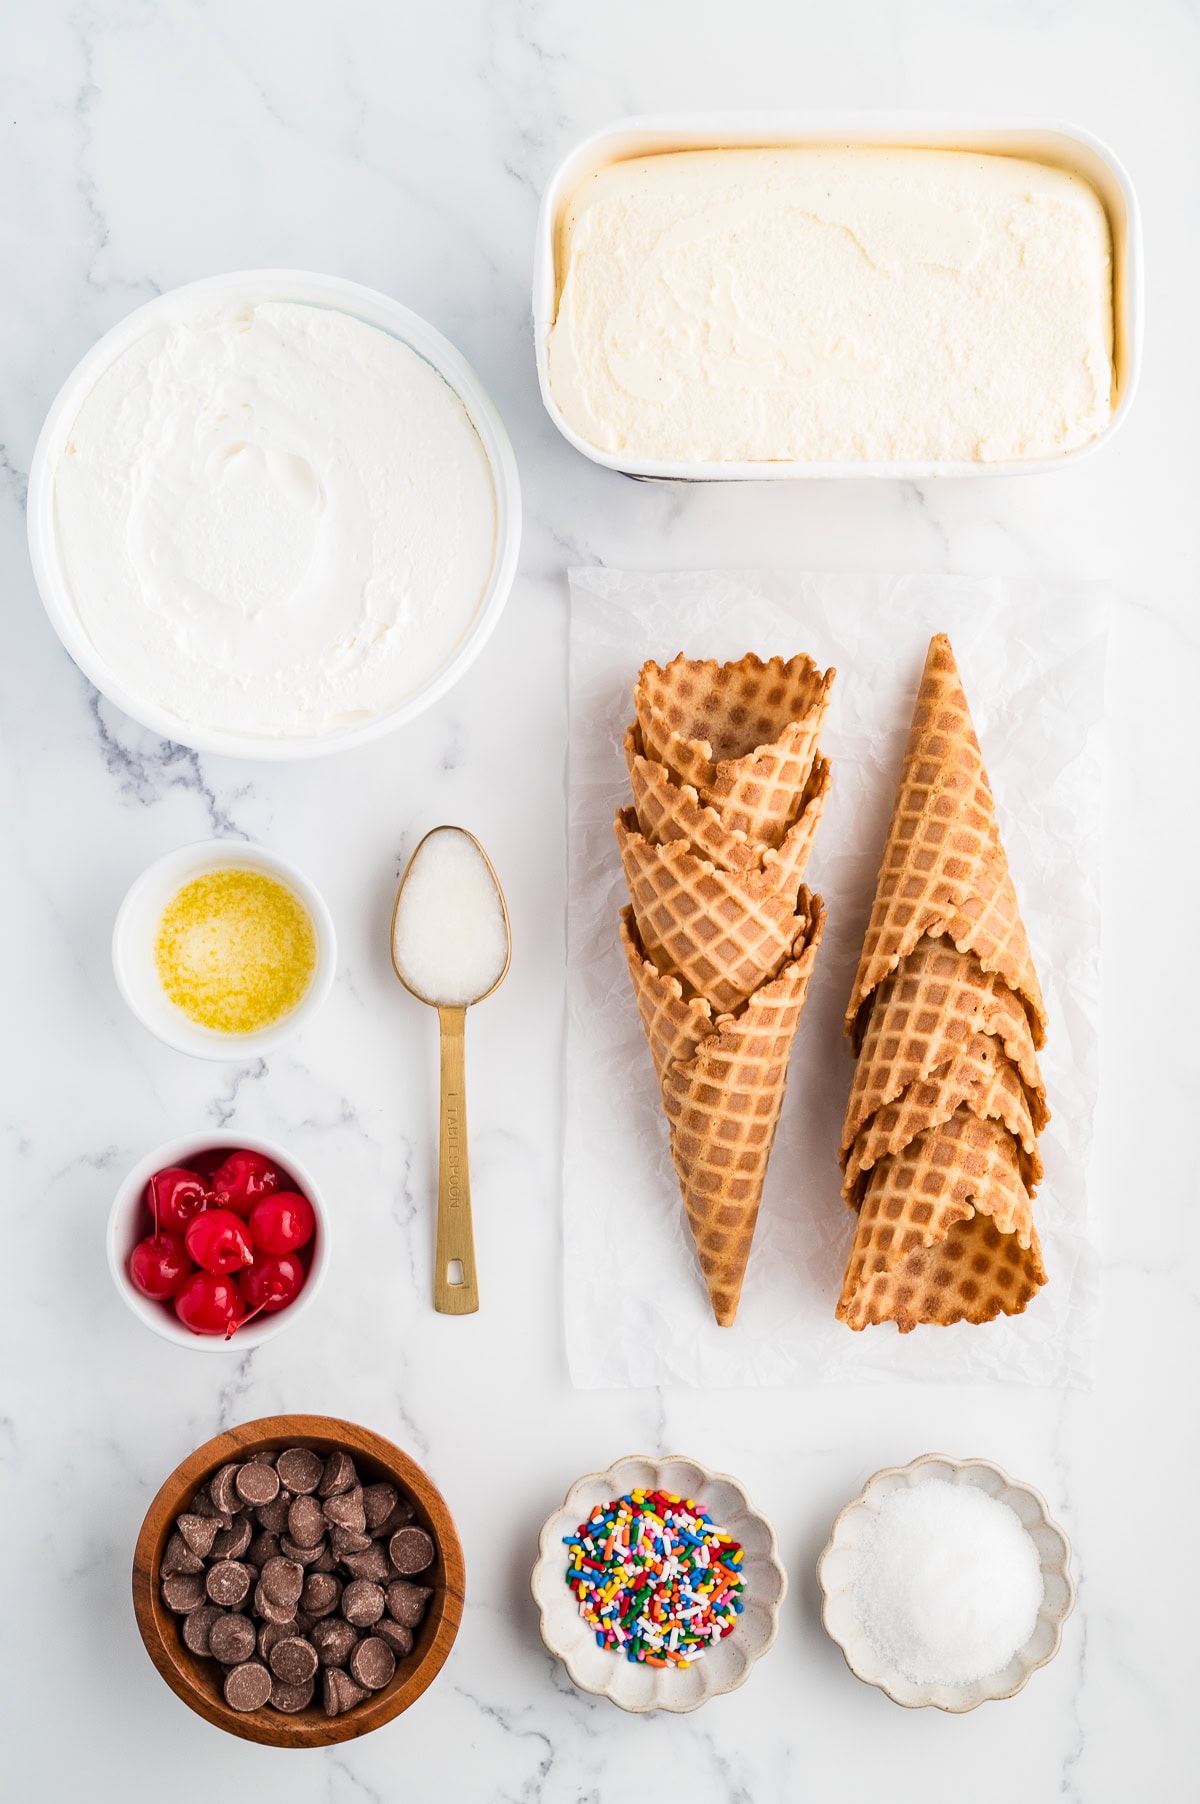
Simple ingredients you can get at any grocery store.
Ingredients
Waffle cone – You need about 8-10 waffle cones. These make an excellent base for the mini ice cream cakes. The pack of waffle cones I bought was a pack of 12. It took 8 for me to get 1 cup of crumbled waffle cone.
Granulated sugar – This adds a little extra sweetness to the crust and also helps it to stay together.
Butter – This is melted to add to the sugar and waffle cones to hold it together. I used unsalted butter for this recipe, but salted butter would work too.
Vanilla ice cream – Leave the ice cream container out for about 30 minutes before stirring it. If you pull it out just after removing the crusts from the oven, they should be cooled and ready for ice cream when the ice cream is ready. You can substitute any flavor ice cream you like.
Whipped topping – This needs to be thawed. Be careful not to stir up the whipped topping before placing it on the ice cream. It will whip out some of the air and it won’t keep its shape as well.
Chocolate chips and Coconut oil – These are blended together to make the hard crack topping. I used milk chocolate chips for this recipe. Dark or semi-sweet chips would work too.
Sprinkles – Use whatever the season or reason is for the treats. They can be easily transformed to represent any holiday.
Maraschino cherries with stems – Pat cherries dry with a paper towel before placing on ice cream. This will help them not to drip cherry juice on your ice cream sundaes.
How to Make Mini Ice Cream Cakes
Directions:
Preheat the oven to 350 F. Prepare a 12-count muffin pan by placing a muffin liner inside each space.
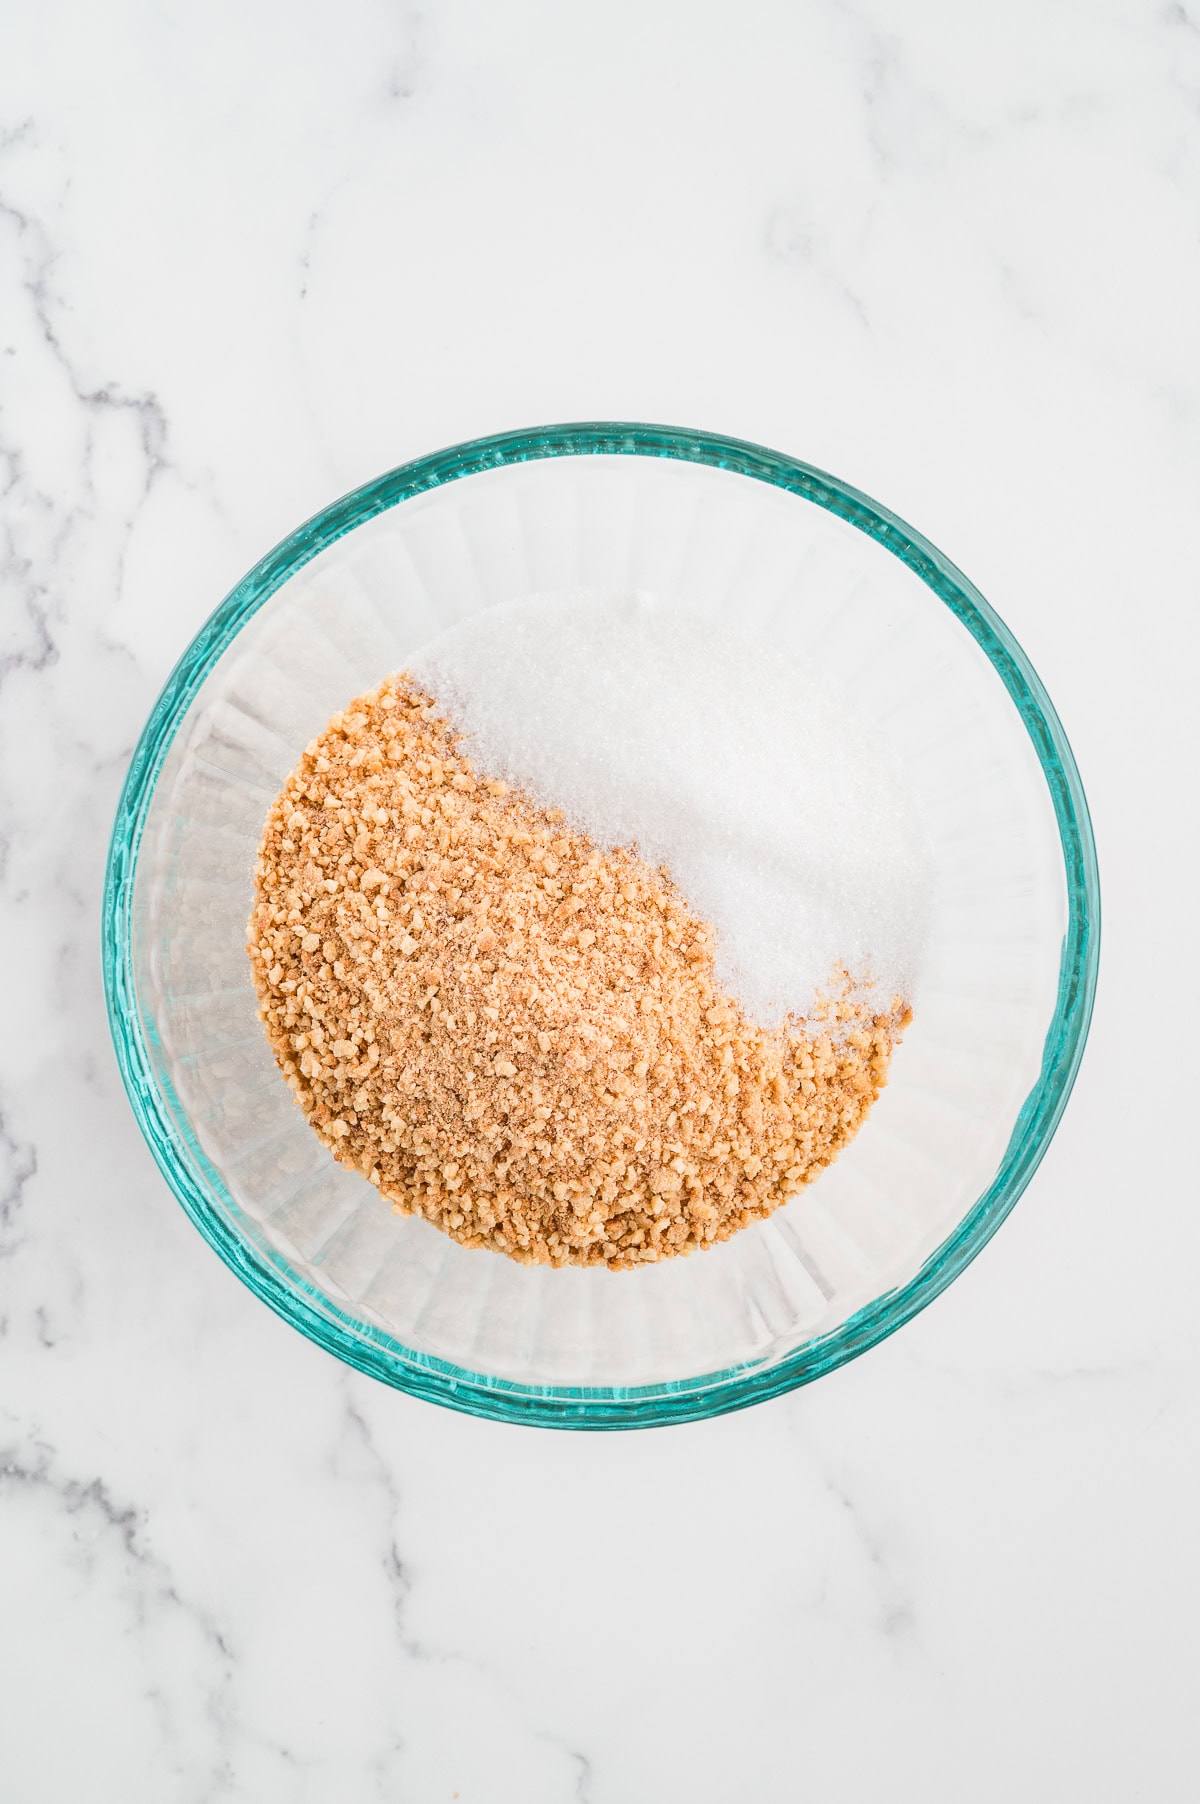
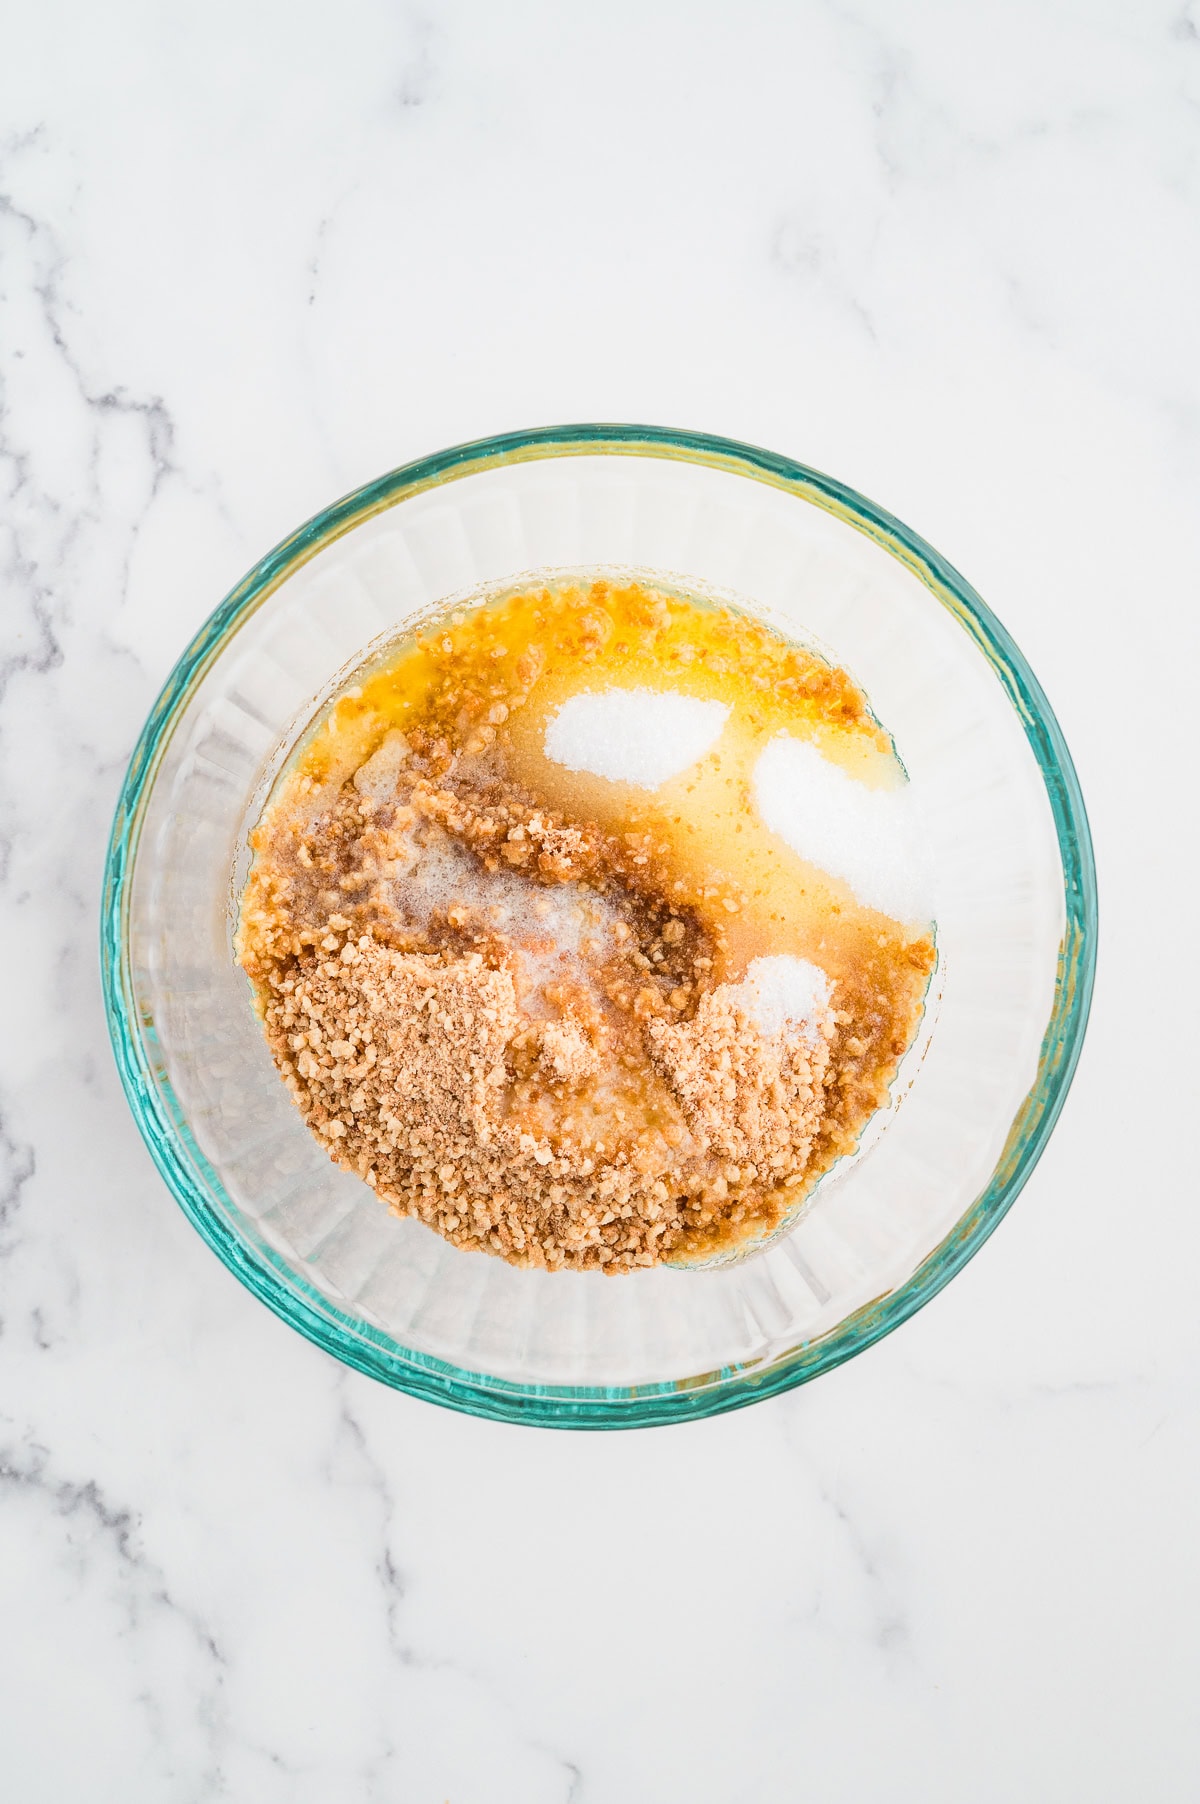
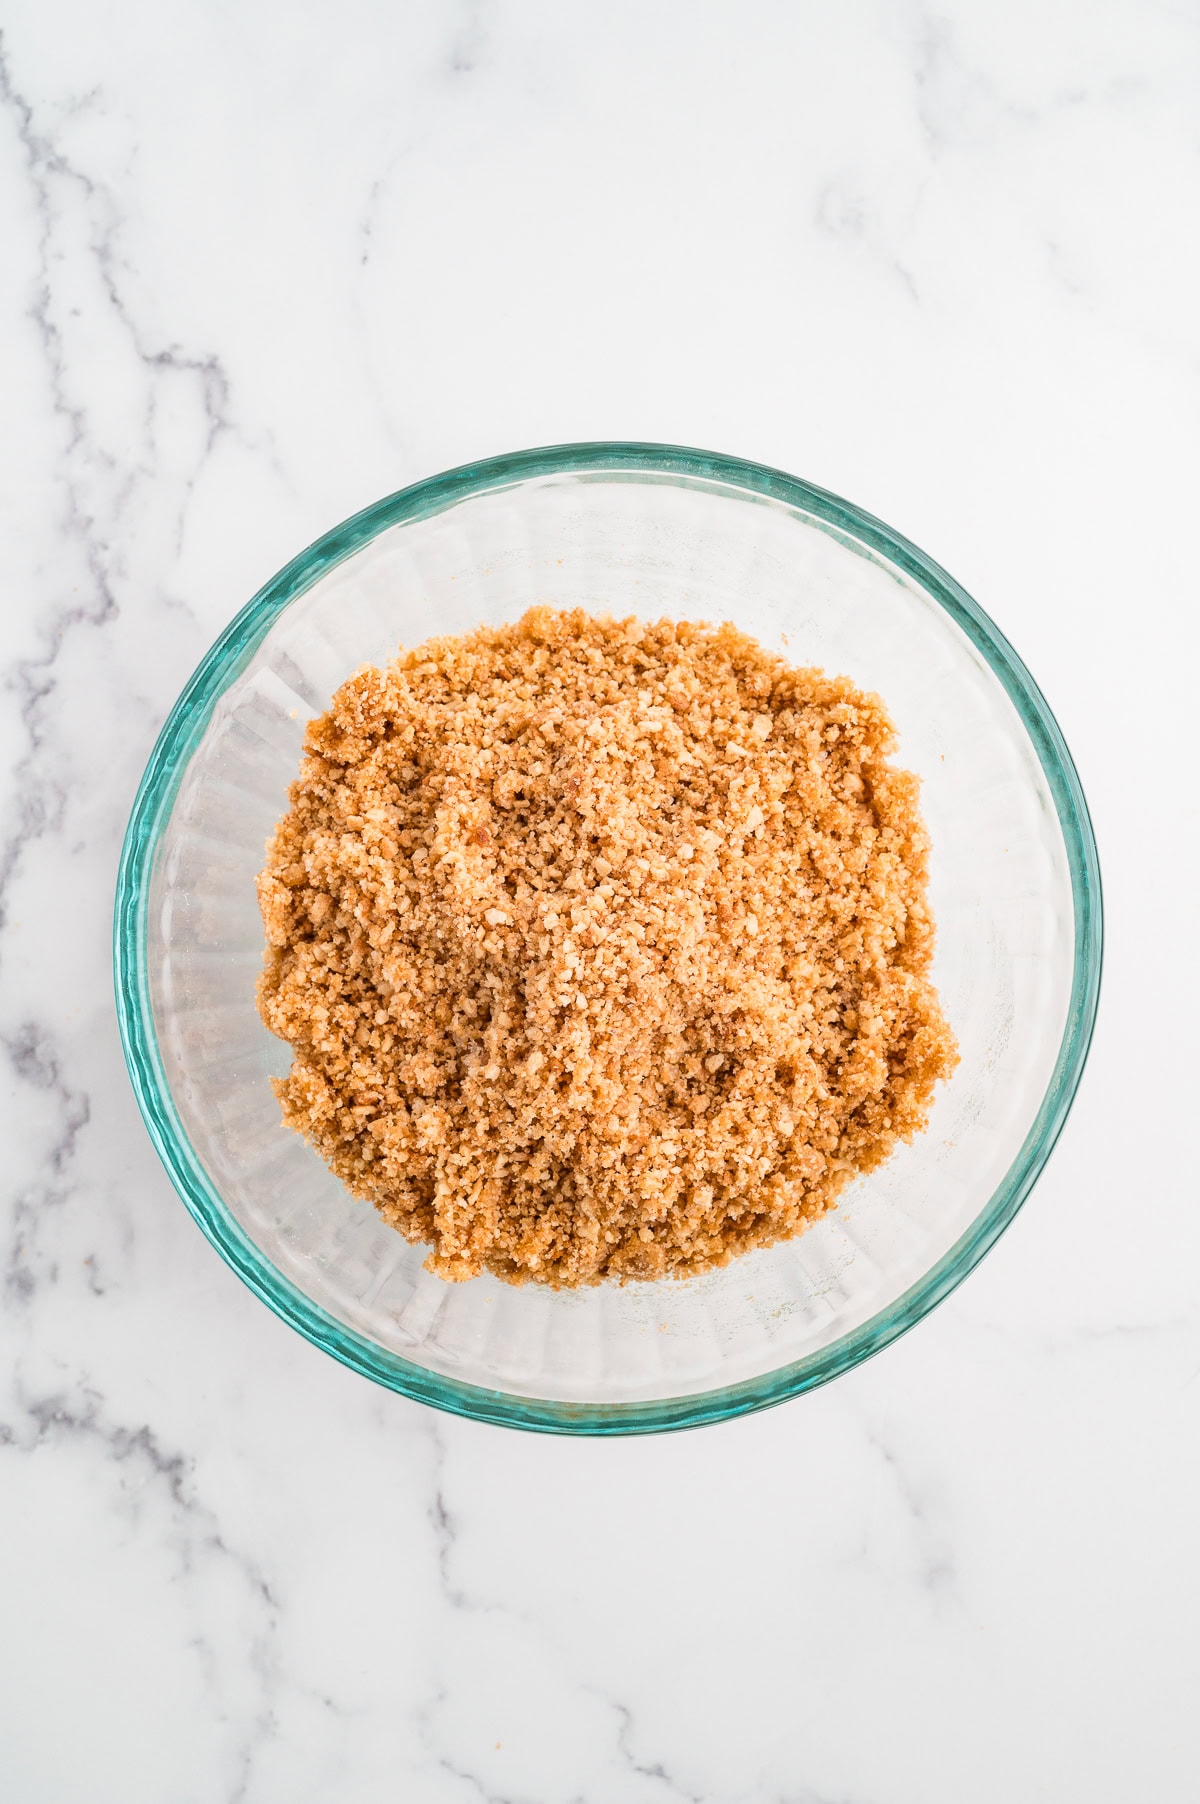
In a small mixing bowl, add waffle cone crumbs, granulated sugar, and melted butter. Mix until well combined.
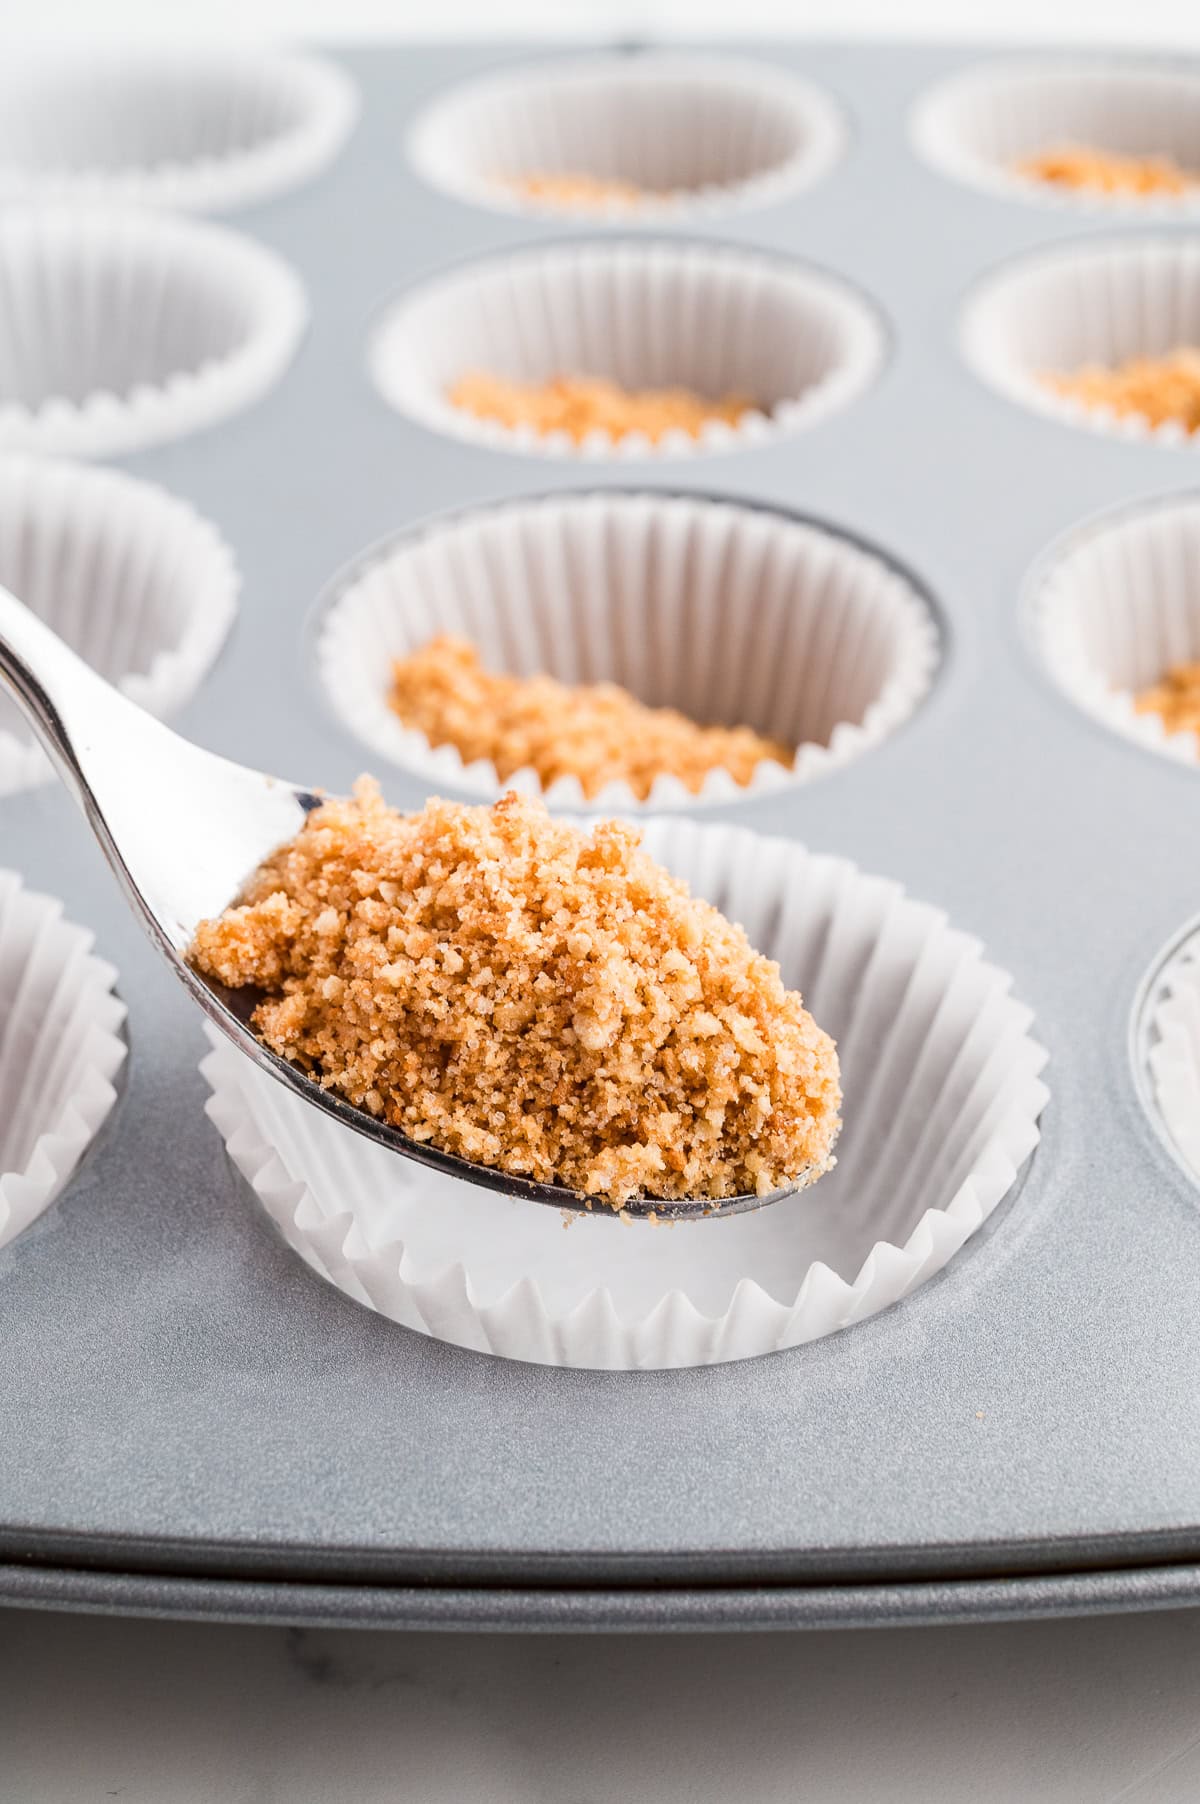
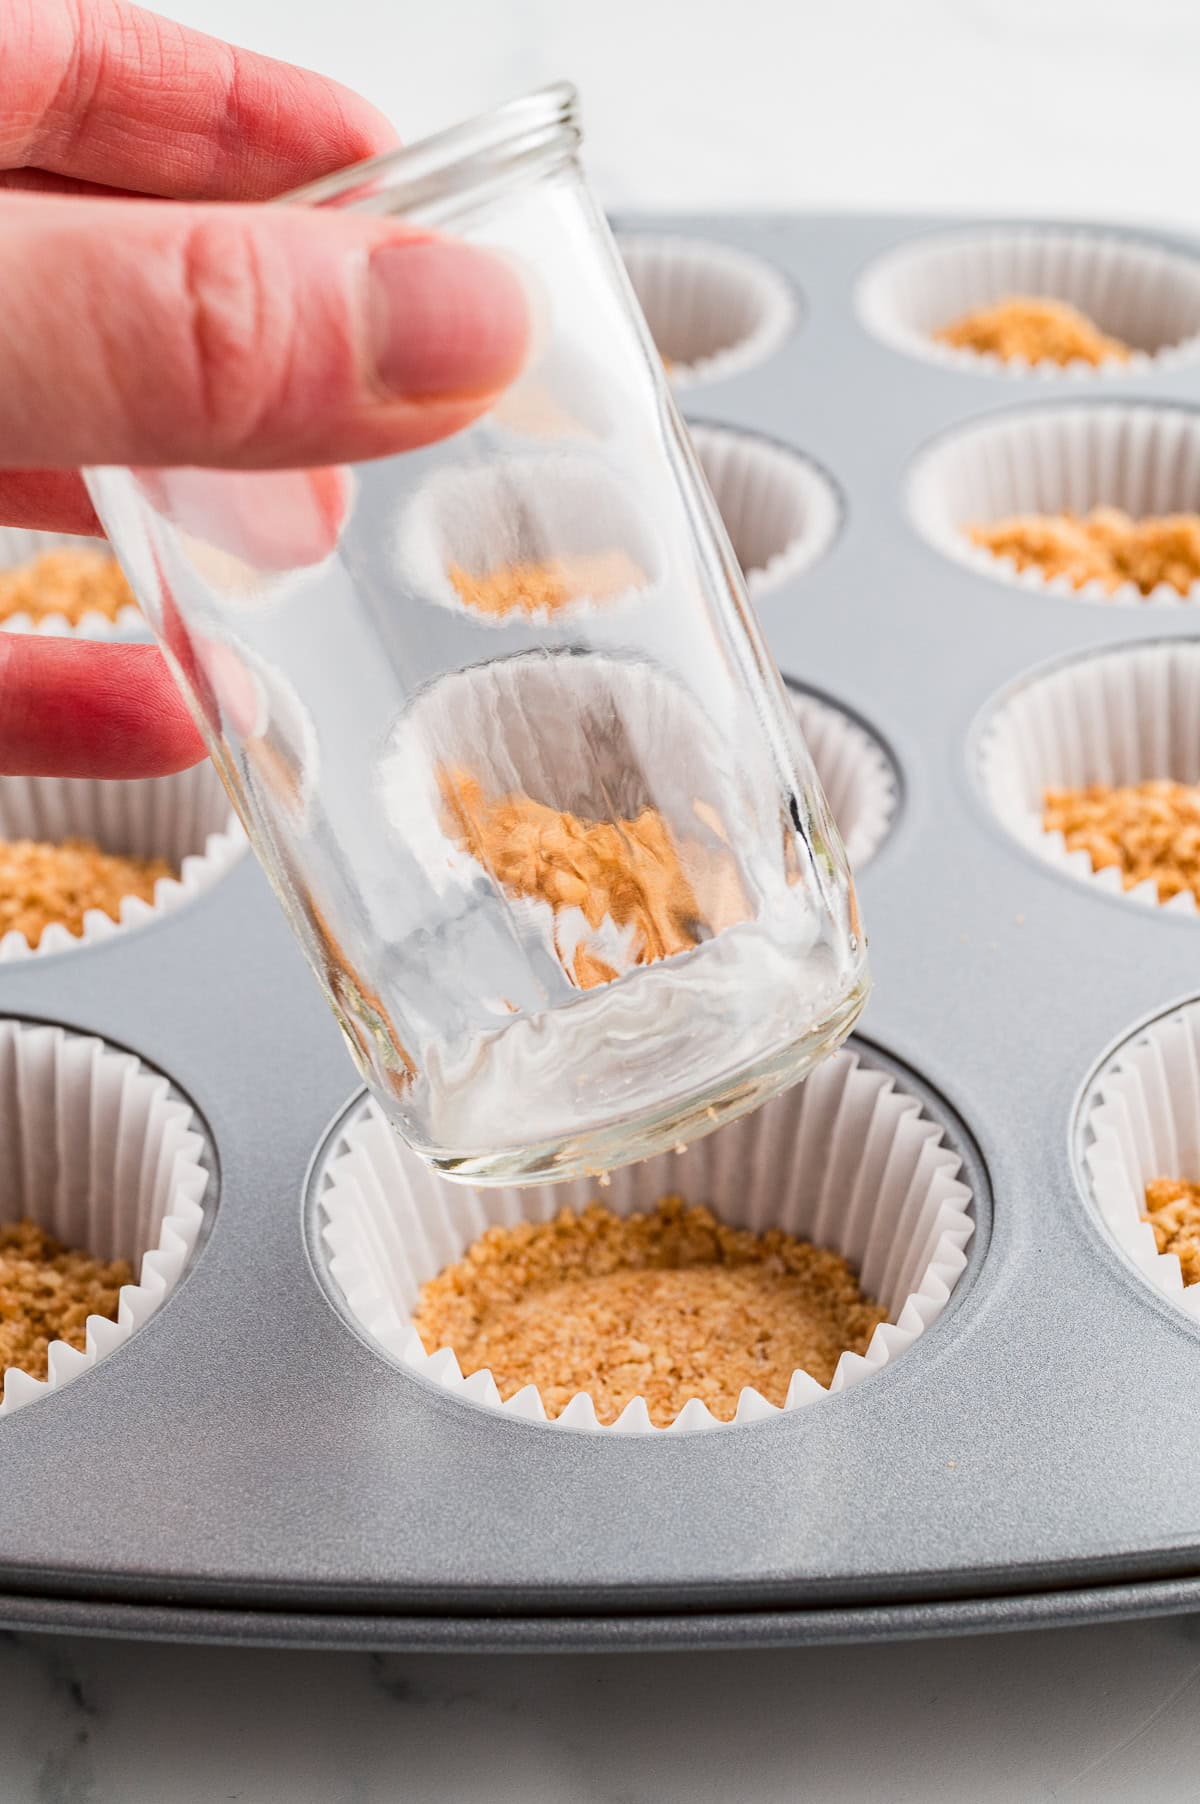
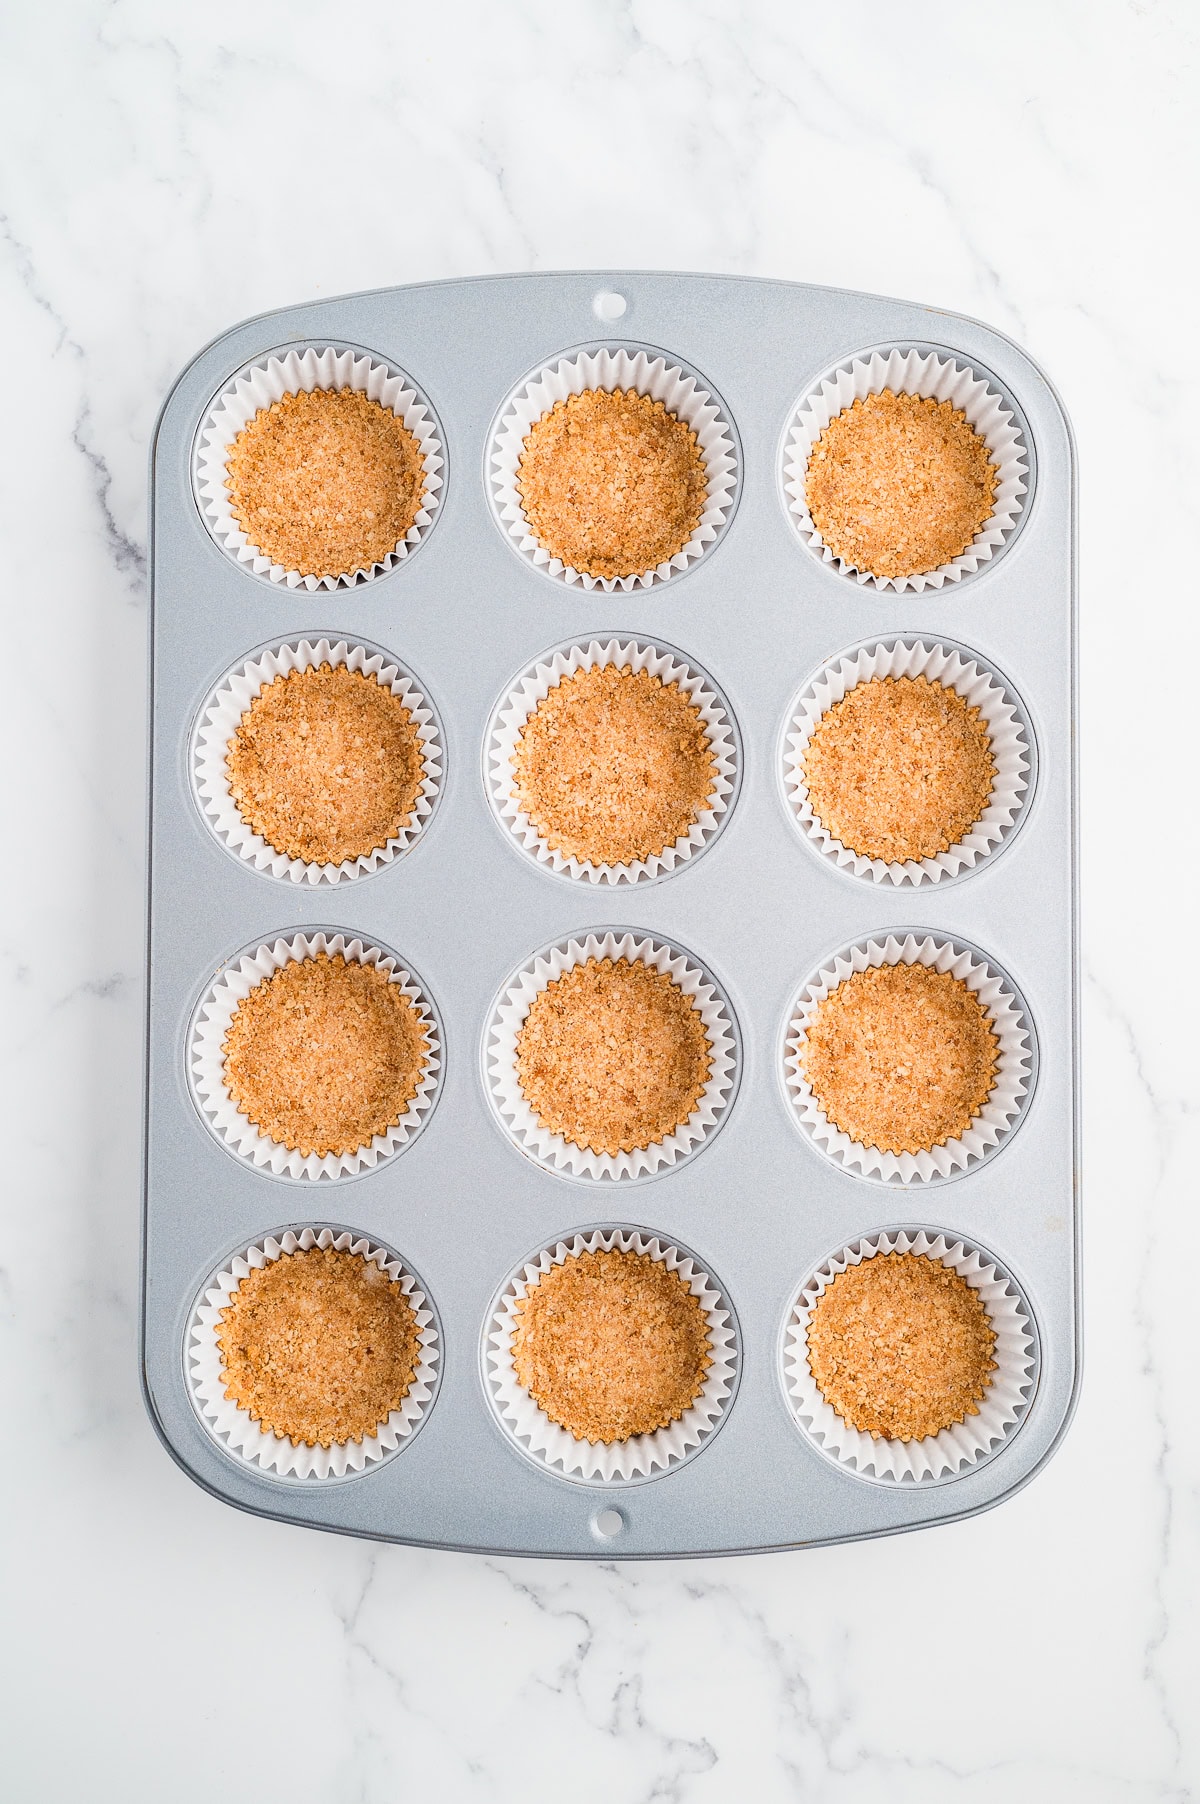
Evenly divide the mixture into the 12 muffin liners. This is about 2 tablespoons in each one. Pack each one down by pressing on it with a small glass or measuring cup, a spoon, or your fingers.
Bake waffle cone crust for 5 minutes. When finished, leave crusts in muffin tin and wait until completely cooled (about 30 minutes).
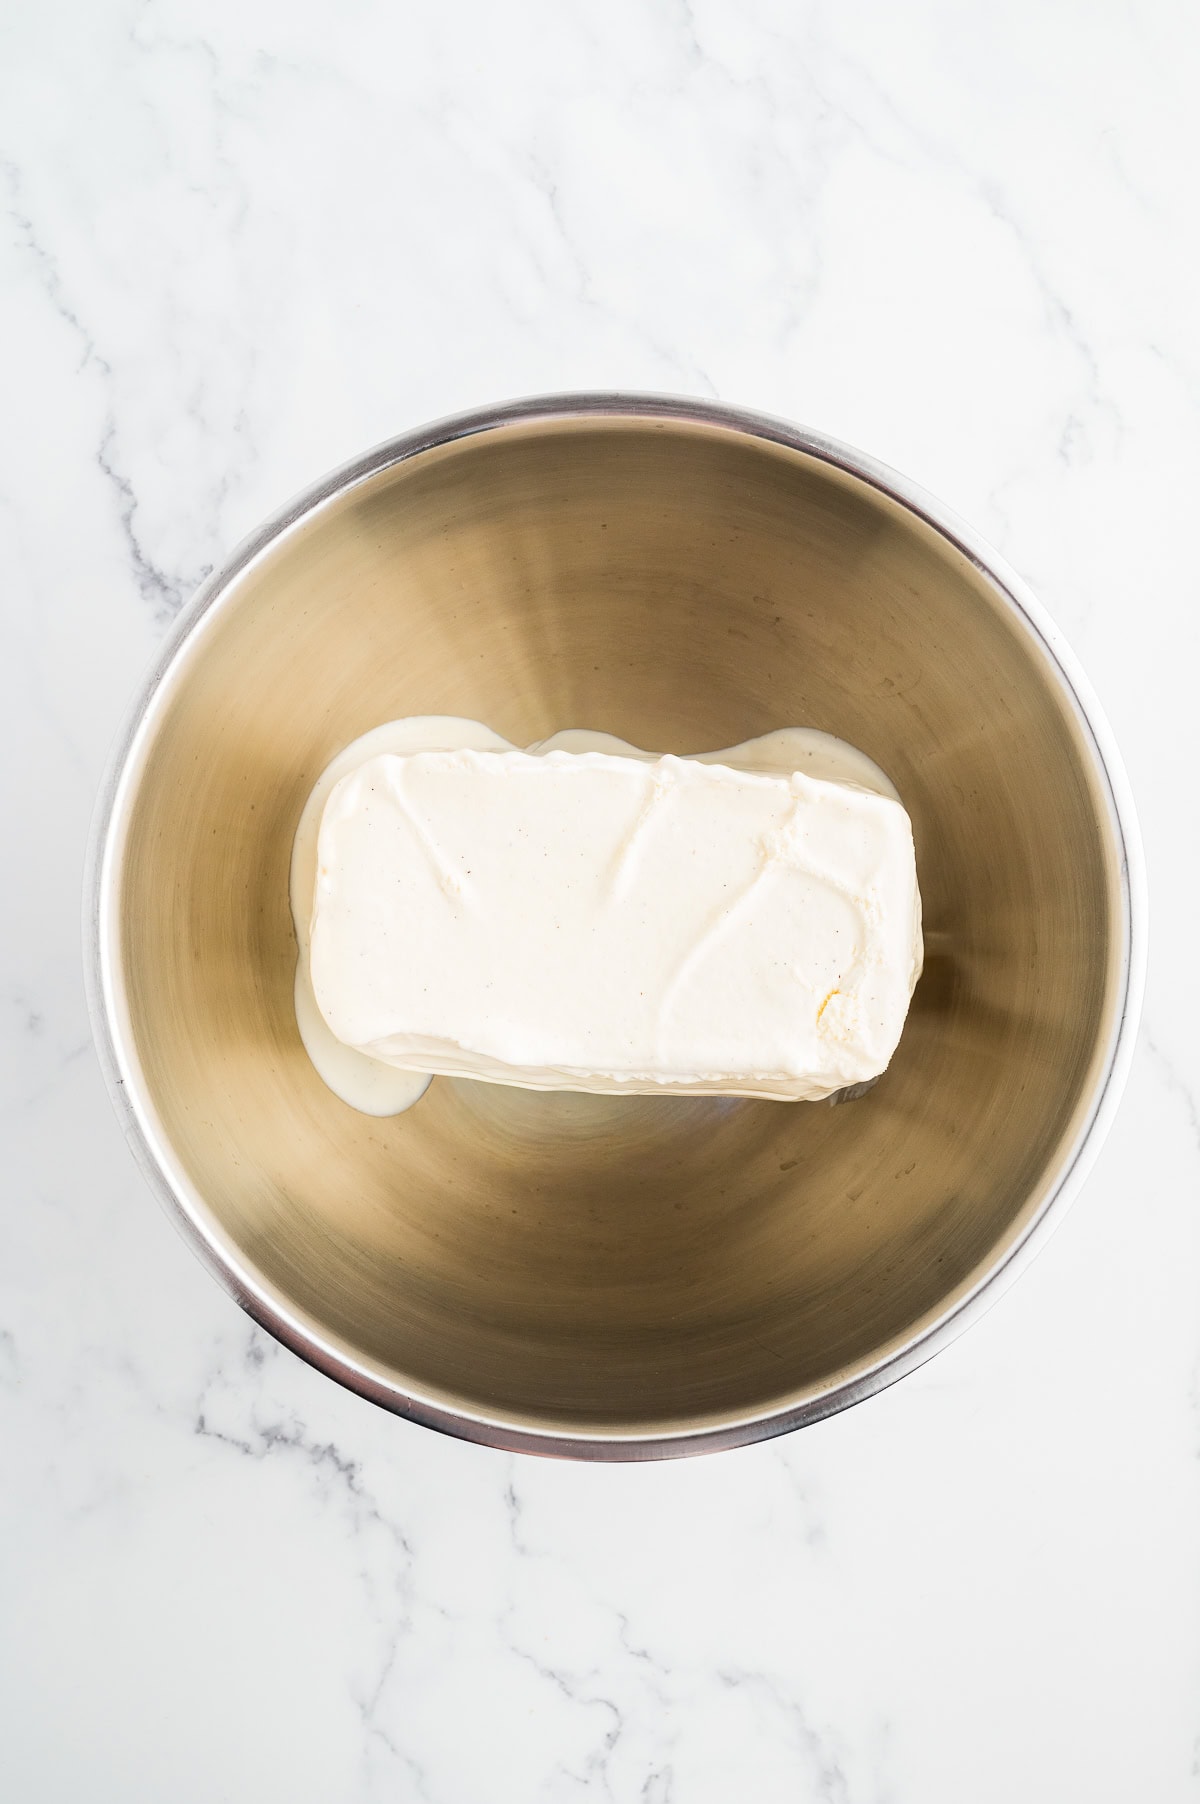
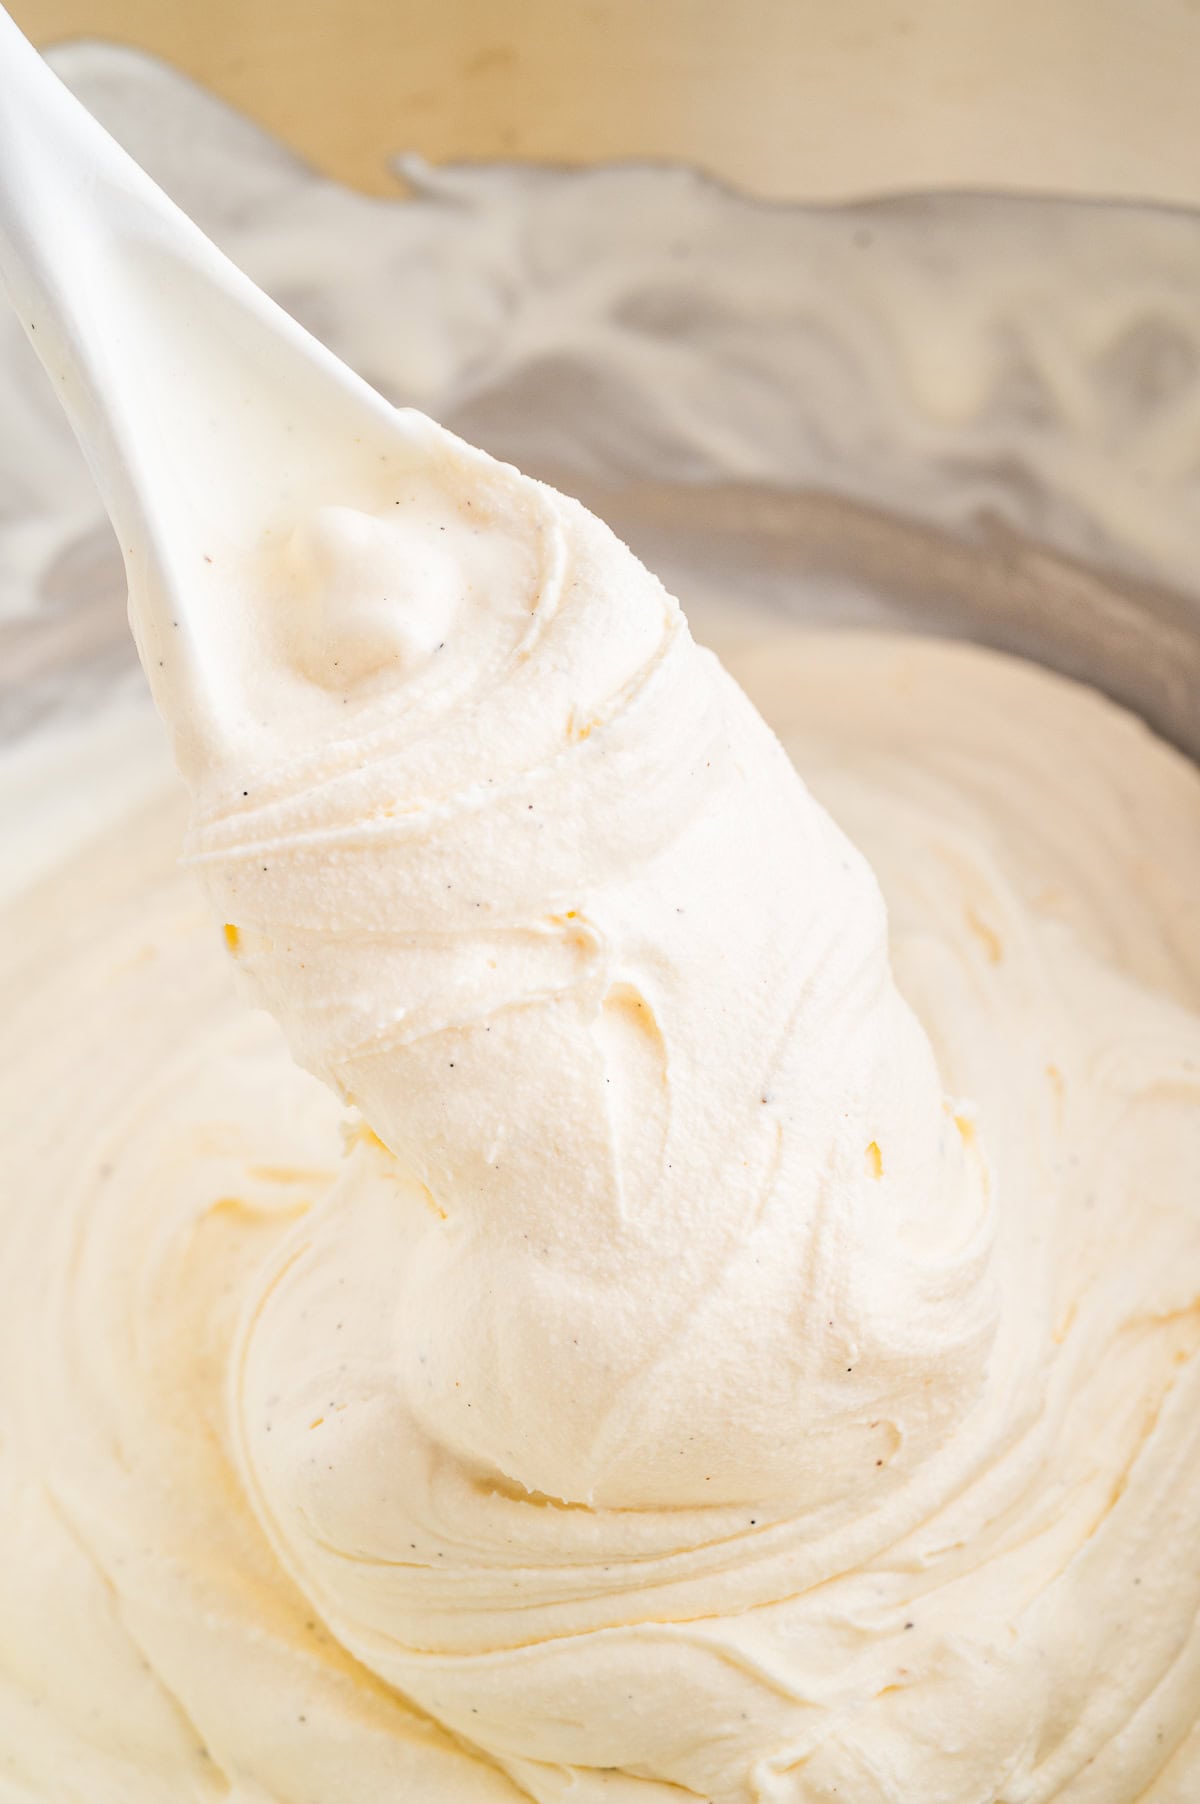
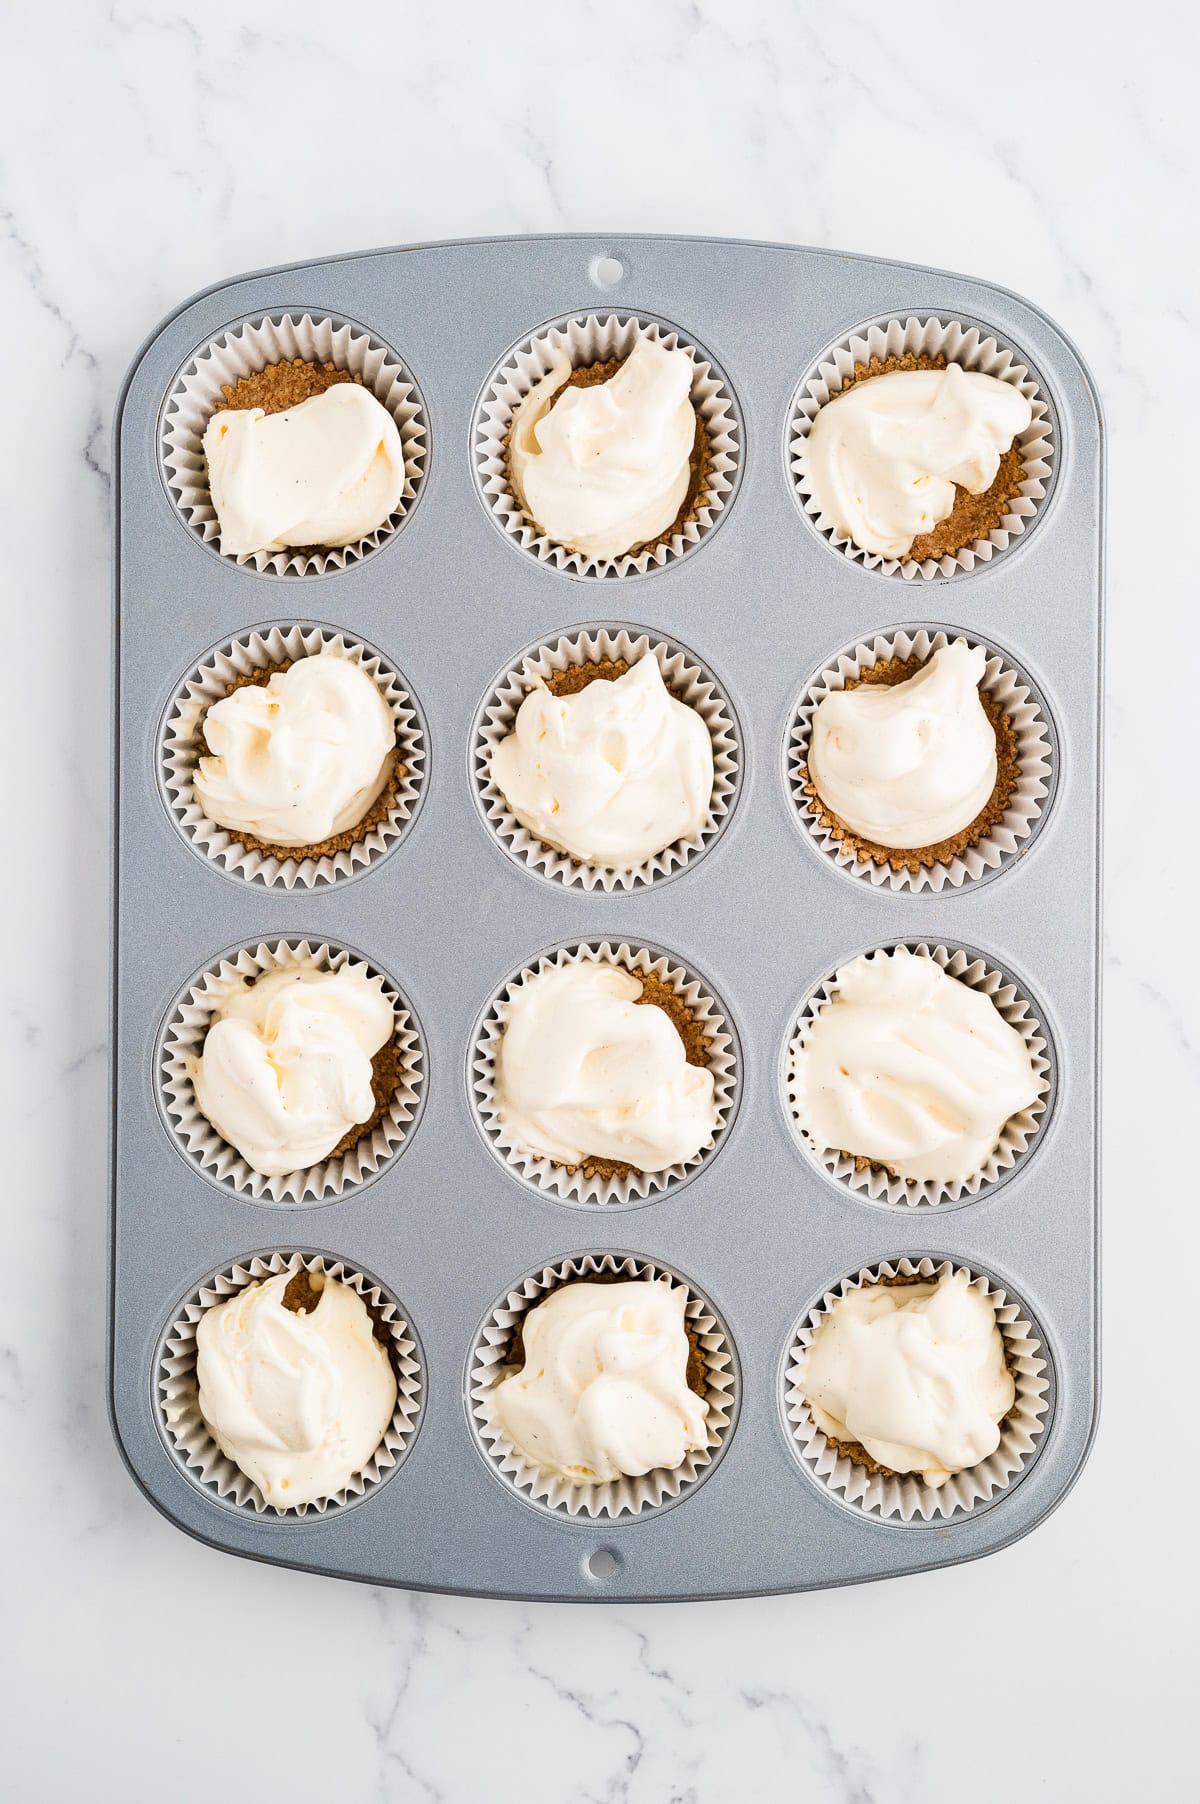
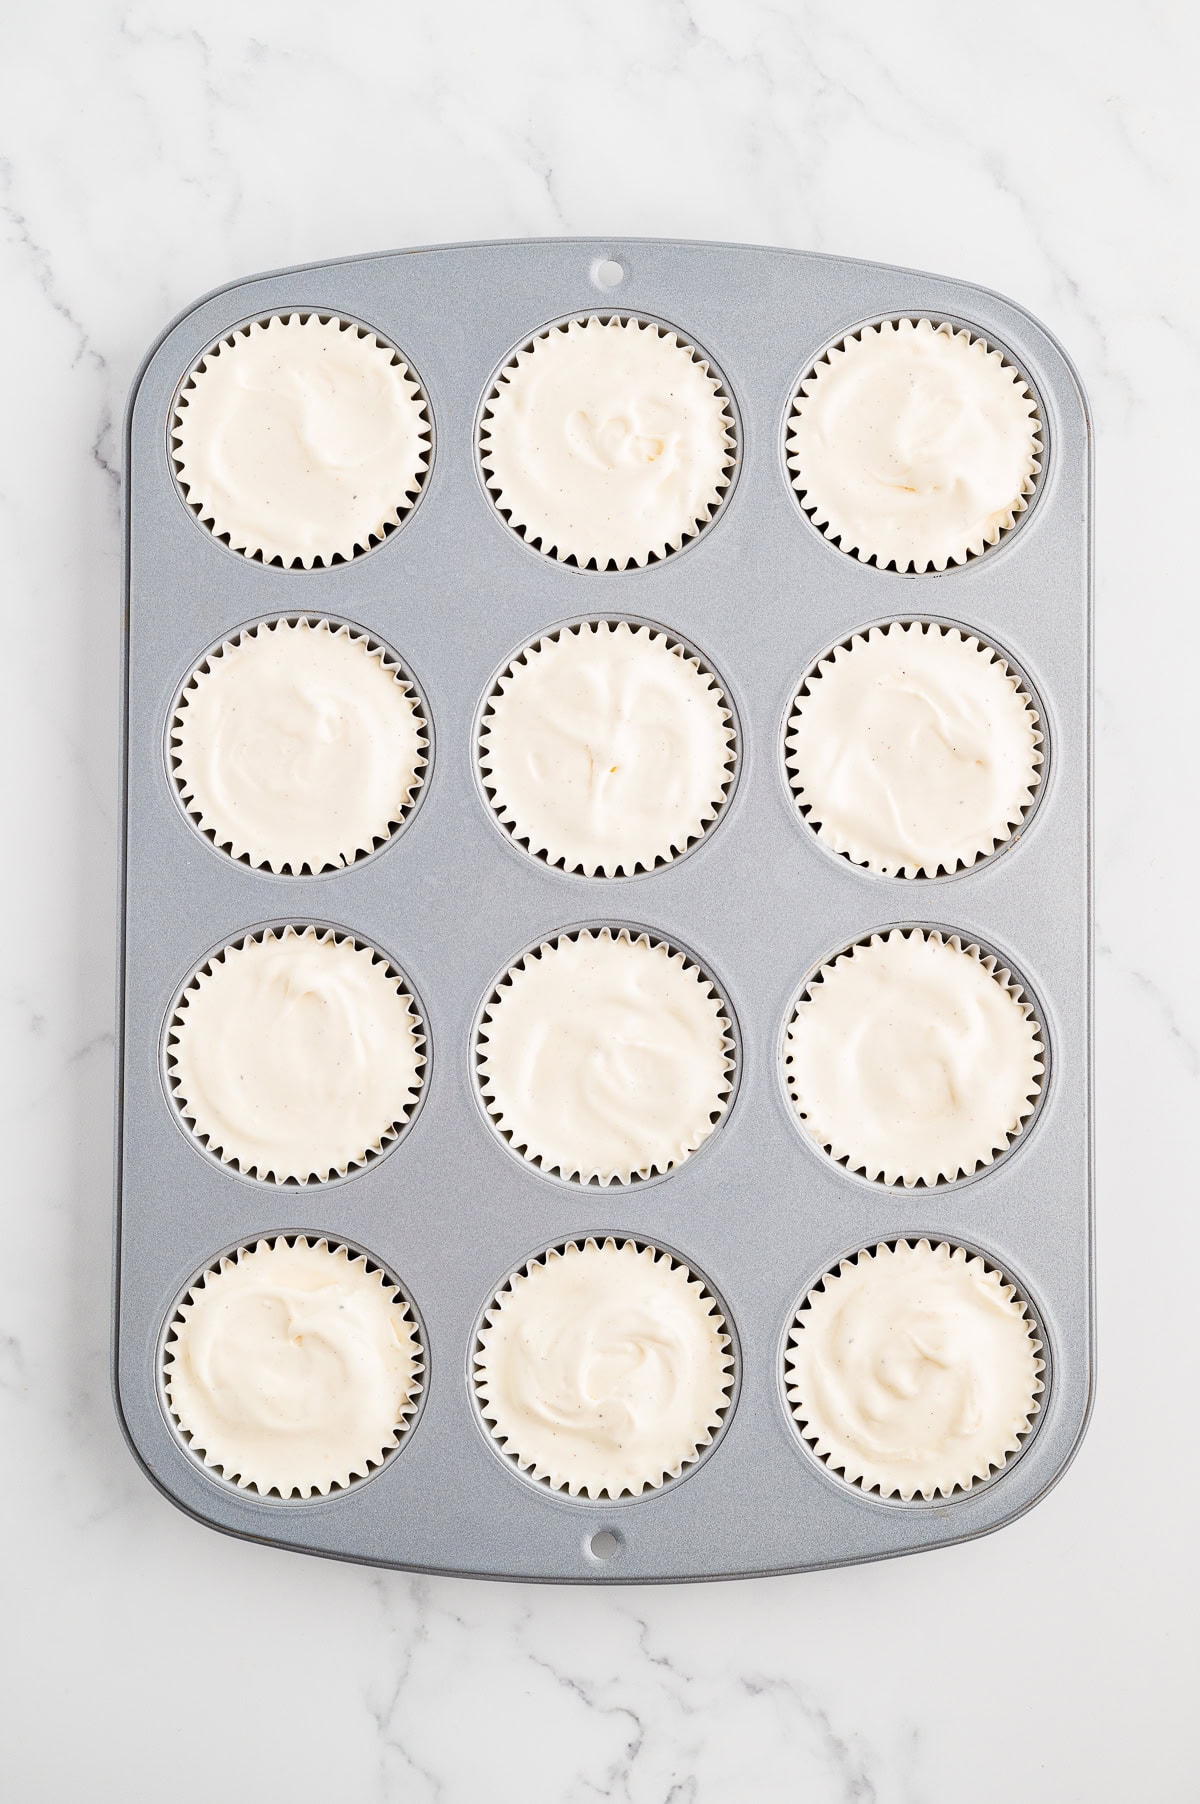
Place vanilla ice cream on the counter for about 30 minutes until it starts to get a little melty so it is easy to stir. Dump the container of ice cream into a large bowl and mix until smooth. When ice cream is smooth, fill each muffin tin with ice cream and smooth the top. Place in the freezer to harden for at least 1 hour.
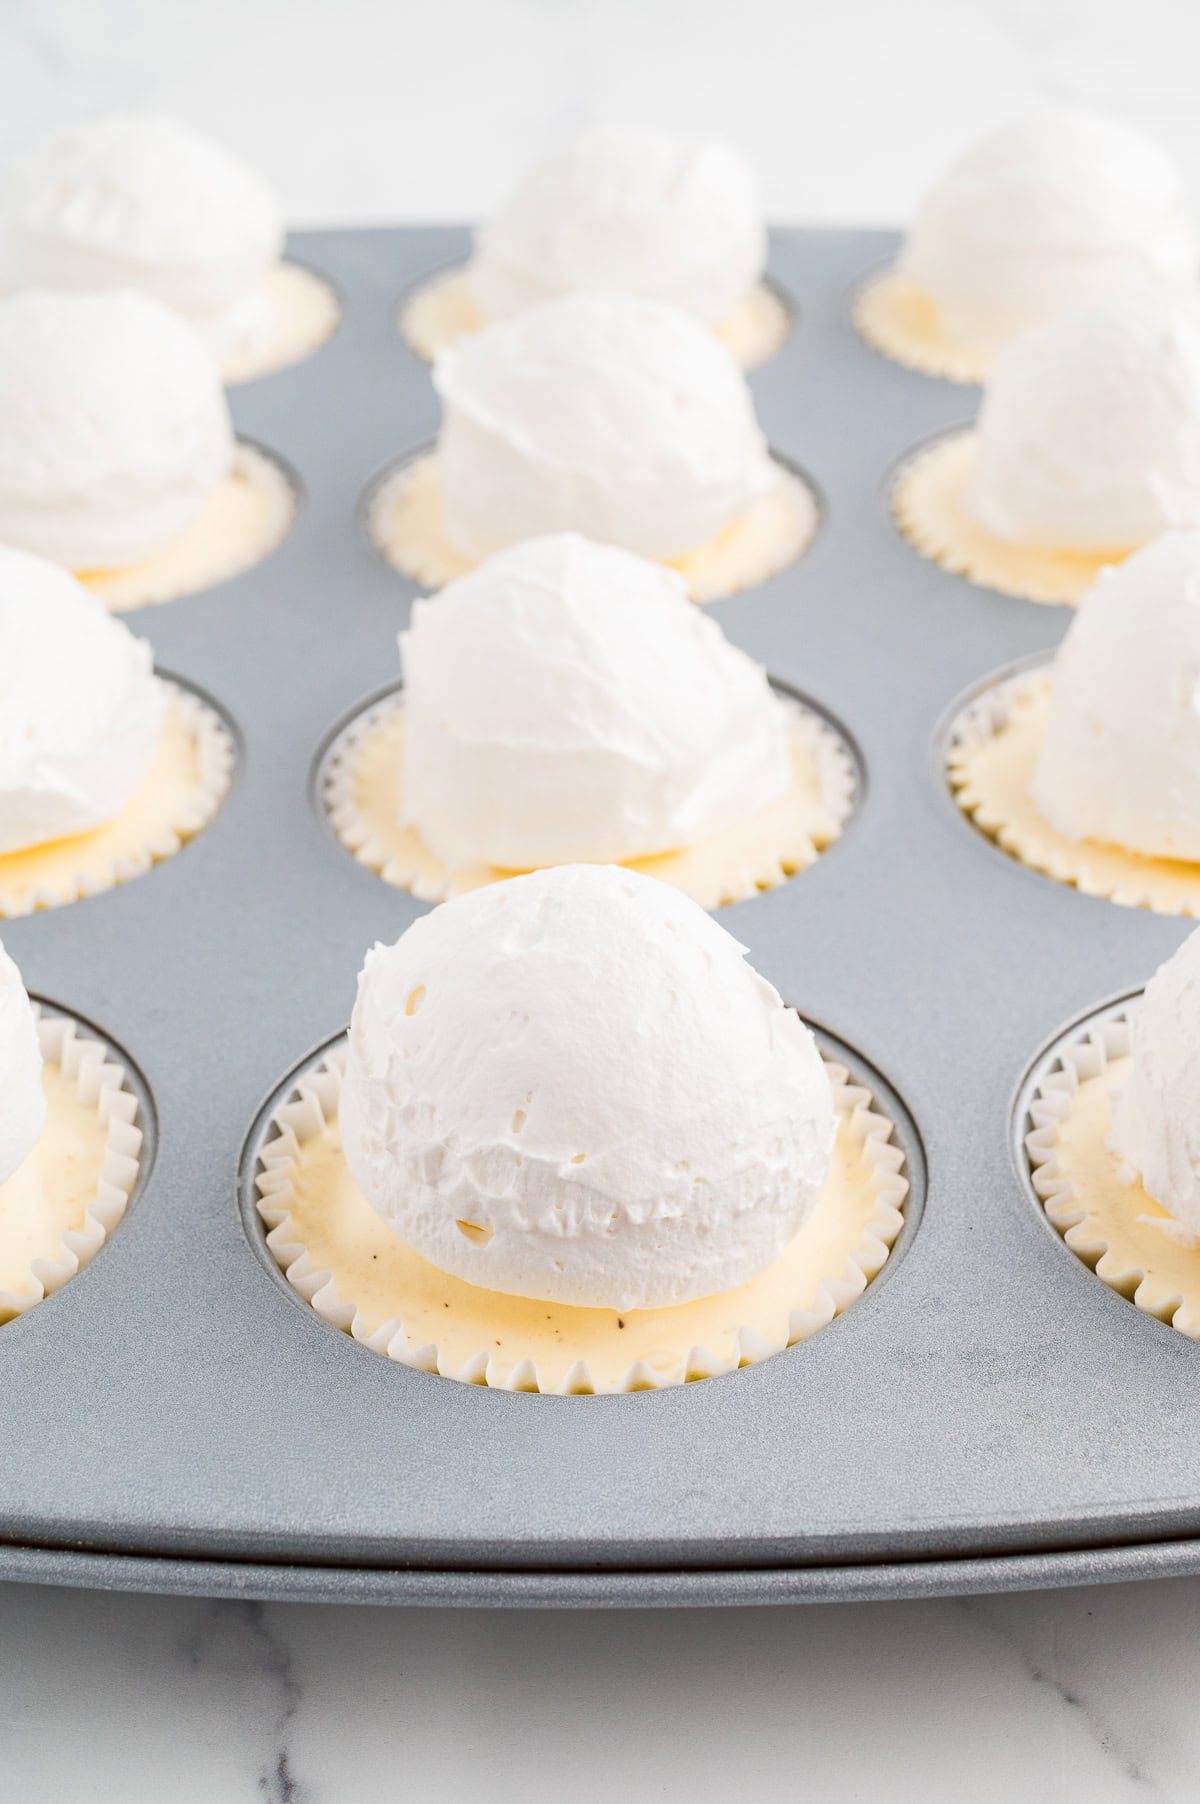
Add whipped topping to the top of each ice cream cake. You can add it to a piping bag and use a piping tip, or use a large ice cream scoop to make a “scoop” of whipping topping. Place muffin tin in the freezer for at least 1 hour to firm up the whipped topping. When ready to serve, use a knife at the side to take them out of the tin.
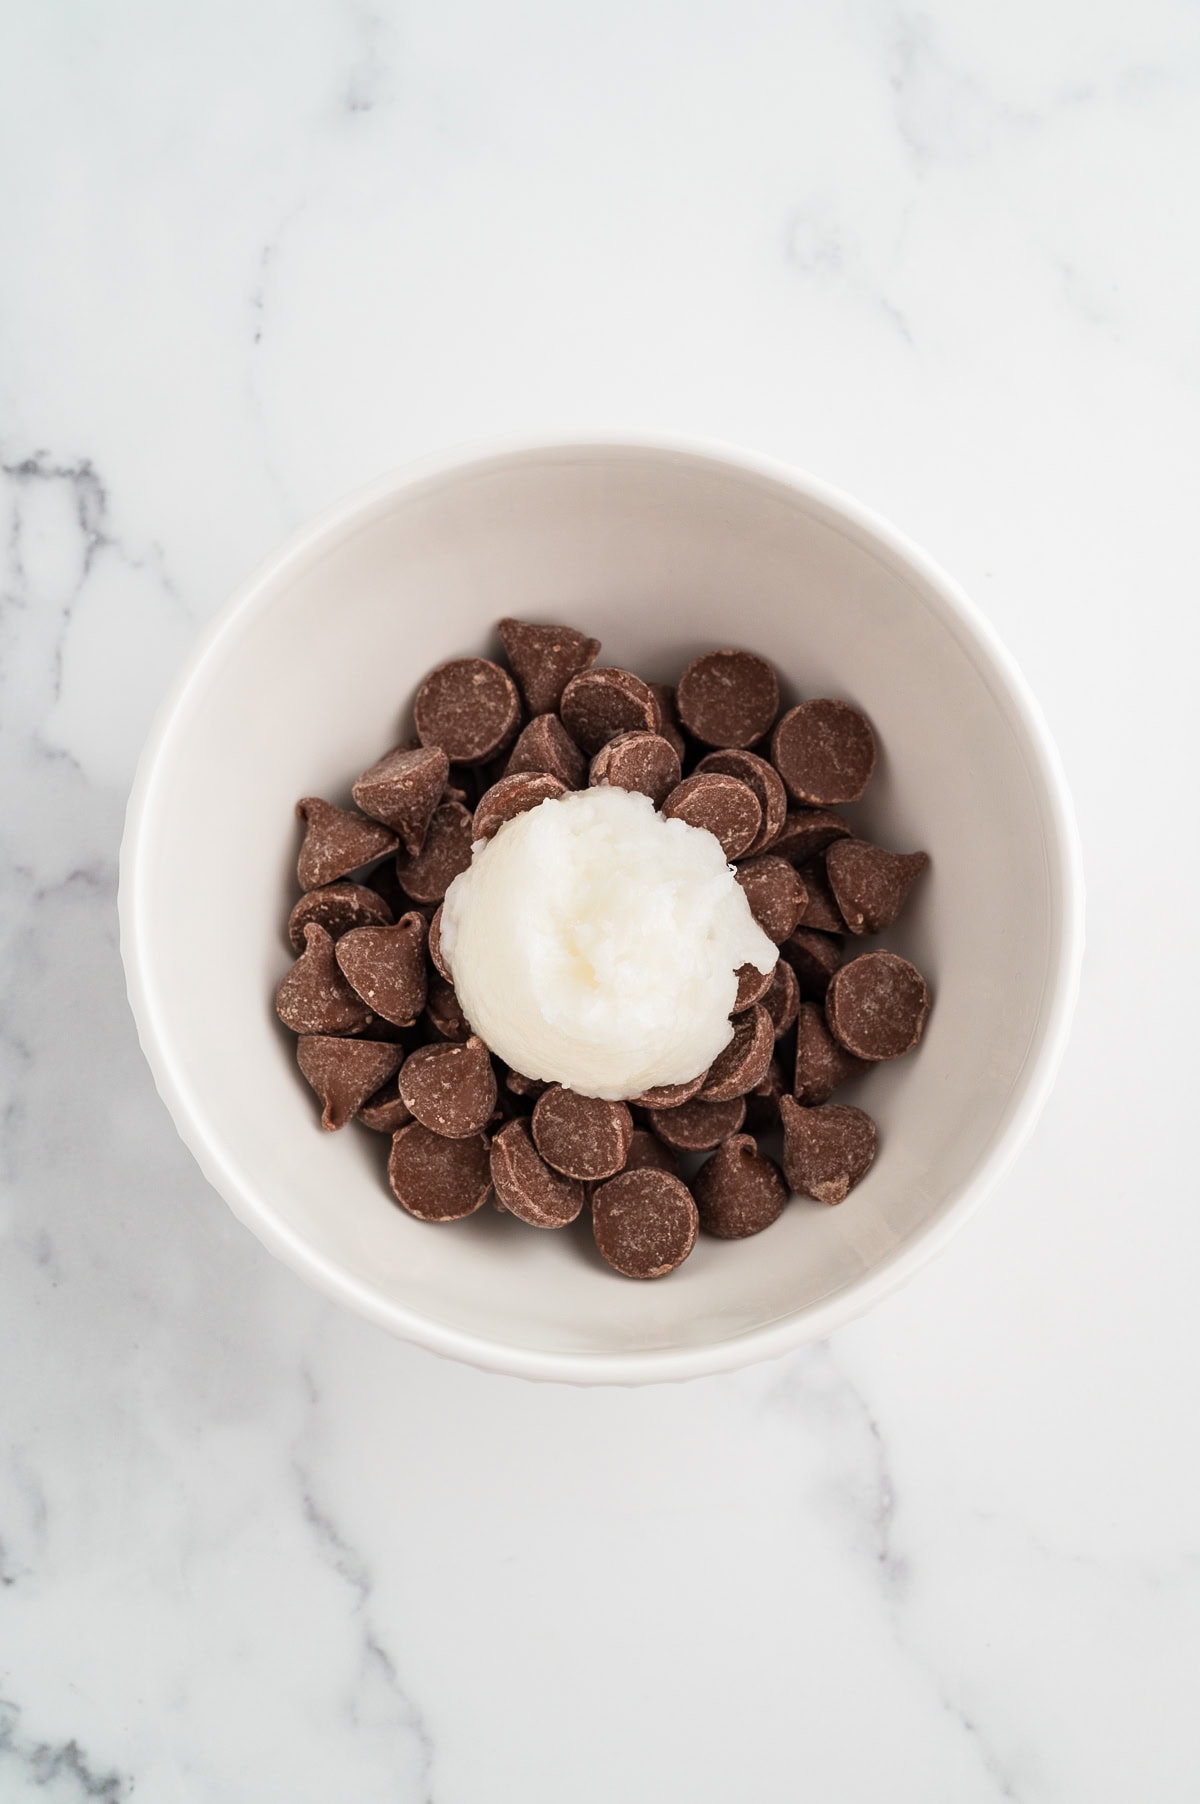
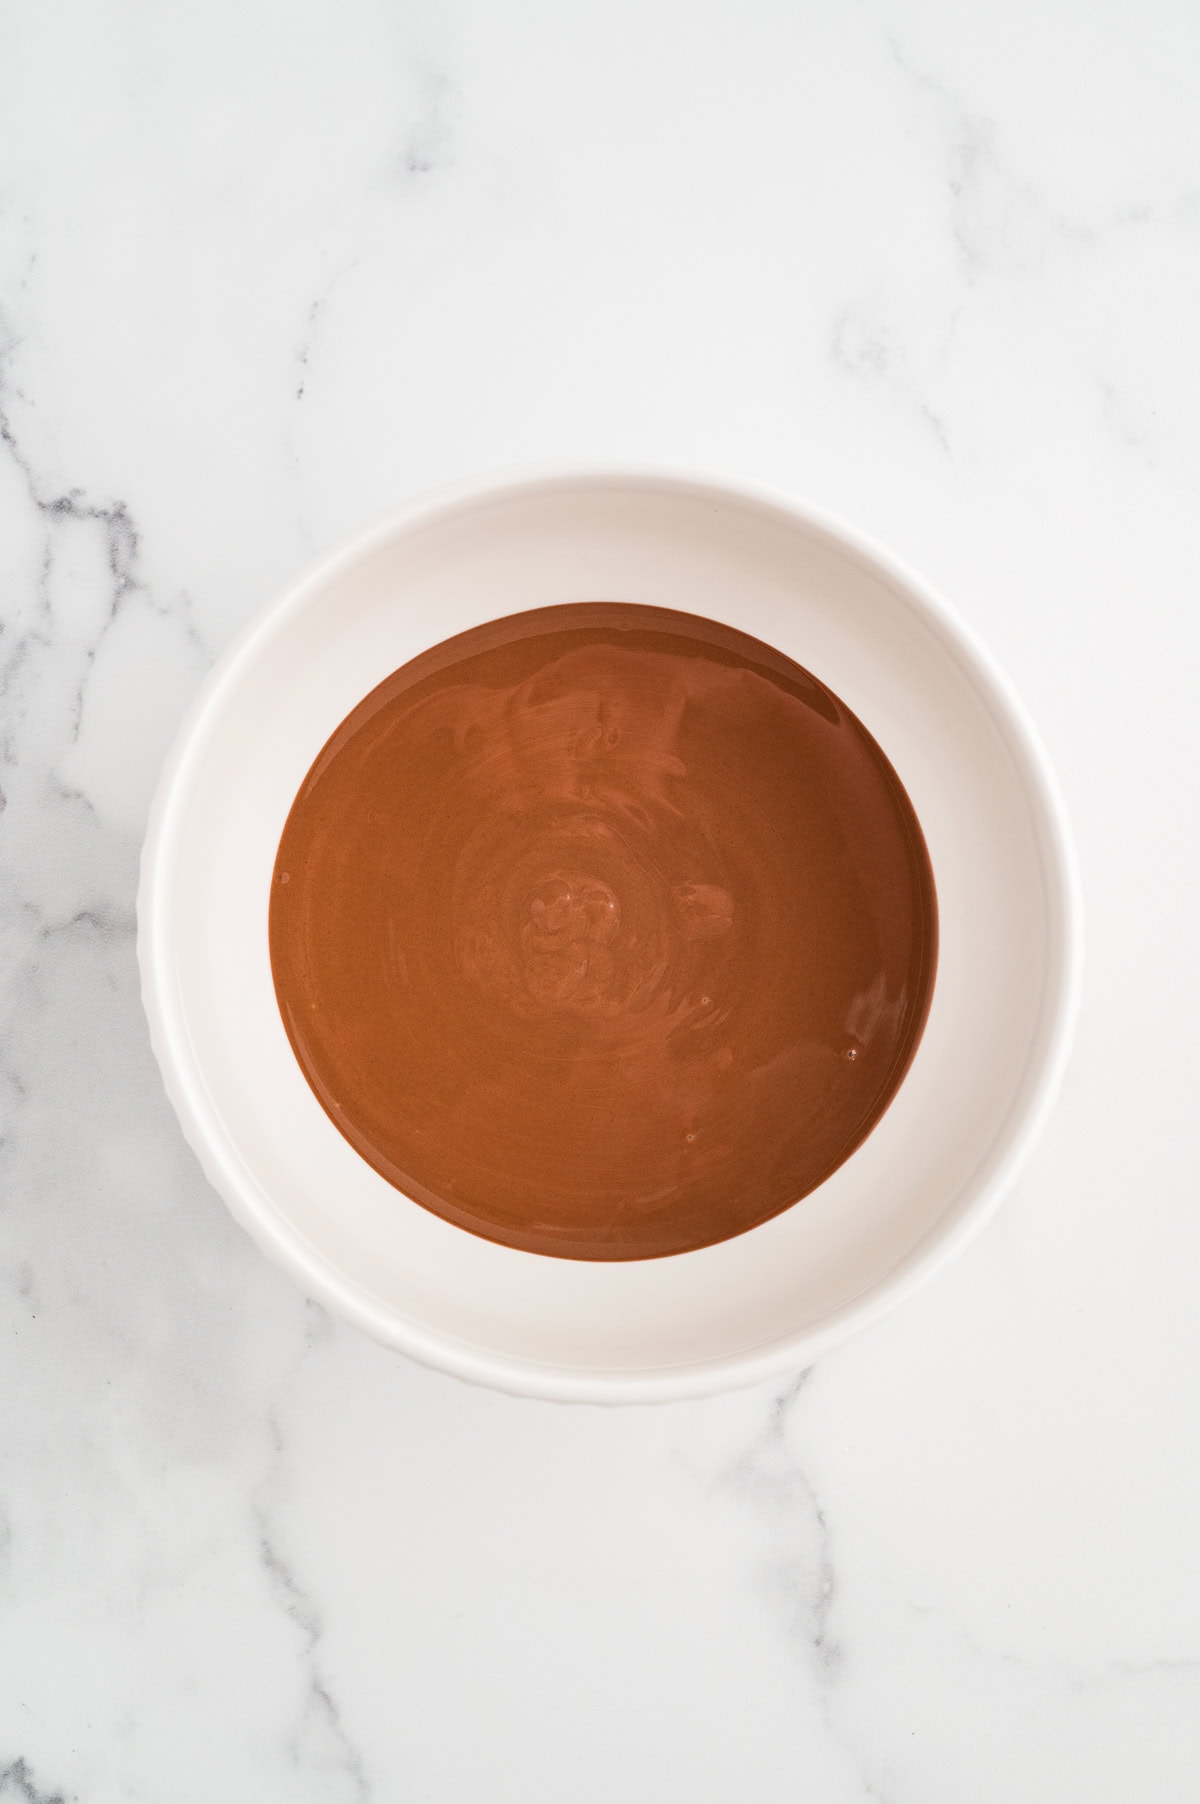
When about ready to serve, place chocolate chips in a microwave-safe bowl. Add coconut oil. Microwave for 30 seconds. Stir and continue to microwave for 15-second increments until completely melted. Stir between each time and be careful not to overcook.
Let chocolate topping sit for a few minutes, stirring occasionally, until mostly cooled.
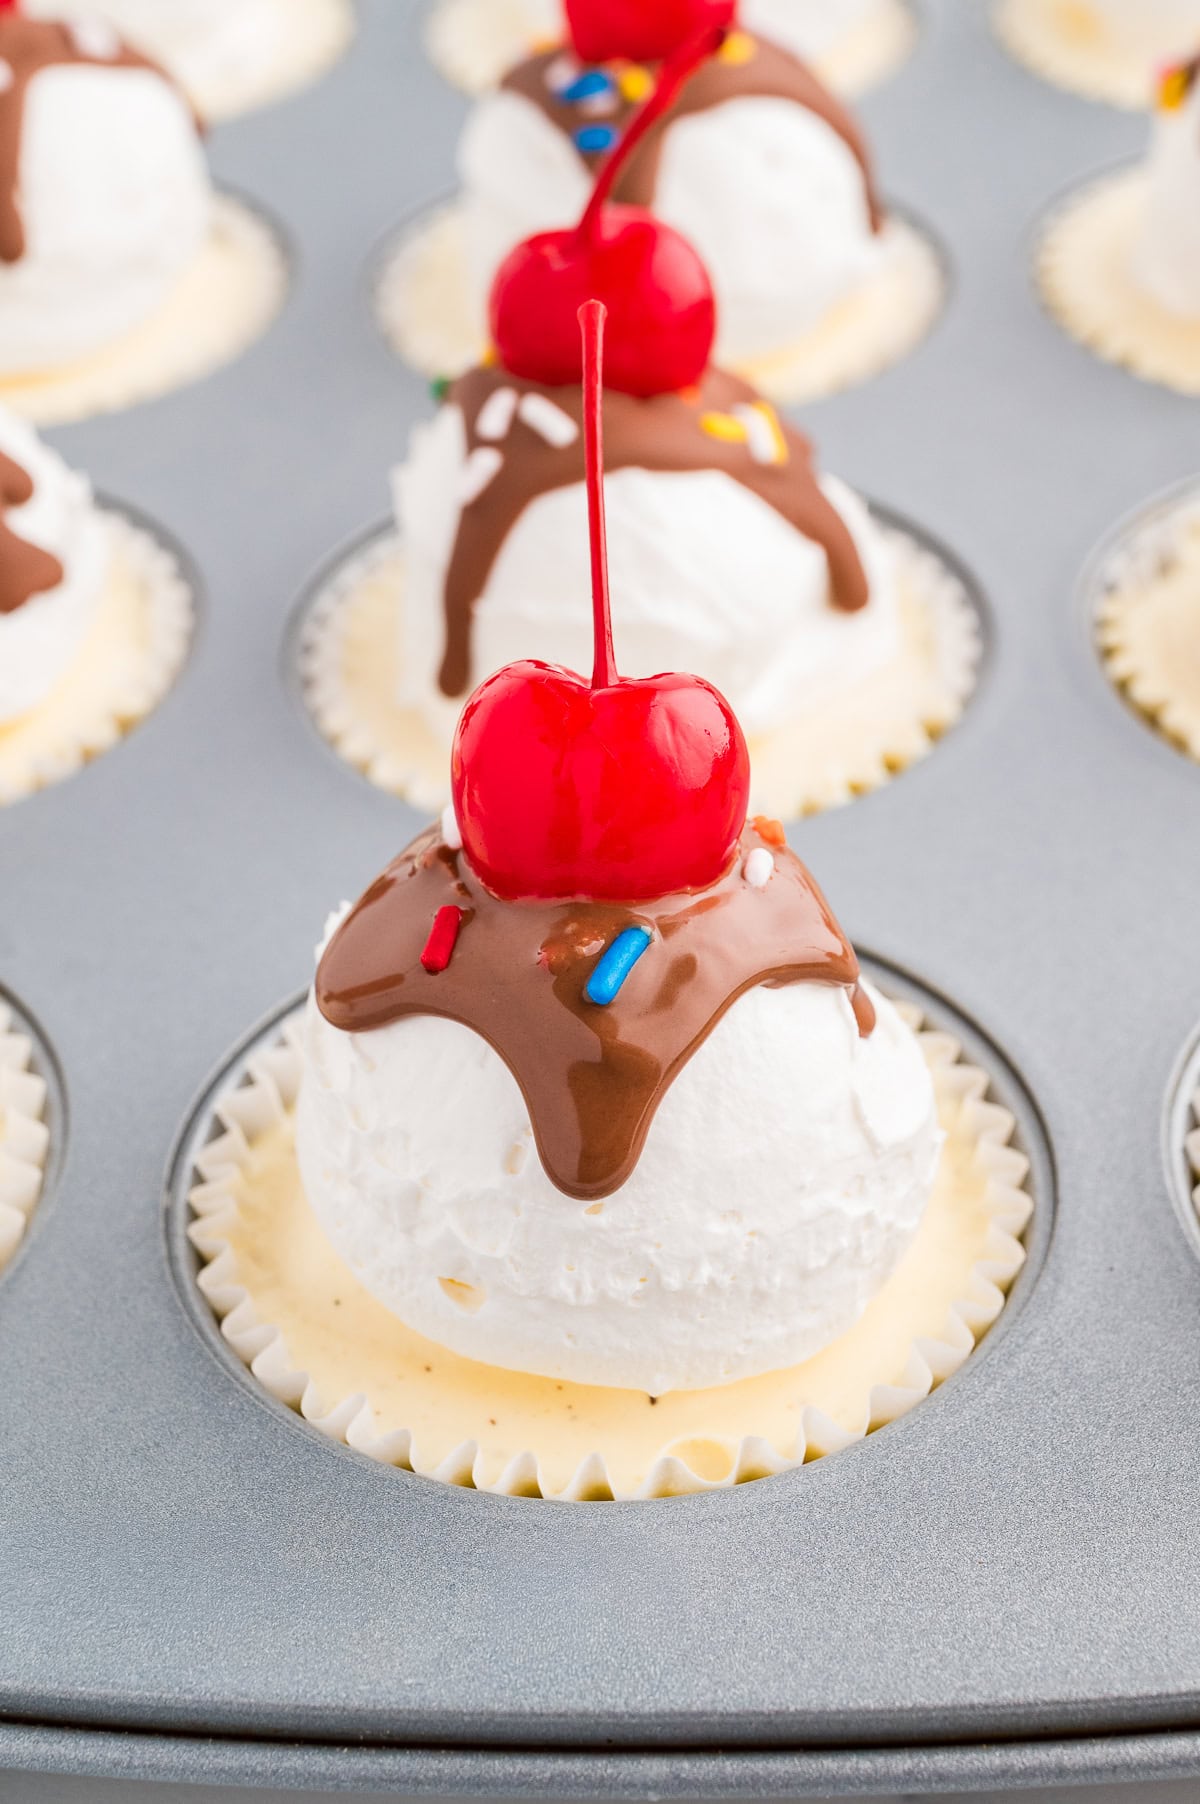
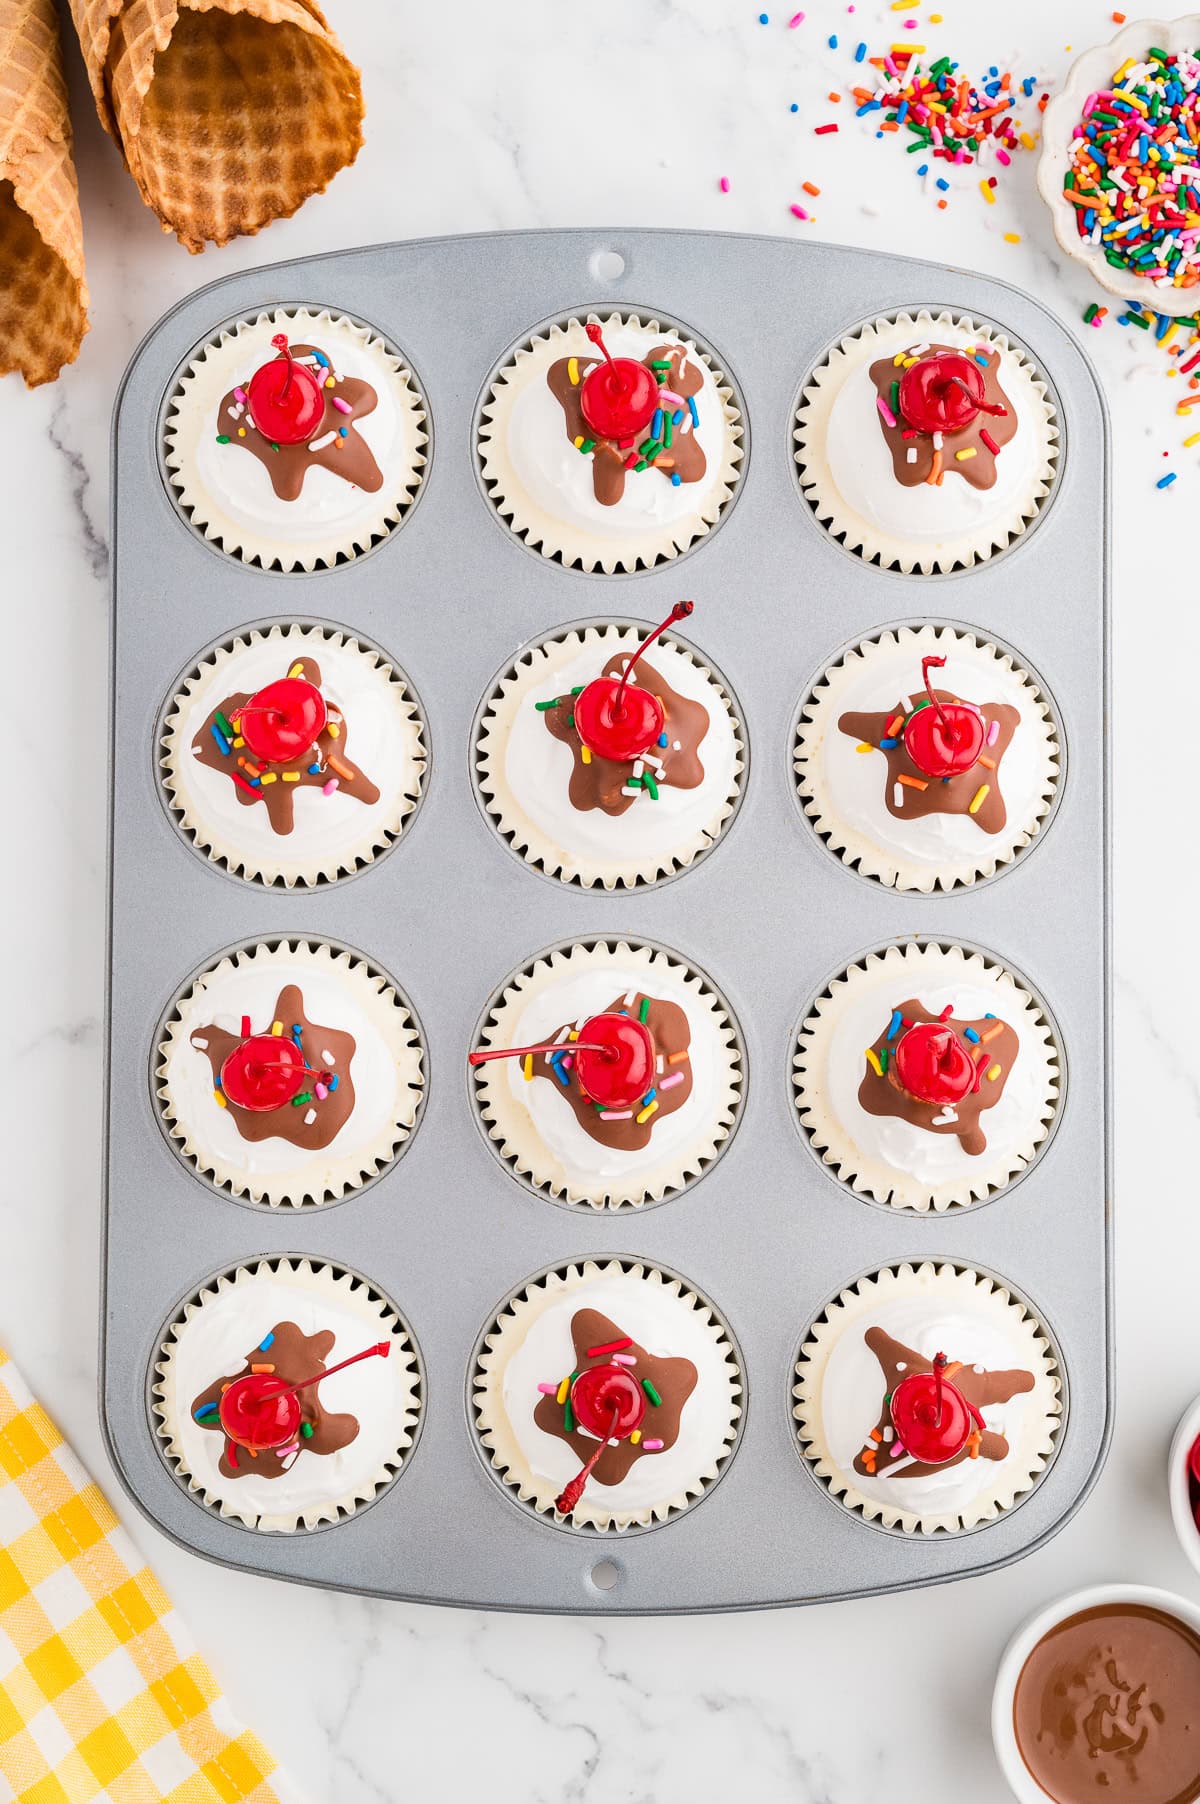
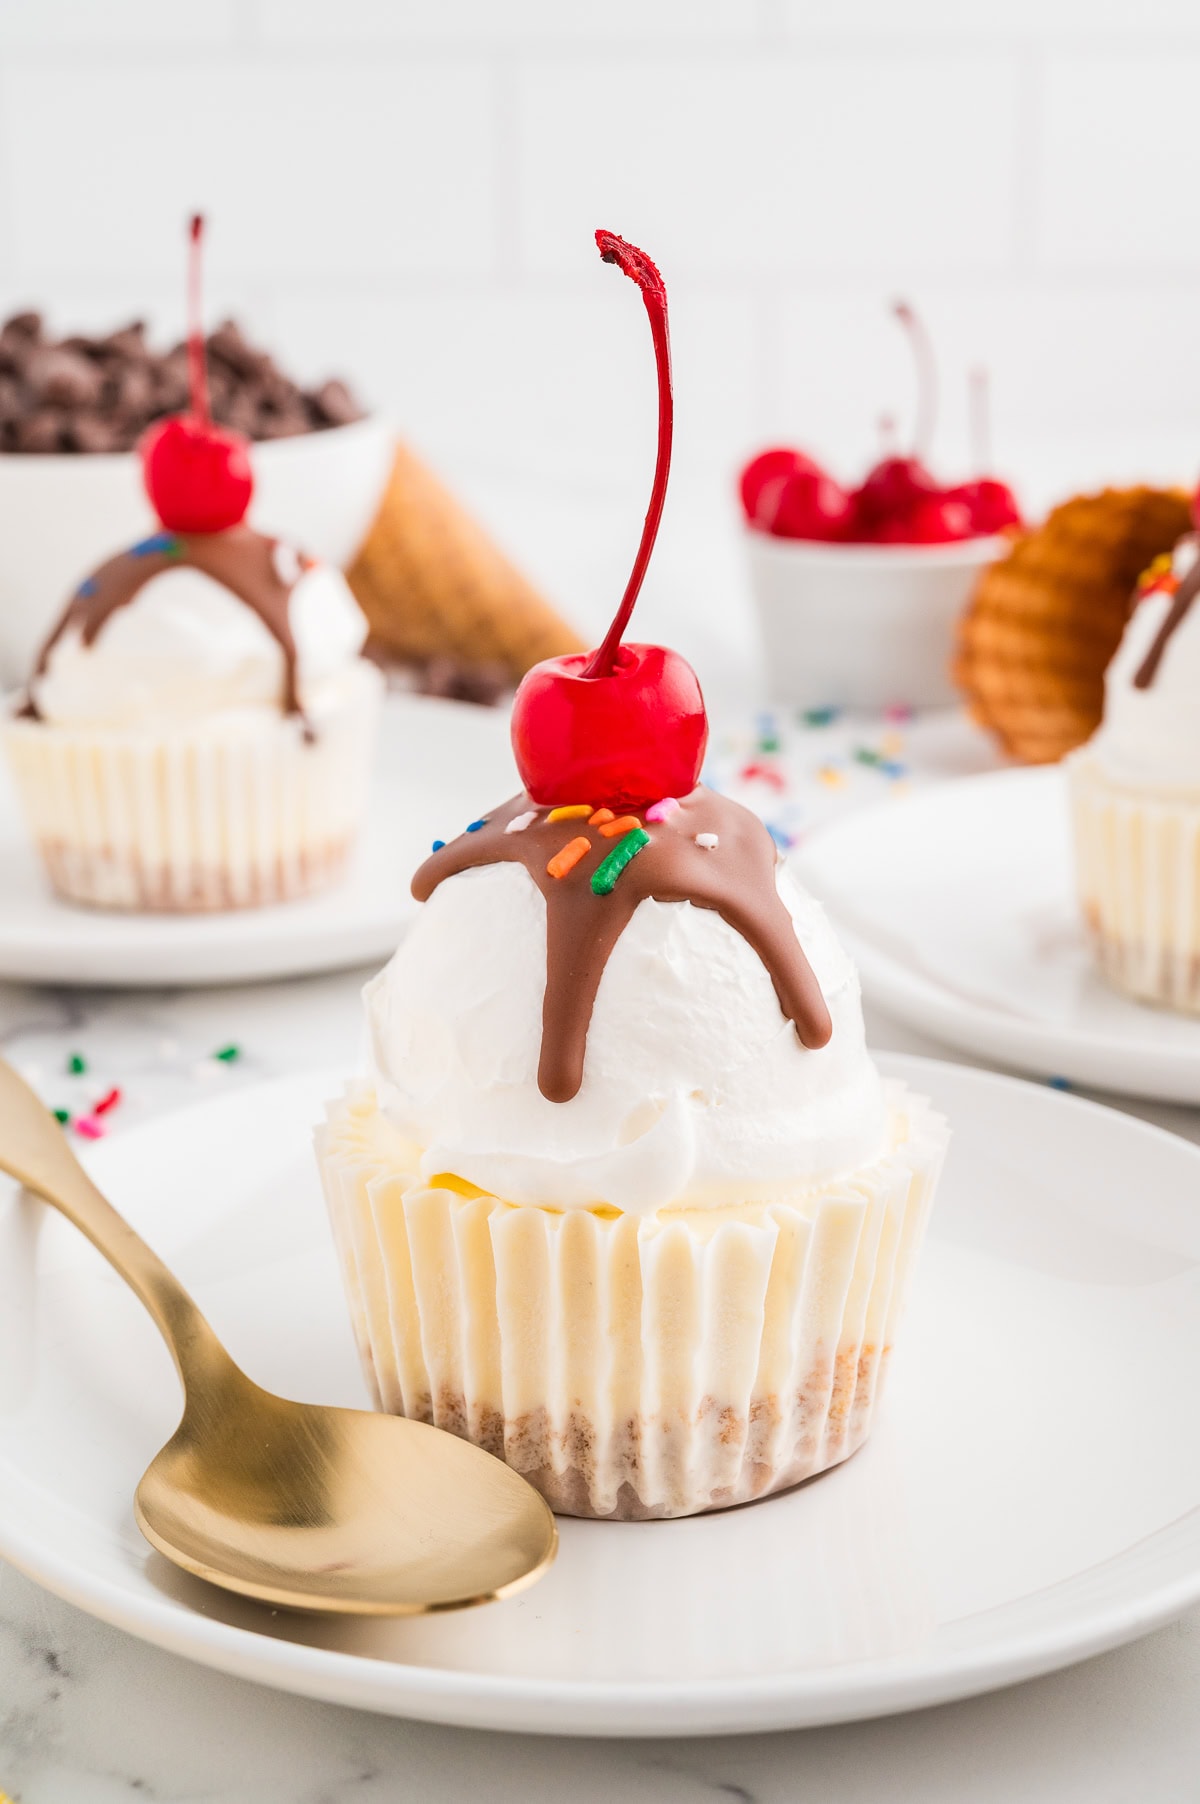
When ready to serve, add chocolate topping, sprinkles, and maraschino cherries to the top of each ice cream cake. Work quickly to finish the toppings before the chocolate “magic shell” hardens.
Serve immediately.
Expected Time Management Plan:
Total Time: About 4 hours
- 20 minutes: Prep ingredients/crusts before placing in oven
- 5 minutes: Bake time
- 30 minutes: Cooling time for crusts/thawing time for ice cream
- 35 minutes: Stirring ice cream and filling muffin cups
- 1 hour: Freeze time for ice cream
- 8 minutes: Topping with whipped topping
- 1 hour: Freeze time for whipped topping
- 15 minutes: Making chocolate shell and adding toppings
Recipe Tips:
- Use a small cup/tablespoon to push down the crumbs when making the crust, or put a ziplock bag around your hand to keep fingers clean.
- There should be little if any “butter bleed” or greasing on the muffin liners after baking. If there is a little, it shouldn’t be noticeable after putting in the ice cream and finishing the ice cream cakes.
- Use a stainless steel bowl for mixing ice cream to keep it cold/frozen longer. The goal is to keep the ice cream as cool as possible while being able to mix it until completely smooth.
- If you want the whipped topping “ice cream scoops” to look extra smooth, use the back of a spoon to smooth around the edges after putting it on and before putting them in the freezer.
- It may be easier to place the toppings on each ice cream cake after taking them out of the muffin pan. Either way works, but it can be tricky to get them out without damaging the toppings unless you’re careful.
Serving Suggestions
Serve these mini ice cream cakes for:
- Birthday parties
- Summer barbecues
- Baby and bridal showers
- Holiday celebrations
- Graduation parties
- Family gatherings
Recipe Pro Tips

Storage Instructions
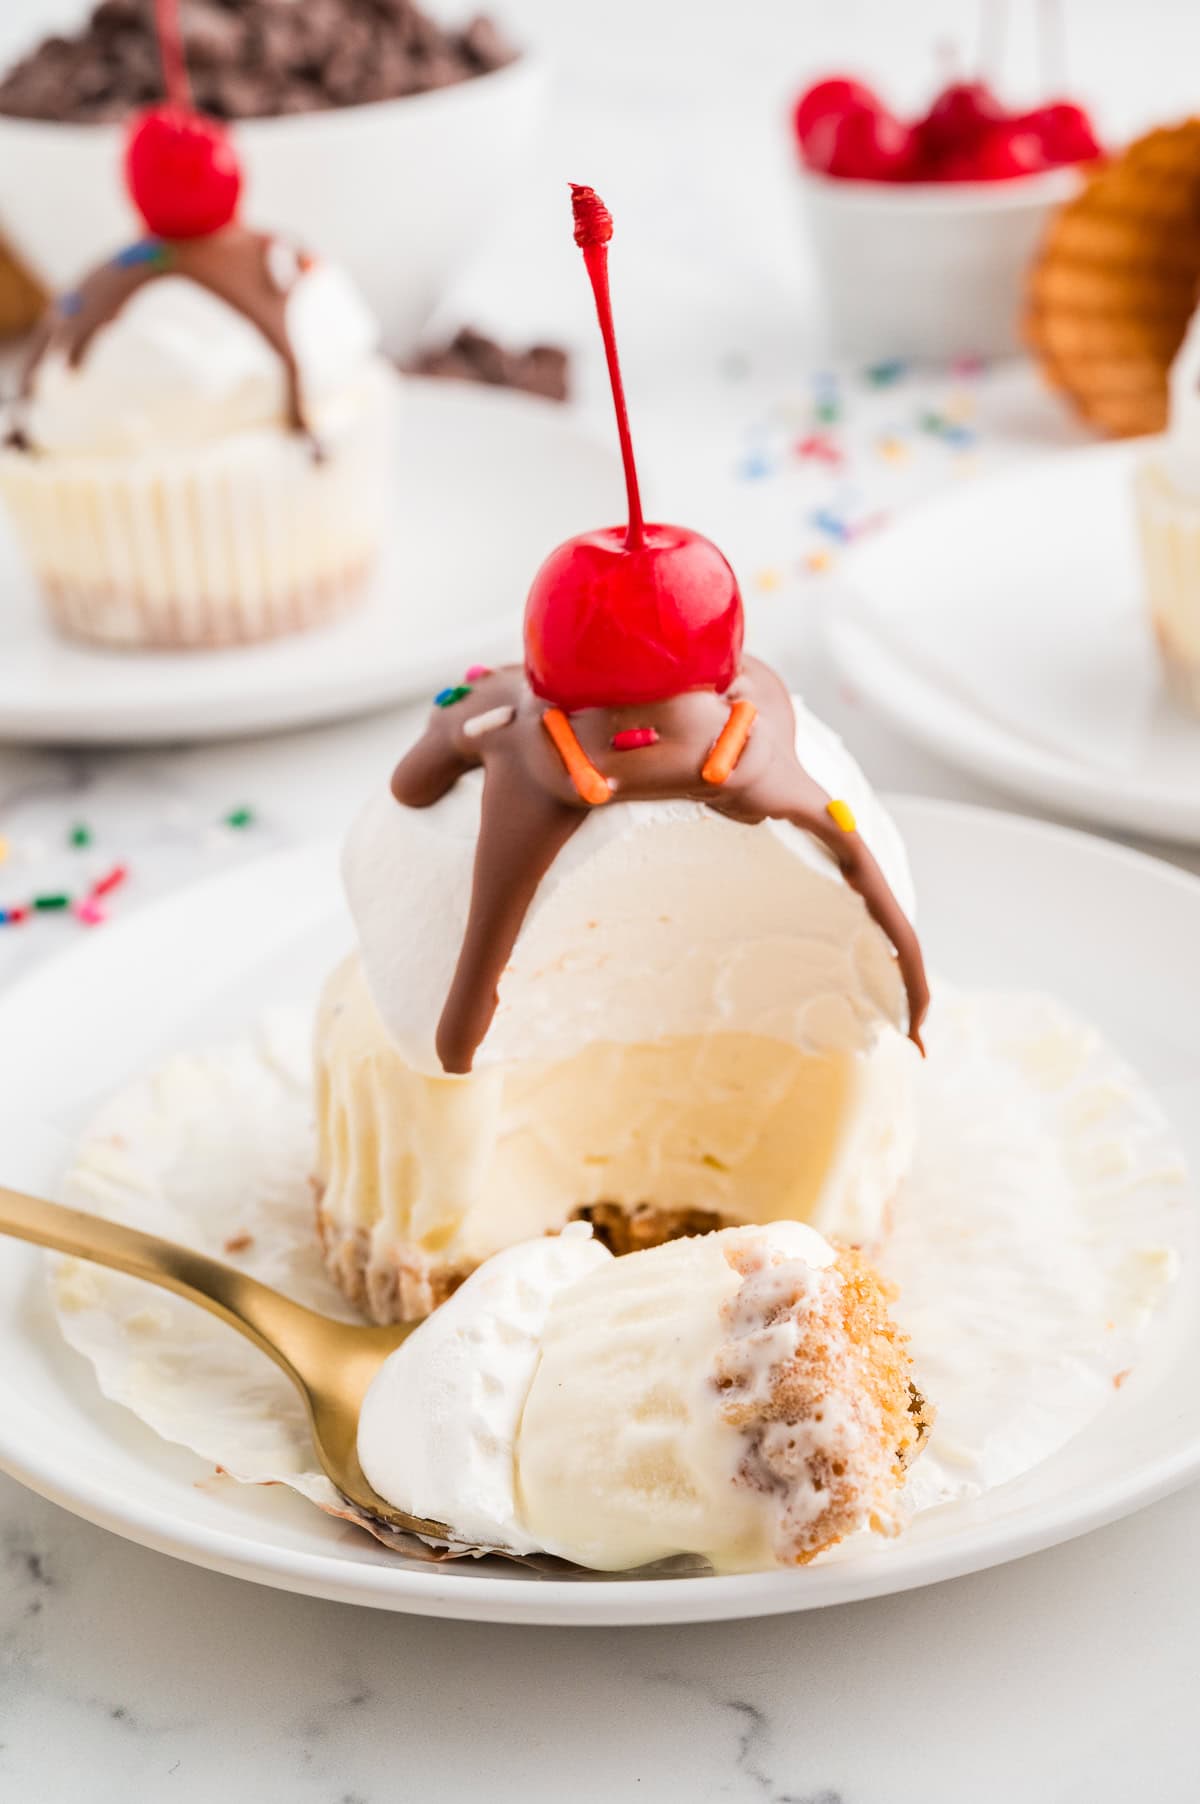
These mini ice cream cakes are best eaten immediately. However, if there are leftovers, they can be frozen in an airtight container for up to 5 days. Eventually, the crust begins to get soft. If they are in extra-cold freezers, they will need a few minutes to thaw and become soft enough to take off the muffin liner and eat.
Can I make these in advance?
Yes, these can be made weeks in advance and left in the freezer after step 6 in the recipe. When ready to serve, make the chocolate shell, top the ice cream cakes with all the toppings, and serve immediately.
What size cookie scoop did you use to make the whipped topping “scoops”?
The cookie scoop I used was a 56mm/4 Tablespoon scoop.
How do I crumble up the waffle cone?
The easiest way is to break them up a little bit by hand and place them in a food processor. Mix until they are blended into crumbs that resemble coarse sand. If you don’t have a food processor, you can also break up the waffle cones into smaller pieces and put them in a large ziplock bag. Smash the pieces or roll them with a rolling pin to break them up.
Can I add the ice cream and whipped topping at the same time and freeze them together?
We recommend freezing the ice cream and then adding the whipped cream and freezing the ice cream cakes a second time. This will help them to keep their shape without “melting” into each other.




Small Ice Cream Cakes Recipe
Ingredients
- 1 cup crumbled waffle cone about 8-10 waffle cones
- 2 Tablespoons granulated sugar
- 2 Tablespoons butter melted
- 1.5- quart container vanilla ice cream
- 8- ounce container whipped topping thawed
- ½ cup chocolate chips
- 1 Tablespoon coconut oil
- 1 Tablespoon sprinkles
- 12 maraschino cherries with stems
Instructions
- Preheat the oven to 350 F. Prepare a 12-count muffin pan by placing a muffin liner inside each space.
- In a small mixing bowl, add waffle cone crumbs, granulated sugar, and melted butter. Mix until well combined.
- Evenly divide the mixture into the 12 muffin liners. This is about 2 tablespoons in each one. Pack each one down by pressing on it with a small glass or measuring cup, a spoon, or your fingers.
- Bake waffle cone crust for 5 minutes. When finished, leave crusts in muffin tin and wait until completely cooled (about 30 minutes).
- Place vanilla ice cream on the counter for about 30 minutes until it starts to get a little melty so it is easy to stir. Dump the container of ice cream into a large bowl and mix until smooth. When ice cream is smooth, fill each muffin tin with ice cream and smooth the top. Place in the freezer to harden for at least 1 hour.
- Add whipped topping to the top of each ice cream cake. You can add it to a piping bag and use a piping tip, or use a large ice cream scoop to make a “scoop” of whipping topping. Place muffin tin in the freezer for at least 1 hour to firm up the whipped topping. When ready to serve, use a knife at the side to take them out of the tin.
- When about ready to serve, place chocolate chips in a microwave-safe bowl. Add coconut oil. Microwave for 30 seconds. Stir and continue to microwave for 15-second increments until completely melted. Stir between each time and be careful not to overcook.
- Let chocolate topping sit for a few minutes, stirring occasionally, until mostly cooled.
- When ready to serve, add chocolate topping, sprinkles, and maraschino cherries to the top of each ice cream cake. Work quickly to finish the toppings before the chocolate “magic shell” hardens.
- Serve immediately.
Equipment


Notes
- 20 minutes: Prep ingredients/crusts before placing in oven
- 5 minutes: Bake time
- 30 minutes: Cooling time for crusts/thawing time for ice cream
- 35 minutes: Stirring ice cream and filling muffin cups
- 1 hour: Freeze time for ice cream
- 8 minutes: Topping with whipped topping
- 1 hour: Freeze time for whipped topping
- 15 minutes: Making chocolate shell and adding toppings







Let us know what you think!
We’d love to know what you and your family think! Make sure to leave a review below and follow us on your favorite social network!