These Lemon Garlic Shrimp Kabobs are easy enough for any night of the week but are definitely a show-stopper for company. They can be made either in the oven or on a BBQ, so they are a great recipe for year-round cooking. These skewers pair lovely with our Easy Moroccan Couscous.
Do you want more food on a stick? Here are some of our favorite recipes Appetizer Tortellini Skewers, Fast Easy Oven Chicken Satay, Watermelon Feta Skewers, Bacon-Wrapped Chicken and Pineapple Skewers, or Grilled Scallop and Shrimp Skewers. Everyone loves food on a stick!!
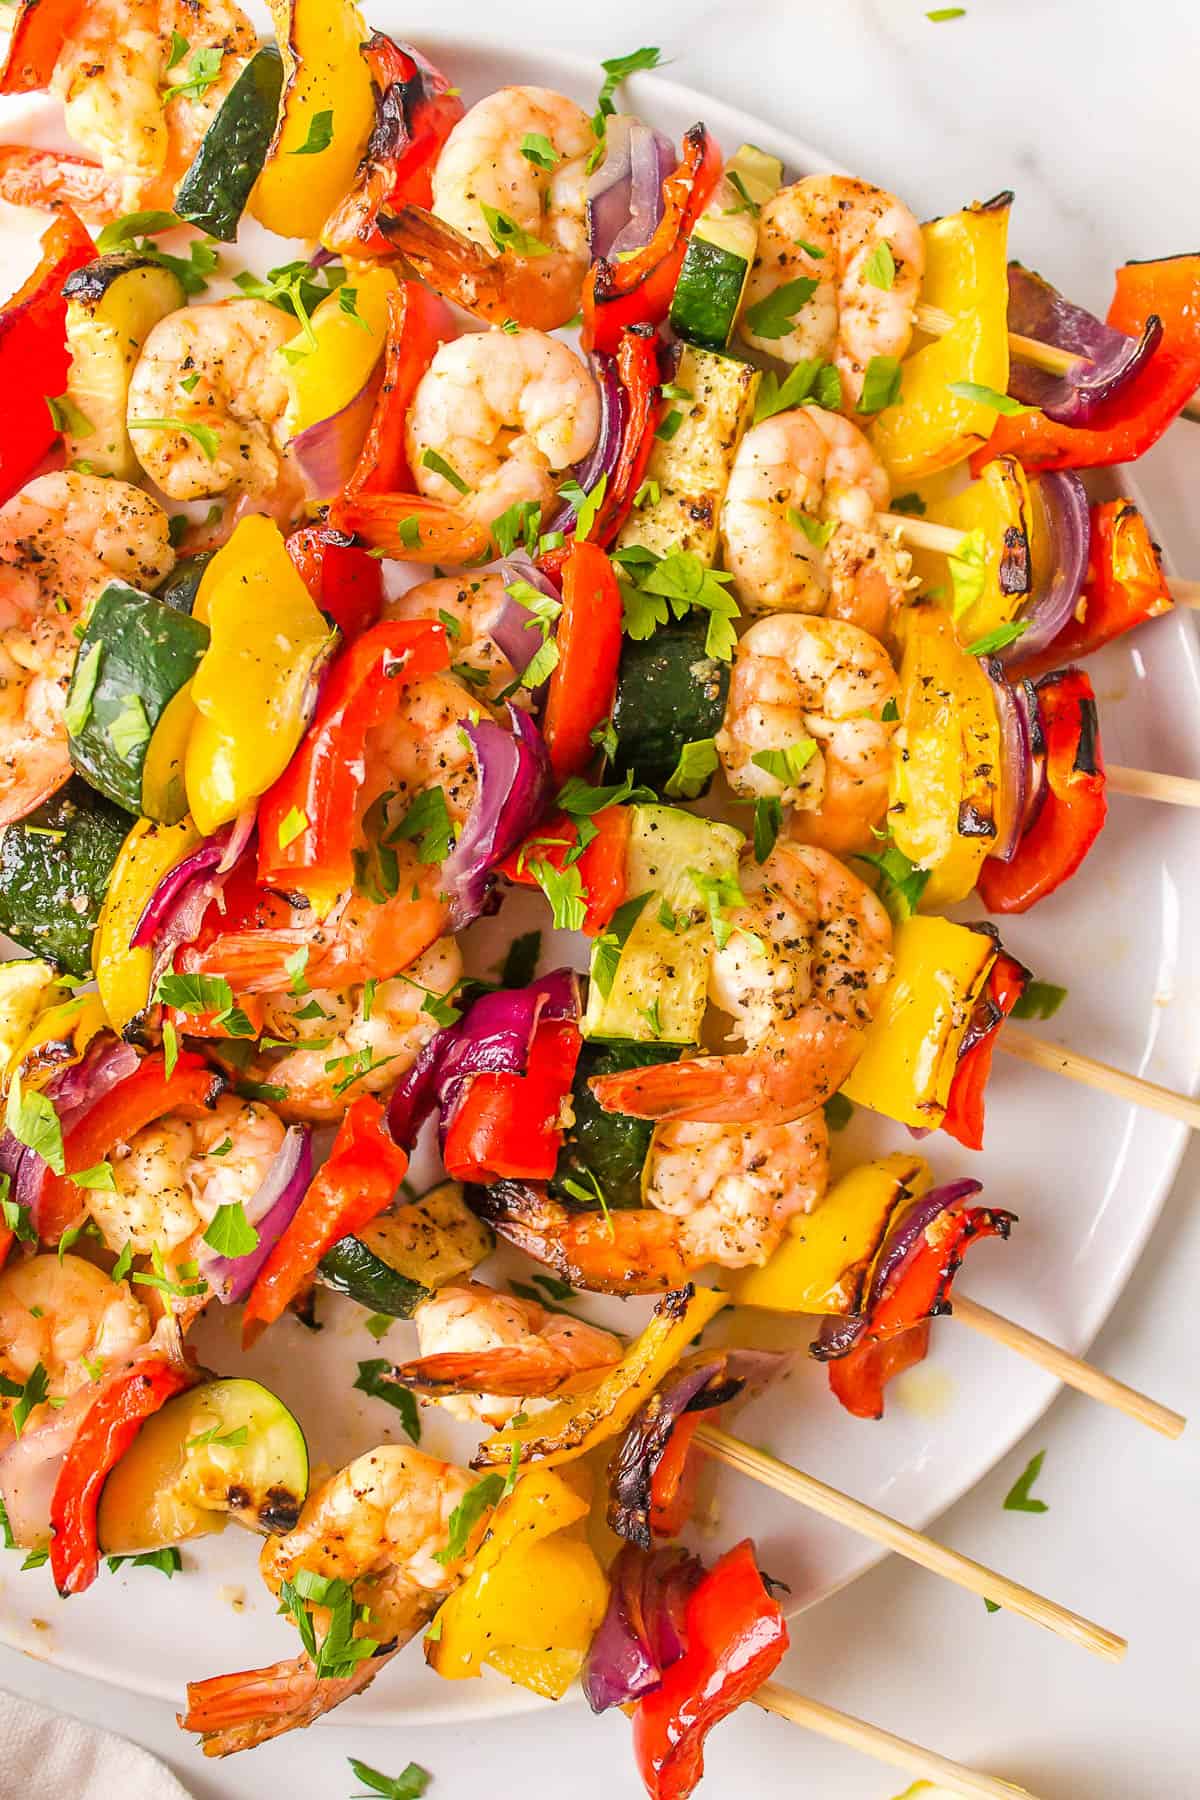
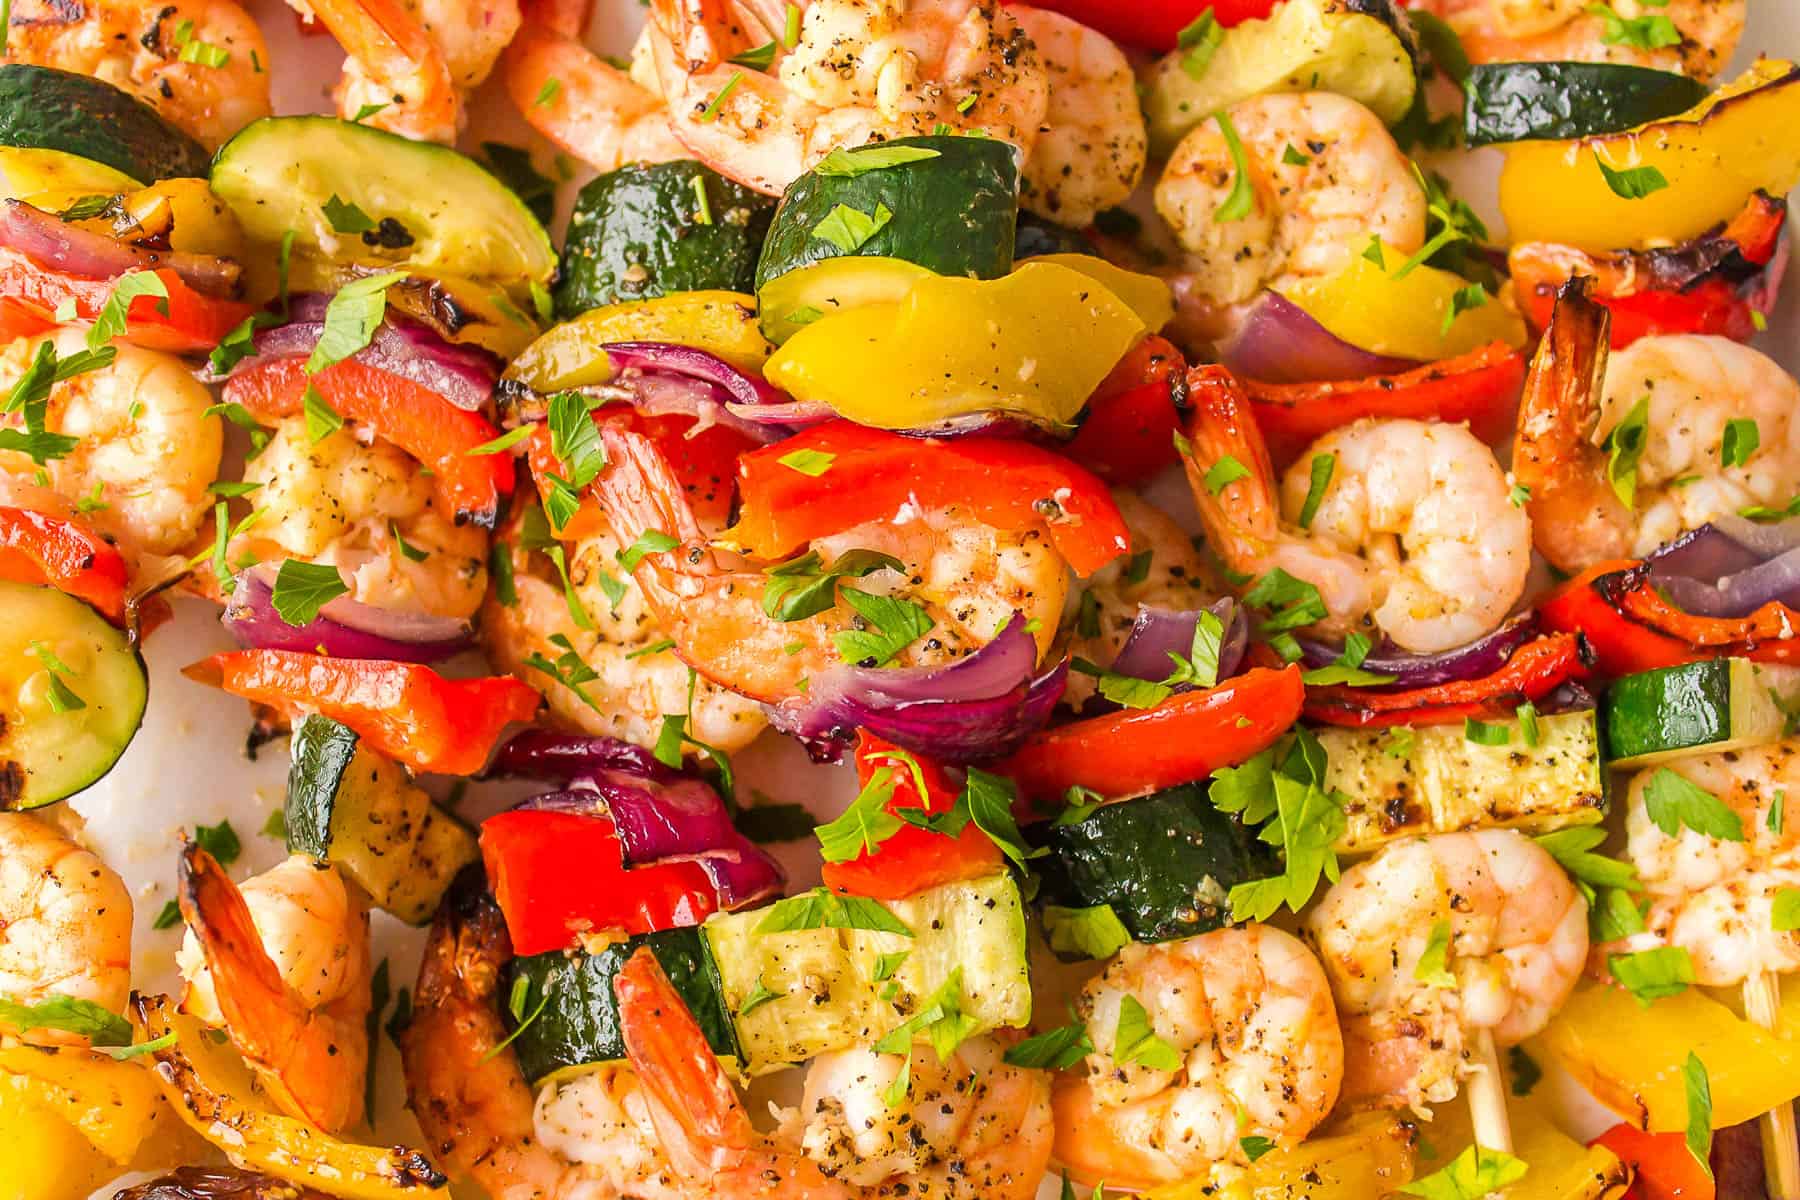
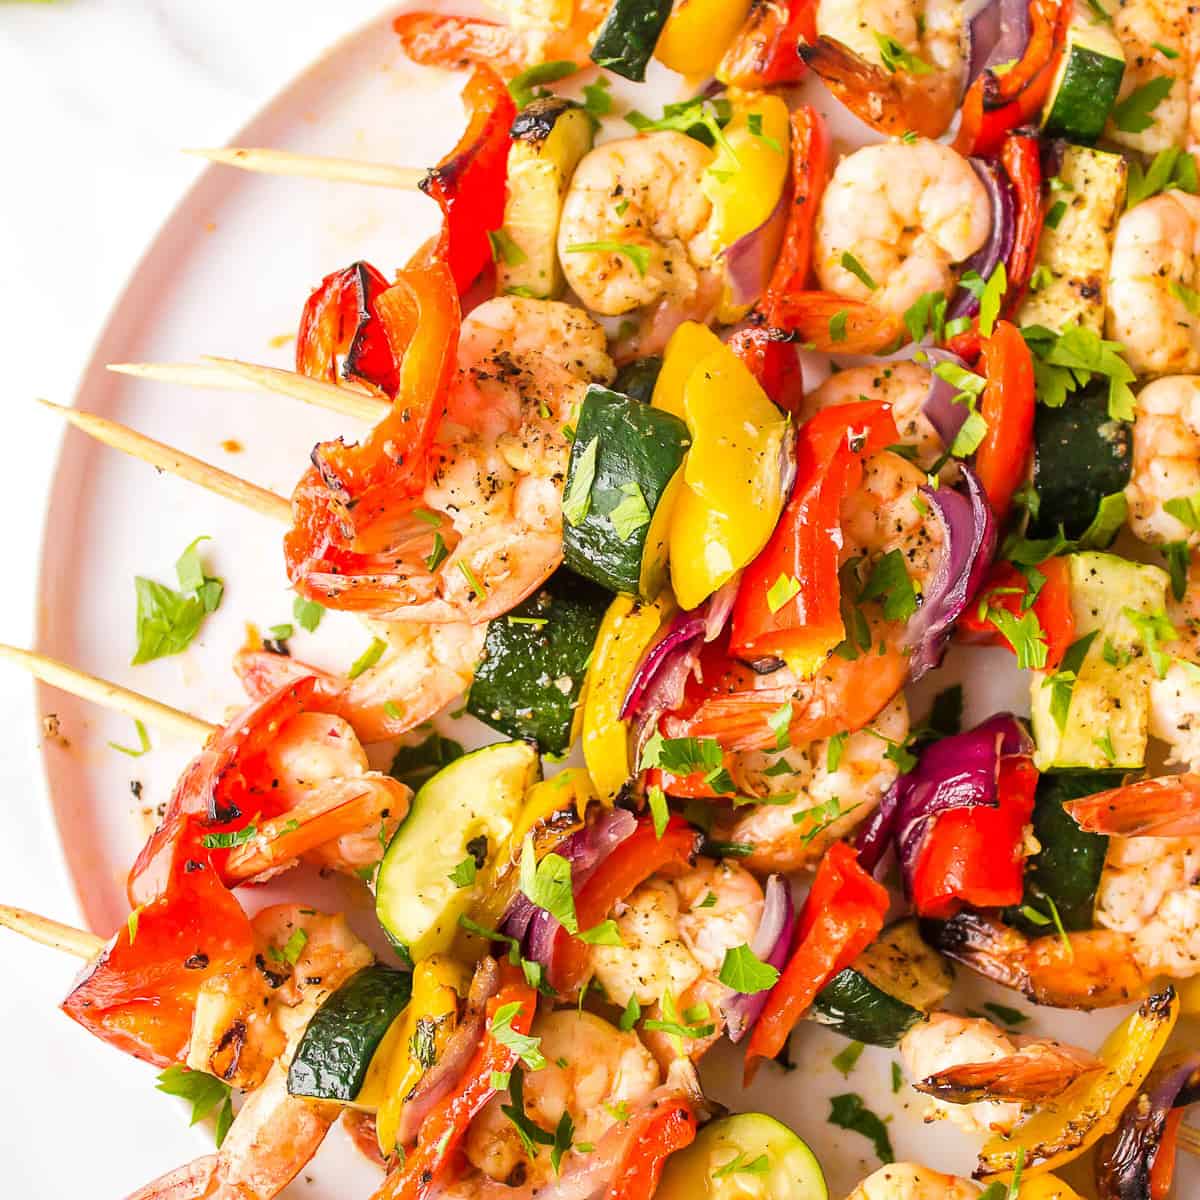
Look at how wonderfully colorful this shrimp kabob recipe is. It is like all the colors of a rainbow.
Helpful Items For This Recipe
This post contains affiliate links. As an Amazon Associate, I earn a small portion from qualifying purchases at no extra charge to you.
What Ingredients are used in Shrimp Kabobs?
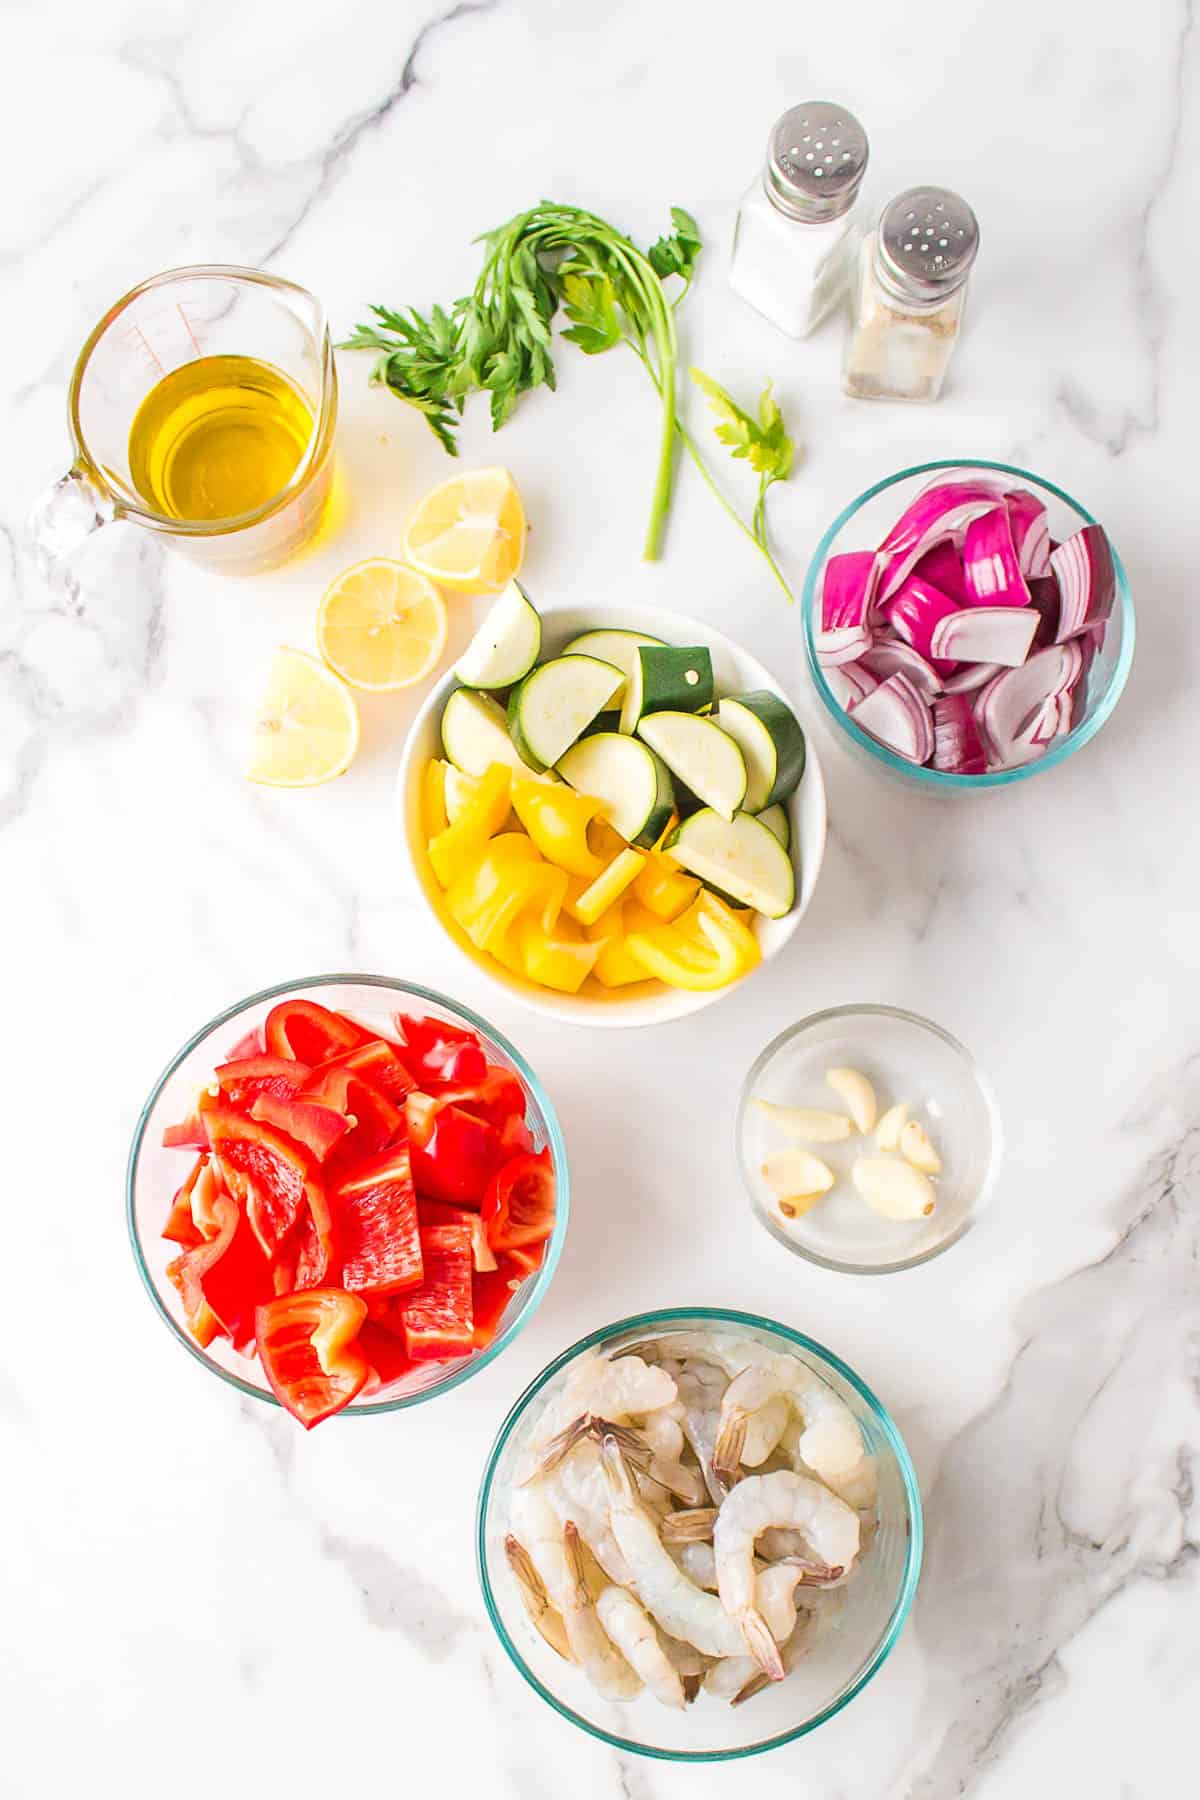
Simple ingredients are always best, and all are easy to find at your local grocery store. By making kabobs like these, you can stretch shrimp which are pricey to many more people.
Should I Peel Shrimp for Kabobs?
Yes, you need to peel the shrimp prior to putting them on the skewers. I like to use large shrimp for the recipe with the tail still on (26–30 shrimp per pound). You can clean shrimp yourself as they are cheaper but do leave the tails on as they are so much nicer to look at when skewered. You can pull off a tail easily but having to peel whole hot shrimp is not that easy.
If you use larger shrimp and veggies that are cut uniformly, you will get a much more even cooking on all the ingredients. The shrimp will cook at the same time the veggies do.
Ingredients
1 Pound of shrimp, tail on (26–30 shrimp per pound)
2 Red bell pepper
1 Yellow bell pepper
½ Red onion
1 medium zucchini
Juice and zest of 2 lemons
5 Garlic cloves finely minced or grated
1 tablespoon kosher salt
1 tablespoon black pepper
⅓ cup Olive Oil
Parsley and lemon for garnish
How to Make Shrimp Kabobs
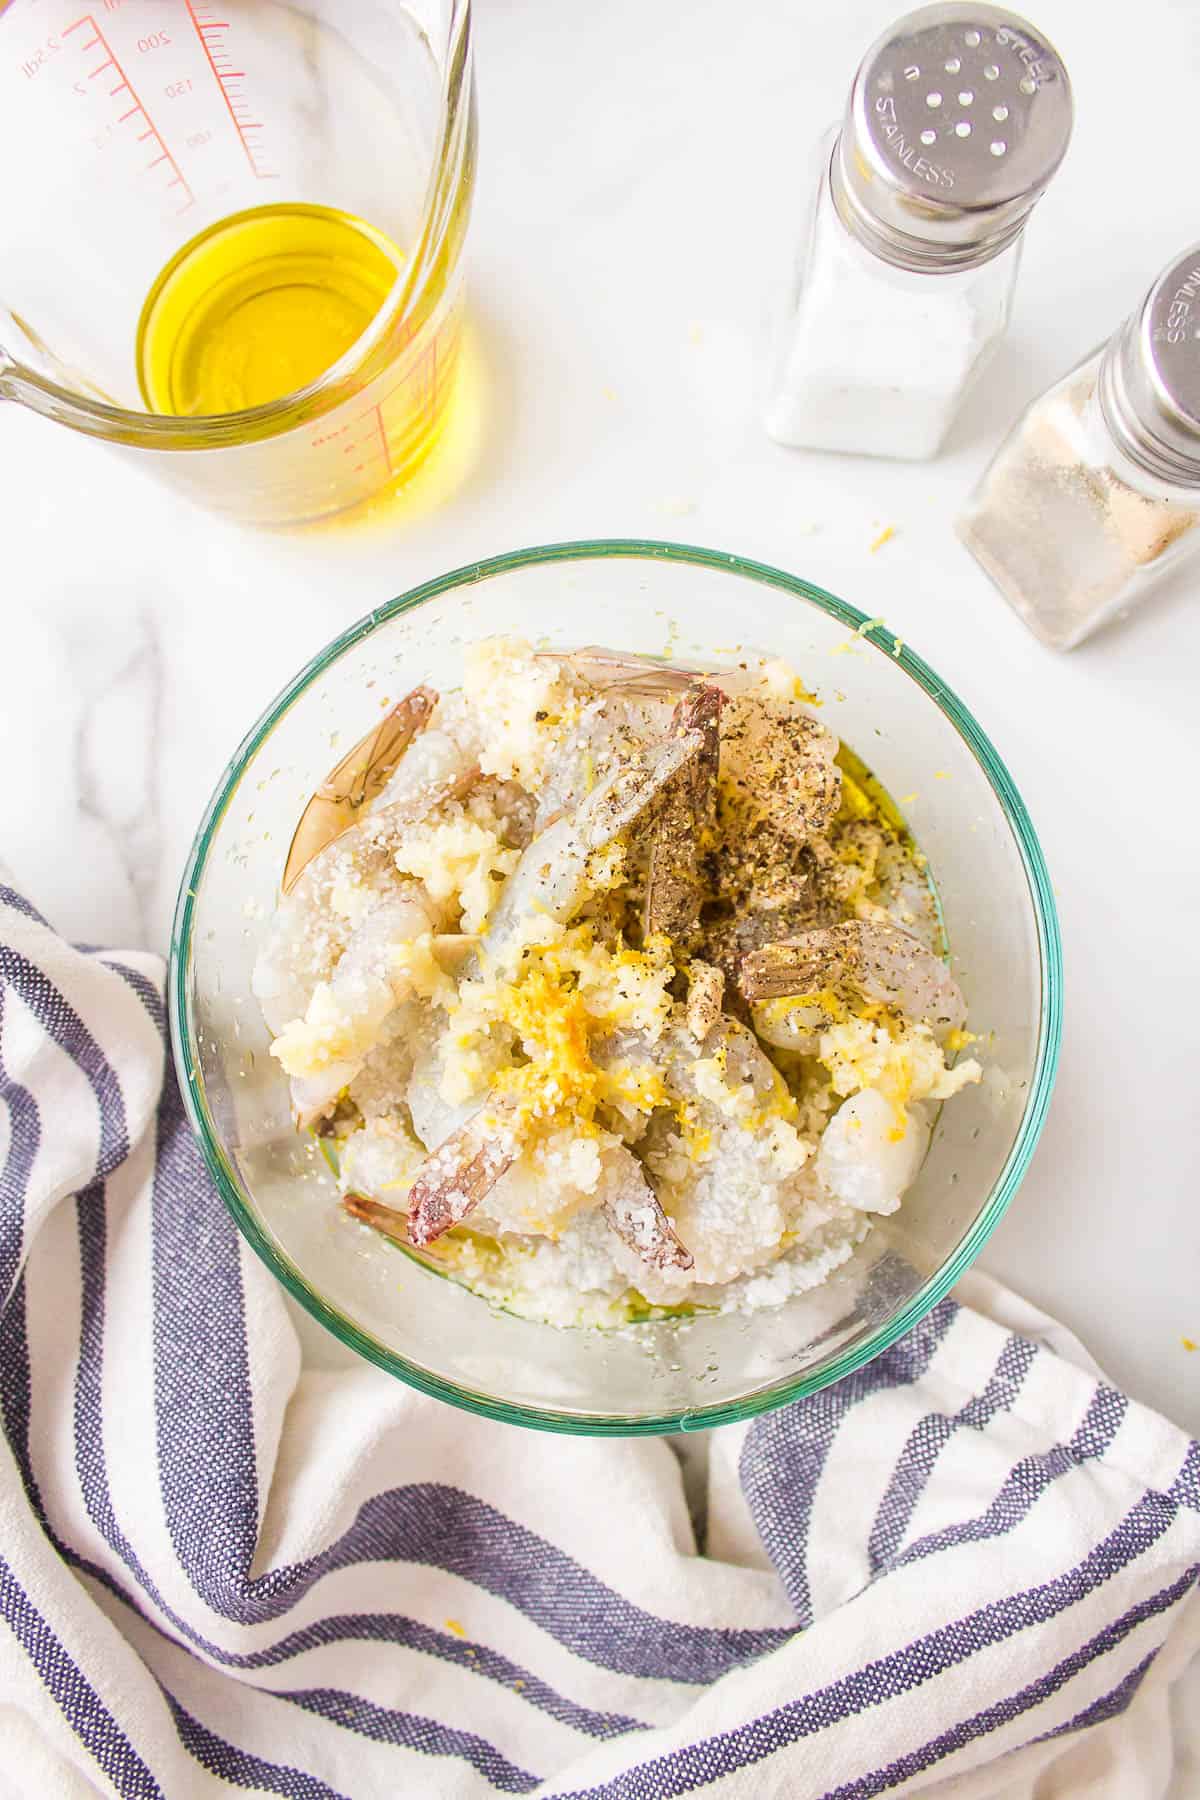
Here is how to cook shrimp kabobs. They are easy and fast to do.
Soak skewers in water for 20-25 minutes. Dry off once done, and set aside.
In a medium bowl, mix together lemon juice, lemon zest, salt, pepper, olive oil, and garlic. Add shrimp and mix. Cover and let sit in the fridge for 15 – 30 minutes; any longer and the texture of the shrimp will change. The citrus starts to “cook” the shrimp. If you are ever marinating already cooked shrimp in citrus, don’t marinate for longer than 5 minutes.
While the shrimp marinates, prepare your veggies. Chop your bell peppers, red onion, and zucchini into one-inch pieces. This way they all cook evenly and are bite-sized.
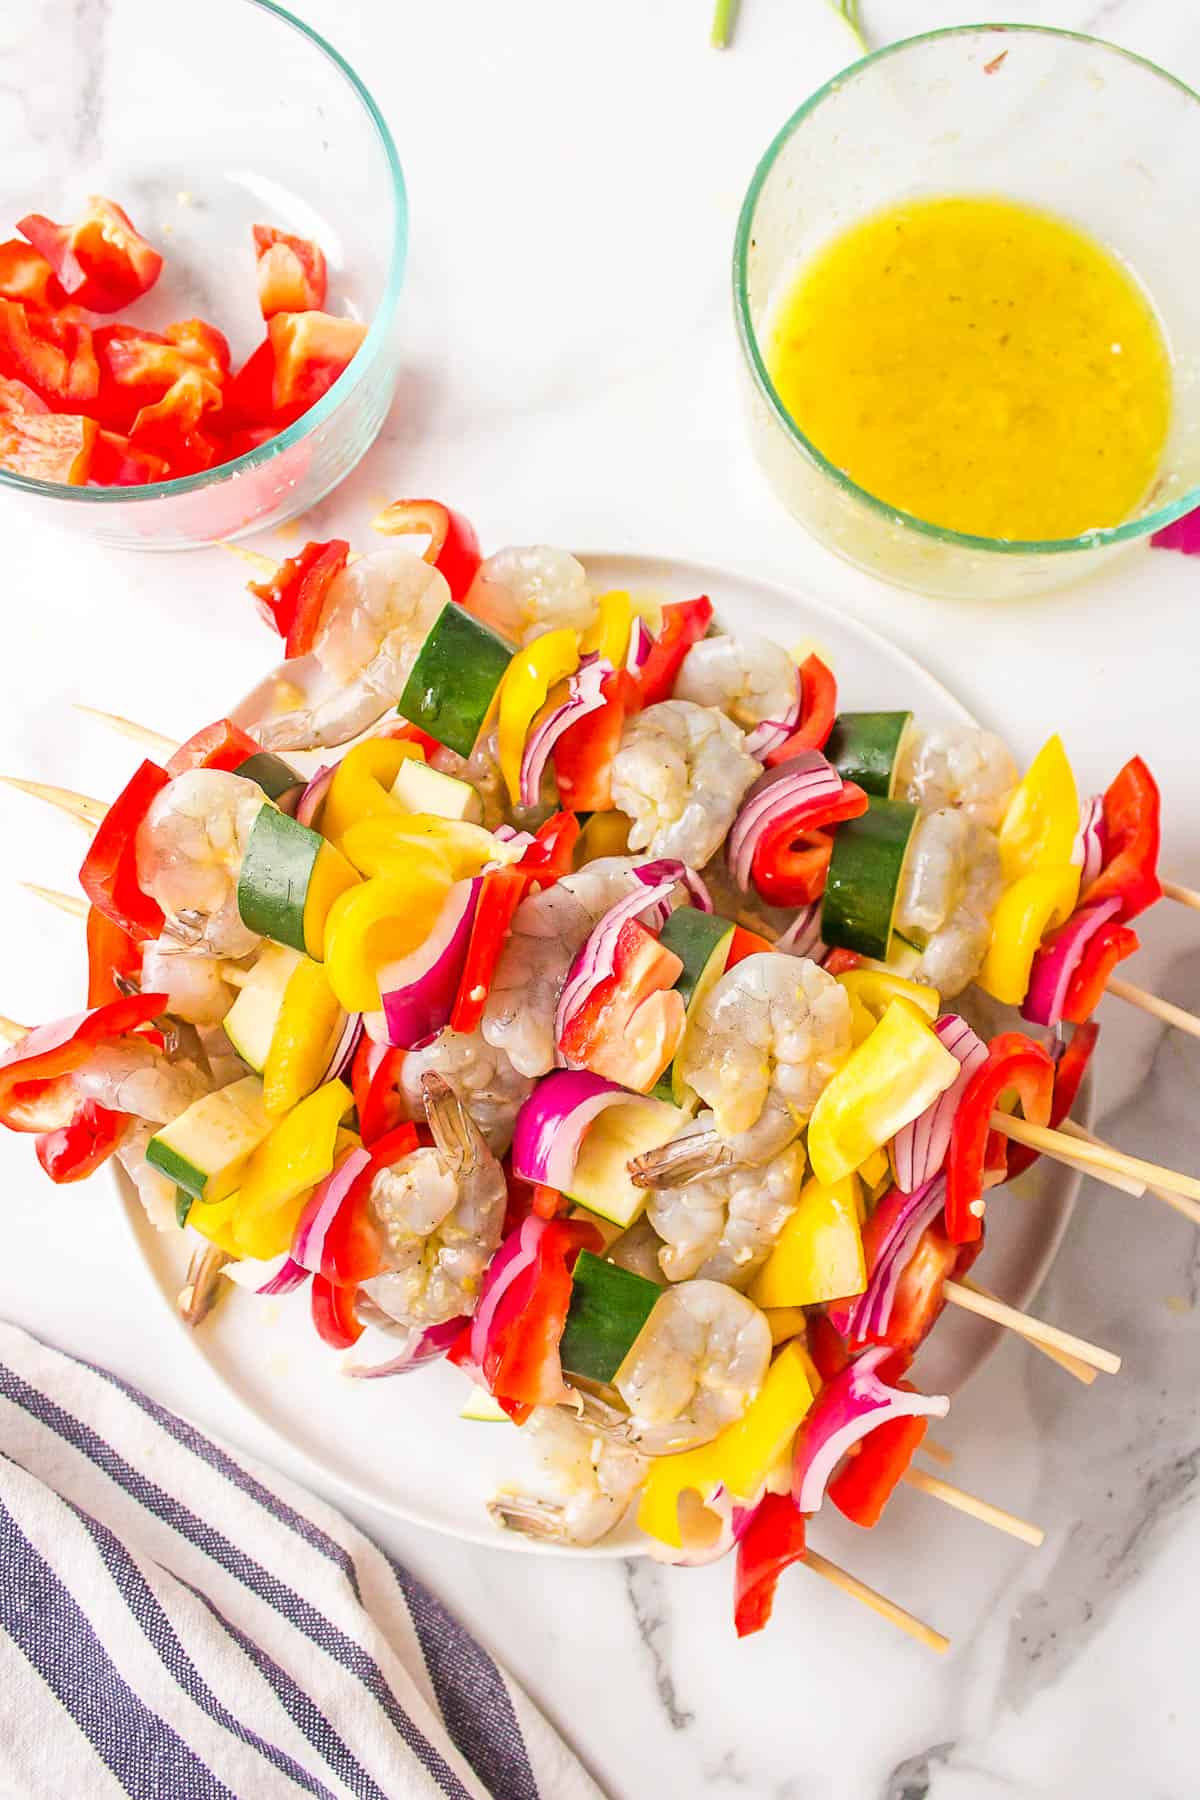
Once your shrimp is done marinating, arrange them with the veggies on skewers in the desired order. Place on a plate. Brush them with any remaining marinade.
TO GRILL:
Preheat your outdoor grill to medium-high heat and grill the shrimp skewers for 3-4 minutes per side. For the grill, you can also use metal skewers.
TO BAKE:
Preheat your oven to 400 degrees while you are cutting your vegetables. Line a baking sheet with aluminum foil and 2-3 tablespoons of olive oil. Place the shrimp kabobs on a pan and bake for 15 minutes, turning halfway on each side until shrimp are pink and cooked through and veggies are tender.
Optional: You can broil them at the end on a high for 2-3 minutes to get a more char look and taste.
Garnish with parsley and fresh lemon juice, and enjoy!
FAQ’s
What supplies do I need for this recipe?
You need baking sheets (if baking)
Long Skewers
Bowl for marinade
Gas grill or indoor grill pan if grilling
Knife for chopping vegetables
Can I make this recipe ahead of time?
No, the marinade on the shrimp will continue to change the texture of the shrimp and could make them mushy if marinated for too long. If you omit the lemon juice and just use the zest, then they can be made ahead. You could then squeeze on fresh lemon juice just before grilling or roasting.
Can I freeze this recipe?
This recipe would not be good if frozen and stored prior to cooking or frozen after cooking.
What substitutions can I make?
You can use any type of onion or bell pepper that you like. You can also use yellow squash or add tomatoes!
Wood or Metal Skewers?
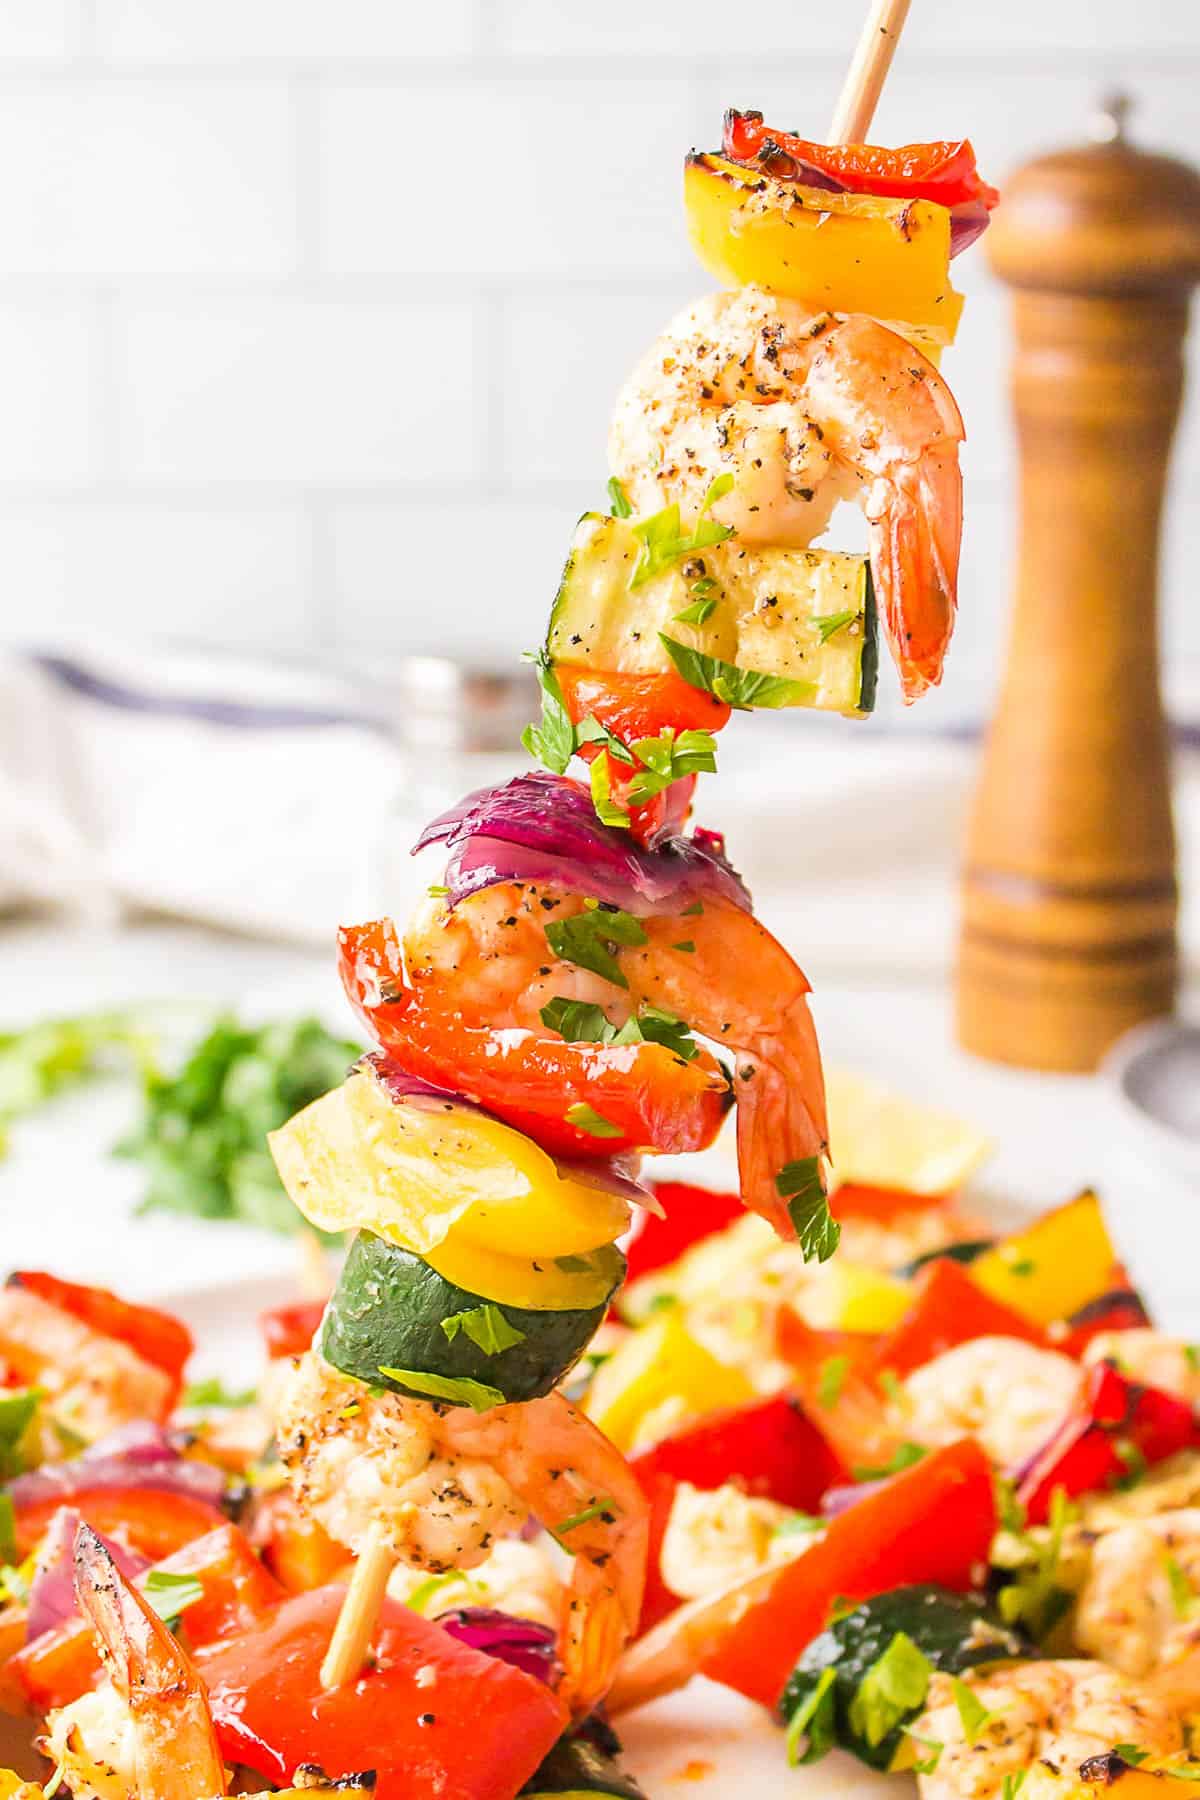
In general, I use wooden skewers for the oven and metal skewers for the BBQ. If using the wooden skewers in either heat source, I would make sure to soak them in water for 20 – 25 minutes prior to threading on your shrimp and vegetables.
What goes with Shrimp Kabobs?
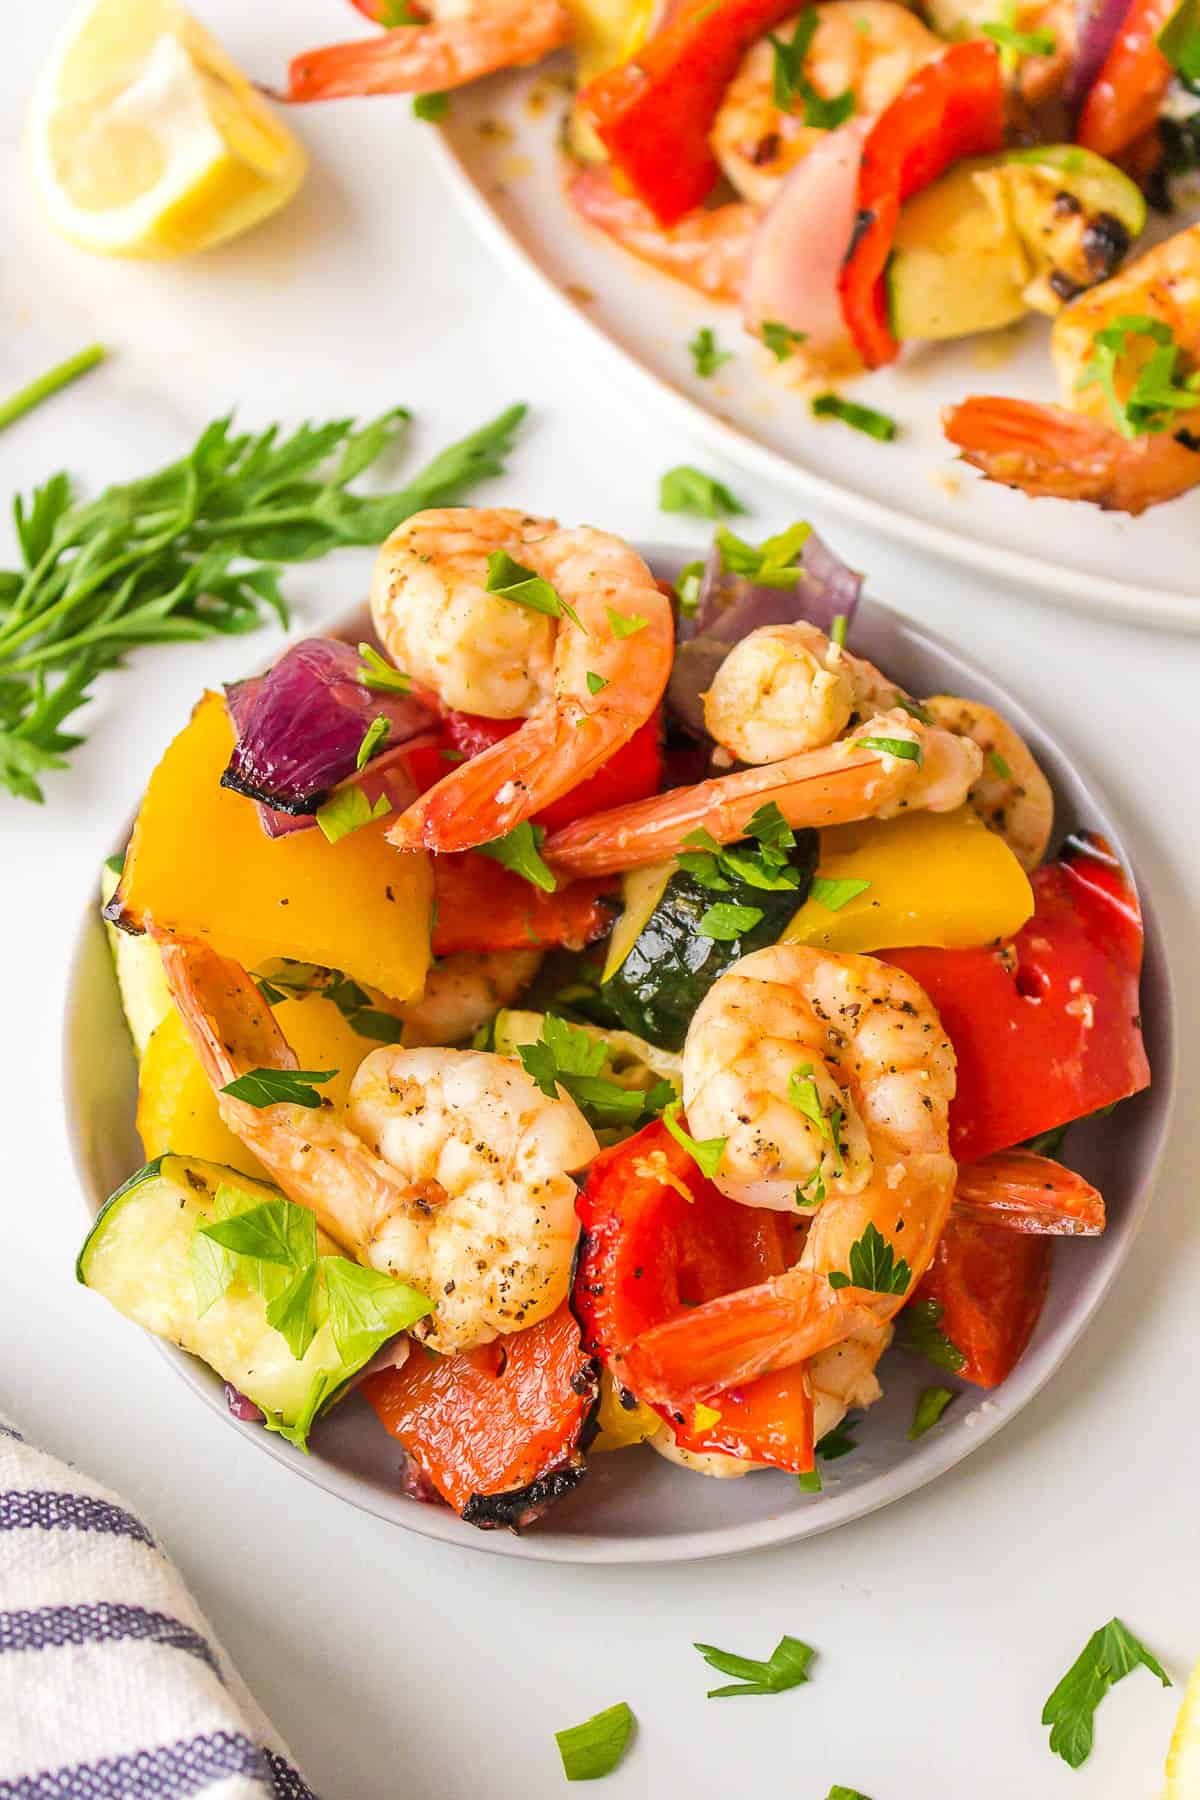
A salad or rice dish on the side can go a long way with these Garlic Lemon Shrimp Kabobs. Here are some of our favorite recipes to have with them.
Plain Steamed Rice – plain rice pairs with almost anything, and these kabobs will be wonderful with just plain old rice.
Zucchini Au Gratin with Rice – Shredded zucchini and rice in a delightful creamy cheese sauce is a gorgeous dish that everyone will love. Plus, it goes with any protein you serve it with.
Easy “Fried” Rice – This recipe is simple and quick and deliciously homemade! It is not greasy at all and stays nice and fluffy. It pairs well with the flavors of the shrimp.
Pineapple Coconut Rice – A delightfully sweet rice side dish that pairs wonderfully with so many dishes, including these shrimp skewers.
Easy Caprese Salad – This light Easy Caprese Salad Recipe goes with so many meals. It is perfect in the summer when tomatoes are at their finest but is also enjoyable in the winter months too.
Summer Spinach Salad – This recipe gathers fresh ingredients such as baby spinach, juicy strawberries and blackberries, and feta cheese and is also accompanied by some sliced toasted almonds.
Classic Caesar Salad Recipe – You can make this easy dressing with the ingredients you already have in your pantry. This is such a versatile side salad and goes with so many meals like these kabobs.
What is the difference between Skewers, Kabobs, or Kebabs?
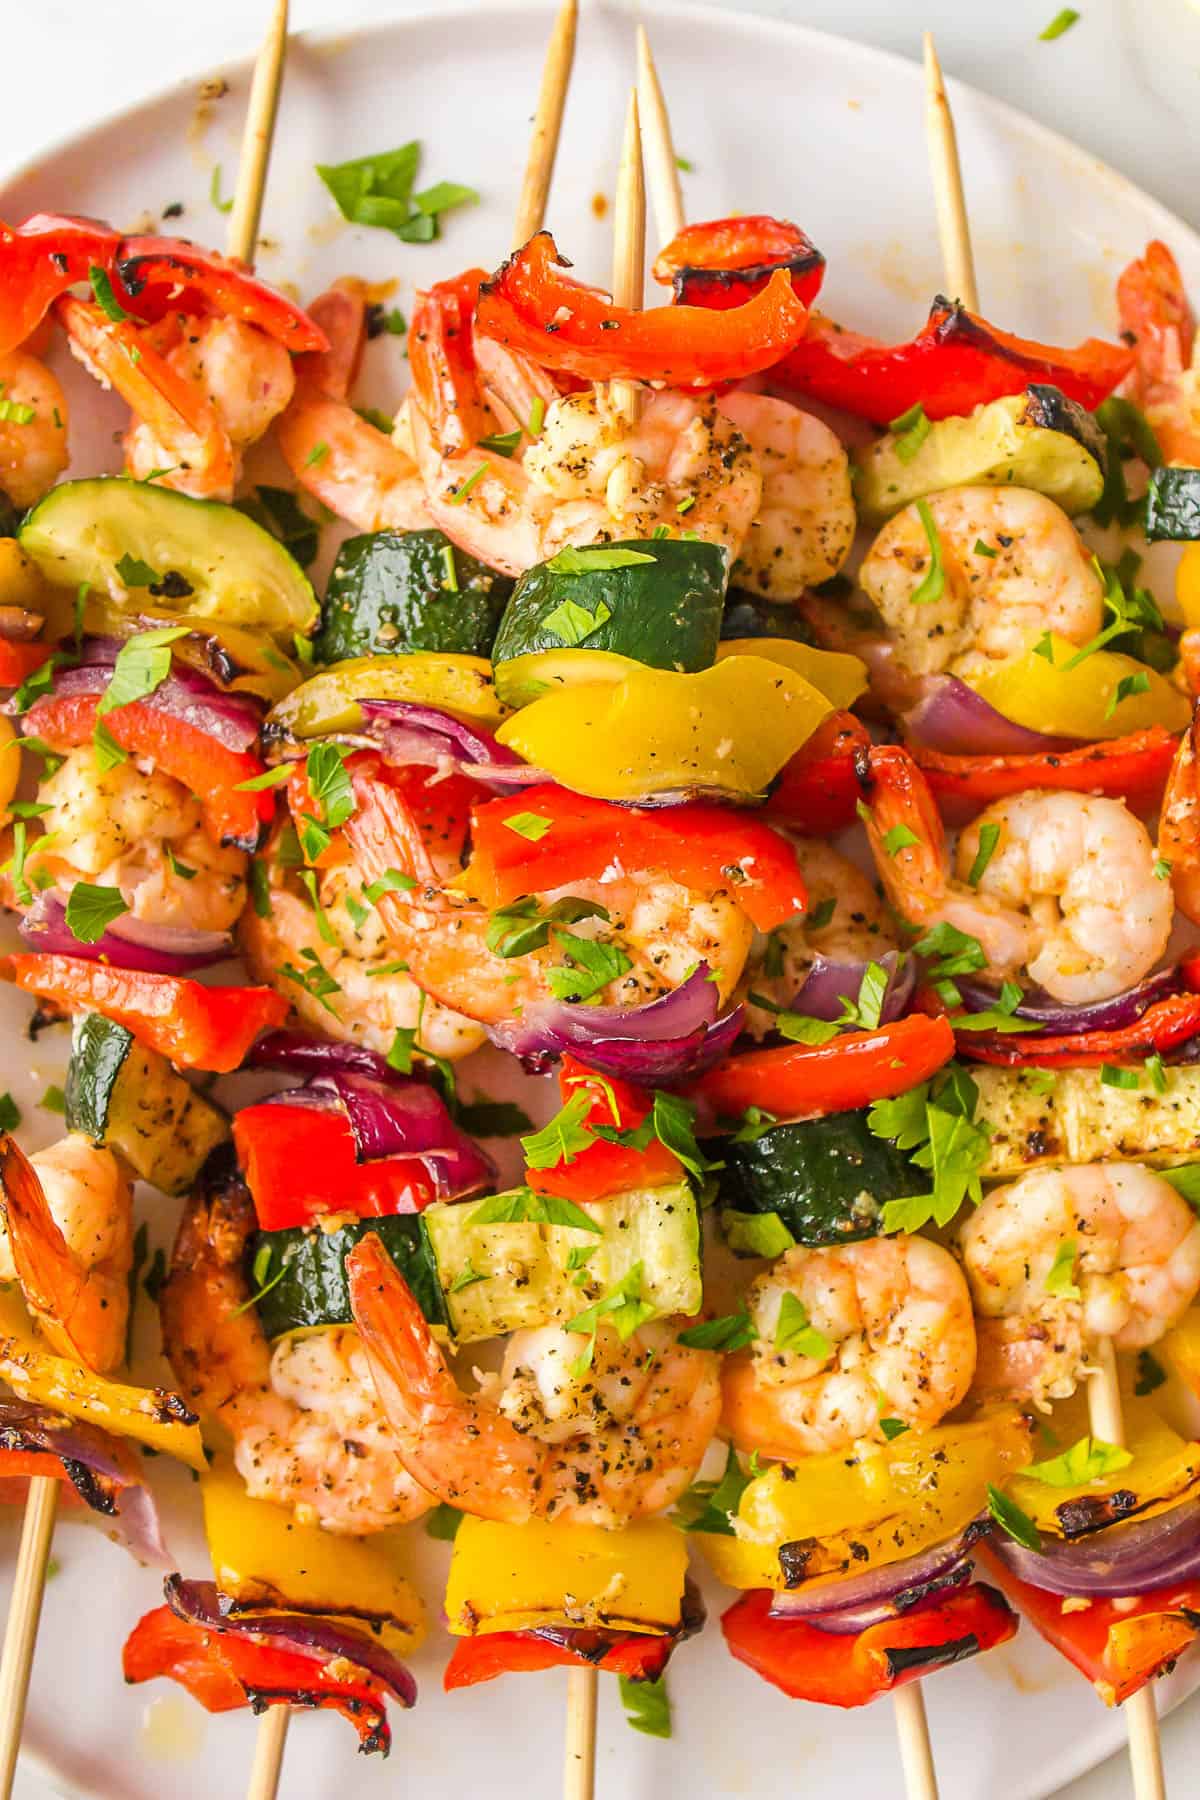
I tend to have my own opinion on the difference between the words skewers and kabobs. Skewers tend to have just the meat or just the veggies, while a kabob will have both the meat and veggies together, but that is just my opinion, and the two can be interchanged.
Now, the words kabob and kebab refer to the same thing that is prepared with chunks of meat and vegetables grilled on a skewer. The spelling kabob is mostly used mainly in North America while other spellings like kebab, shish kebab, kebap, kabob, kebob, or kabab are found in many cuisines of Iranian, Afghan, Middle Eastern, Eastern Mediterranean, and South Asian origin.
Pin it HERE!!
Pin it HERE!!
Lemon Garlic Shrimp Kabobs
Ingredients
- 1 Pound of shrimp tail on (26–30 shrimp per pound)
- 2 Red bell pepper
- 1 Yellow bell pepper
- ½ Red onion
- 1 medium zucchini
- Juice and zest of 2 lemons
- 5 Garlic cloves finely minced or grated
- 1 tablespoon kosher salt
- 1 tablespoon black pepper
- ⅓ cup Olive Oil
- Parsley and lemon for garnish
Instructions
- Soak skewers in water for 20-25 minutes. Dry off once done, and set aside.
- In a medium bowl, mix together lemon juice, lemon zest, salt, pepper, olive oil, and garlic. Add shrimp and mix. Cover and let sit in the fridge for 15 – 30 minutes; any longer and the texture of the shrimp will change. The citrus starts to “cook” the shrimp. If you are ever marinating already cooked shrimp in citrus, don’t marinate for longer than 5 minutes.
- While the shrimp marinates, prepare your veggies. Chop your bell peppers, red onion, and zucchini into one-inch pieces. This way they all cook evenly and are bite-sized.
- Once your shrimp is done marinating, arrange them with the veggies on skewers in the desired order. Place on a plate. Brush them with any remaining marinade.
TO GRILL:
- Preheat your outdoor grill to medium-high heat and grill the shrimp skewers for 3-4 minutes per side. For the grill, you can also use metal skewers.
TO BAKE:
- Preheat your oven to 400 degrees while you are cutting your vegetables. Line a baking sheet with aluminum foil and 2-3 tablespoons of olive oil. Place the shrimp kabobs on a pan and bake for 15 minutes, turning halfway on each side until shrimp are pink and cooked through and veggies are tender.
- Optional: You can broil them at the end on a high for 2-3 minutes to get a more char look and taste.
- Garnish with parsley and fresh lemon juice, and enjoy!



Let us know what you think!
We’d love to know what you and your family think! Make sure to leave a review below and follow us on your favorite social network!