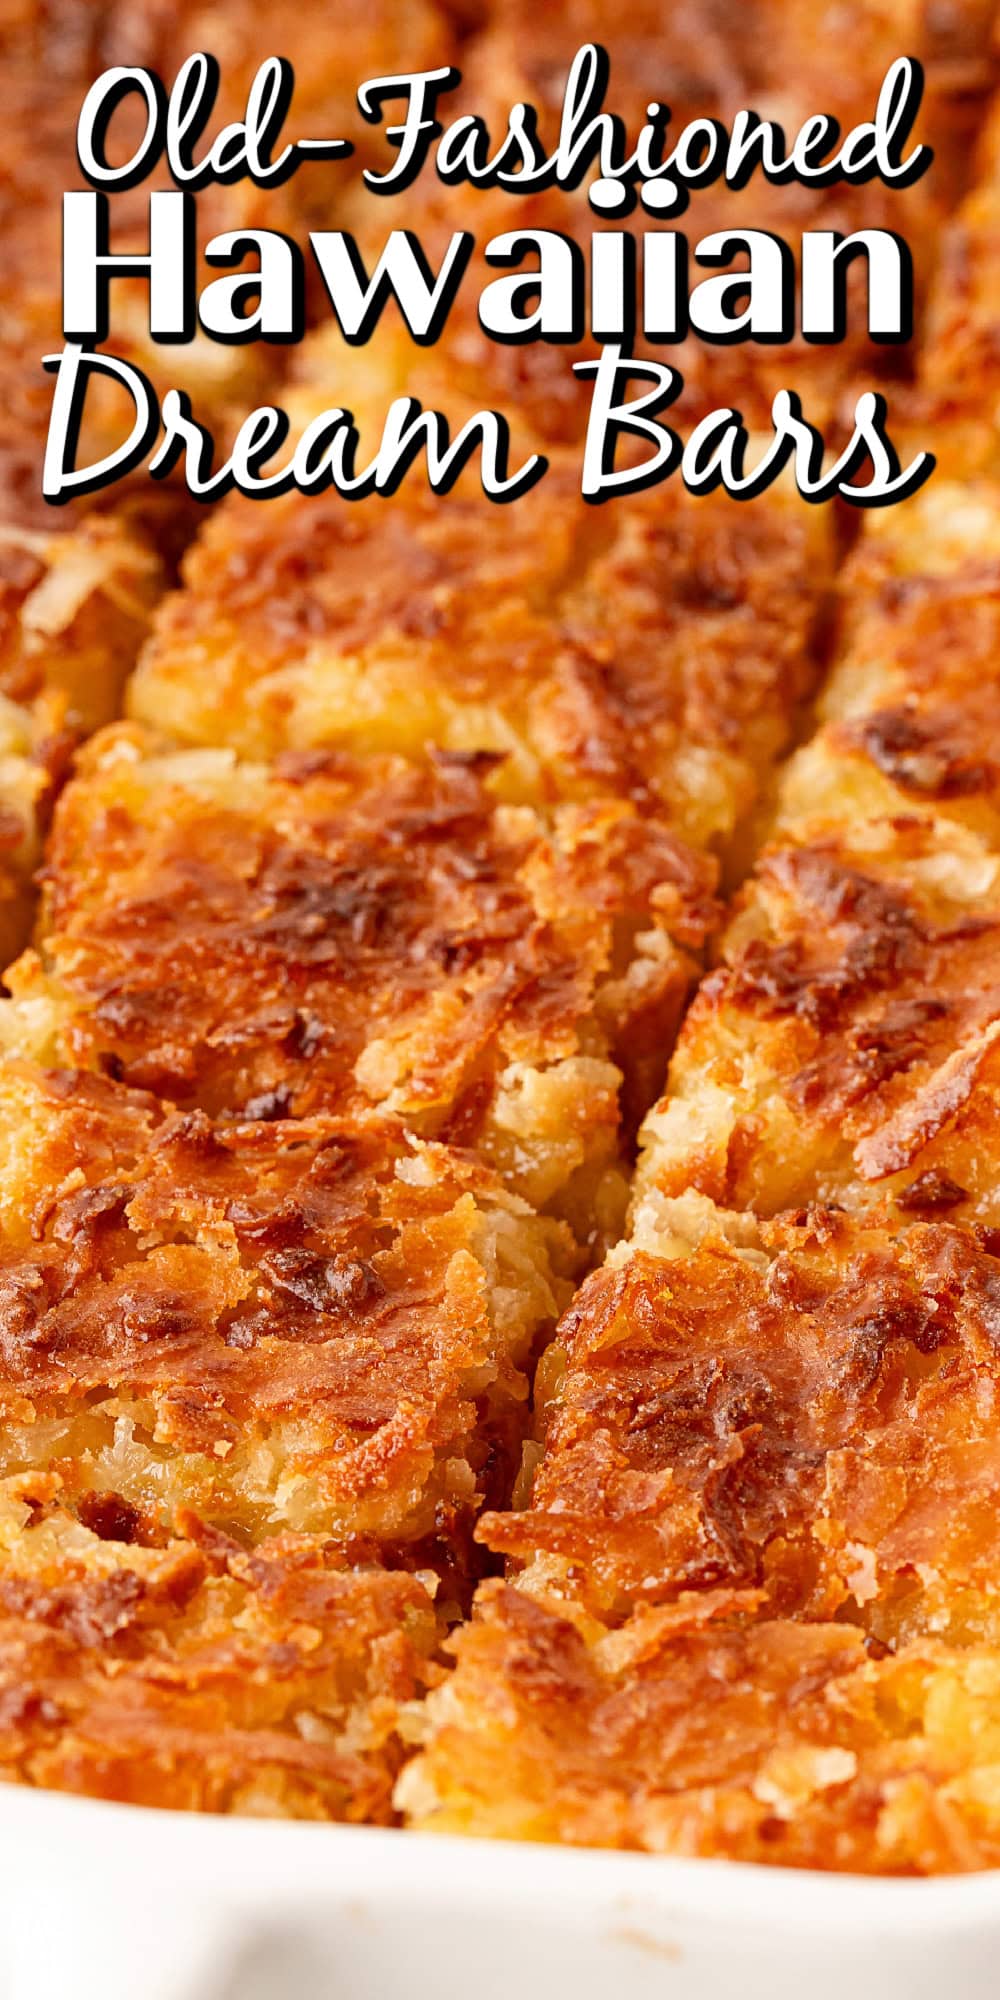
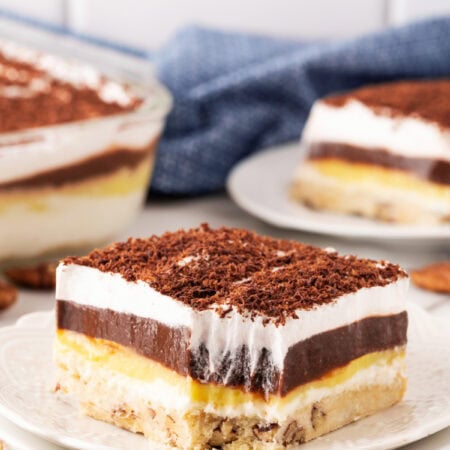
Old-Fashioned Hawaiian Dream Bars are a classic layered dessert bar made with a buttery crust and a sweet, creamy topping featuring pineapple, coconut, and often nuts. This vintage recipe is known for its tropical flavor and gooey texture and is commonly found in church cookbooks and family gatherings.
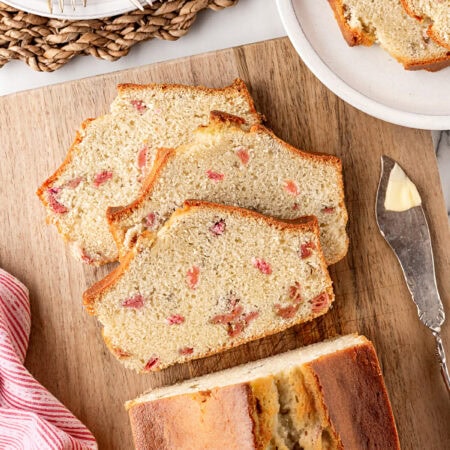
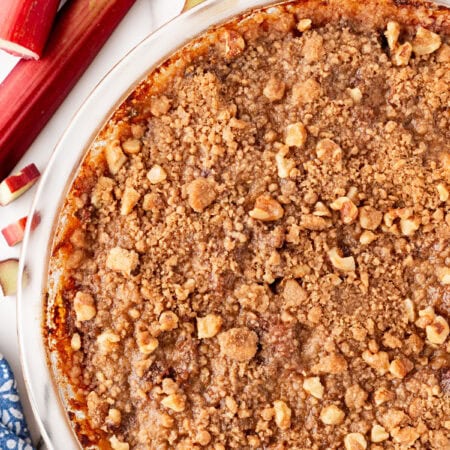
If you love Dream Bars, then have a look at our Rhubarb Dream Bars or Chewy Pecan Bars.
Dream Bars are a classic dessert bar made with a buttery crust and a sweet, gooey topping, often featuring ingredients like coconut, nuts, chocolate chips, or fruit. They’re sometimes called magic bars or layered dessert bars, depending on the variation.
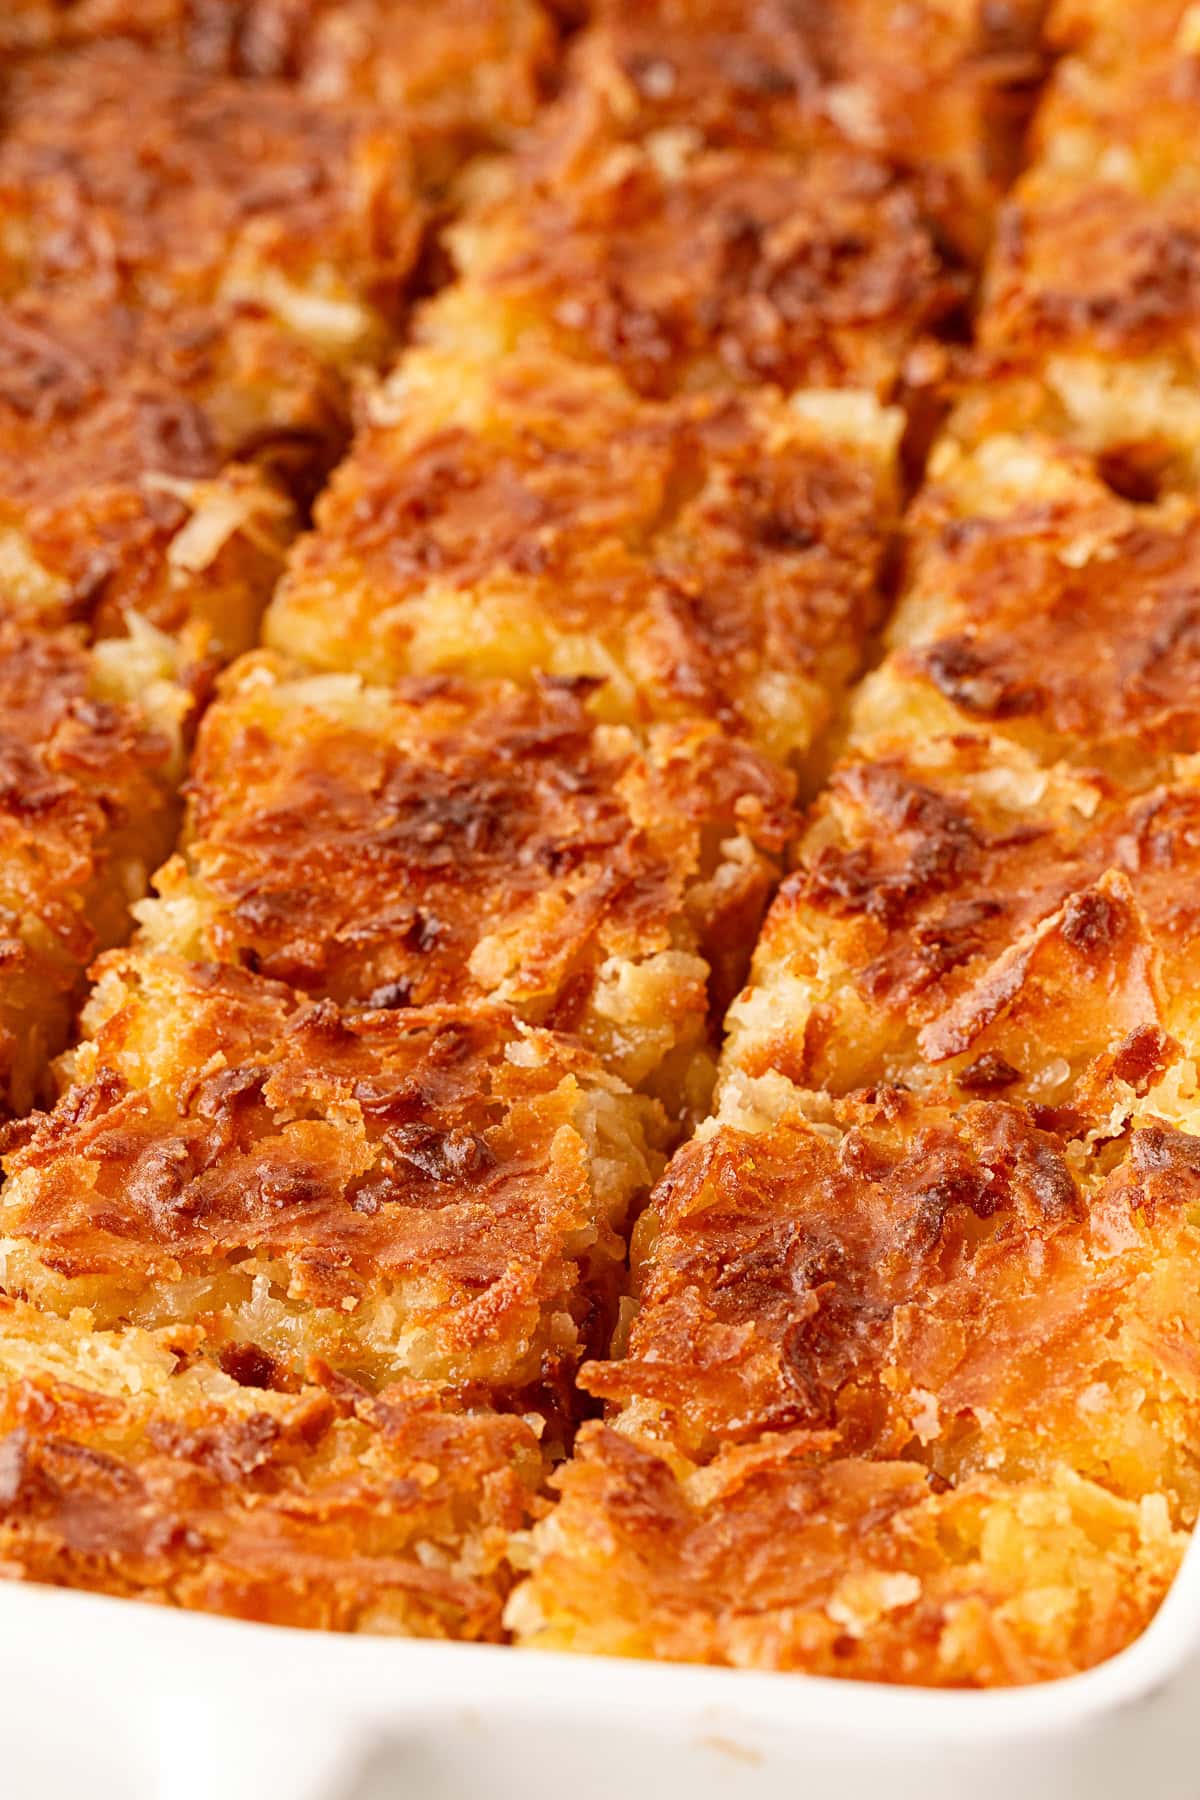
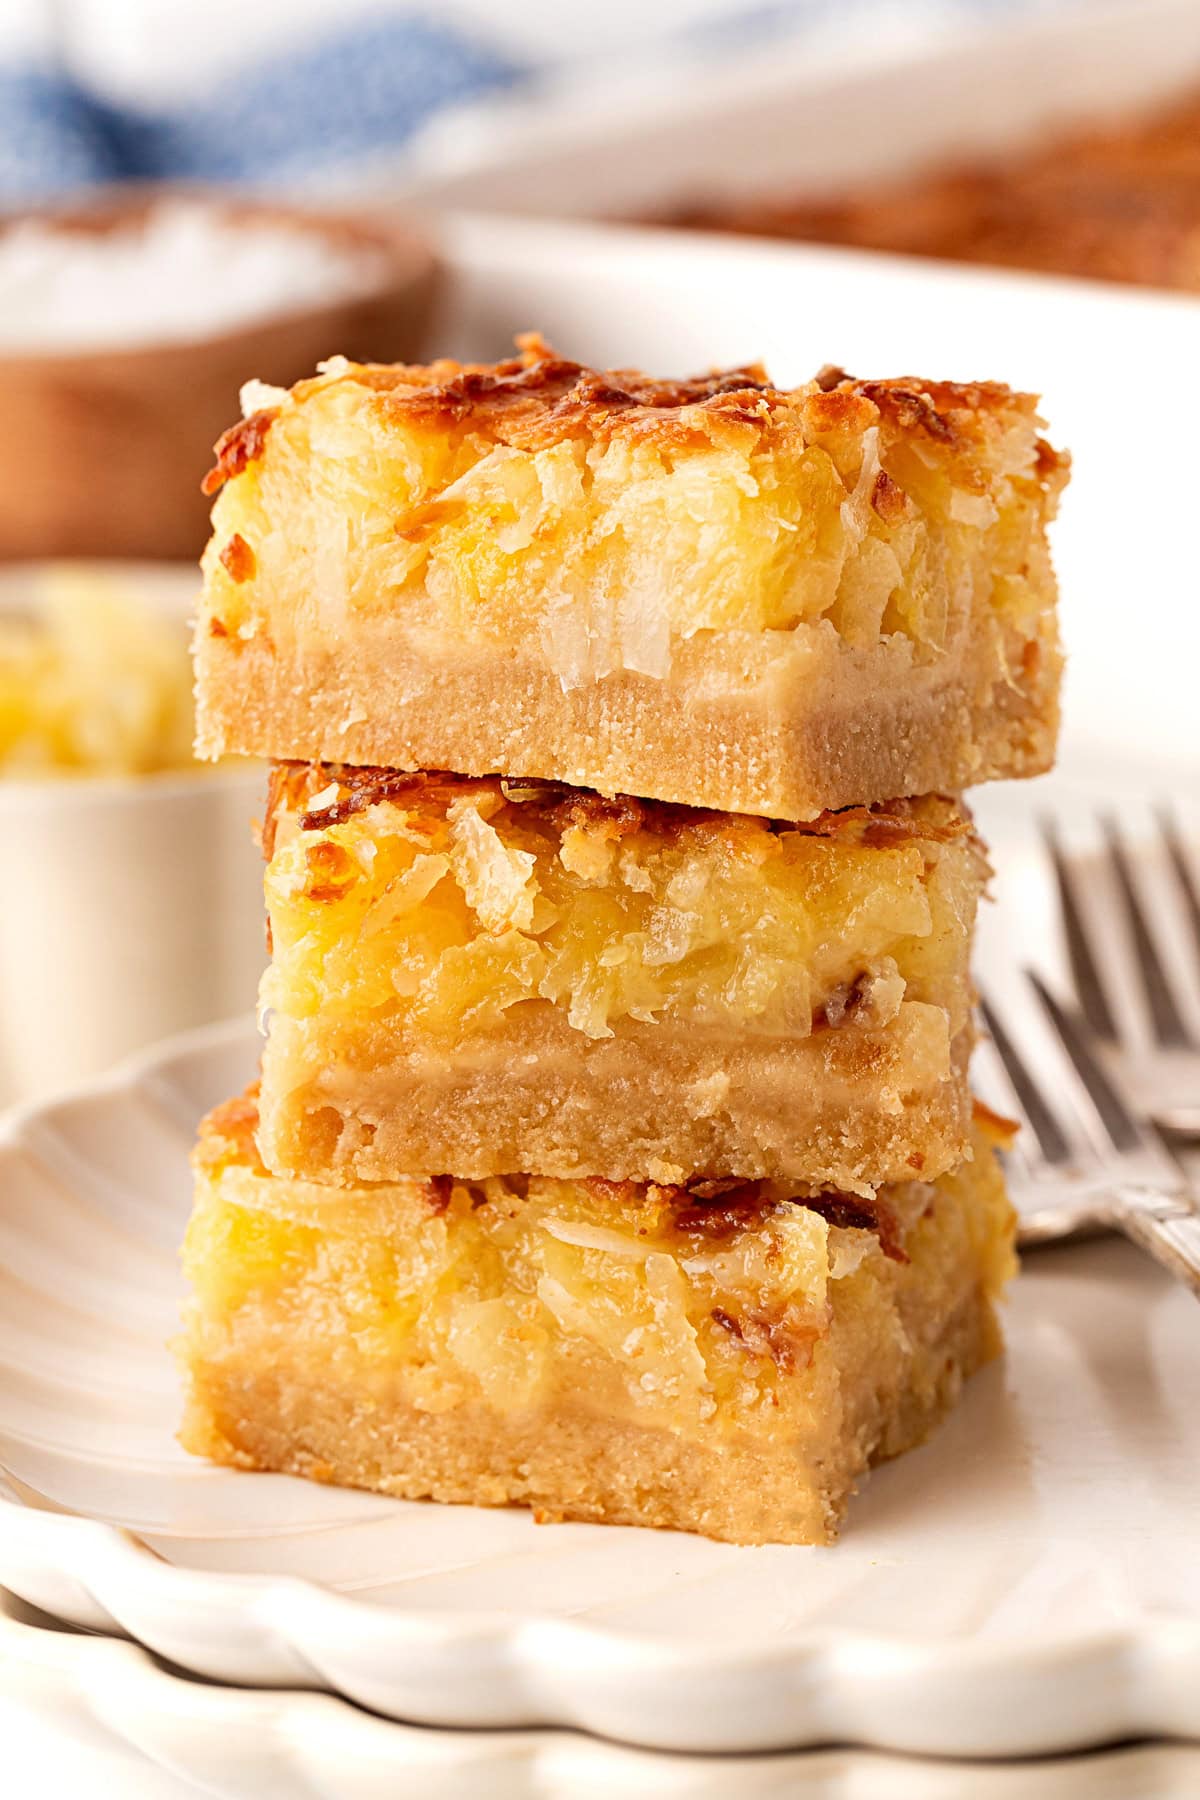
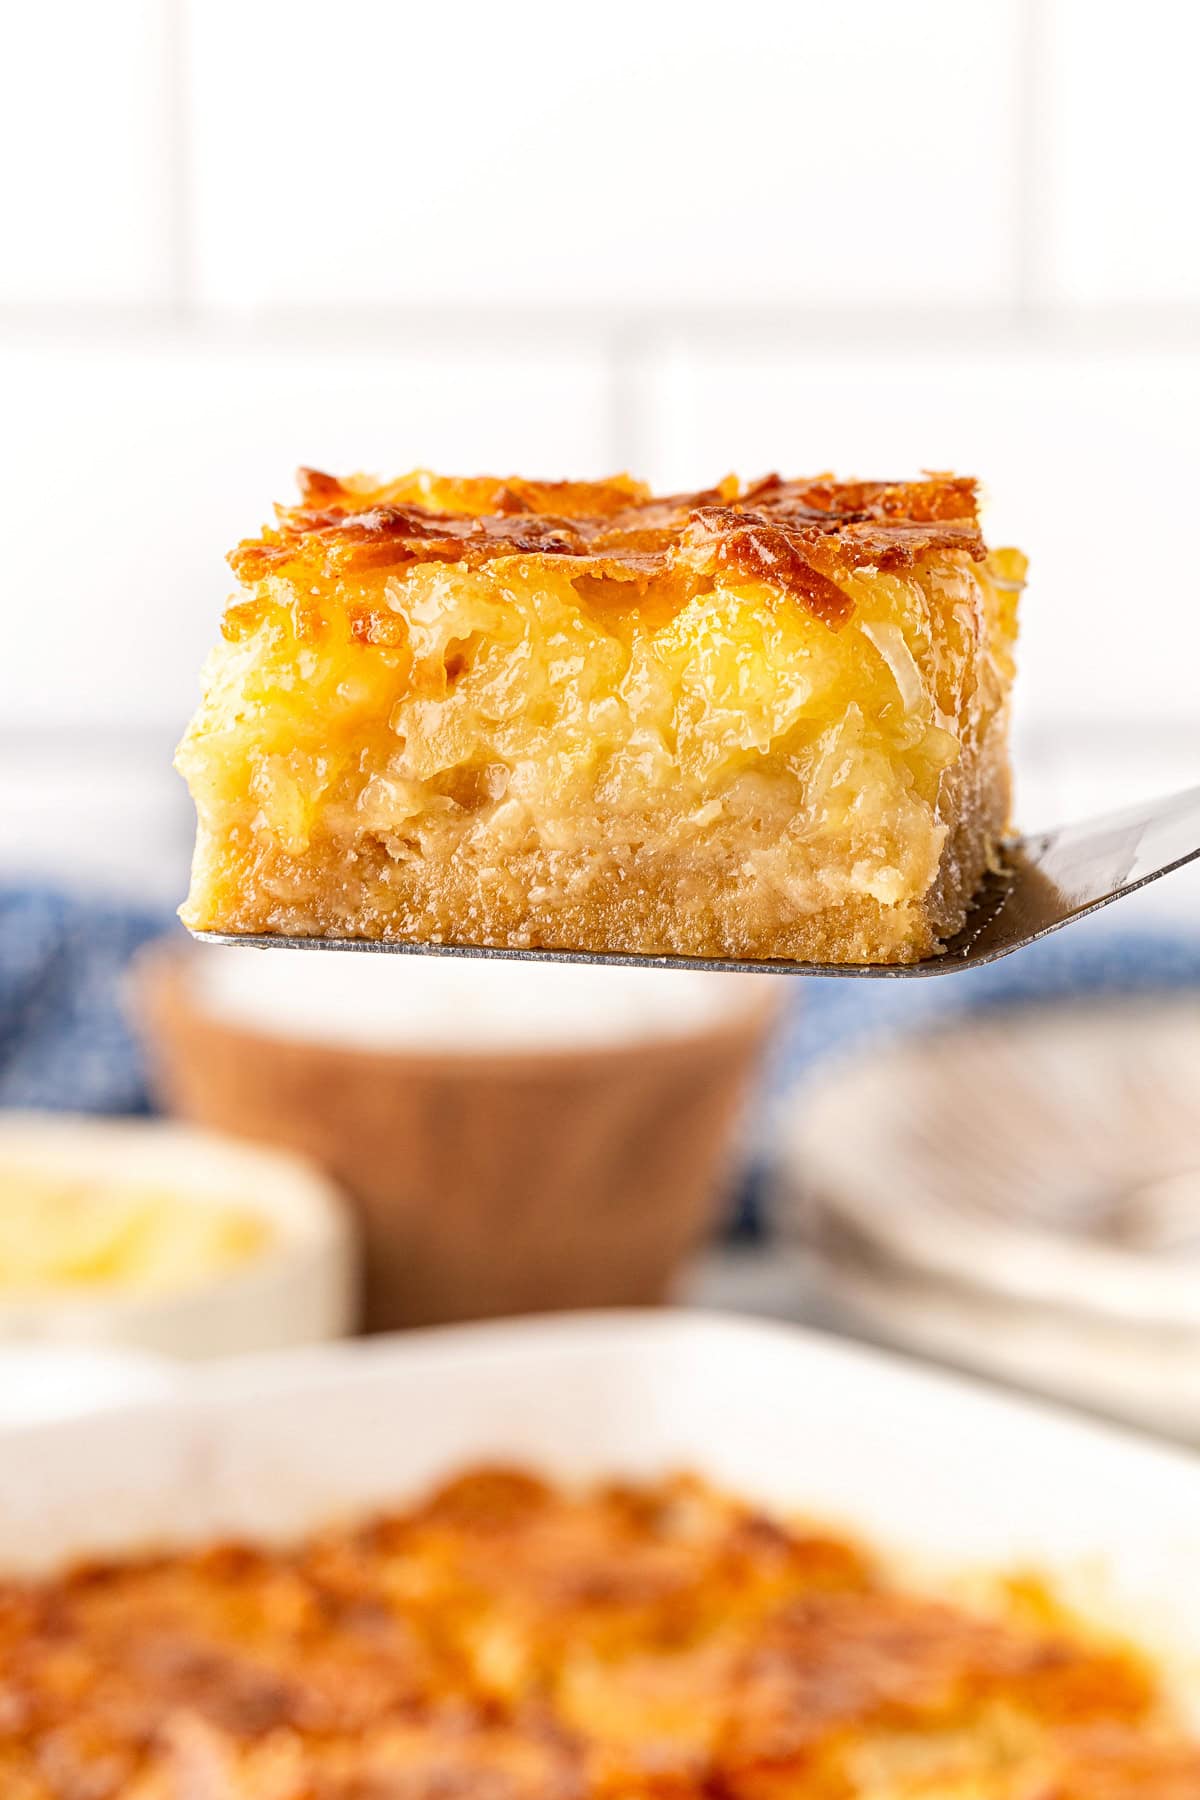
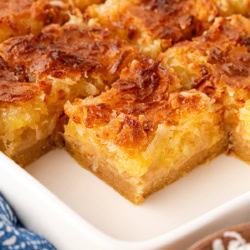
This recipe has a crispy, little crackly, sweet top to it, and then is moist and delicious (gooey) in the center, and finished off with a cookie bottom! Just grab one right out of the pan!
Why I like this Recipe
- Easy to make
- Has a taste of the tropics
- Makes enough to feed a crowd
- The perfect dessert for any get together
- Perfect little dessert
Helpful Items For This Recipe
This post contains affiliate links. As an Amazon Associate, I earn a small portion from qualifying purchases at no extra charge to you.
OXO Non-Stick Pro Ceramic Coated Metal Bakeware 9” x 13” Cake Pan – Storm Blue
Small Spatula Professional Mini Serving Spatula, 2 Pieces Stainless Steel
What Ingredients are in Hawaiian Dream Bars?
Sometimes our new and improved versions are just not as great as the originals that have stood the test of time!! This is something that grandma would have made, and everyone would have raved over back in its day. The same holds true now!
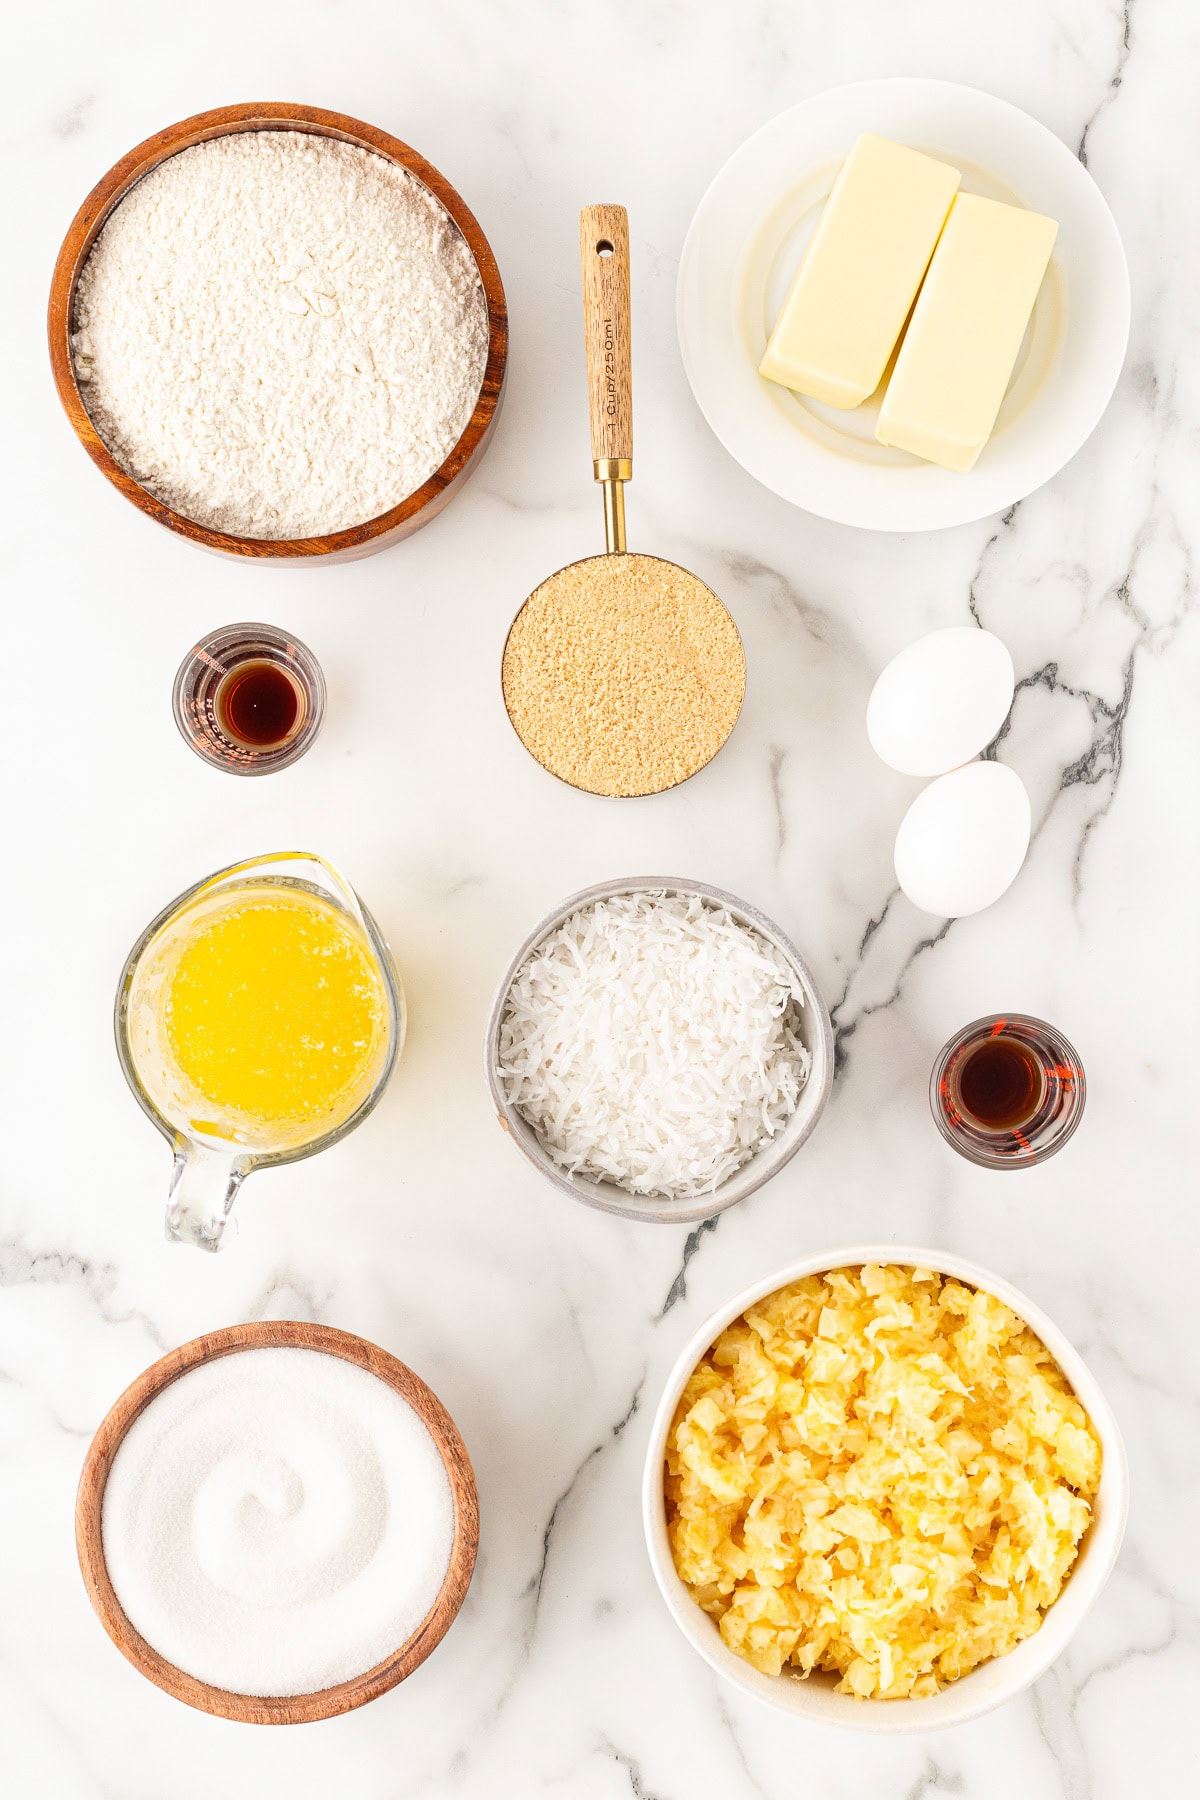
Ingredients
Crust
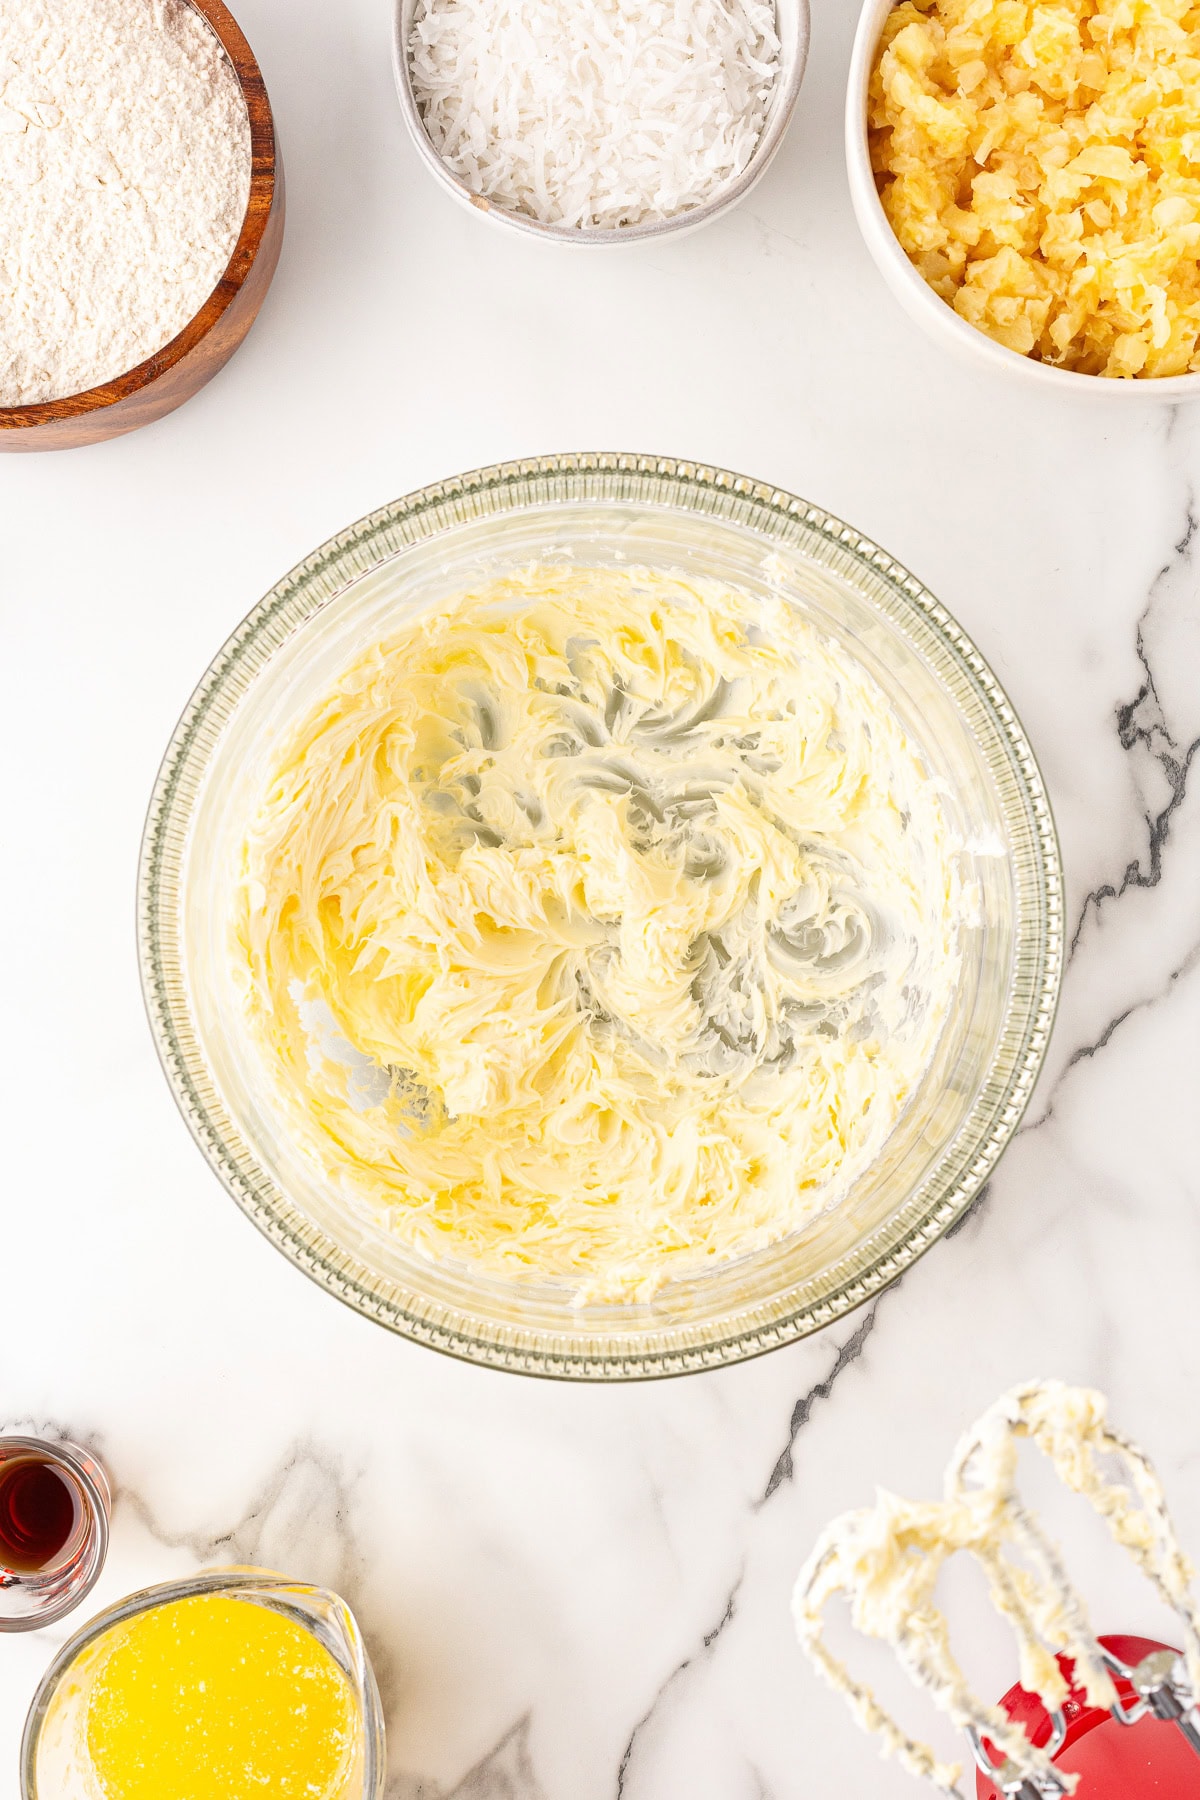
Butter – I use salted butter as that is what I usually have on hand. You can use either, just adjust the salt accordingly.
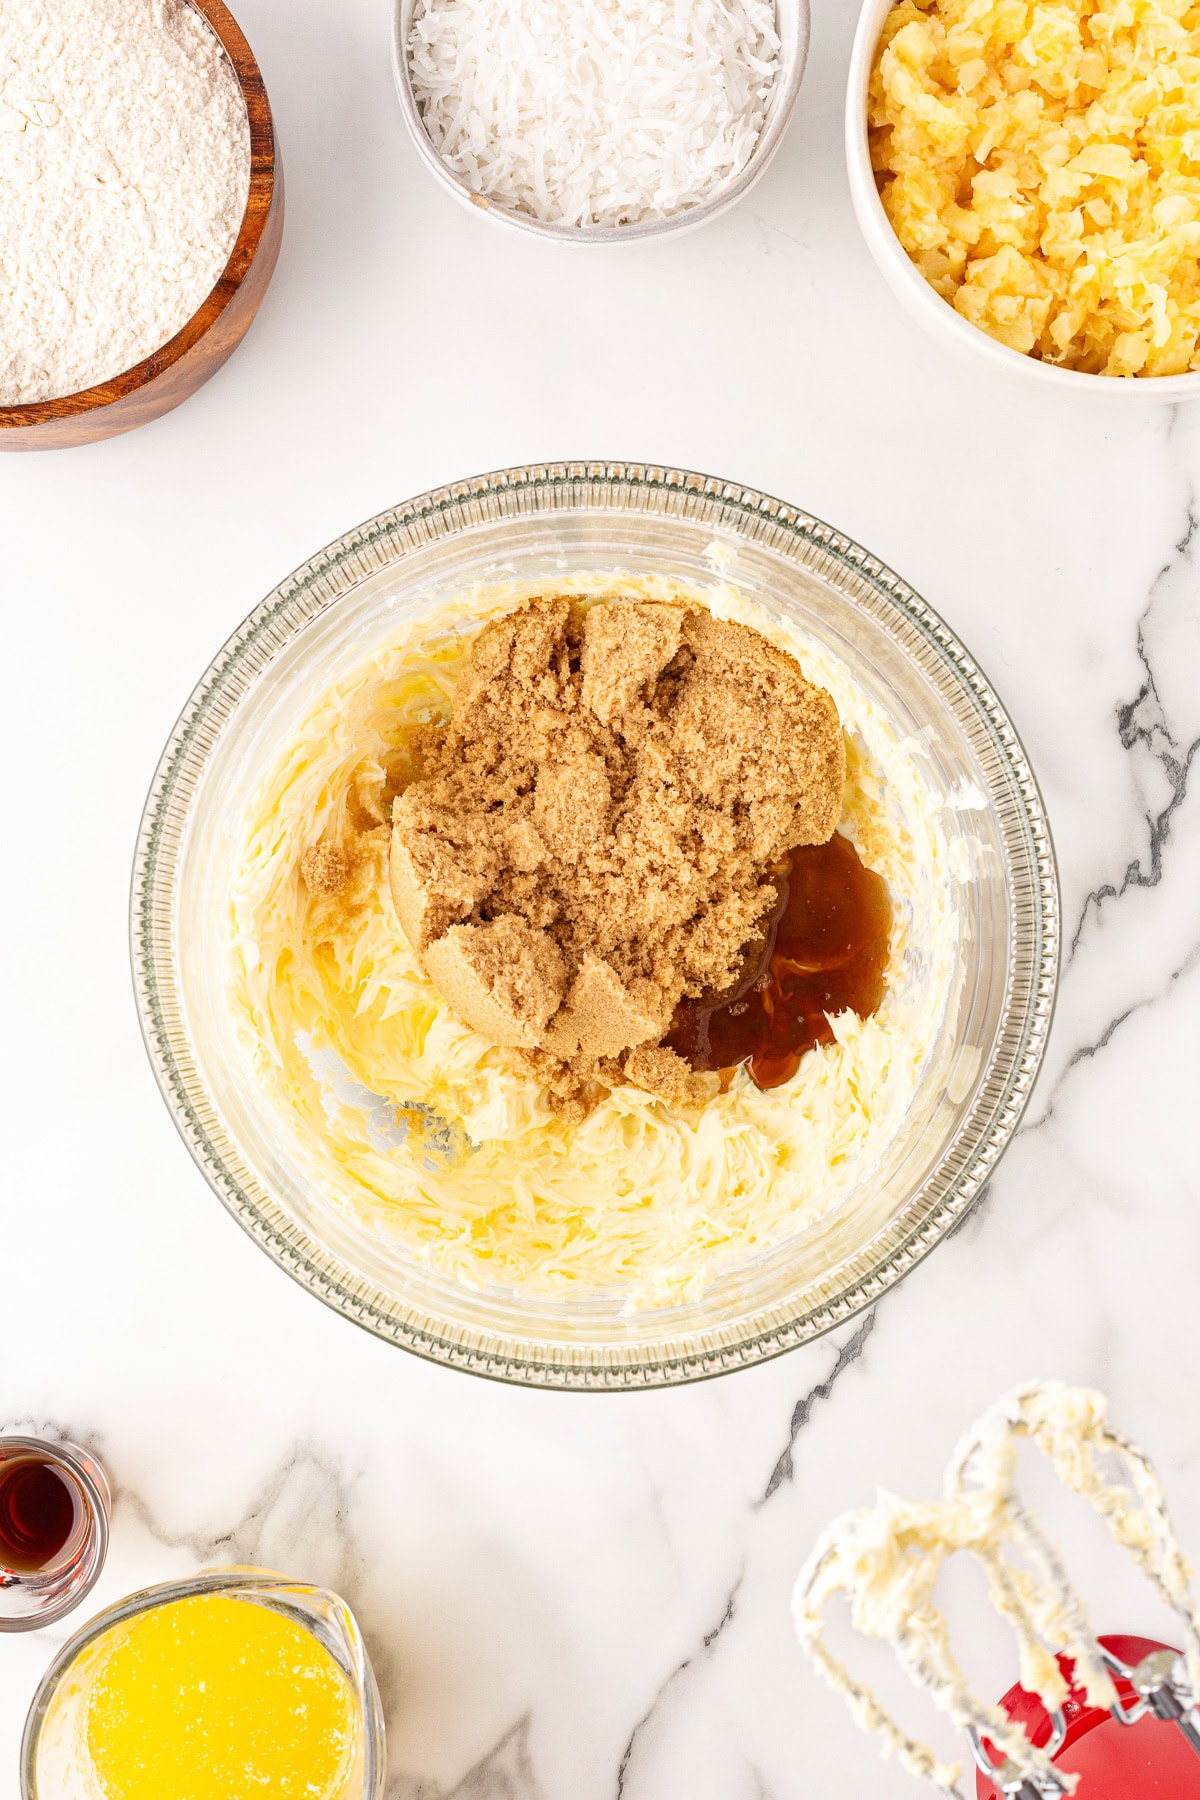
Light brown sugar – Adds a little bit of that molasses flavor and sweetness to the crust.
Vanilla – Adds a little extra to the crust.
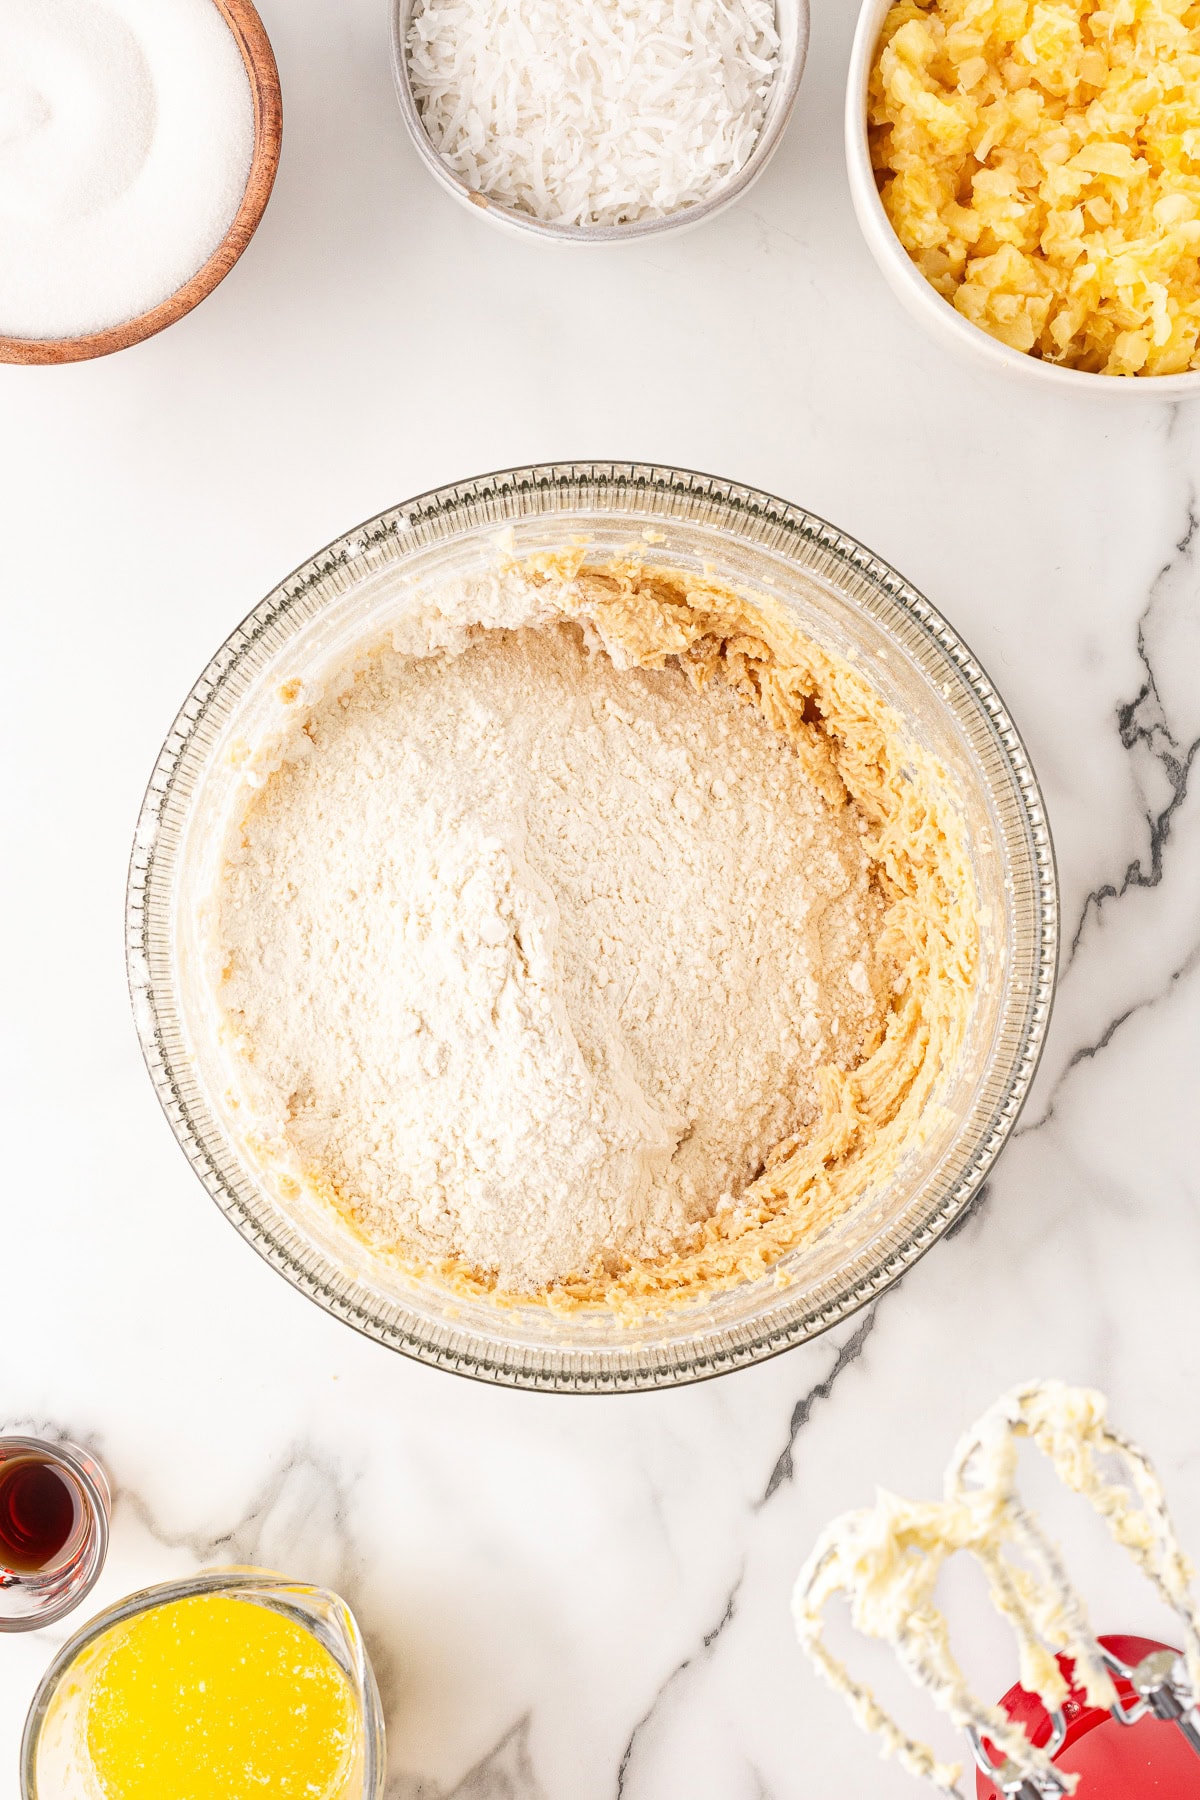
AP Flour – I have not tried to make this recipe gluten-free. AP flour works well.
Topping
Well drained crushed pineapple – It is important to have the pineapple well drained so your topping doesn’t let the whole dessert get soggy.
Melted butter – Adds a needed richness to the squares.
Sugar – Just the right sweetness ties it all together.
Eggs – This helps bind the topping while cooking.
Vanilla – Another hint of vanilla is what you need. Use the good stuff.
Shredded coconut – This adds the rest of the tropical vibe to these delicious bars.
See how luscious the center is? Oh, how I would love one of these again! Recipes like this one have been around forever, and it is nice to revisit them.
How to Make Hawaiian Dream Bars
Preheat the oven to 375F.
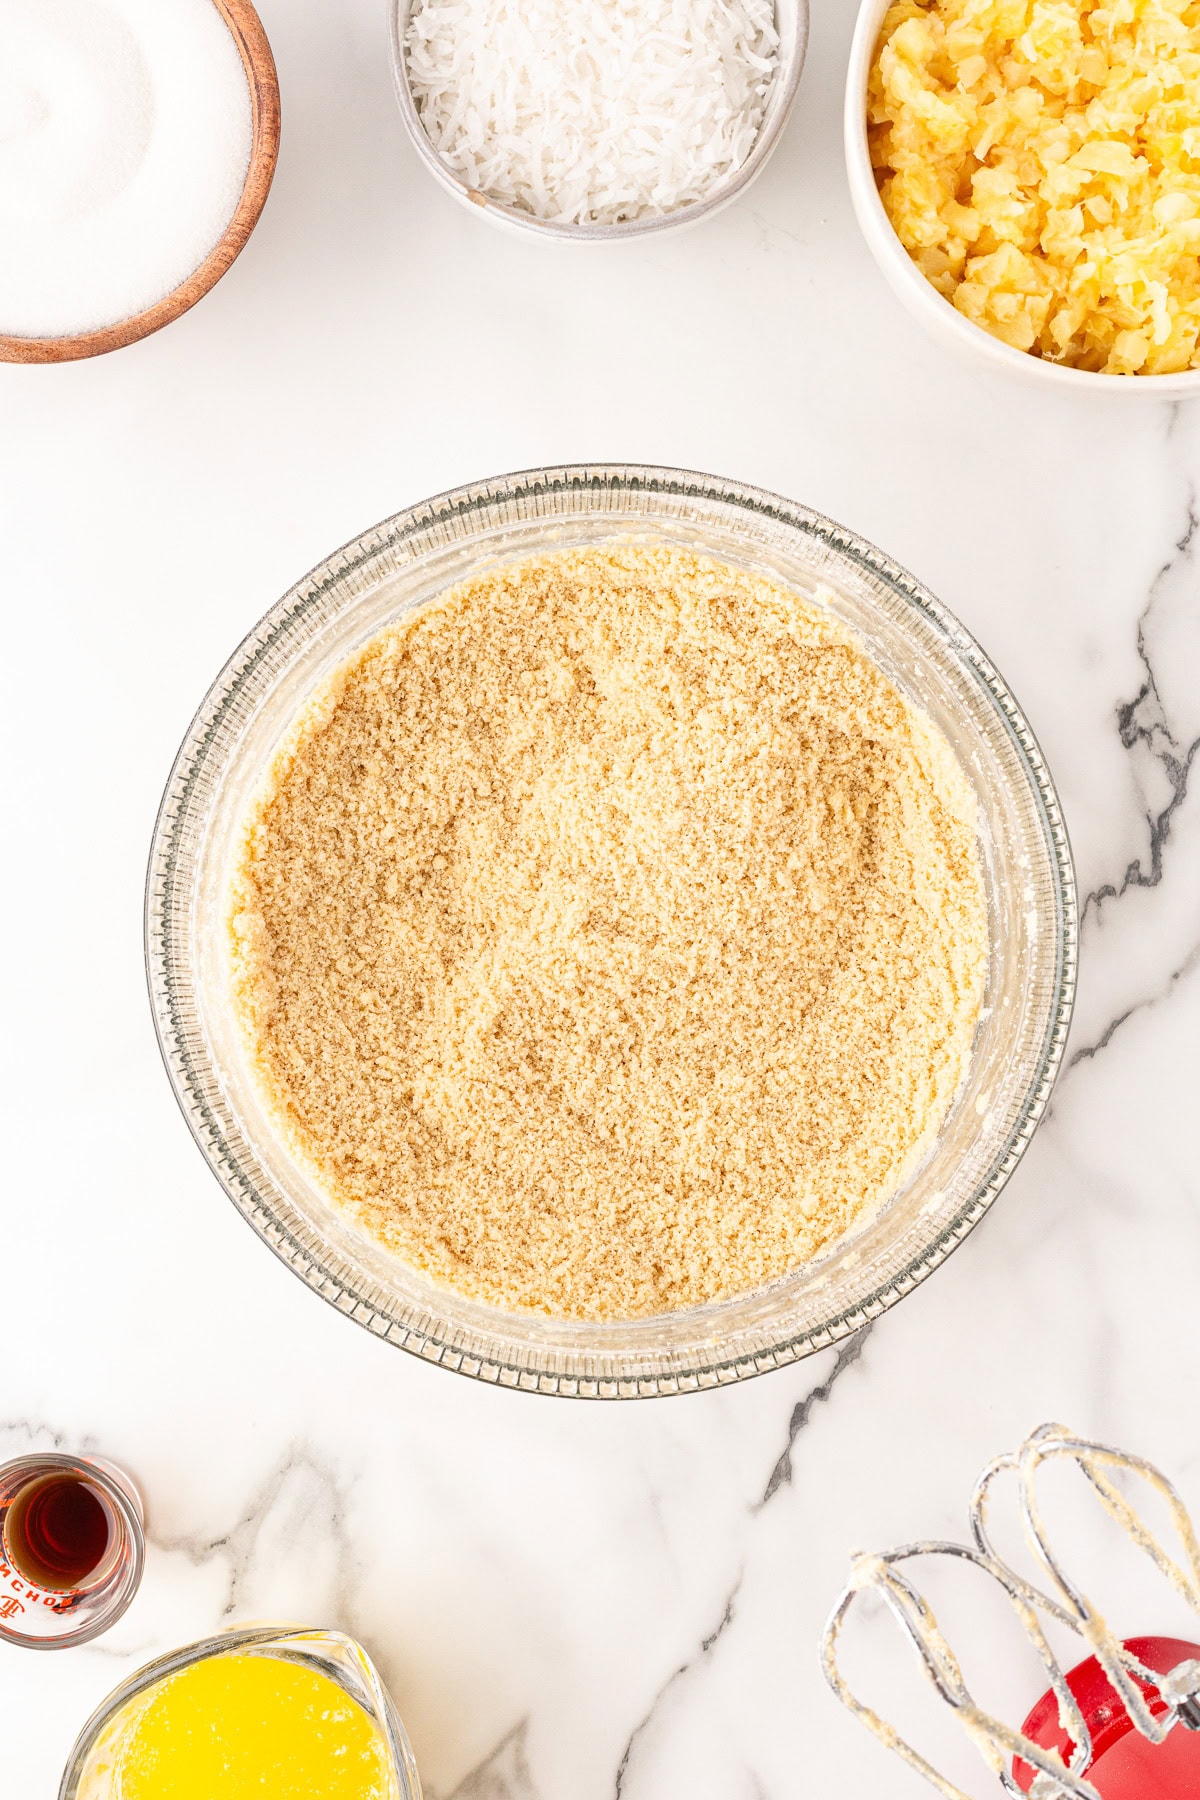
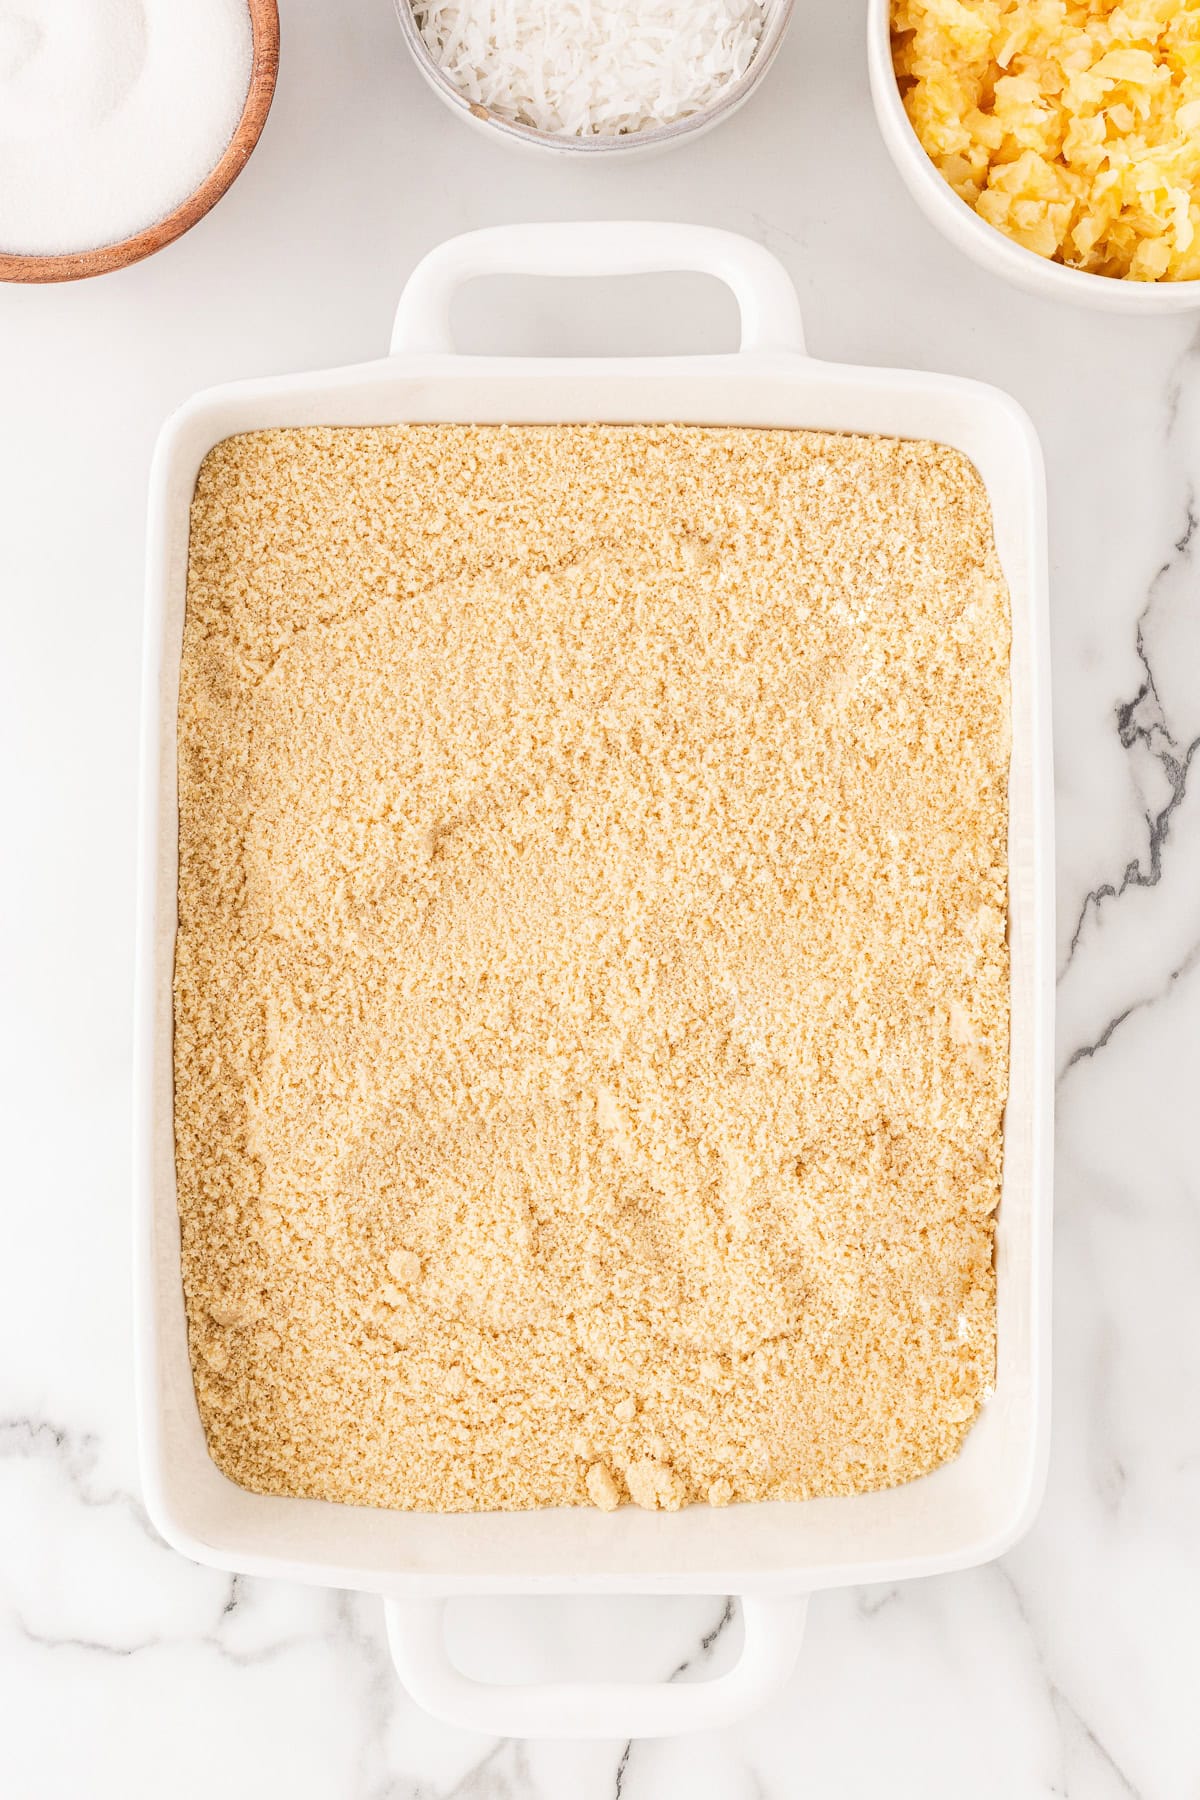
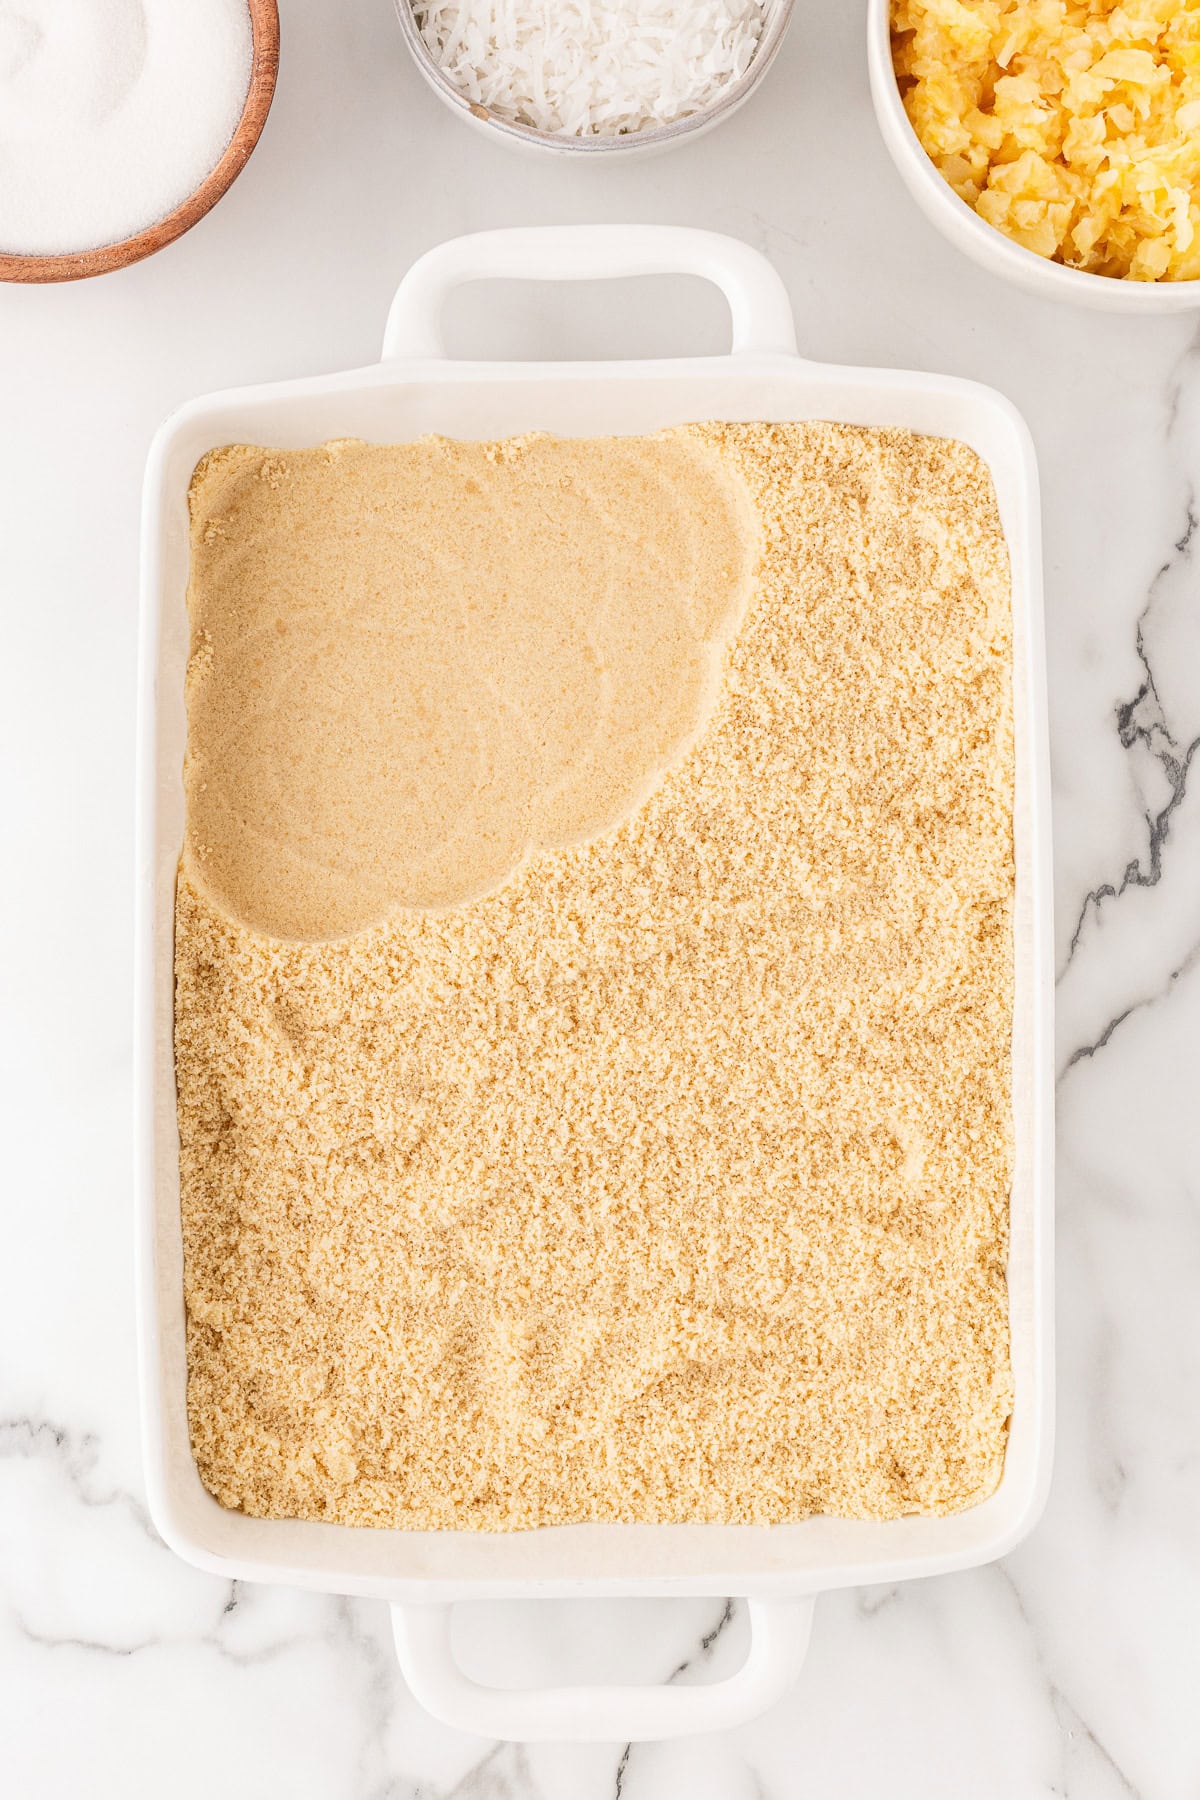
In a large bowl, cream together the butter for the crust and then add in sugar and vanilla. Add in flour and mix very well. Press this into a 9×13″ pan. You can use the bottom of a metal/plastic measuring cup to do this. Bake for 15 min. or until golden brown. Let cool for 5 min.
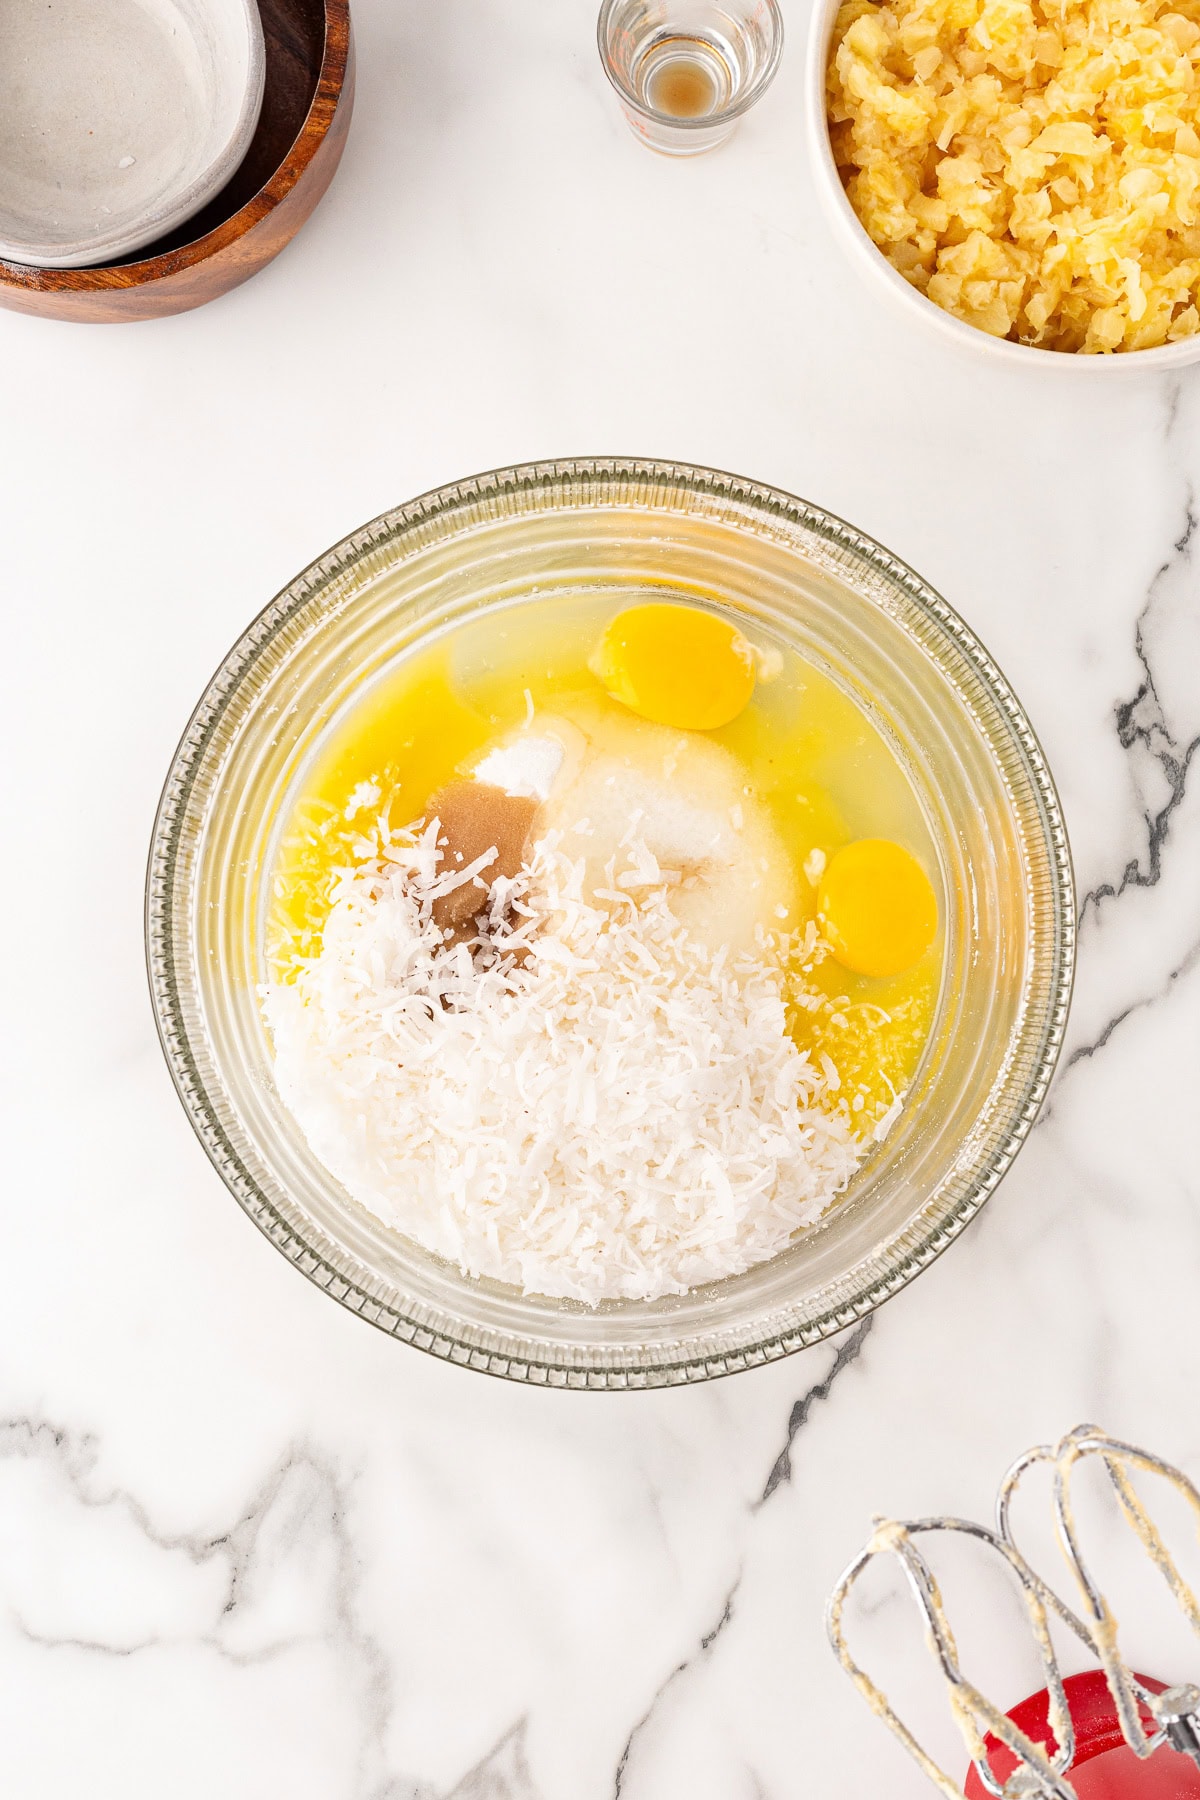
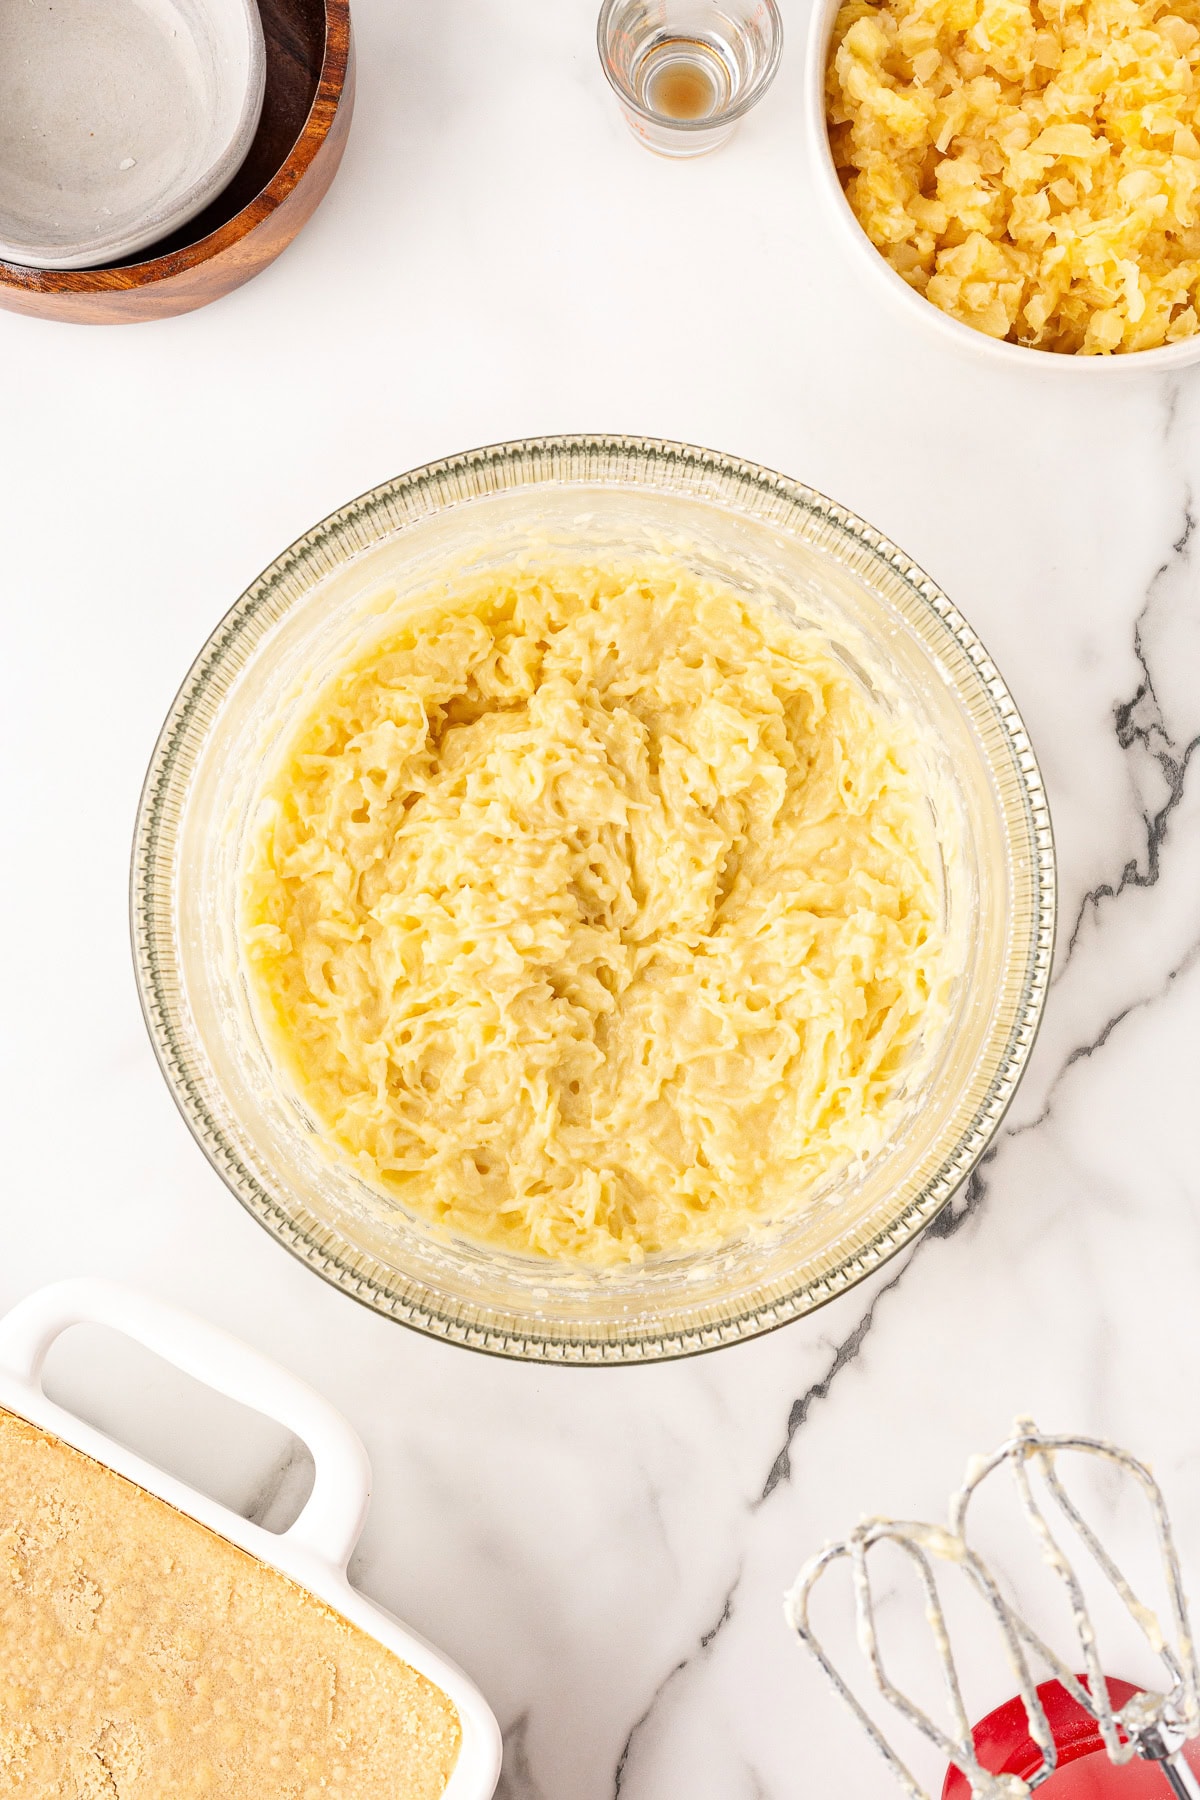
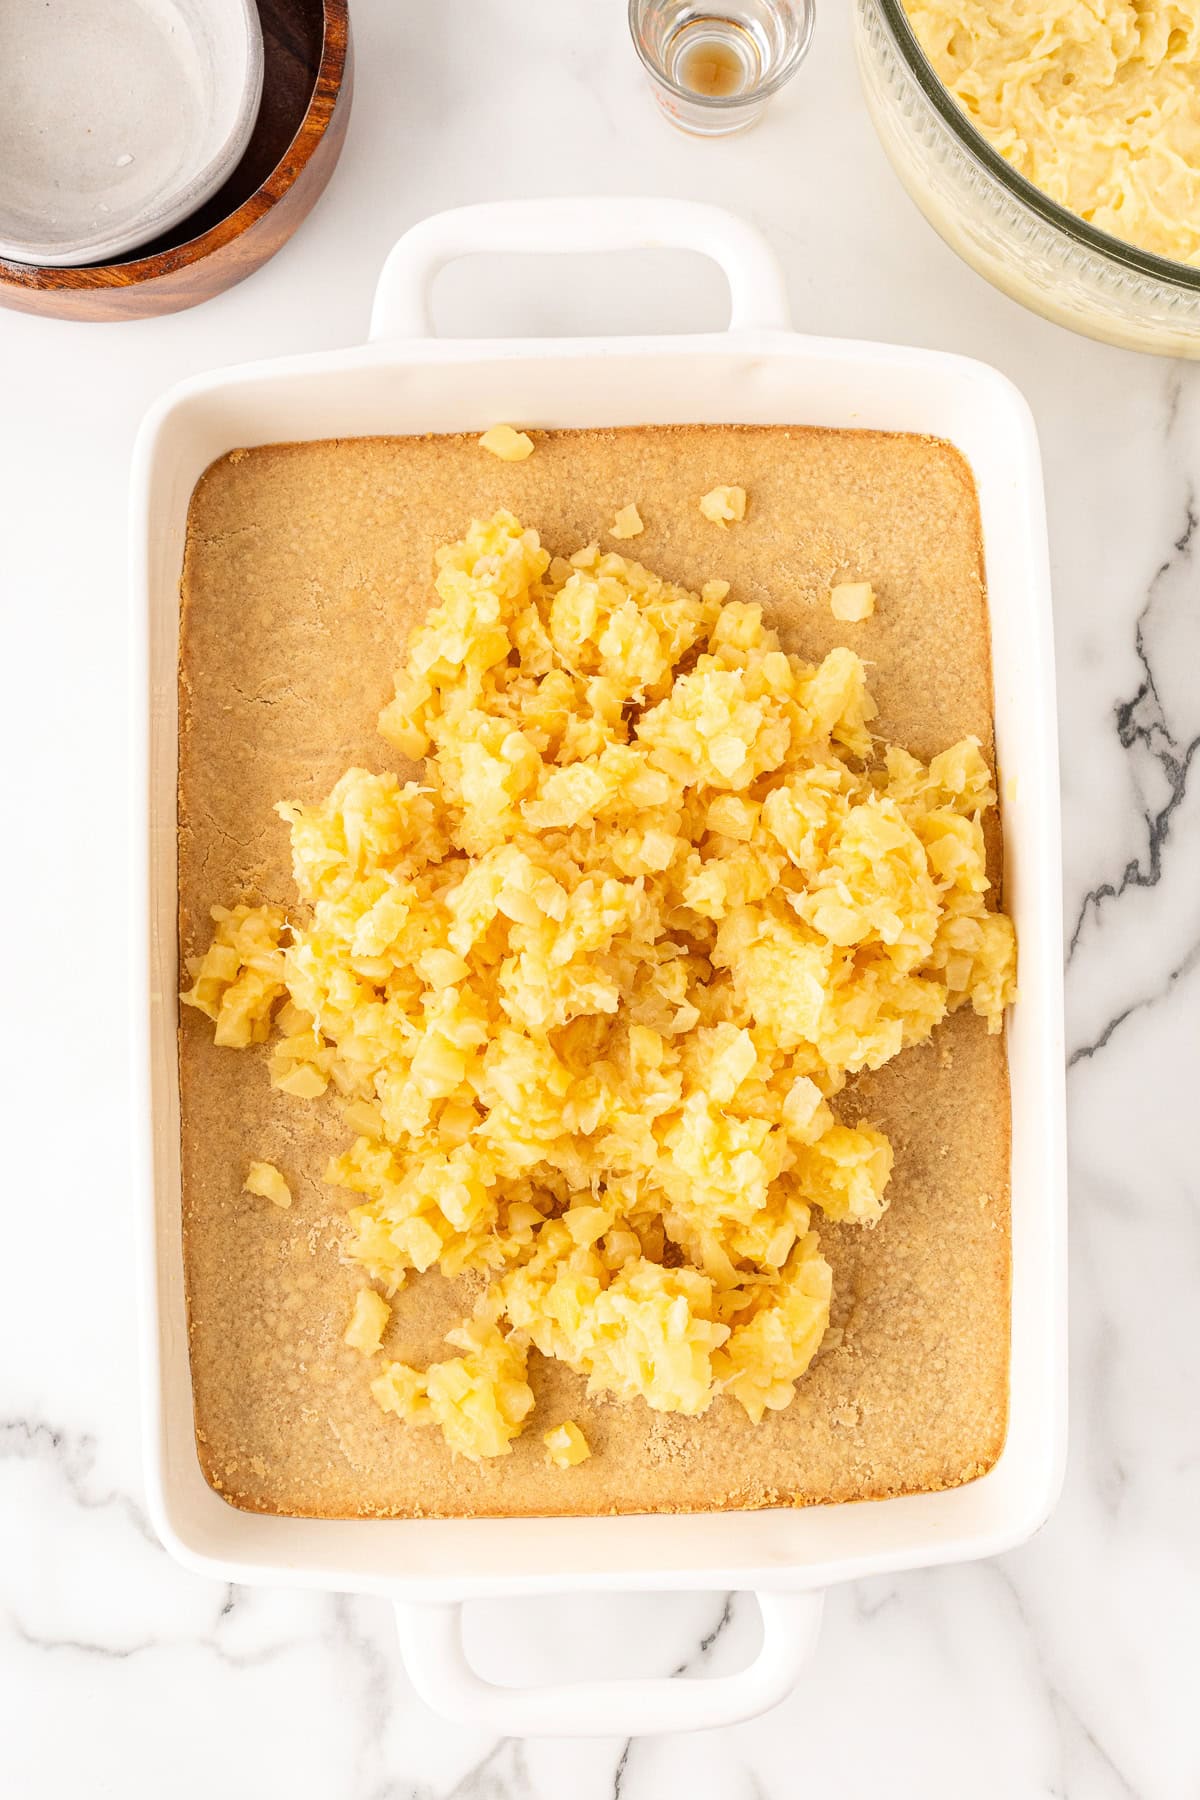
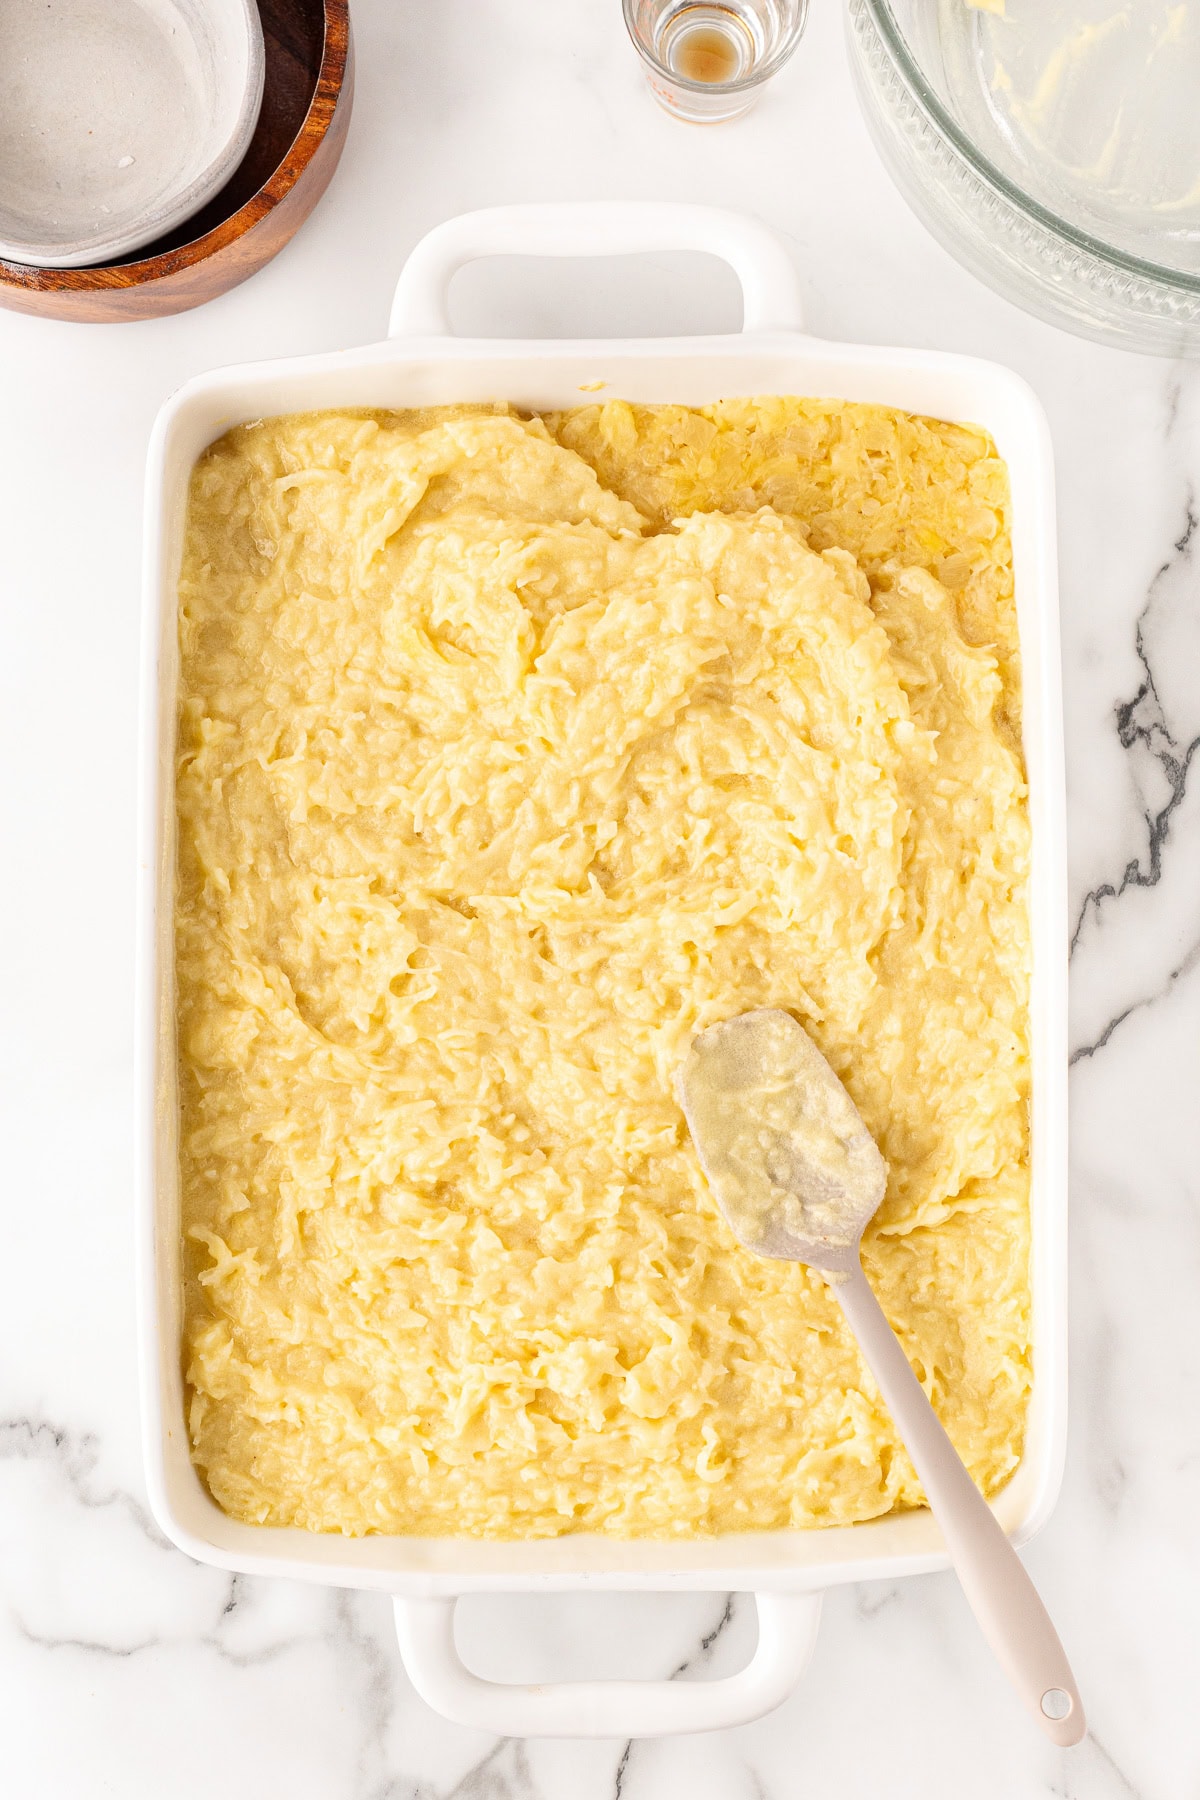
In the same bowl as above, beat together melted butter, white sugar, egg, vanilla and coconut. Spread the pineapple over the crust and then top with the coconut mixture.
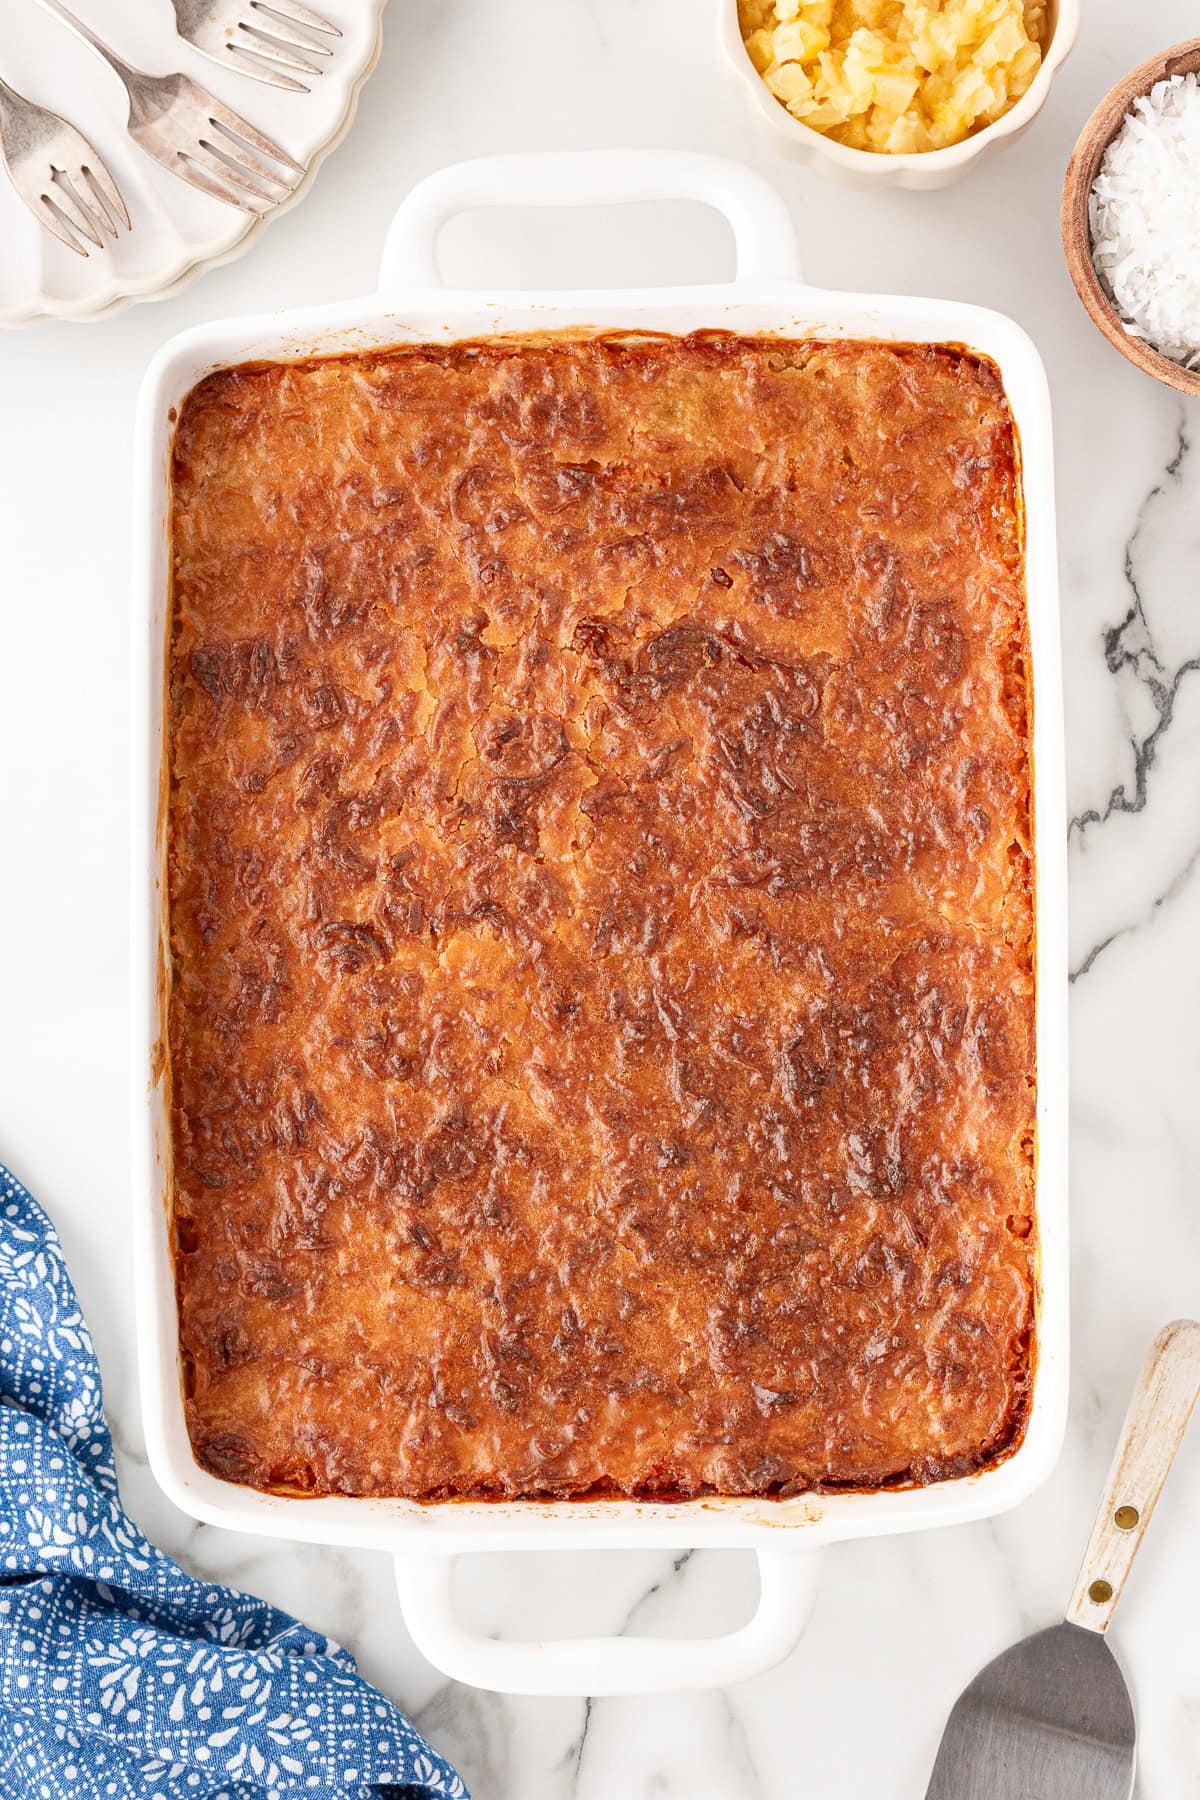
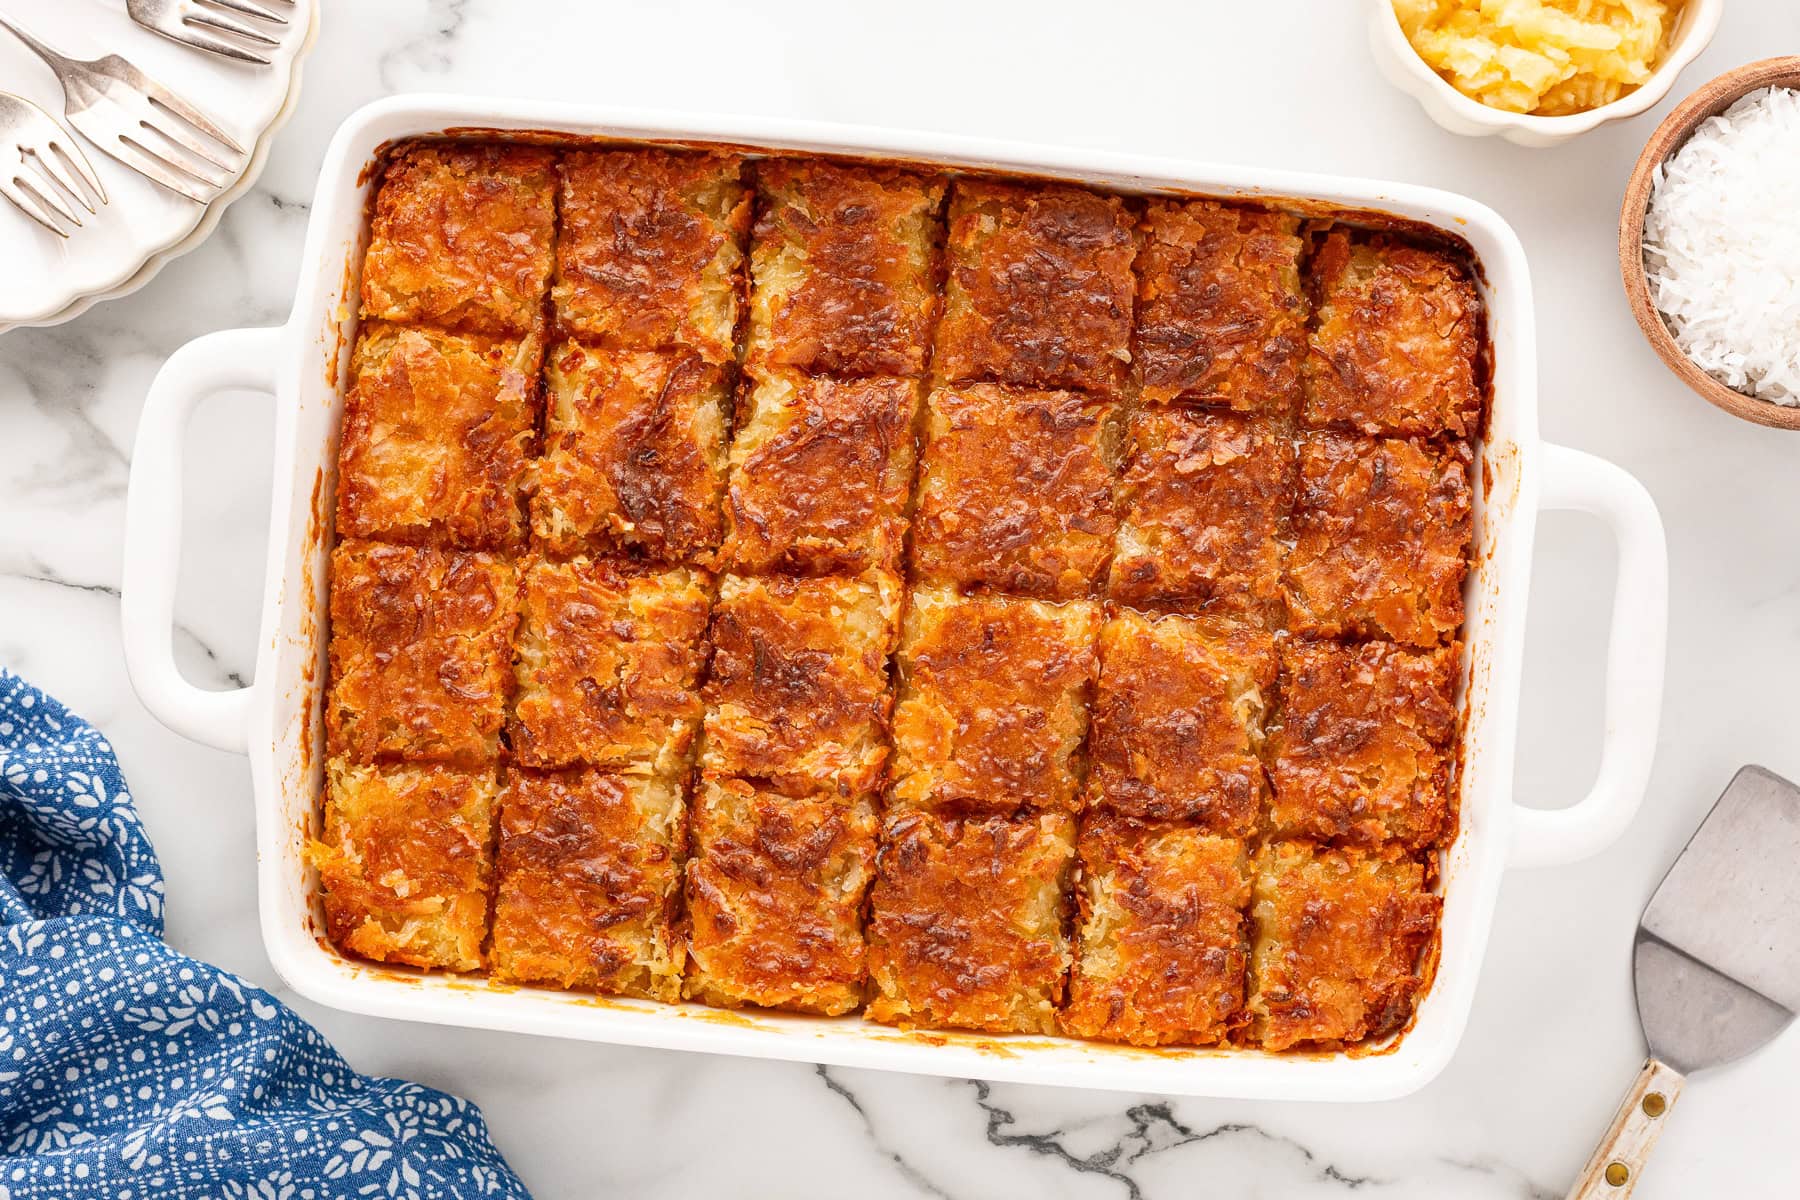
Bake for an additional 30 min. or until golden brown on top. Let cool in pan completely and cut into squares. Best if refrigerated.
They are best a bit cold, I think! With a big glass of cold milk, too! Or if you like, a lovely cup of tea!!
These Old-Fashioned Hawaiian Dream Bars, with their pineapple-coconut blend, will have you dreaming of the beach!!

WANT MORE DELICIOUSLY EASY DESSERTS?
We love a square or bar, and here are some of our favorite recipes.


Old-Fashioned Hawaiian Dream Bars
Ingredients
Crust
- 1 cup butter
- 1 cup lightly packed light brown sugar
- 1 tsp. vanilla
- 3 cups flour
Topping
- 3 cups well drained crushed pineapple
- 1/2 cup melted butter
- 1 1/2 cups sugar
- 2 eggs
- 2 tsp. vanilla
- 2 cups shredded coconut
Instructions
- Preheat the oven to 375F. In a large bowl, cream together the butter for the crust and then add in sugar and vanilla. Add in flour and mix very well. Press this into a 9×13" pan. Bake for 15 min. or until golden brown. Let cool for 5 min.
- In the same bowl as above, beat together melted butter, white sugar, egg, vanilla and coconut. Spread the pineapple over the crust and then top with the coconut mixture. Bake for an additional 30 min. or until golden brown on top. Let cool in pan completely and cut into squares. Best if refrigerated.
Equipment


Notes
Nutrition


Comments & Reviews
Hope says
I didn’t put a star rating in yet because I haven’t made it yet. I have a question with the coconut or do you use sweetened coconut or does it have to be non-sweetened coconut? Thanks for your help I want to make these for a family reunion coming up in July.
Tara Noland says
I normally use sweetened coconut but you can use unsweetened also if you like them less sweet.
natalie says
are these good to freeze?
Ken Noland says
I have not tried to freeze them but I think they would be fine.
Kath says
Didn’t have enough pineapple so I chopped some mango and added it, hope it turns out ok
Ken Noland says
How did they turn out?
Ellen Coe says
How many cans of crushed pineapple and what size cans do we need to end up with 3 cups drained pineapple? Thanks!
Ken Noland says
We are in Canada so I’m unsure what size you can get. Crushed pineapple doesn’t have that much juice, a 20 oz. can usually provide about 2 1/2 cups of drained crushed pineapple.
Amber says
Hi! Just made these and they are delicious! One question… can they be frozen?
Thanks!
Tara Noland says
I would try it Amber as I believe they would be okay. I personally have not tried freezing them though.
Patty says
These were to die for! Lol Everyone who tasted them were very happy!! The pan was empty before I could turn around!! Definitely will make these again!! Thank you for this awesome recipe!!
Tara Noland says
So glad you and everyone loved them Patty!! Enjoy!!
Patty says
These were absolutely delicious!! At the beginning I was a little disappointed because by husband wanted to sample it and it was runny!! But as it cooled it was fine!! It was for a pot luck lunch and it was all gone before the meal was served!! I did share the recipe because it was a hit!!! Thank you for this Awesome recipe!!
Tara Noland says
Hi Patty, so glad you liked them. They do have to cool completely and are best served cold out of the fridge and then they won’t be runny. I am glad they turned out in the end for you!
Chels says
So…I totally made these this weekend and my only qualm is that they WAY over-baked. I put them in at the indicated temp. & time, but for some reason, the crust and top got waaaaay over browned. AH, but alas, luckily I was able to scrape off the top really quick, and after I let it cool, I simply DOUSTED it in a snowstorm of powdered sugar haha. And then everyone loved them! So thank you…but also… confused? (:
Tara Noland says
Ovens vary a lot and 375F is a hot oven. I would bake it at a lower temperature (350F) or for a shorter time watching it closely.
Jemmie45 says
Same here. I took mine out 6 minutes early. Next time, I will wrap a wet tea towel around the outside of the pan to prevent edges from cooking so hard, and reduce oven to 350.
Gina says
So… Can the coconut be left out? I can’t eat coconut but like the sound of the rest of it.
Tara Noland says
The coconut is a substantial amount in this recipe. You can try it, not sure how it will turn out though.
Nini says
Just to add my 2c worth…crushed pecans might be good! I’m just sayin’!
Tara Noland says
Would be great, I did one with nuts before and so yummy!! Check it out! https://noshingwiththenolands.com/pineapple-coconut-cherry-dream-bars/
Nini says
You had me at HAWAIIAN!
Toni | Boulder Locavore says
These look really good! I would love to try it this weekend!
Sinisa says
This is so delicious and sweet. I neeed this in my life. Simply yummm
Claudia Krusch says
It looks amazing! I can’t wait to make it this coming weekend!
Amy says
Oh my goodness gracious do these look great!! I would love to create these for my family who loves a good sweet treat! Yumm!
Kathy says
Those look so delicious. I’m going to have to make them real soon. I’ve never actually had them before either. They sure look yummy!
Krystel | Travel on a Budget says
These look really good. Can’t go wrong with dessert or pineapples
Jeni Hawkins says
Whaaaaaa!? OMG YUM! This is absolutely perfect for my summer barbecues with friends! What an awesome dessert – and anything pineapple and coconut is aces with me 🙂
Jessica says
I’ve never heard of these! They look and sound amazing
Cathi Crismon says
Oh YES please!
I can think of so many reasons to make these delicious dream bars. They’re perfect for summer and all the barbecues and parties we’ll be hosting and attending.
Thanks for sharing!!