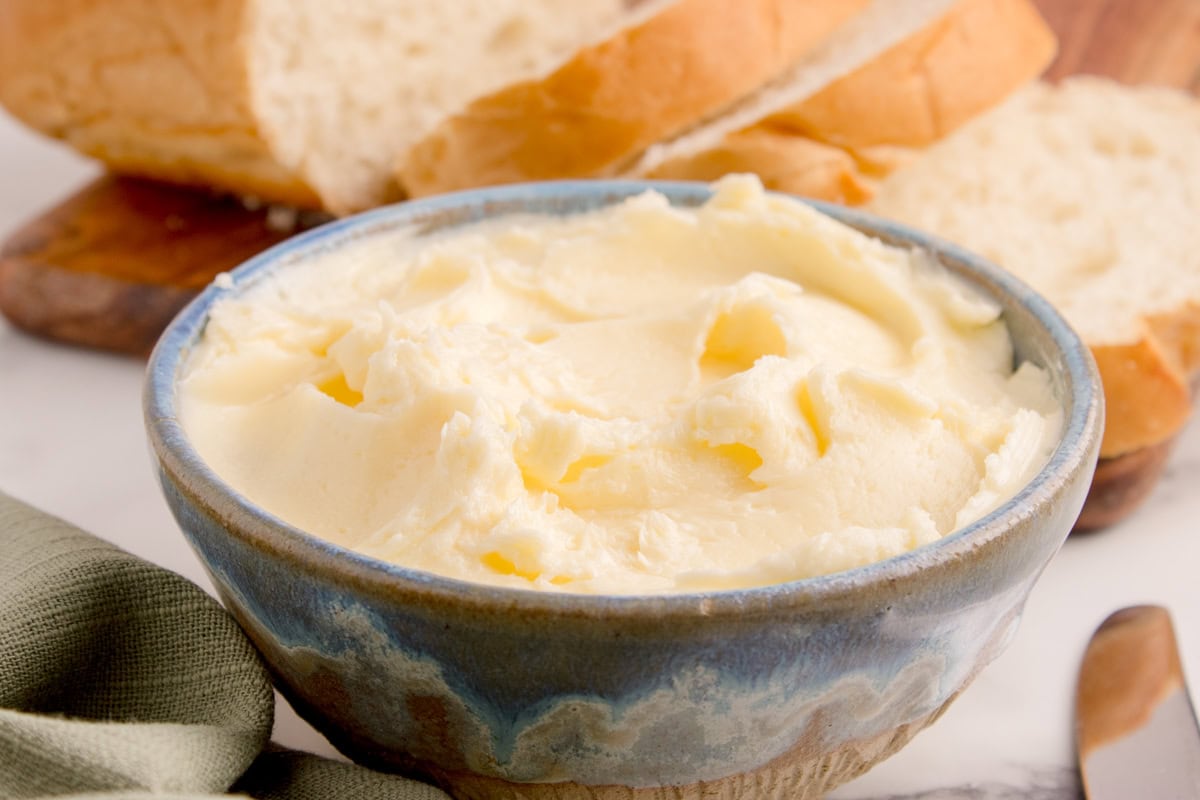
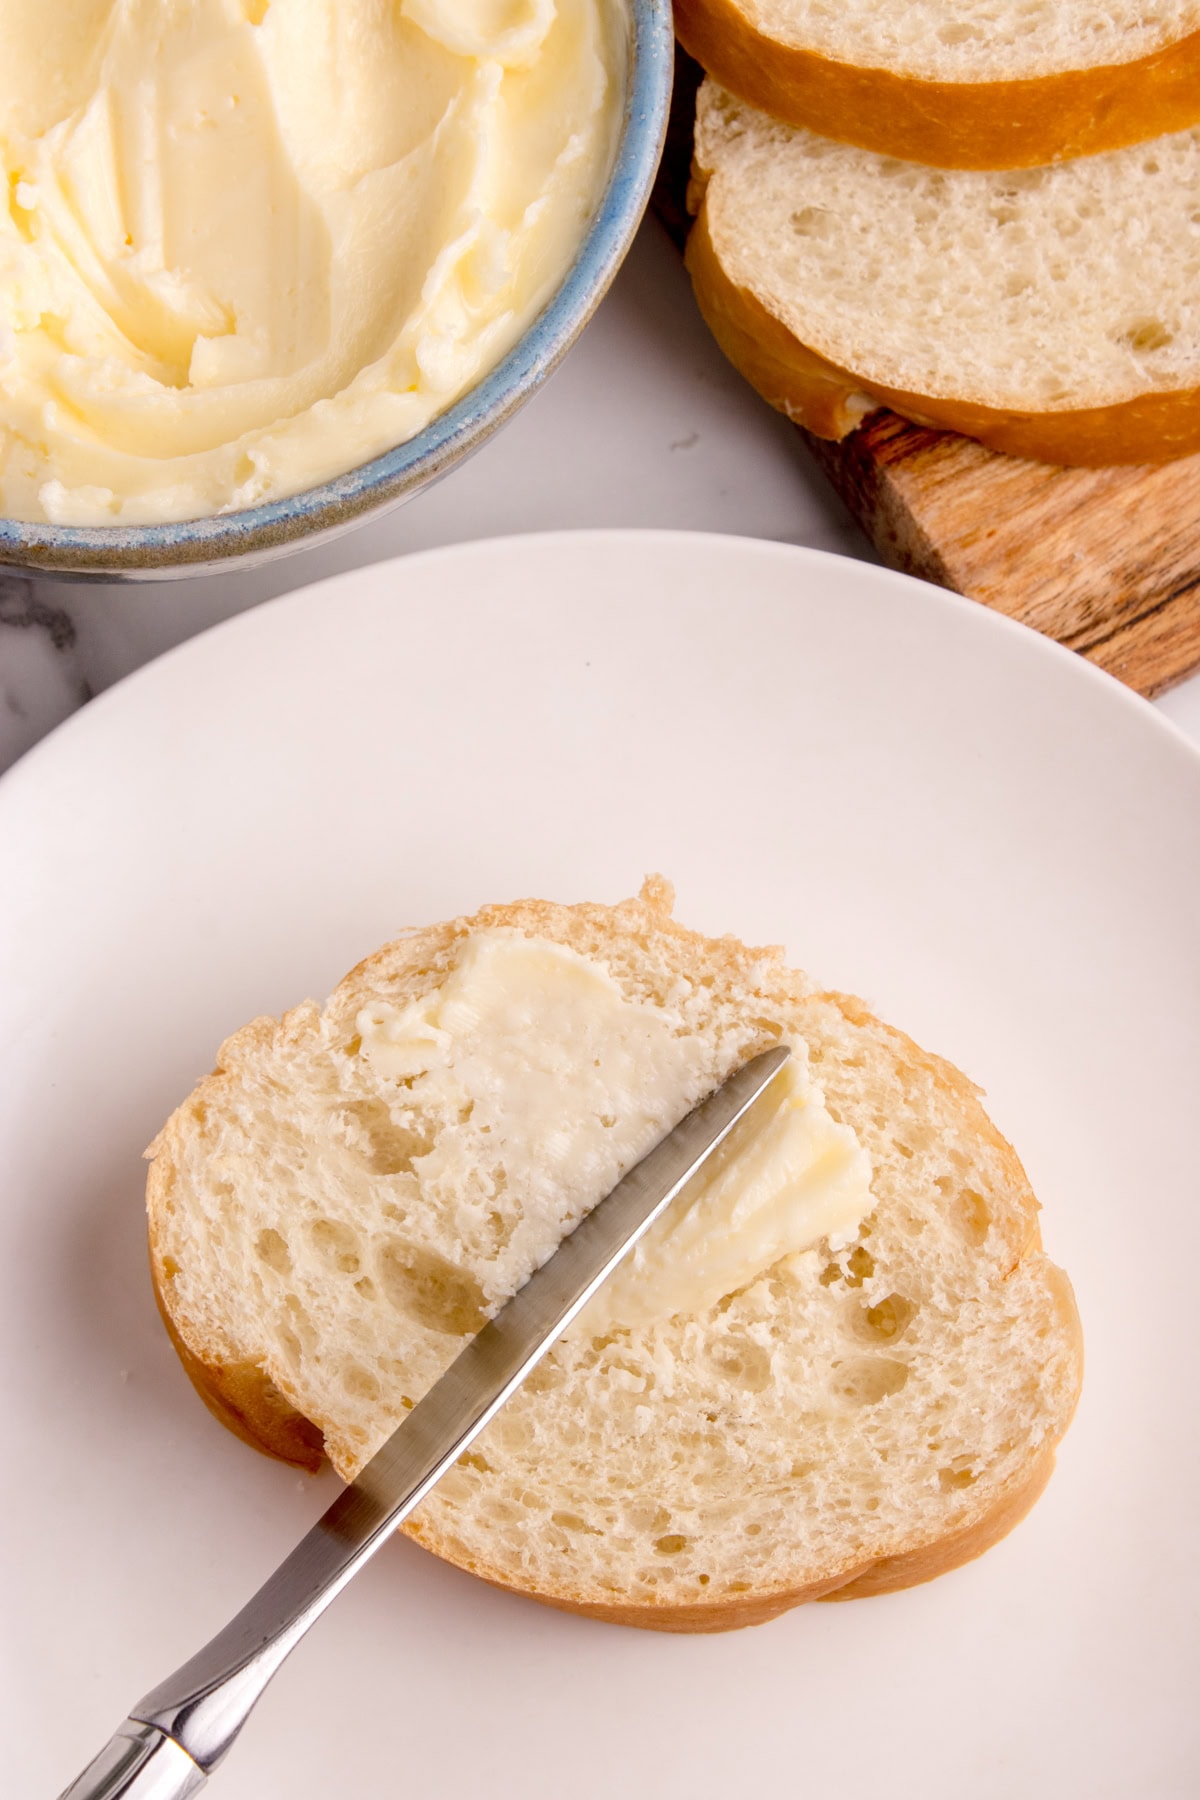
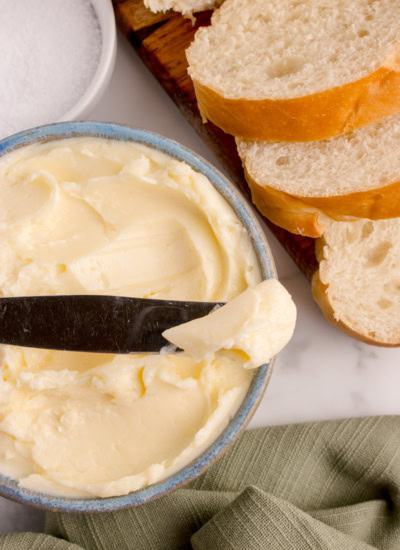
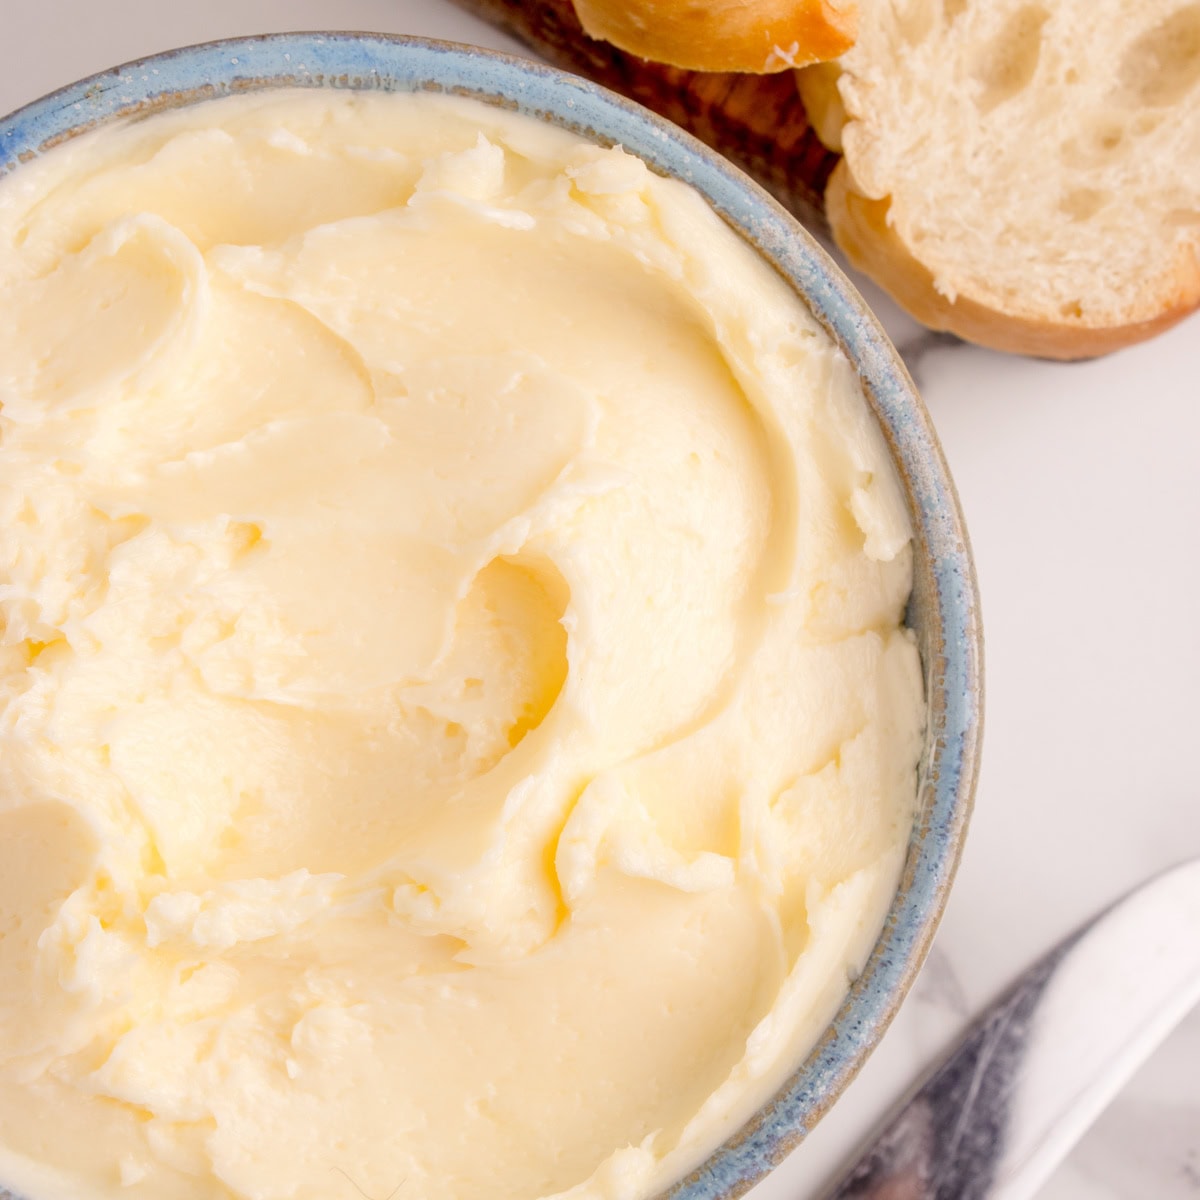
Learning How to Make Butter at home is a fun kitchen skill that delivers rich flavor and a fresher taste than store-bought butter. Making homemade butter is surprisingly simple and requires just one ingredient: heavy cream. With a mixer, food processor, or even a jar, you can turn cream into fresh, creamy butter in minutes. Make it with the kids and have fun!
If you love trying new things and learning more, then try our How to Make Ghee or How to Make Buttermilk – Three Ways.

Fresh, unprocessed flavor: Homemade butter is richer, sweeter, and has a more nuanced flavor than many store-bought butters.
Simple, minimal tools: No special machinery is needed. A blender, mixer, or even a jar with a tight-fitting lid works.
Why I Love This Recipe
- Fun to make
- Only one ingredient
- Great to teach kids
- Doesn’t take long
- Yummy creamy homemade butter
Helpful Items For This Recipe
This post contains affiliate links. As an Amazon Associate, I earn a small portion from qualifying purchases at no extra charge to you.
Cuisinart Food Processor, Pro Custom 11 Cup, Brushed Chrome
What You Need to Make Homemade Butter
Ingredients
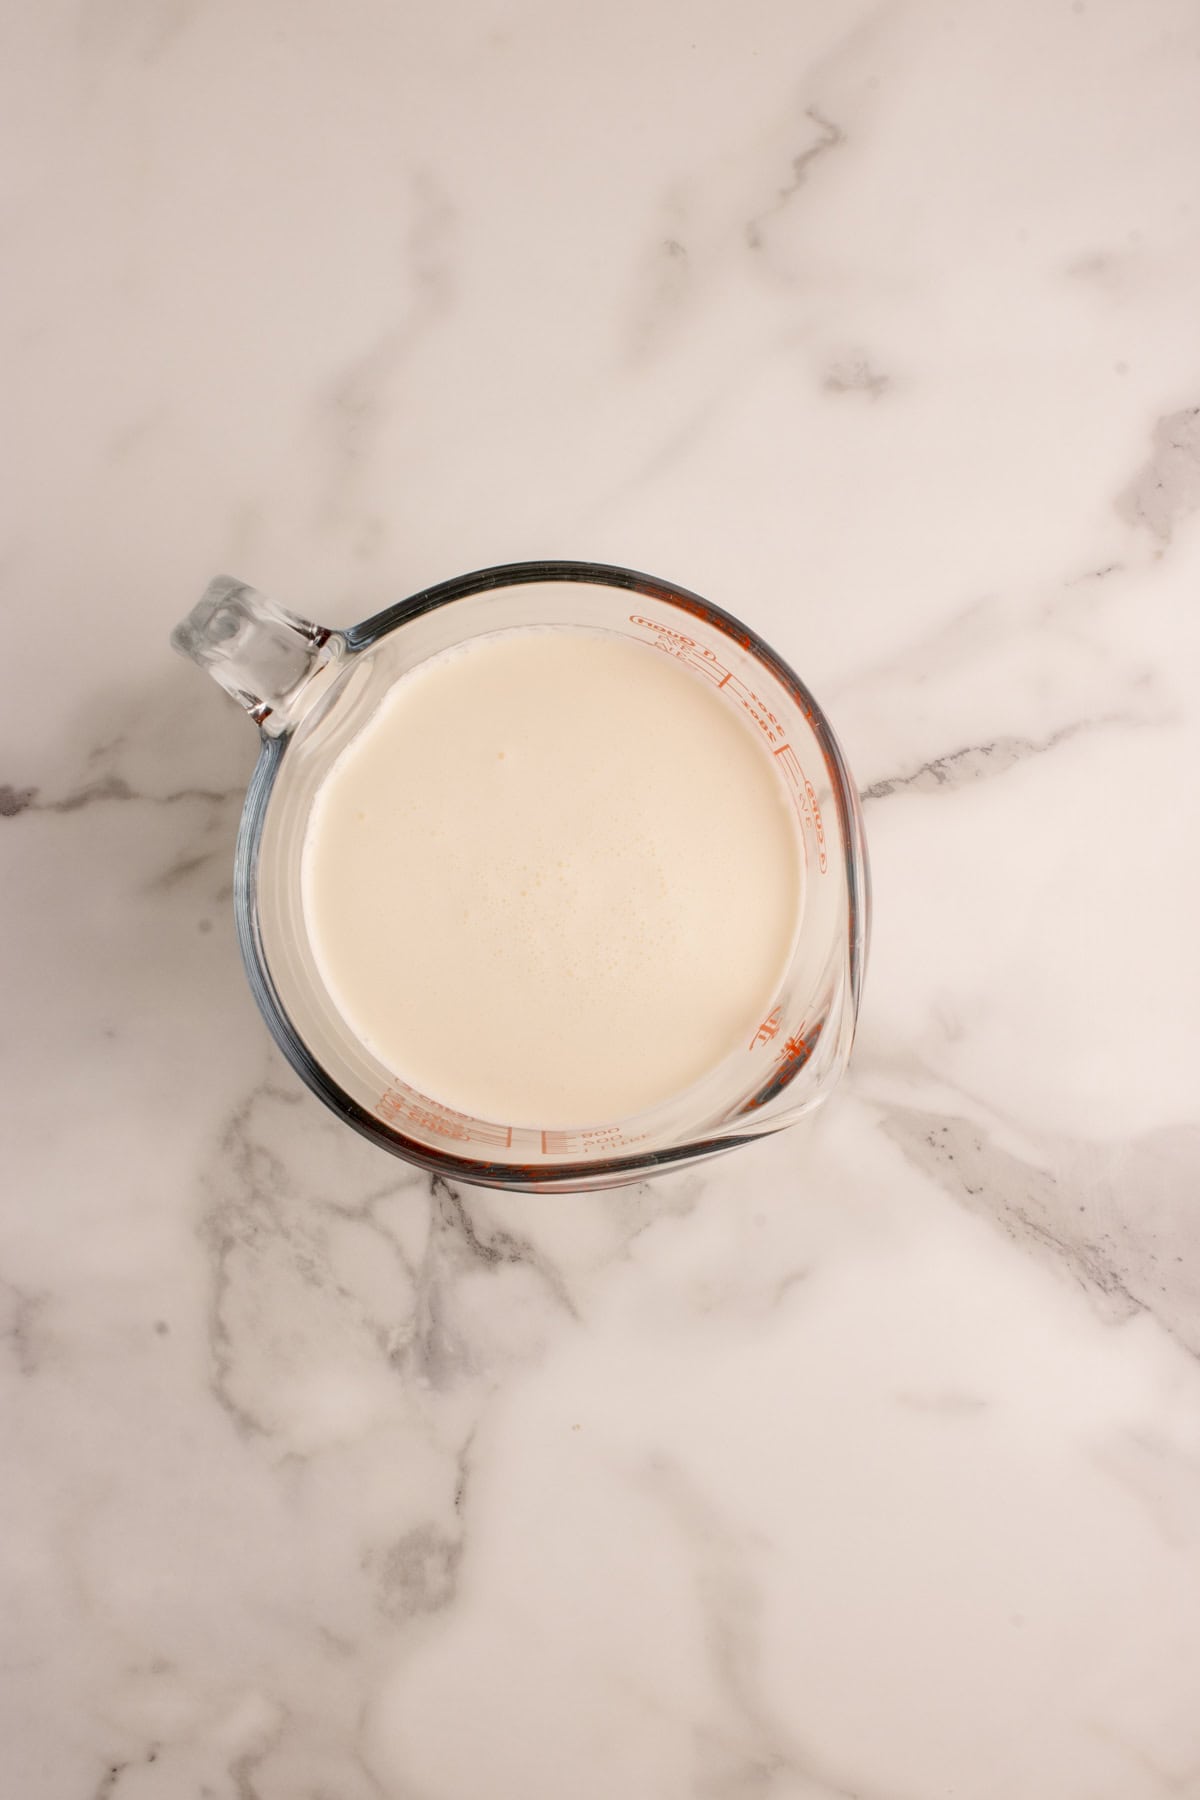
Cold heavy whipping cream – Its butterfat content is what you will be separating out to form butter. I recommend using cream with higher fat because it will give you more butter, richer texture, better flavor, and more stable butter (less watery).
Ice + cold water – This is used for washing the butter.
Equipment needed
Blender, stand mixer, or food processor – In our instructions and pictures, we have used a food processor.
Fine-mesh strainer or cheesecloth – The cheesecloth is very helpful to get all the cream out of the butter.
Mixing bowls – Used after blending for washing and dividing the butter from the cream.
Clean kitchen towel or additional cheesecloth – This is used for pressing.
How to Make Homemade Butter
Servings: Makes about 1 to 1½ cups butter + 1½ to 2 cups buttermilk
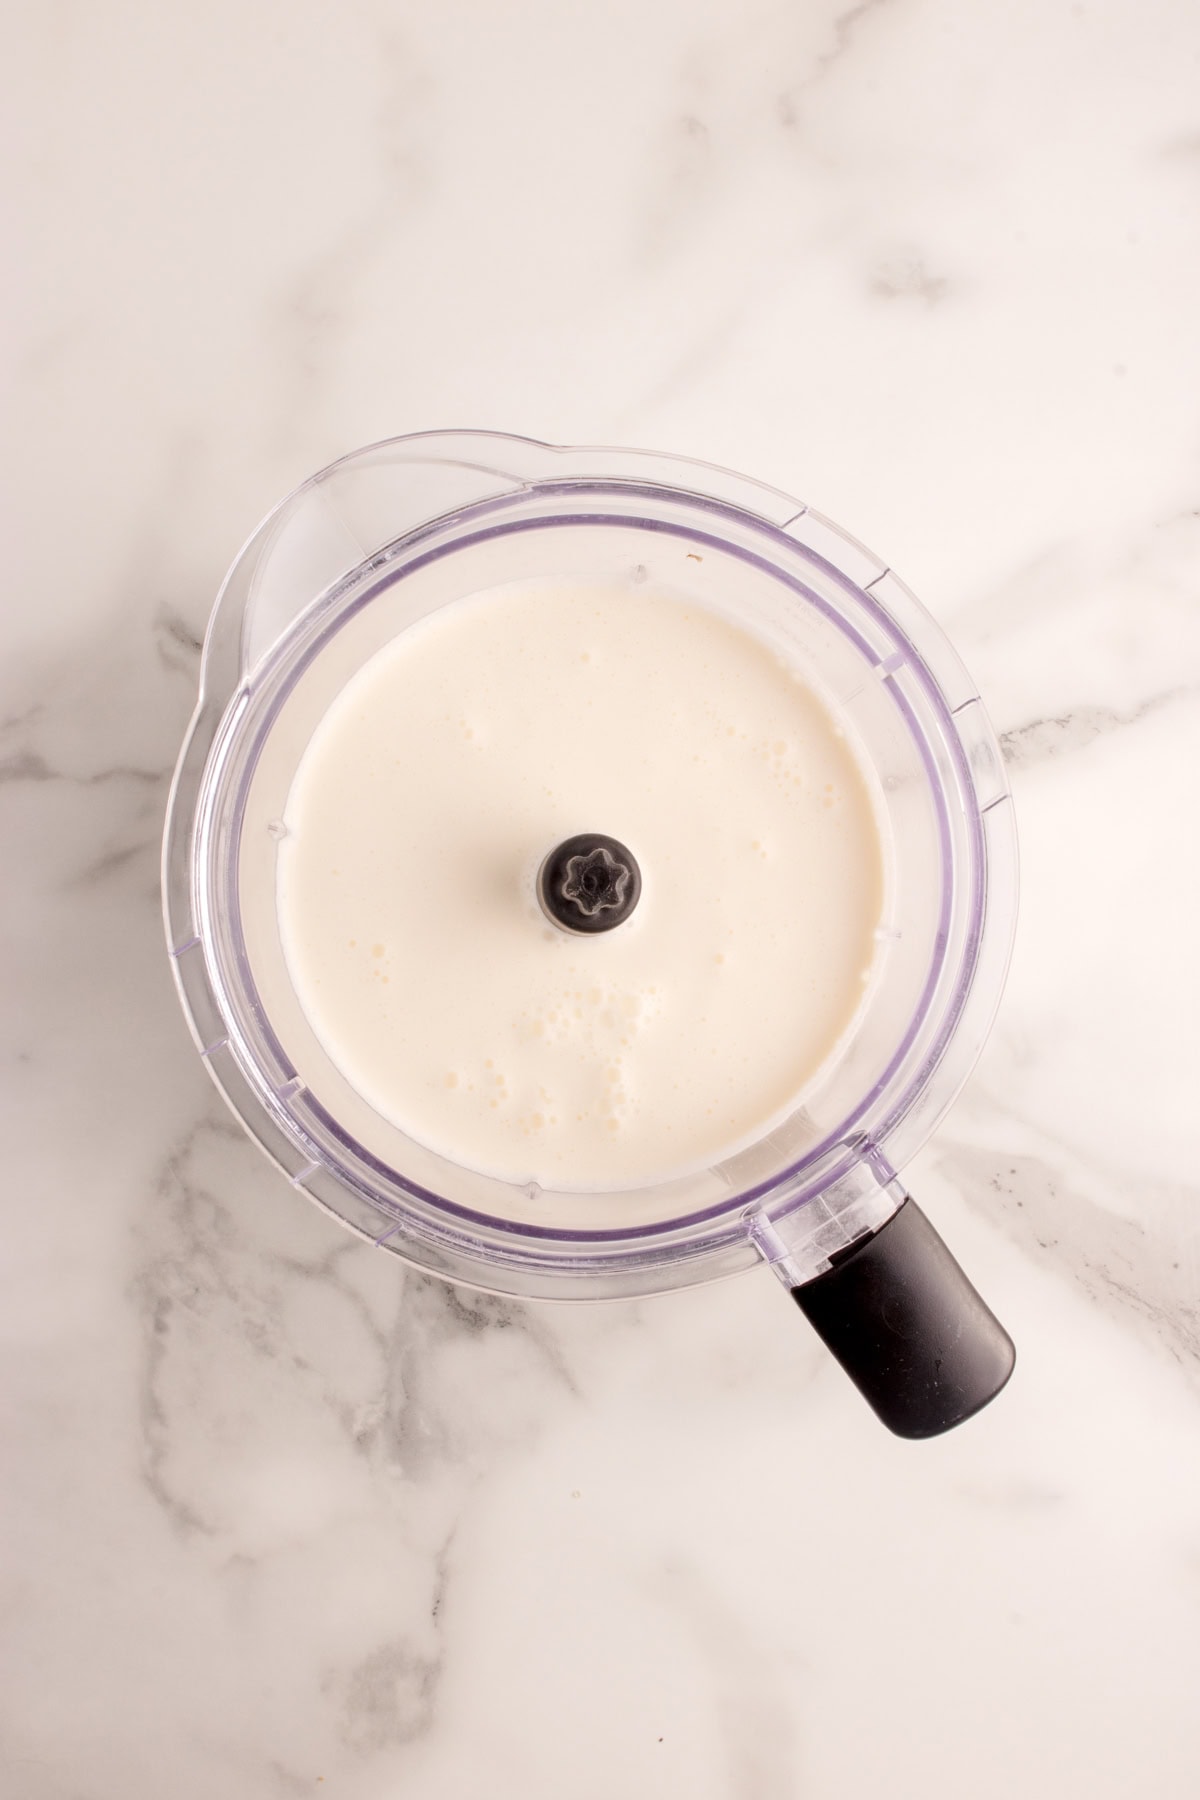
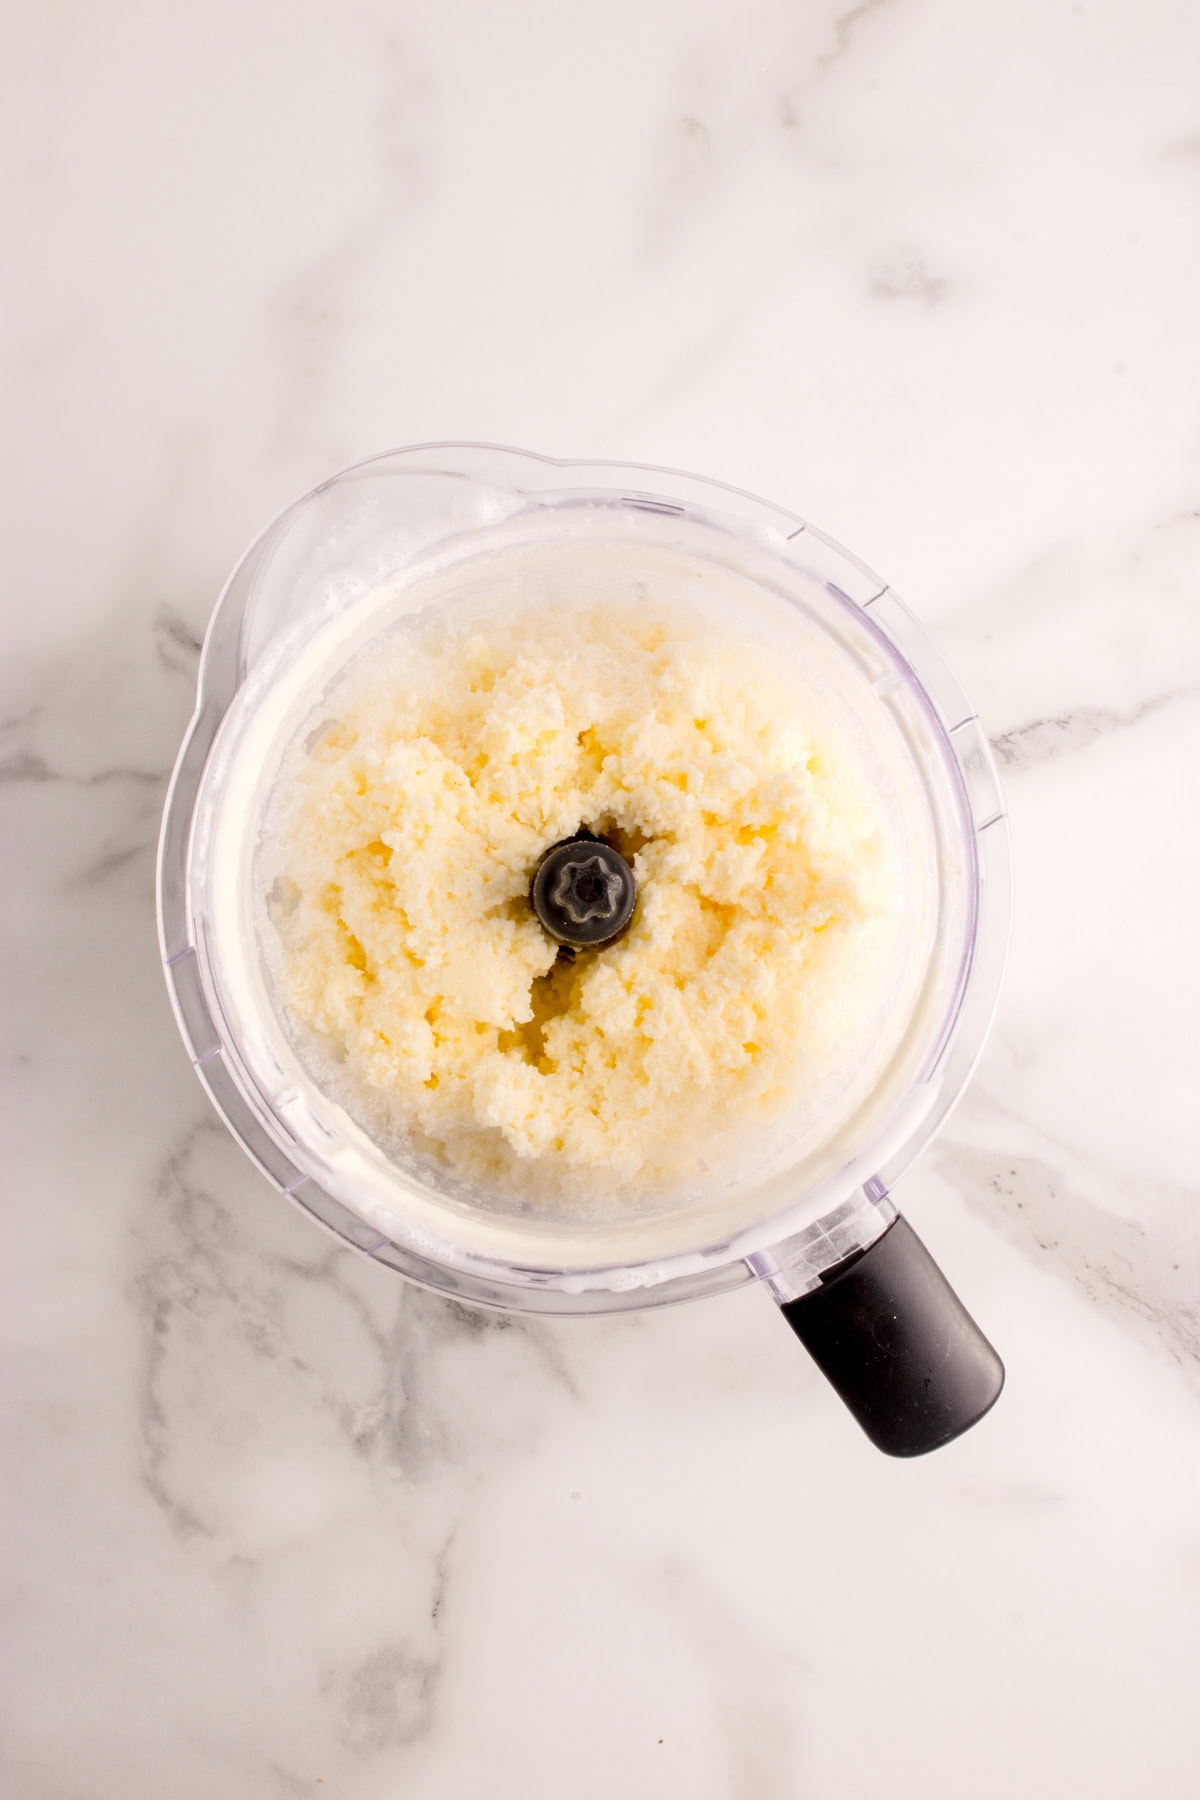
Step 1. Blend the Cream
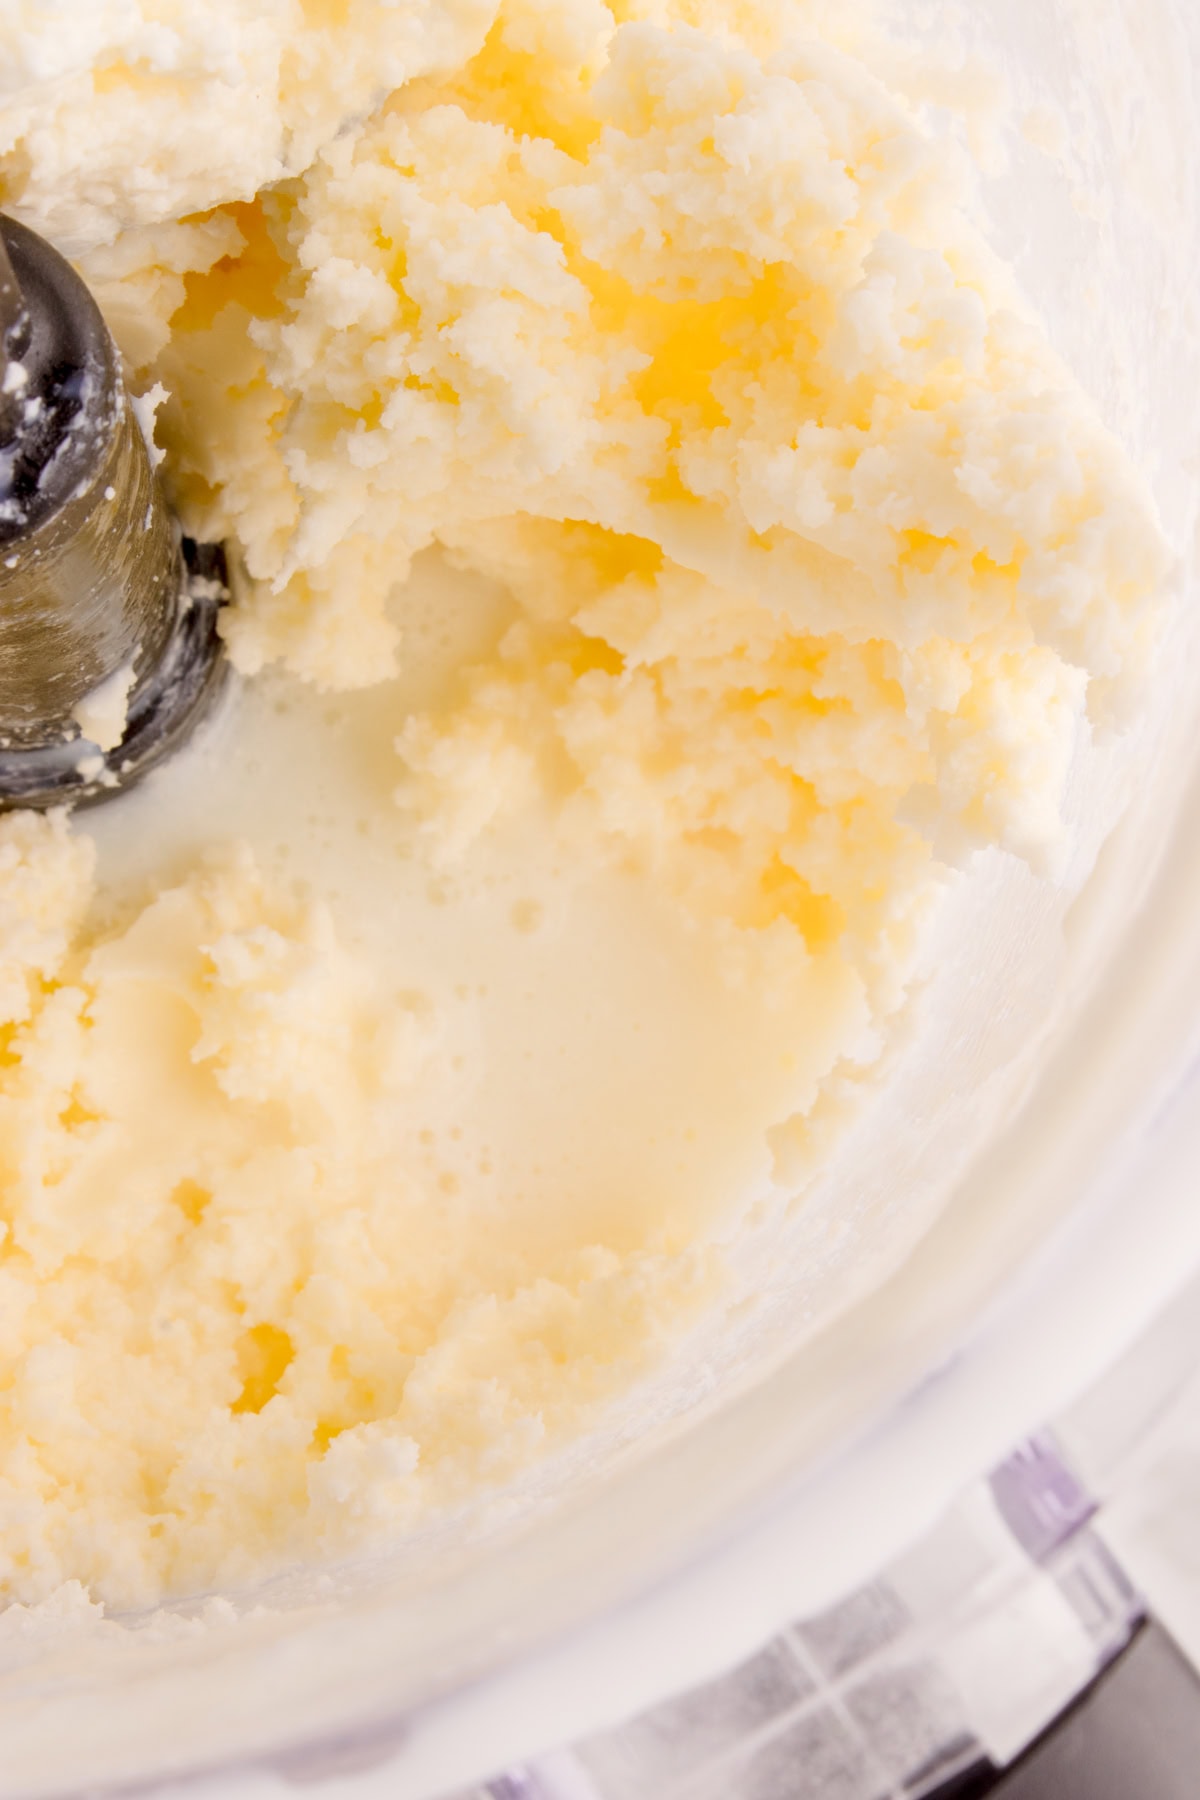
Pour the heavy cream into your food processor (blender or stand mixer) and blend it on medium speed. After 2–3 minutes, it will turn into whipped cream. Keep going another 2–3 minutes, and it will turn into yellow clumps and a thin liquid (buttermilk). Stop as soon as this step, known as breaking, happens.
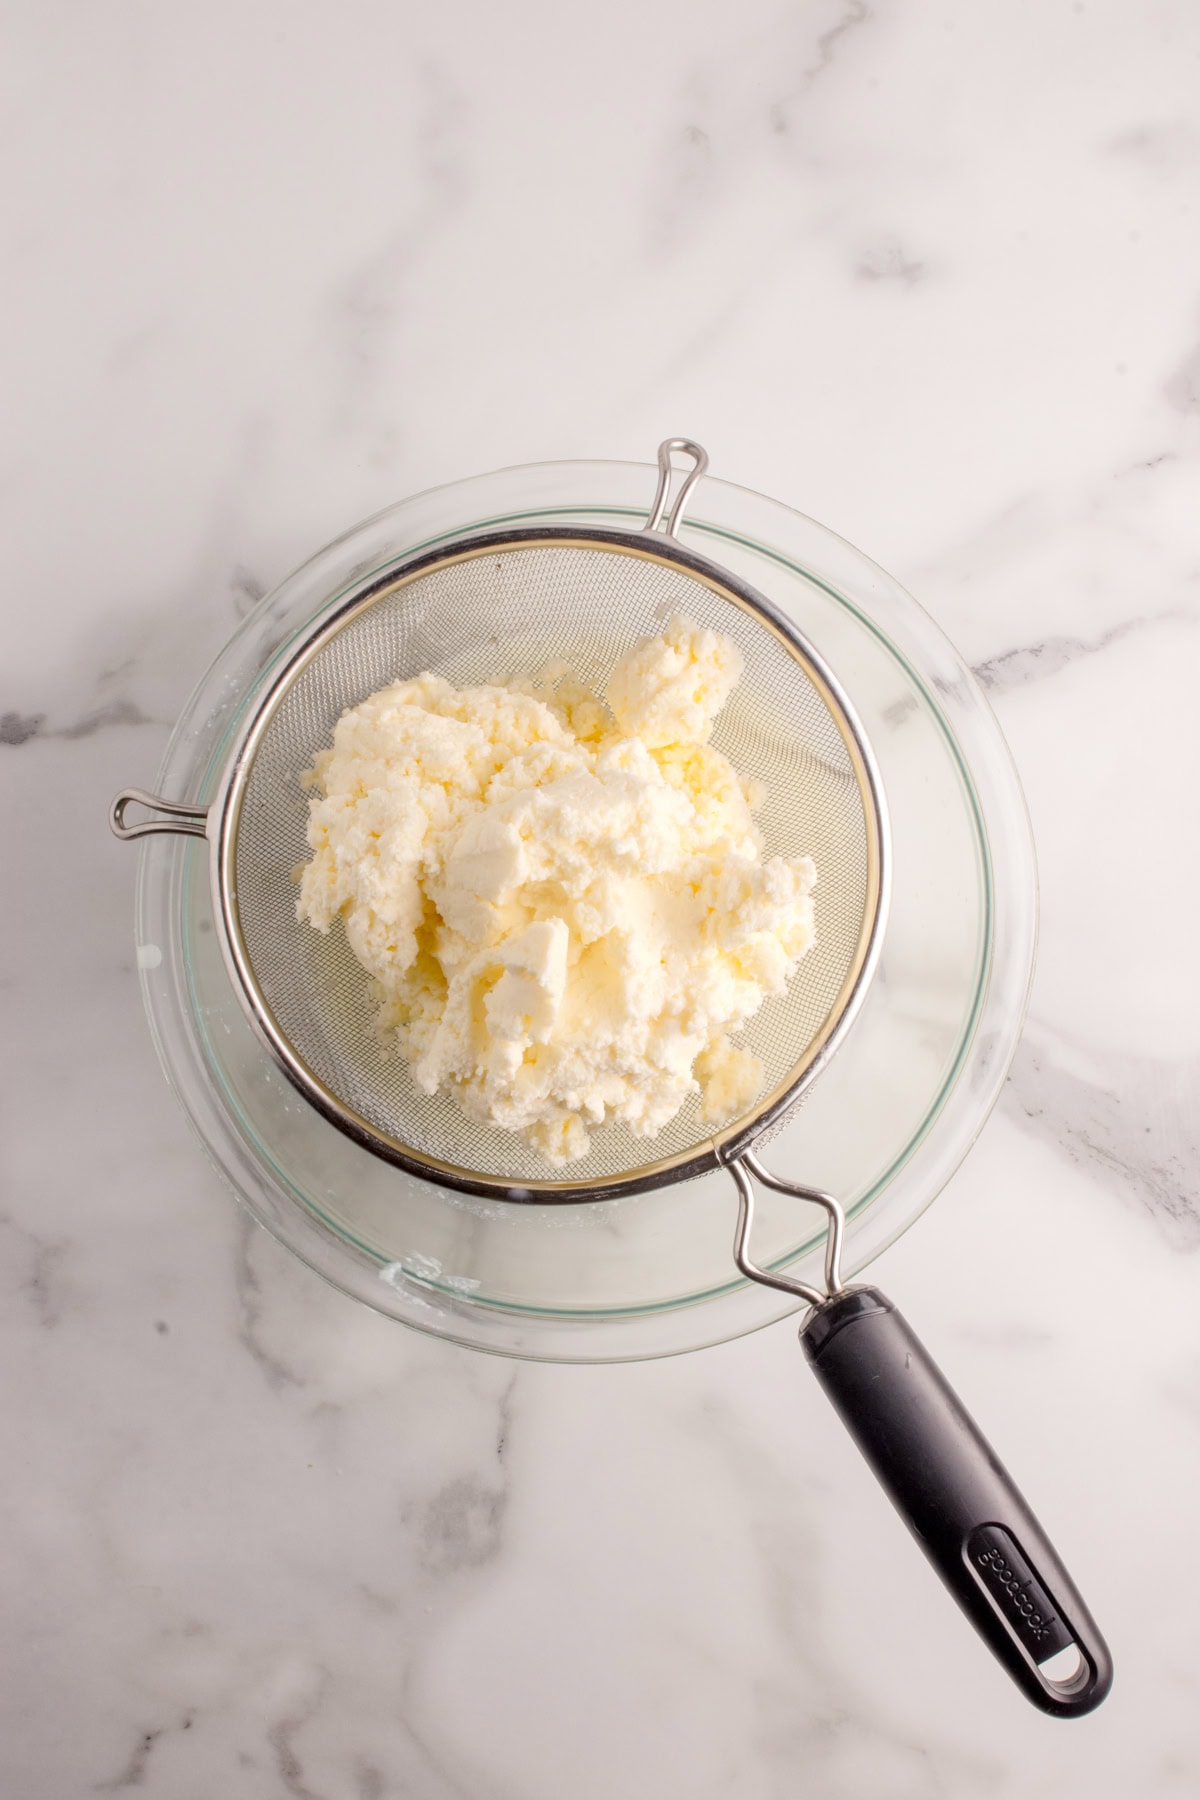
Step 2. Strain
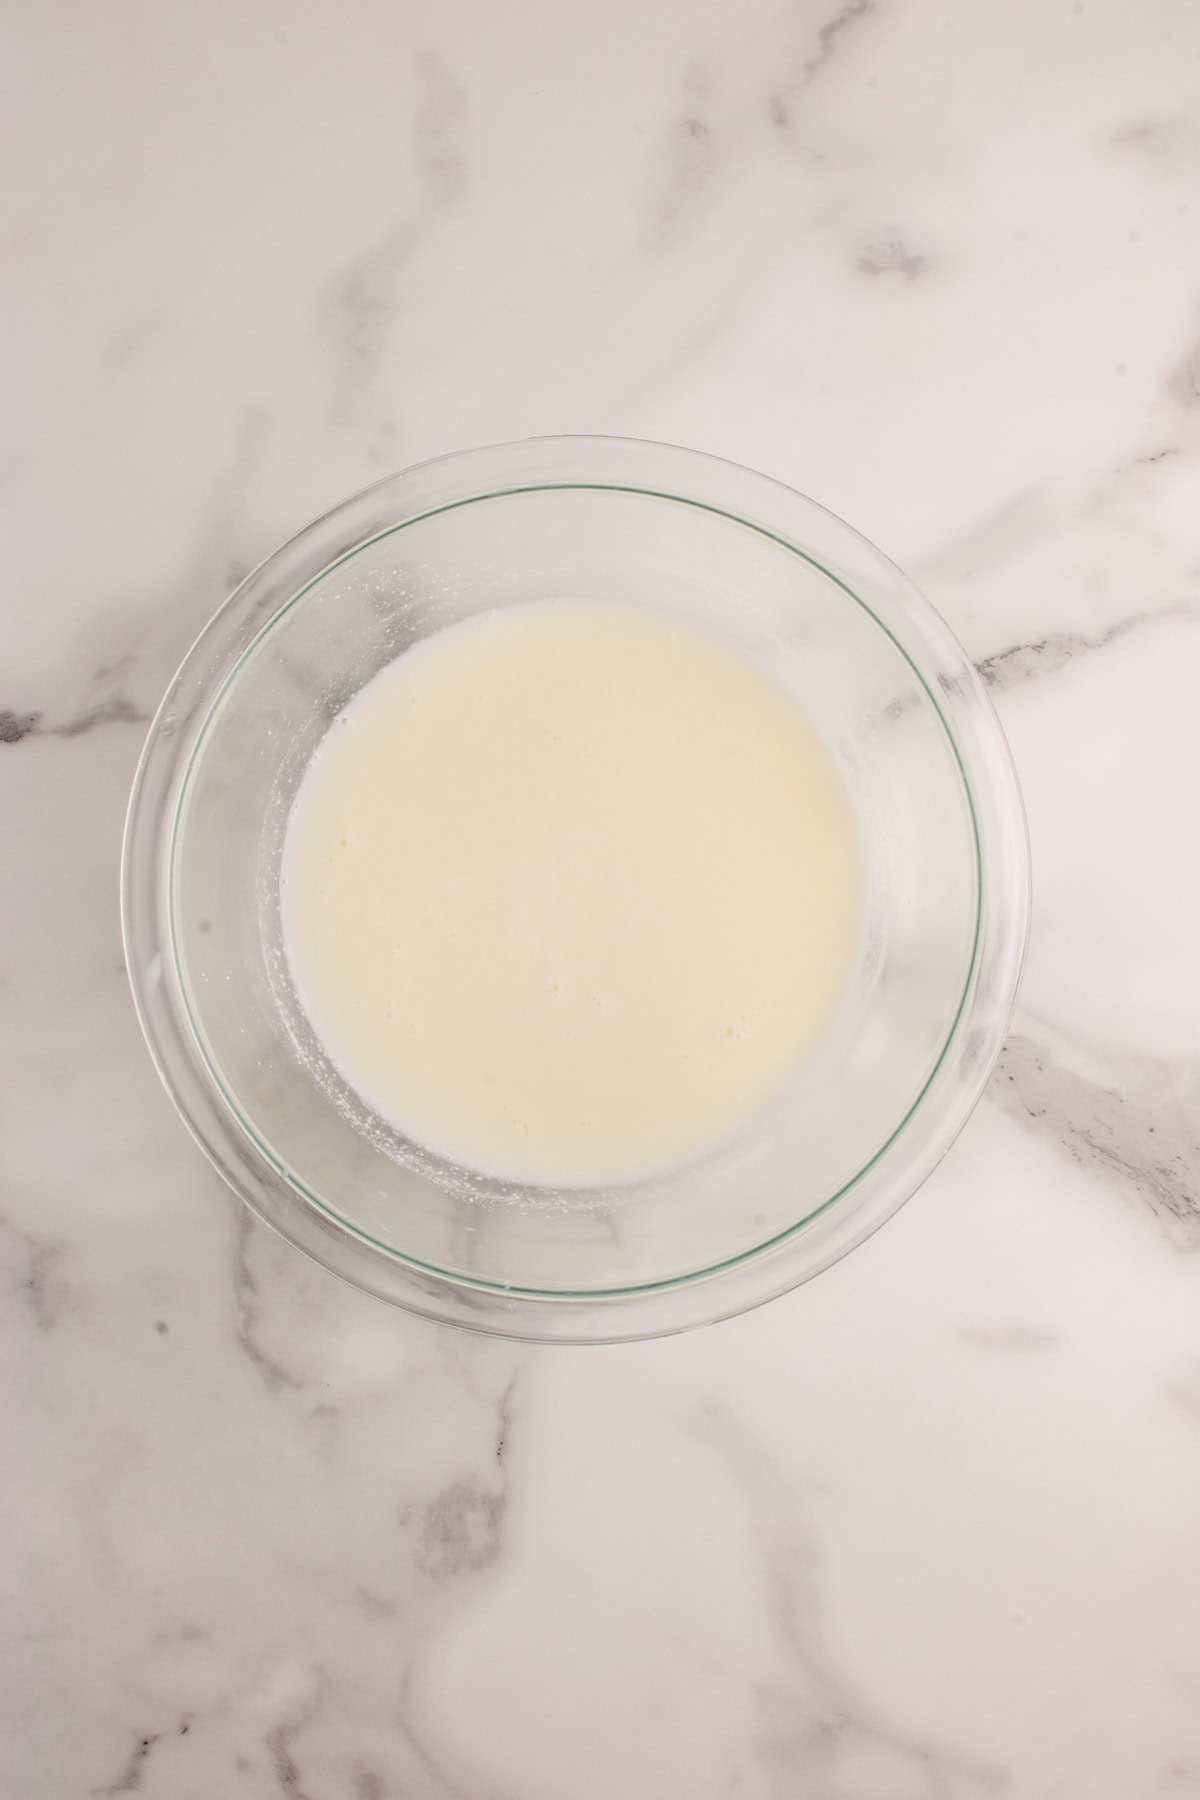
Place a strainer over a bowl. Pour the contents of the blender in. The liquid in the bowl is buttermilk, and the solids in the strainer are butter.
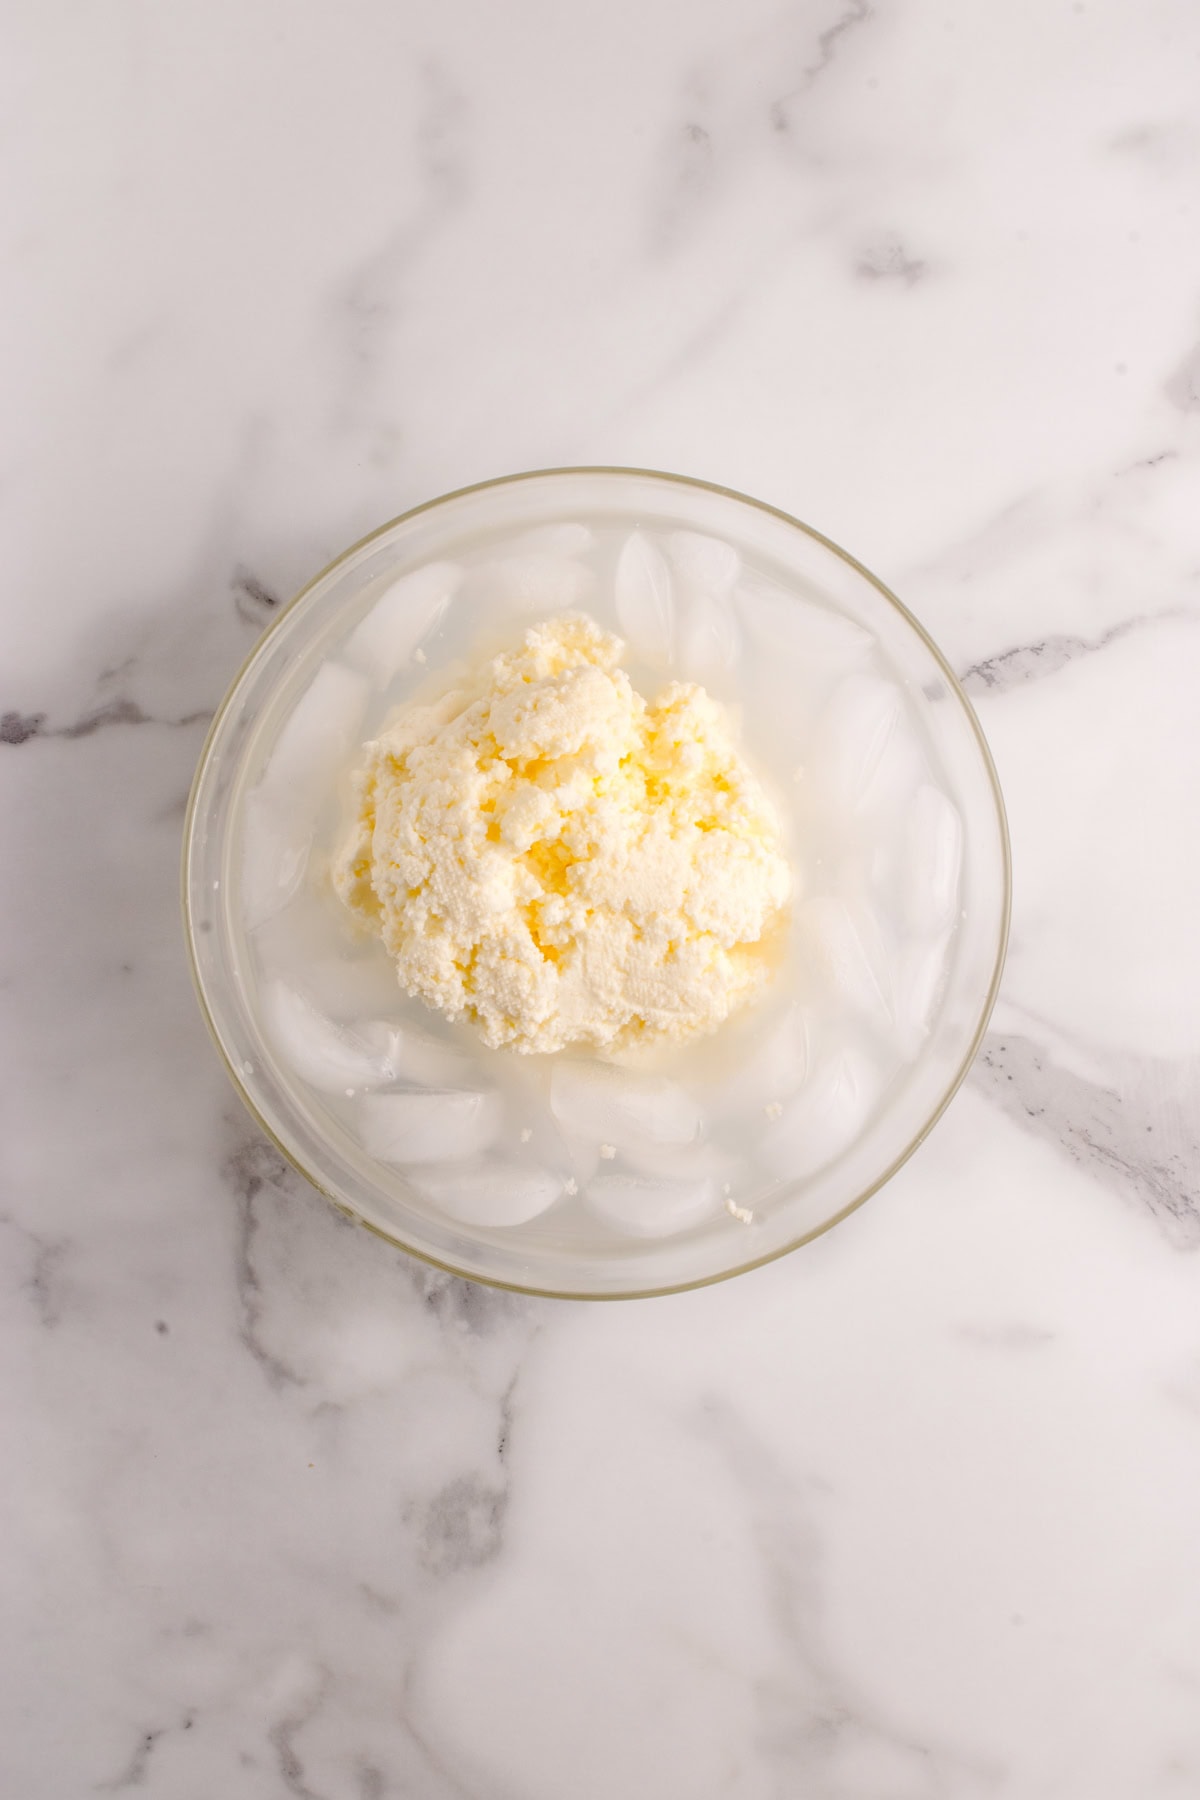
Step 3. Wash the Butter
Move the butter into a bowl of ice water and gently knead it with your hands or a spoon. Change the water once or twice until it runs clear. This step is optional, but helps the butter last longer.
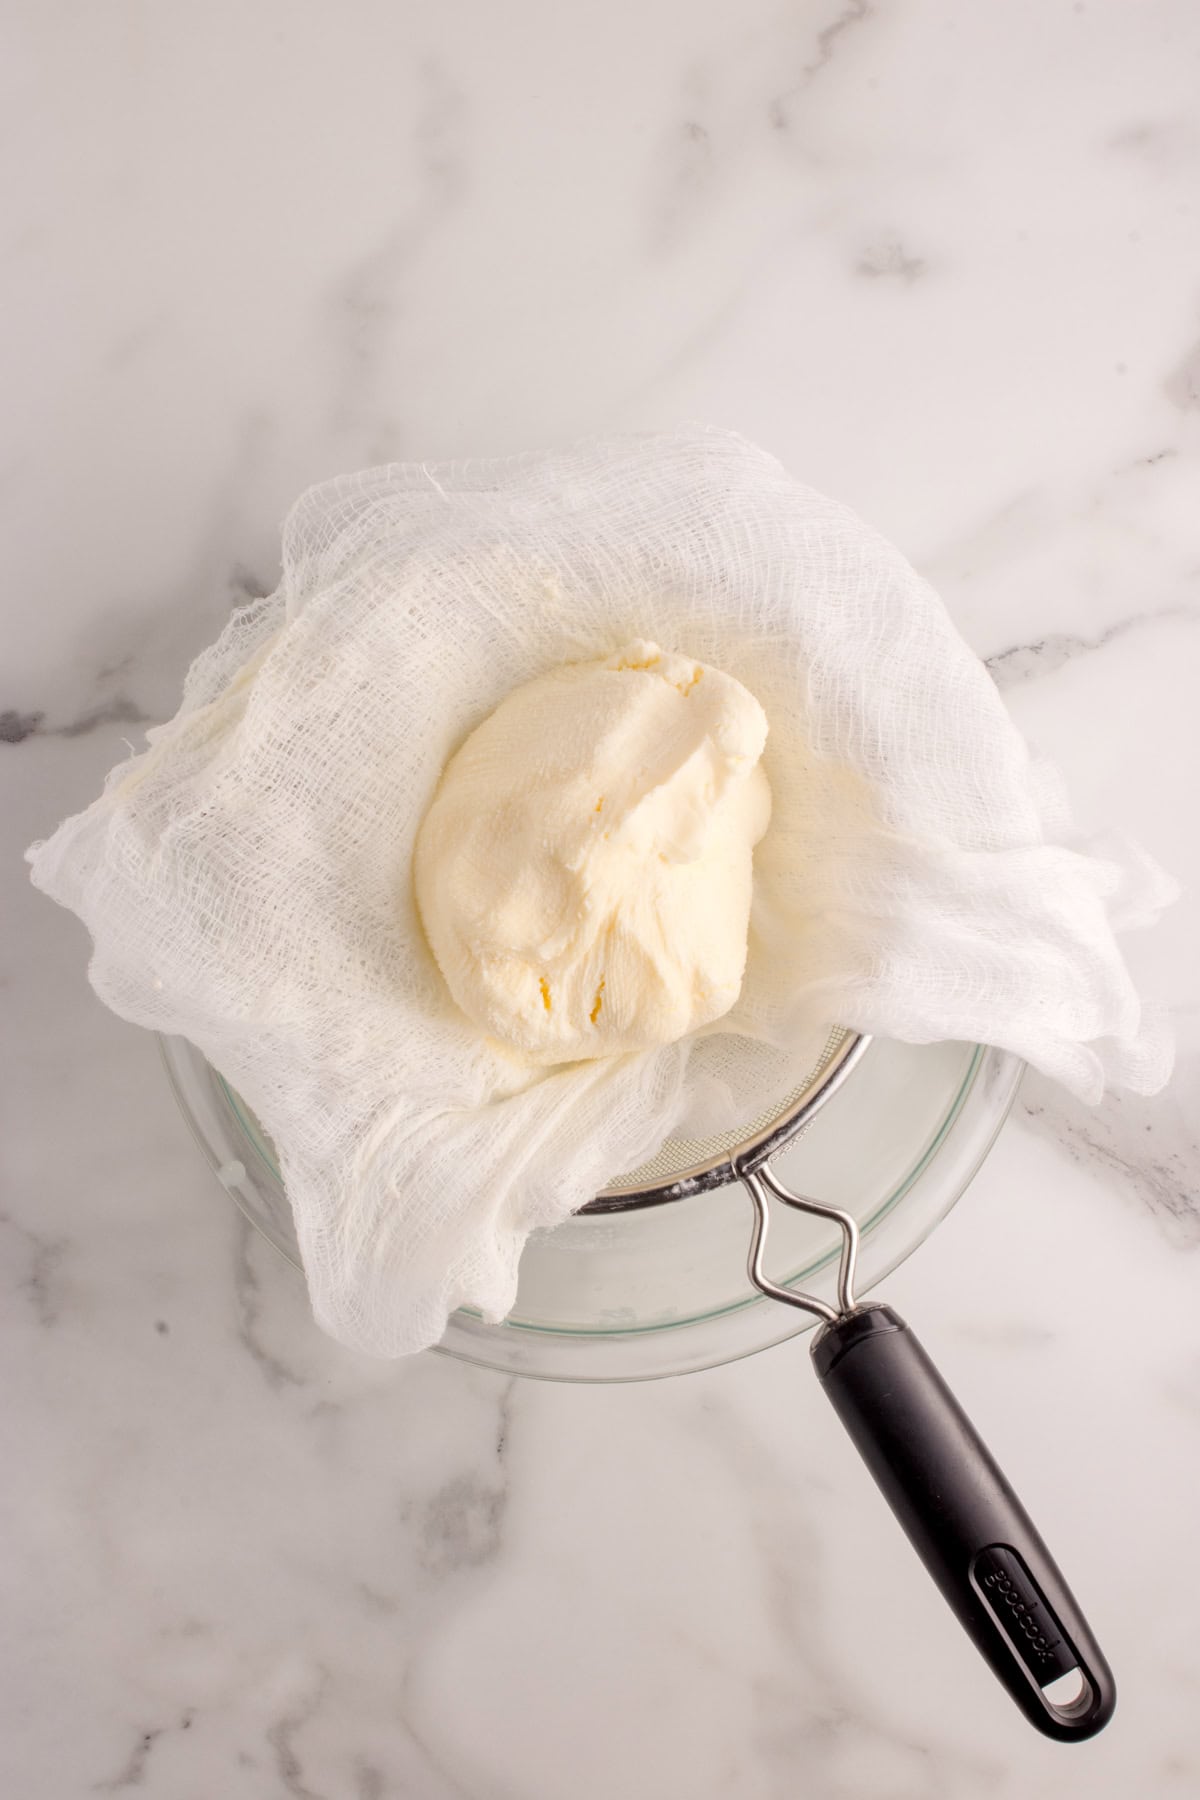
Step 4. Squeeze and Season
Press the butter with clean hands or in cheesecloth to remove any last drops of liquid. If you like, mix in a little salt to taste. I suggest 1 teaspoon for 3 cups of milk to start.
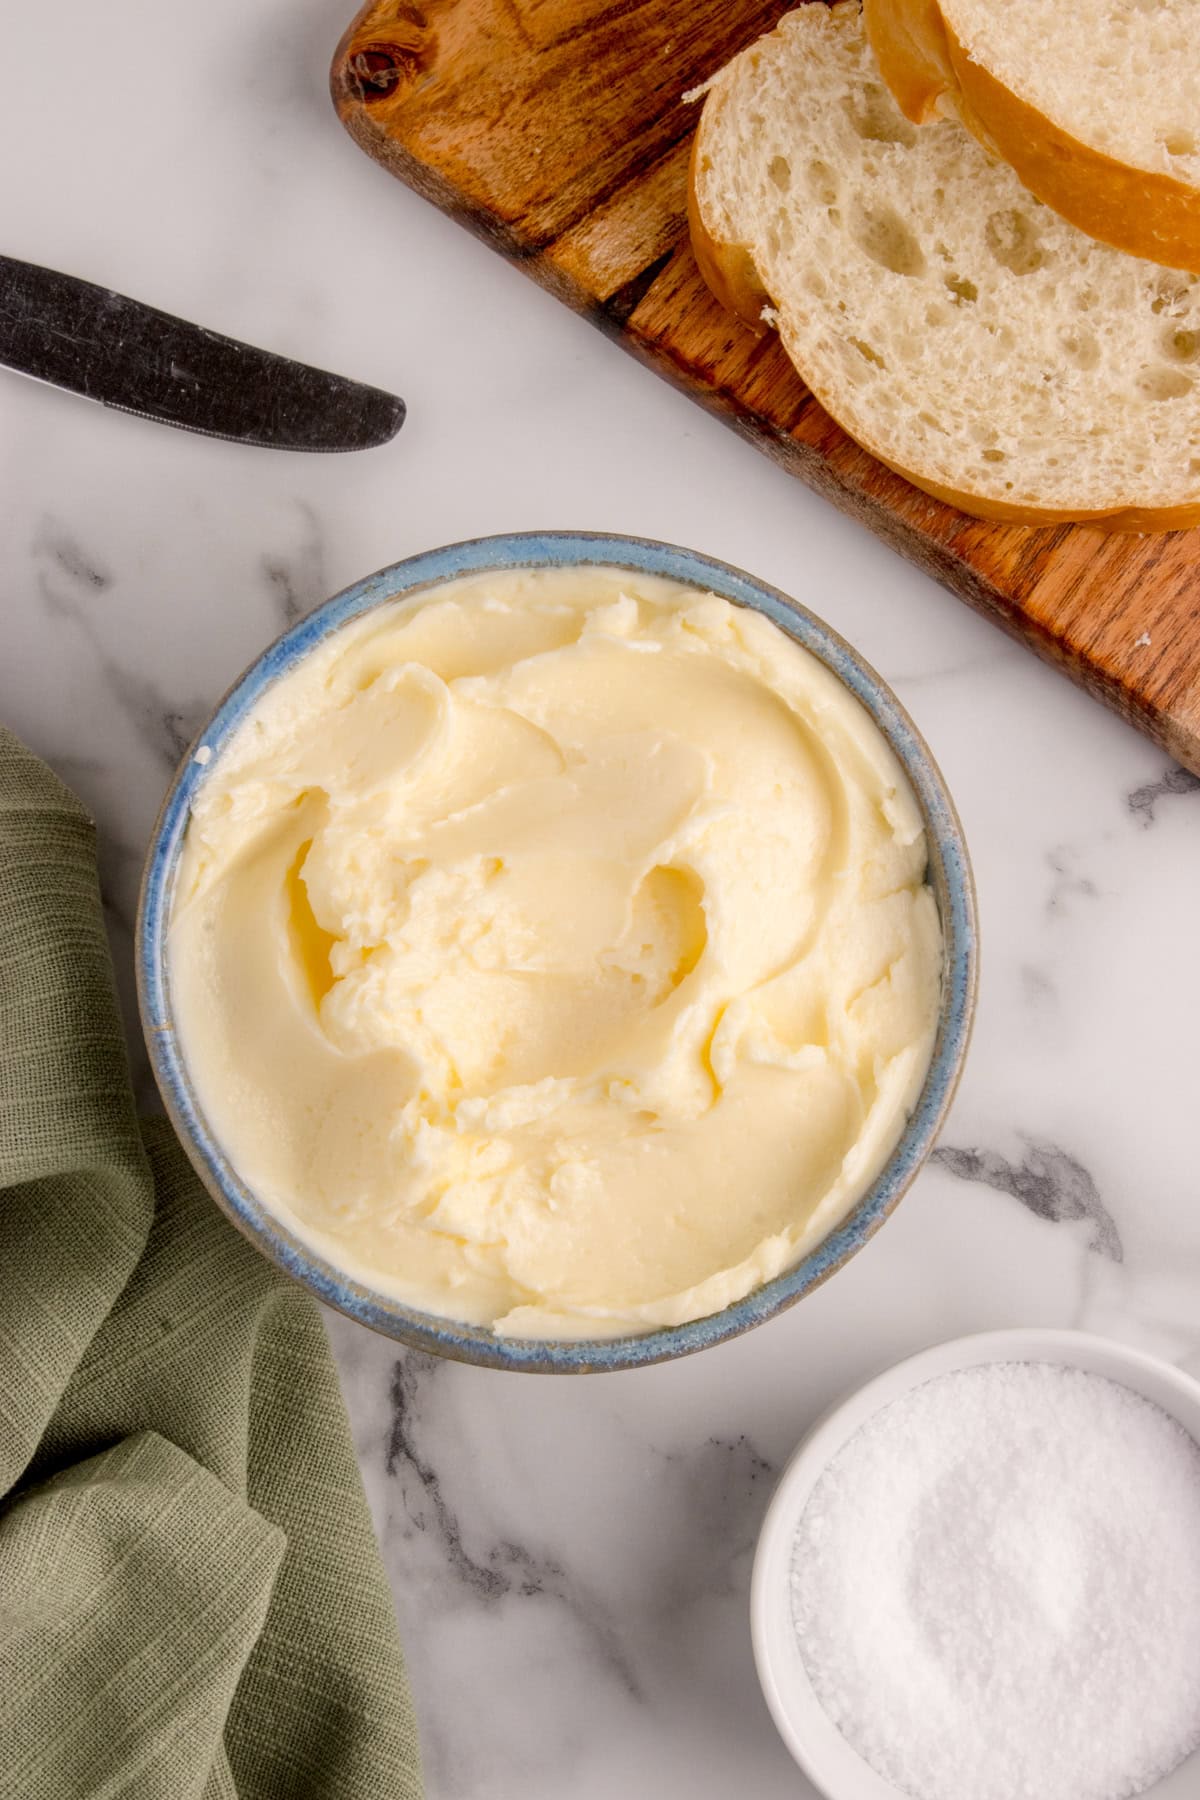
Step 5. Store
Keep your butter in an airtight container in the fridge for up to 1 week, or freeze it for longer.
Your Questions Answered (FAQs)
What do I do with the liquid?
The liquid you strained out is buttermilk, it is not sour but tastes just like milk. I use it in pancakes, biscuits, or muffins. I also like to use it to marinate chicken. If you don’t need it, simply discard it.
How long does it take for cream to “break” into butter?
It really depends on the equipment, fat content, temperature, and batch size. A powerful food processor may take 3-5 minutes; a stand mixer may take 8-12 minutes; hand shaking (jar) could take 15-30 minutes or more.
Why do I need to wash the butter?
Washing helps remove residual buttermilk which tends to give the butter a shorter shelf life.
Can I use raw cream / raw milk cream?
Yes, you can. Raw cream often gives stronger, more nuanced flavor and less processing.
What if butter doesn’t separate?
Possible reasons for this include: cream being too cold, or too warm; fat content being too low; insufficient mixing. To fix: allow the cream to warm slightly (but not room temp) and use a more powerful blender or mixer. Also, make sure that the cream is fresh.
For more information on the different methods and results refer to this Best Way to Make Butter at Home. For us, the best results were from the food processor, so that is what we showed you today.
Recipe Pro Tips
Recipe Tips & Tricks
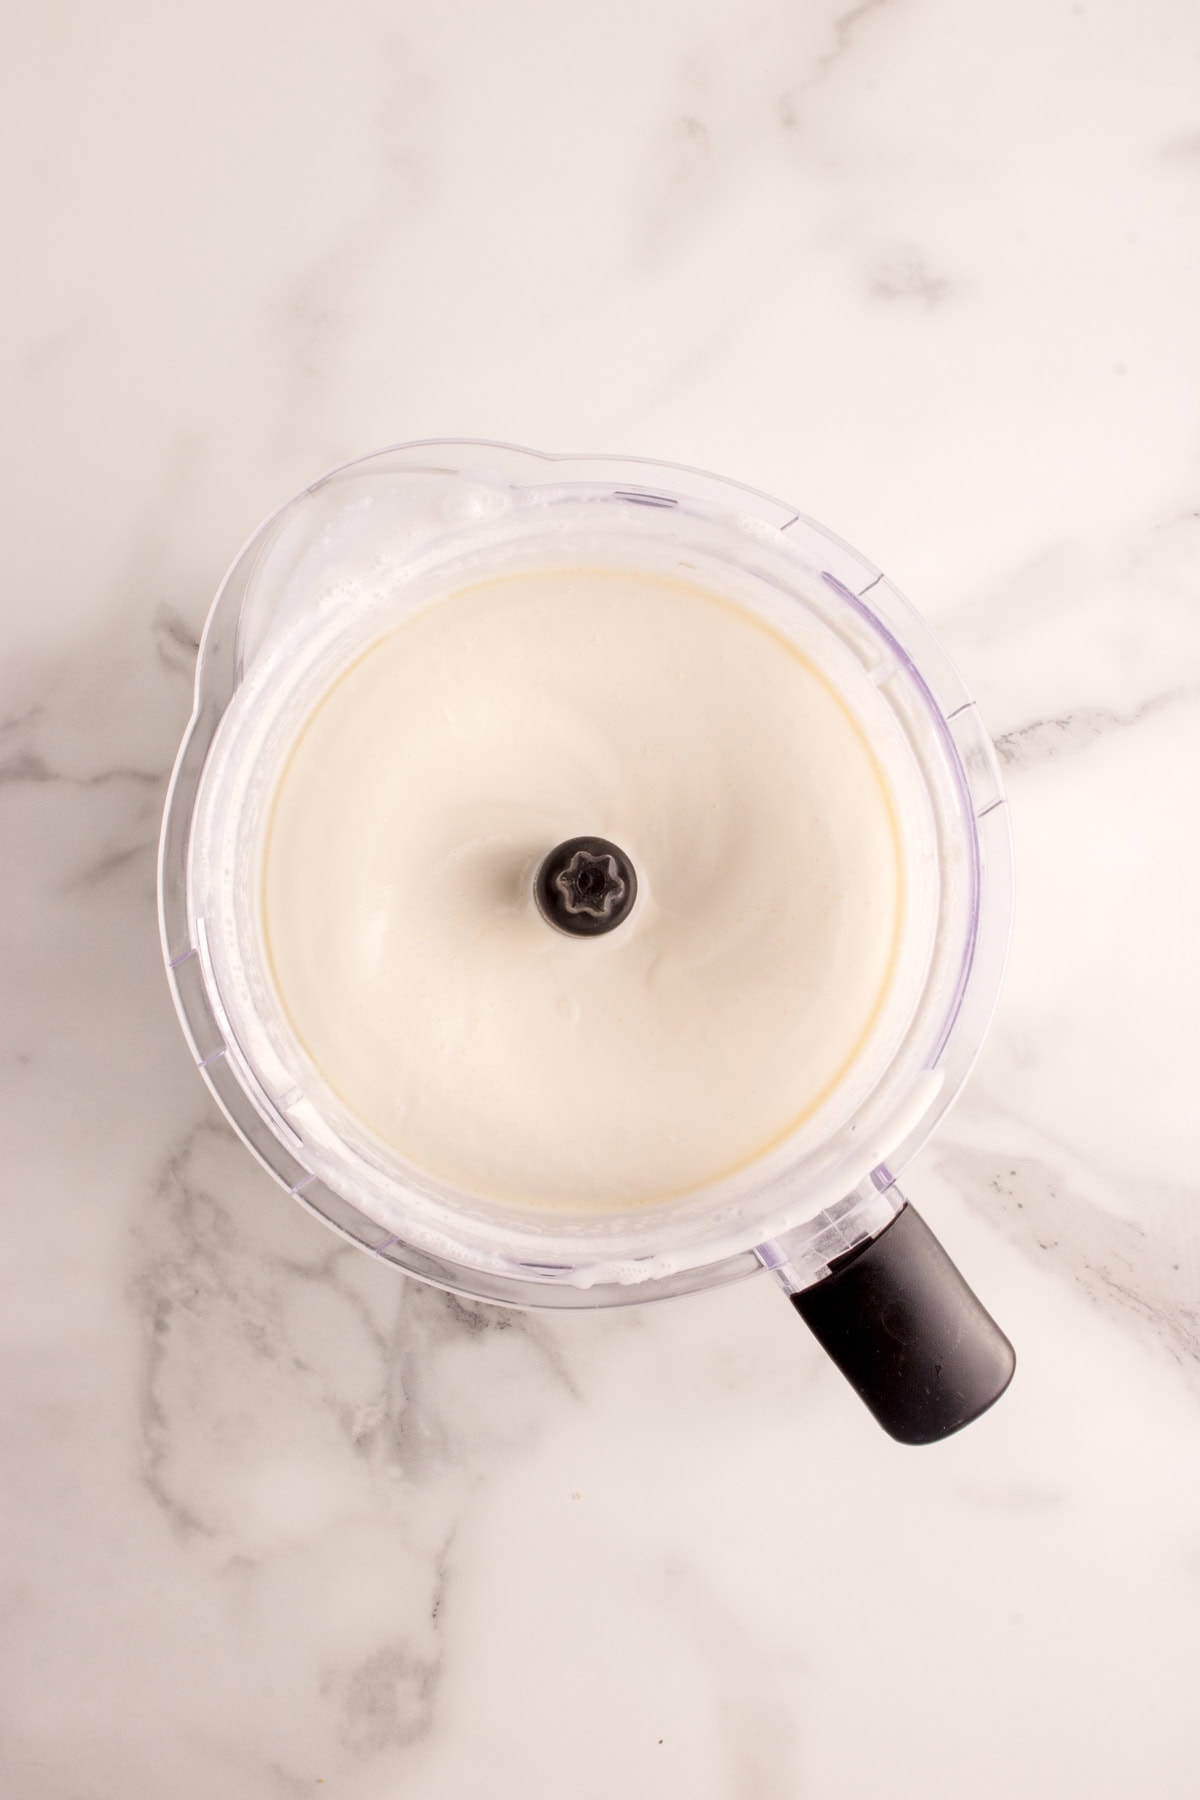
Watch the stages: First you’ll see whipped cream, soft peaks, then stiffer peaks, then large bubbles, curdling, then “breaking” where the solids clump and buttermilk separates. Knowing these visual cues will help you avoid over-beating.
Don’t rush washing: Wash the butter in cold water several times until the rinse water runs almost clear. Any residual buttermilk promotes spoilage, off odors, or a sour taste. If the water remains cloudy, repeat washing.
Add salt gradually and taste: If you are using salt, add a little, knead, taste, then adjust.
Flavor additions: Before the final pressing, you can add herbs, garlic, or honey.
Forming and molding: Shape the butter into logs or bricks using wax paper or parchment, roll and twist the ends. It makes storage easier, and slicing easier.
Chill the cream: Chilled cream tends to speed up separation.
Storage
Refrigeration: Store your homemade butter in an airtight container (or wrapped tightly in parchment/wax paper then in a sealed container or freezer bag) in the fridge. Use it within 7-10 days if it is unsalted; salted butter may last a bit longer, up to 2 weeks, because salt is a preservative.
Freezing: Butter freezes very well. Portion it into sticks, logs, or small blocks (wrapped tightly) before freezing to make thawing only what you need easier. Frozen homemade butter can last for 3-4 months in the freezer.
Thawing / Return to Spreadable Texture: Thaw it in the fridge overnight. If you need spreadable butter quickly, let it sit at room temperature in a sealed container for 15-30 minutes.
WANT TO LEARN MORE HOW TO’S?
We love learning the basics or something that we know nothing about. Here are some of our favorite posts.


How to Make Butter Recipe
Ingredients
- 3 cups cold heavy whipping cream
- Ice + cold water for washing
Instructions
Step 1. Blend the Cream
- Pour the heavy cream into your food processor (blender or stand mixer) and blend it on medium speed. After 2–3 minutes, it will turn into whipped cream. Keep going another 2–3 minutes, and it will turn into yellow clumps and a thin liquid (buttermilk). Stop as soon as this step, known as breaking, happens.
Step 2. Strain
- Place a strainer over a bowl. Pour the contents of the blender in. The liquid in the bowl is buttermilk, and the solids in the strainer are butter.
Step 3. Wash the Butter
- Move the butter into a bowl of ice water and gently knead it with your hands or a spoon. Change the water once or twice until it runs clear. This step is optional, but helps the butter last longer.
Step 4. Squeeze and Season
- Press the butter with clean hands or in cheesecloth to remove any last drops of liquid. If you like, mix in a little salt to taste. I suggest 1 teaspoon for 3 cups of milk to start. Salt also preserves the butter, and it will last longer.
Step 5. Store
- Keep your butter in an airtight container in the fridge for up to 1 week, or freeze it for longer.


Let us know what you think!
We’d love to know what you and your family think! Make sure to leave a review below and follow us on your favorite social network!