Cooking + sharing what we love
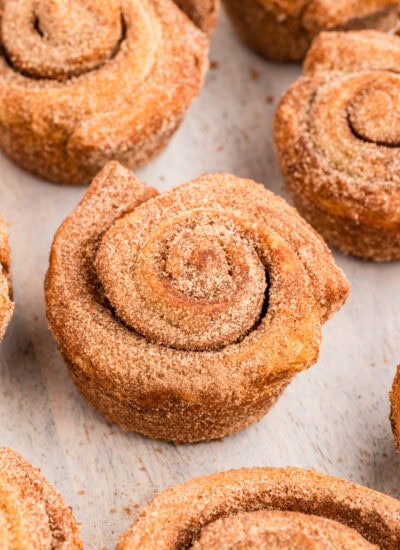
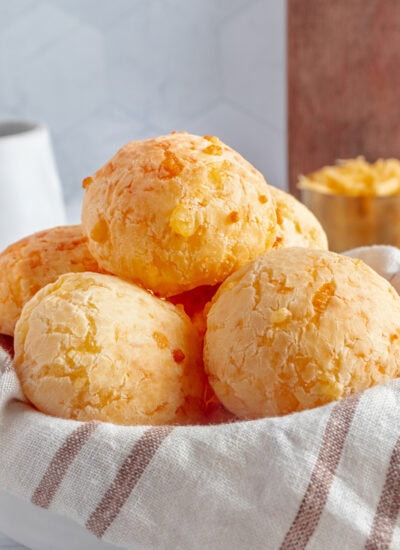
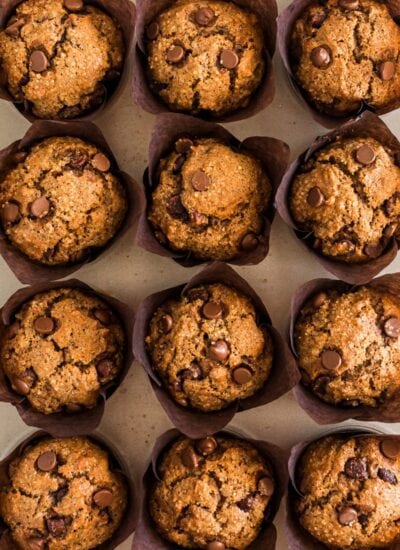
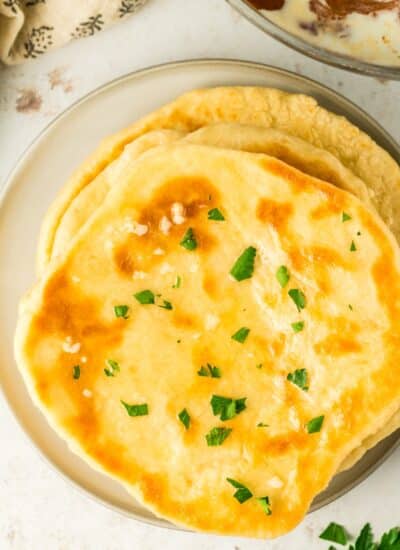
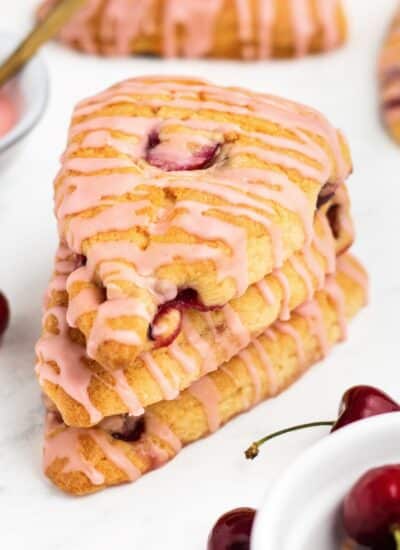
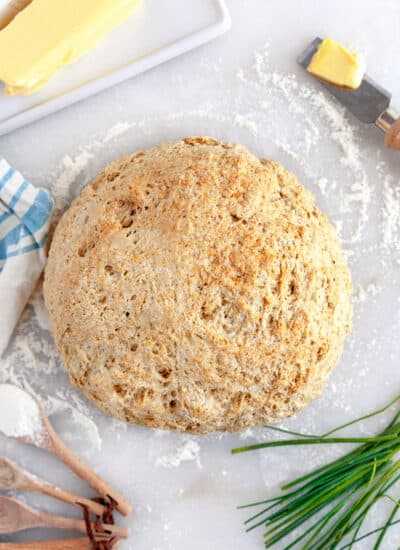
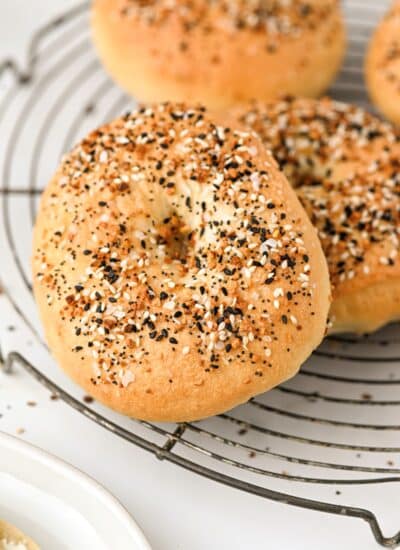
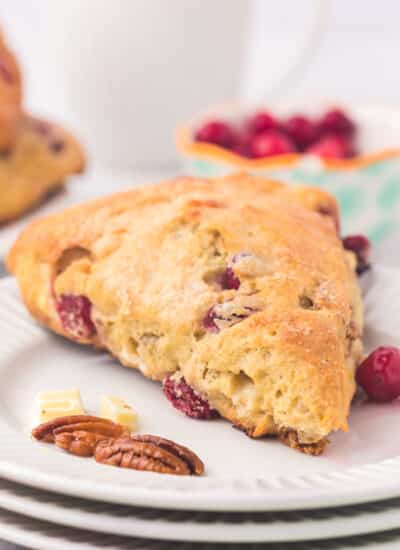
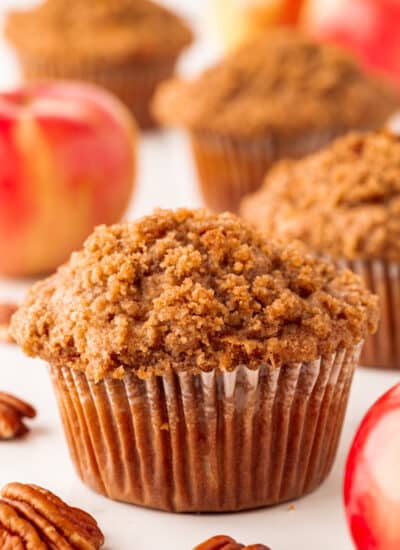
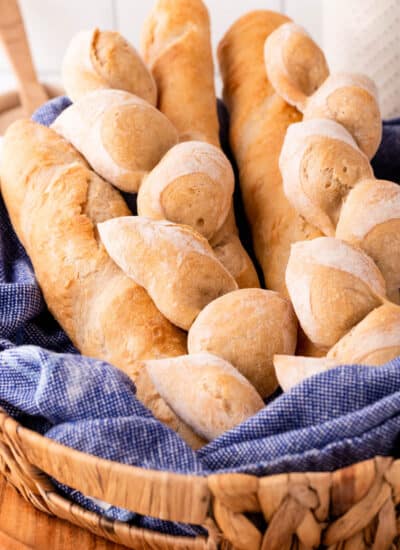
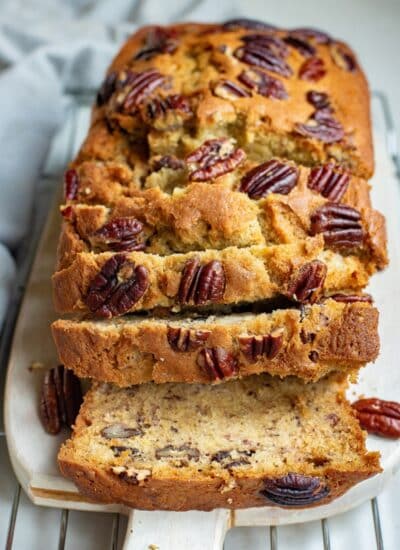
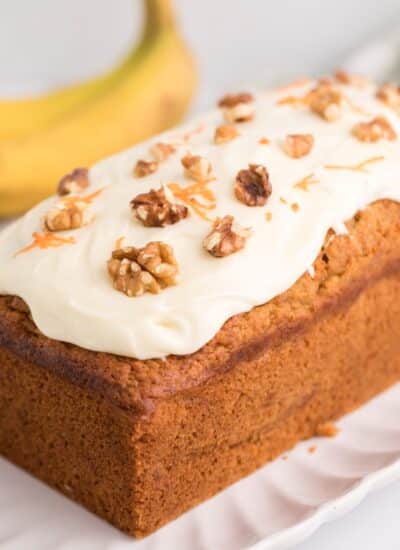
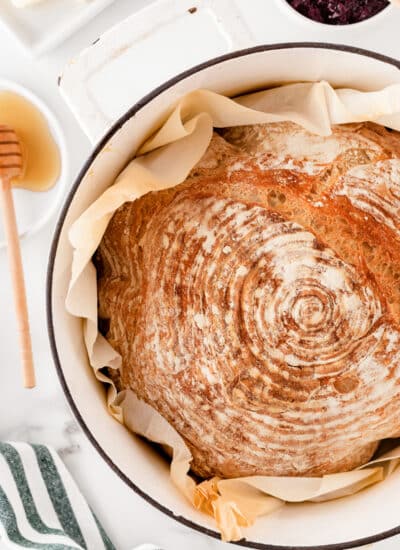
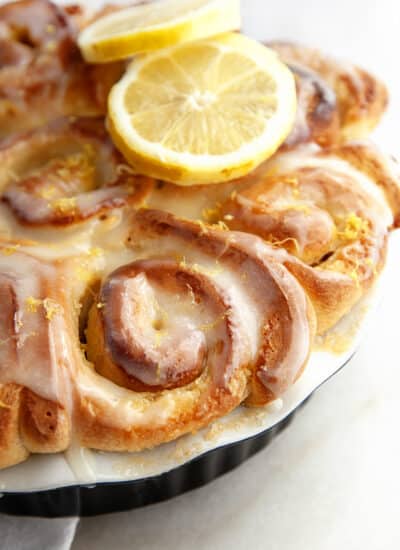
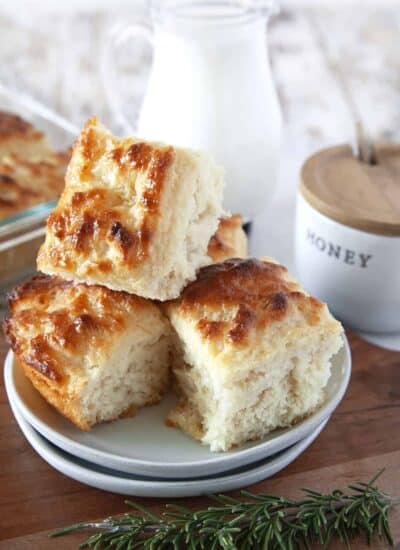
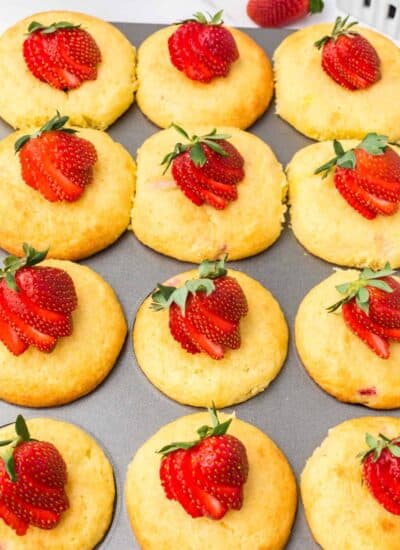
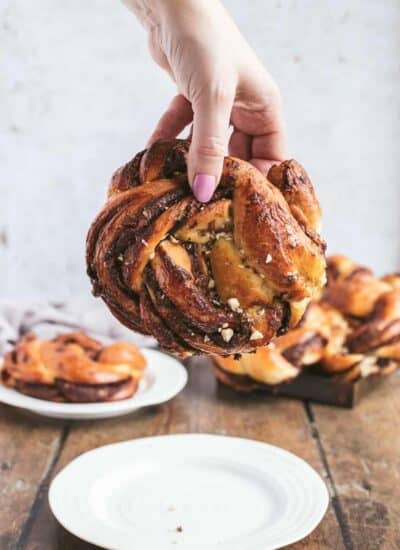
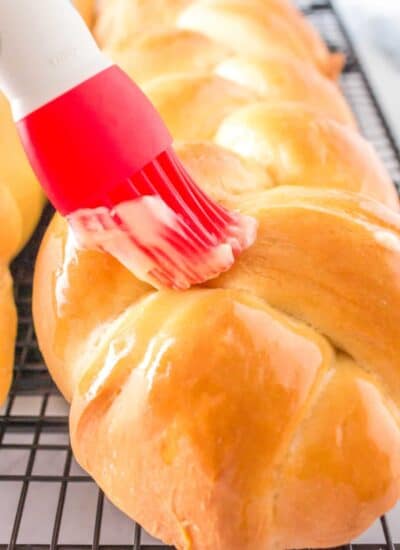
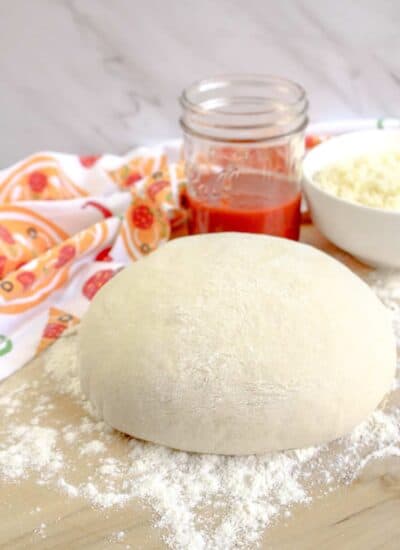
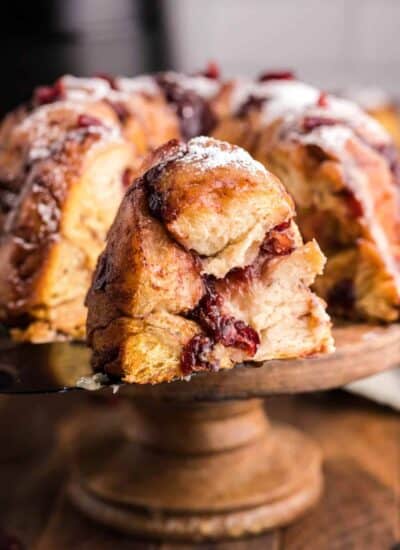
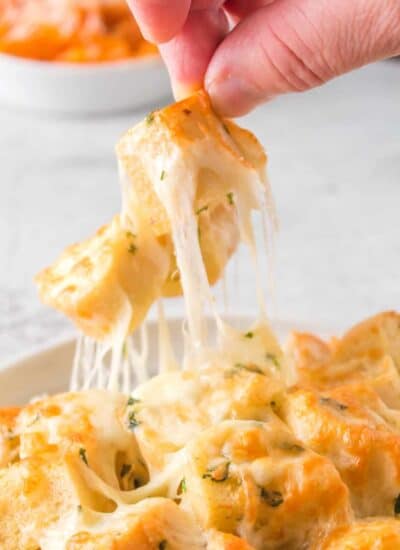
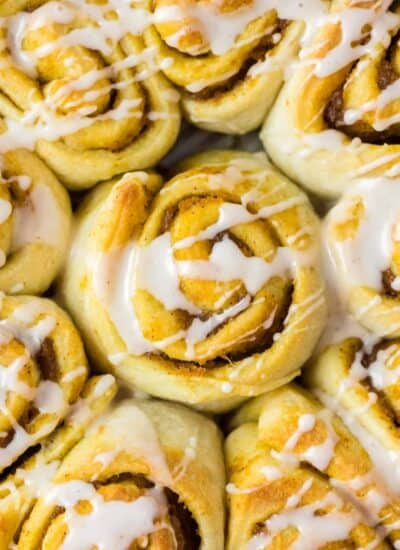
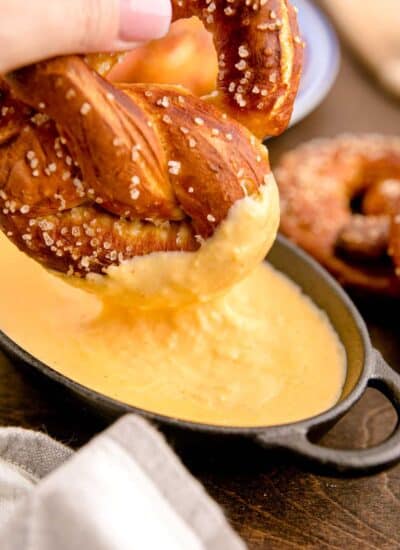
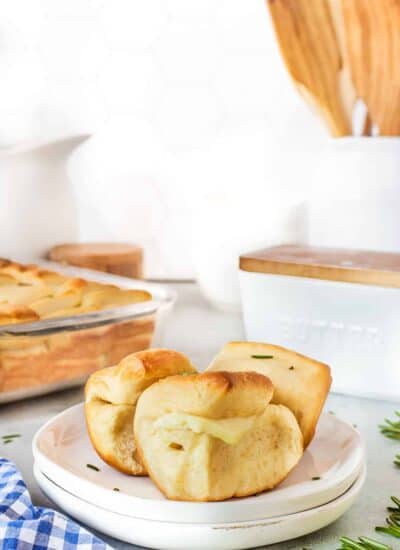
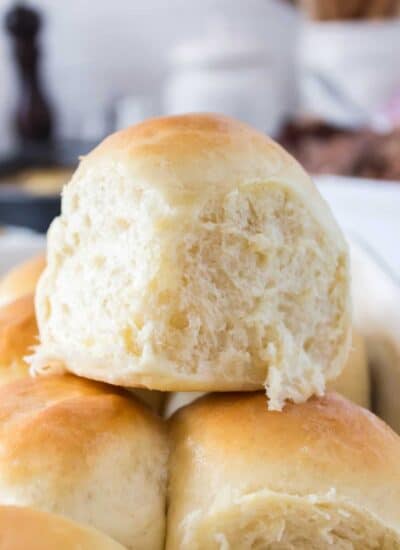
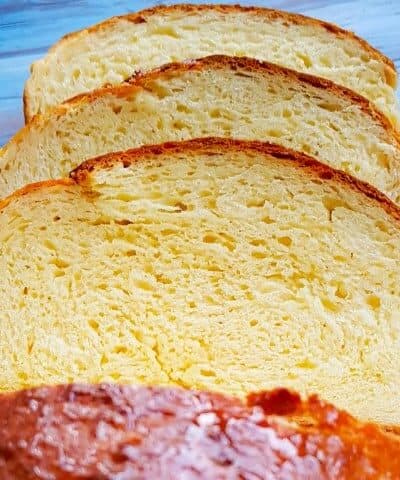
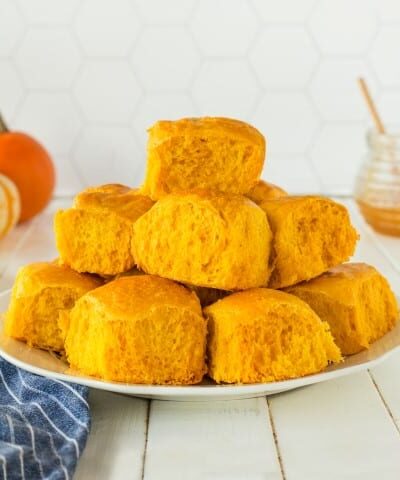
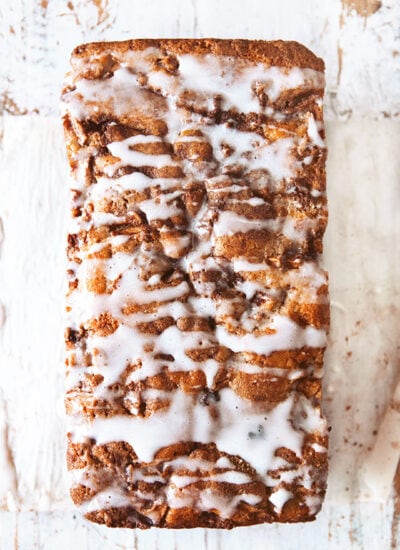
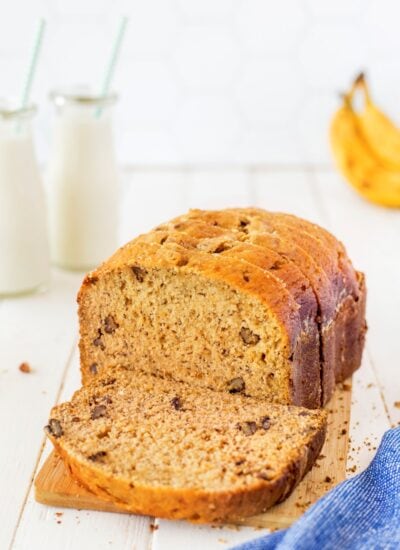
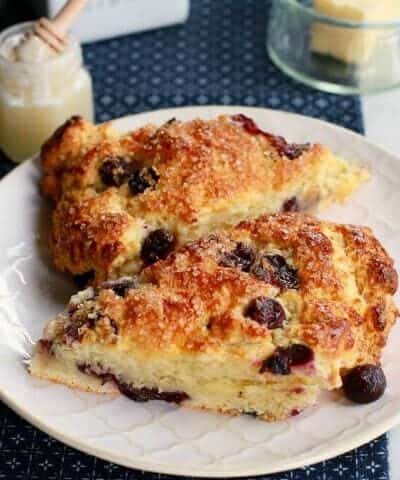
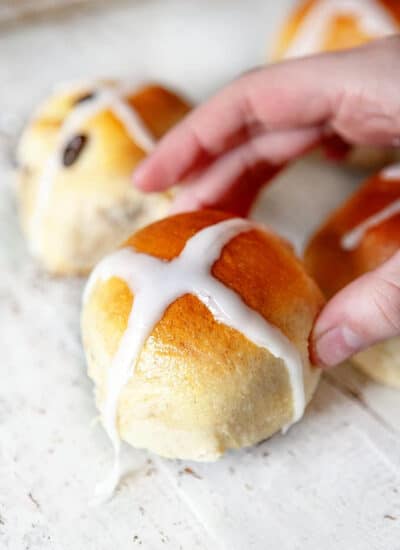
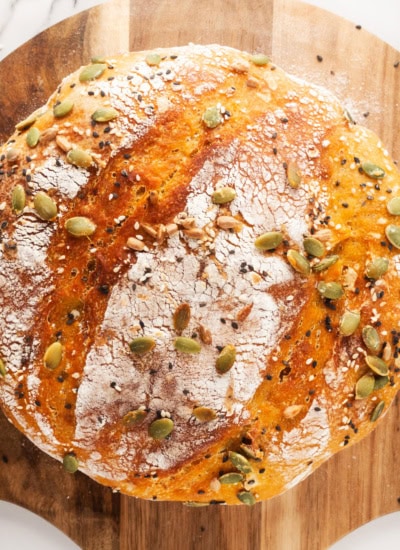
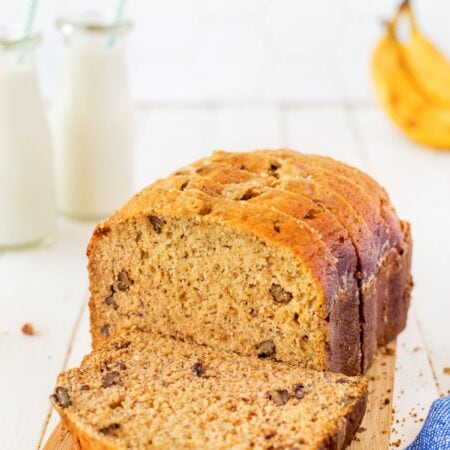
Breads, Scones, Muffins and More
Bread recipes, sweet and savory, flatbread, scones, rolls, biscuits, bagels, muffins, quick bread and more! Bread can be complicated and need time or whipped up easily in a bread machine plus pretty much anything in between.