Cooking + sharing what we love
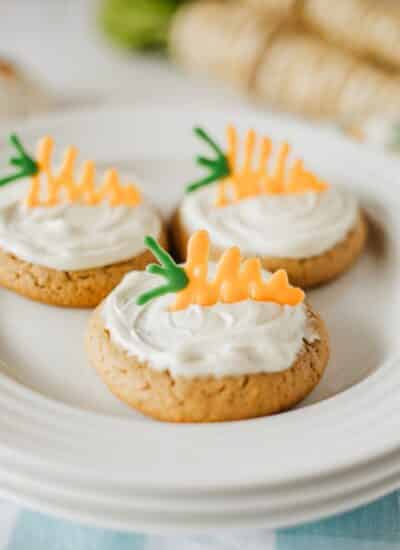
Easter Recipes and Ideas
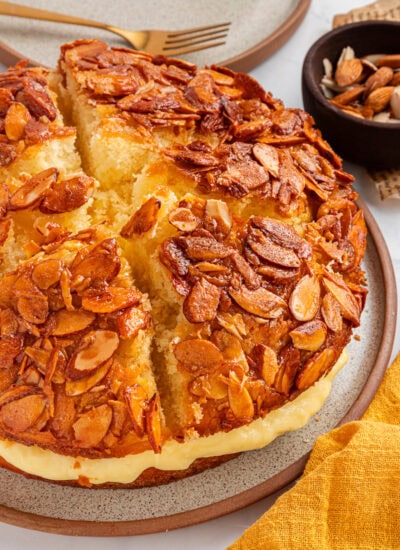
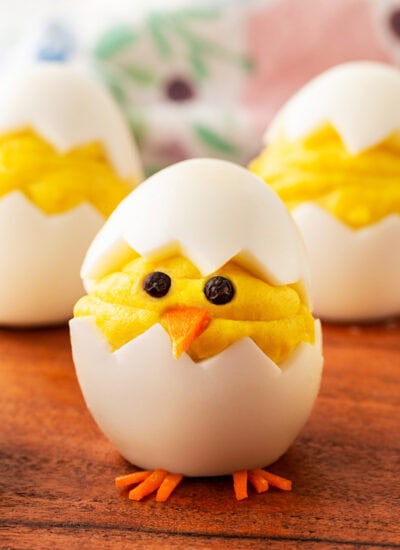
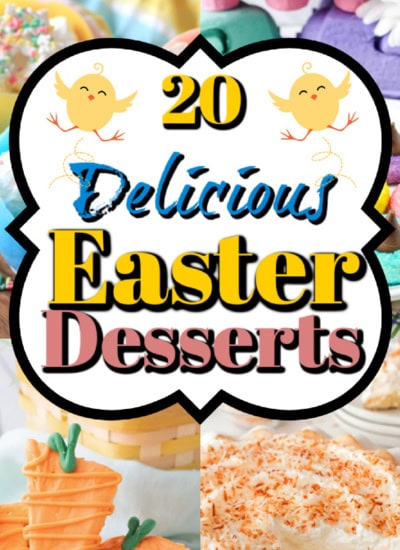
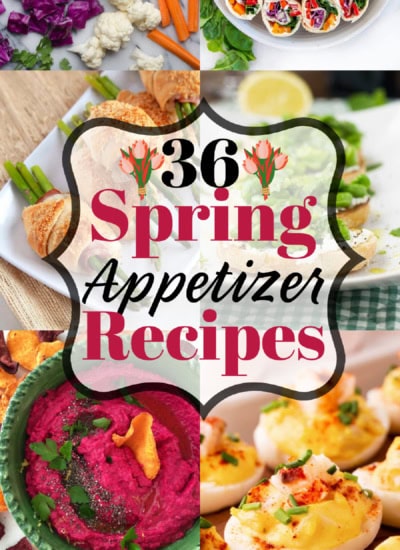
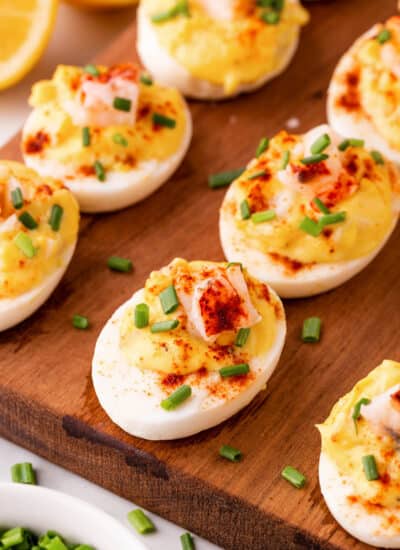
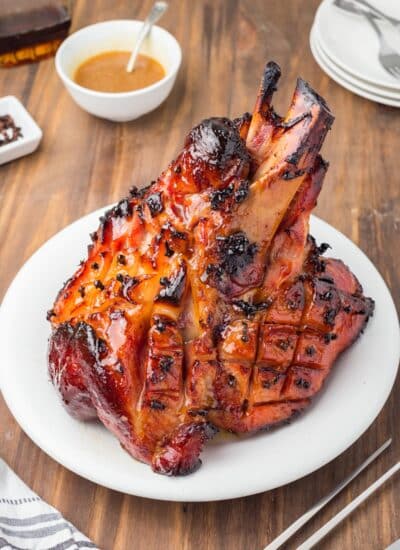
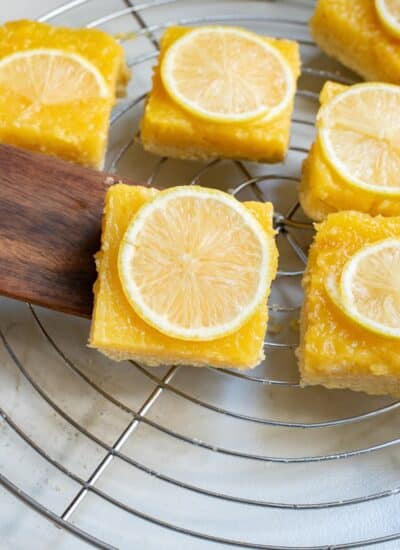
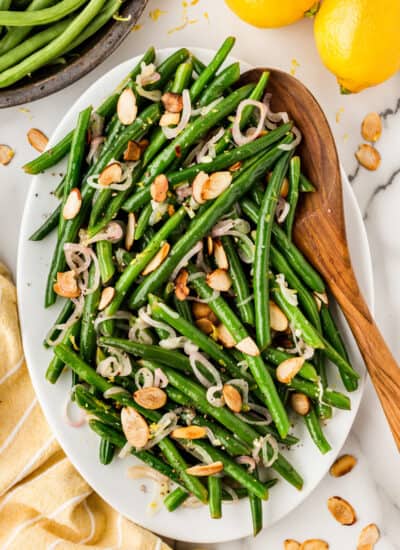
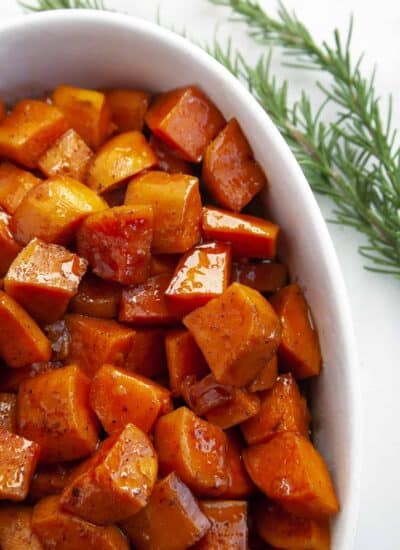
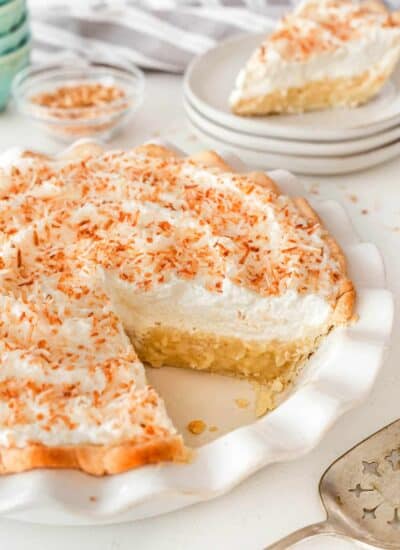
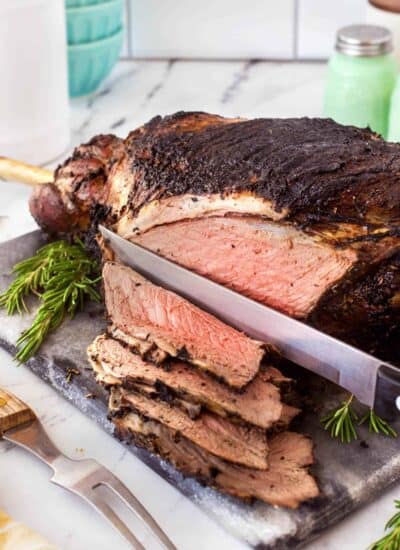
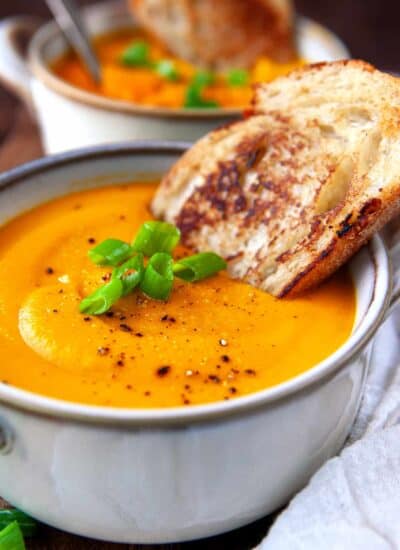
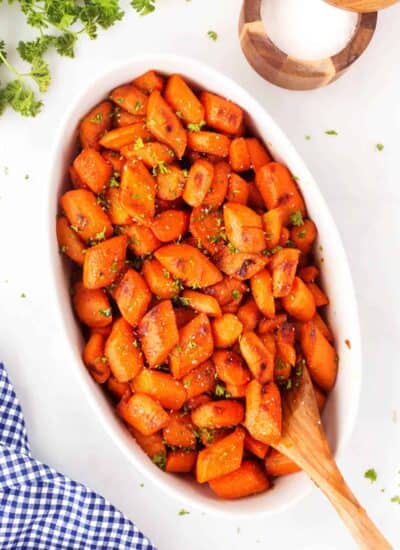
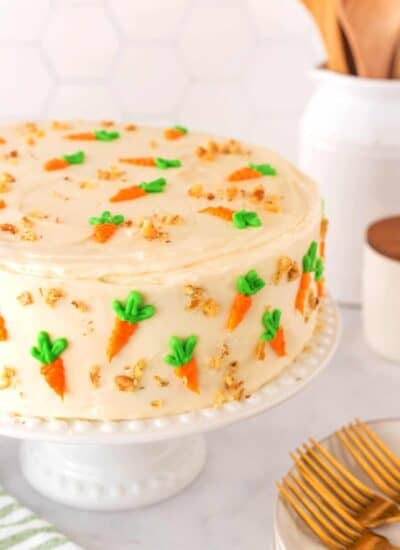
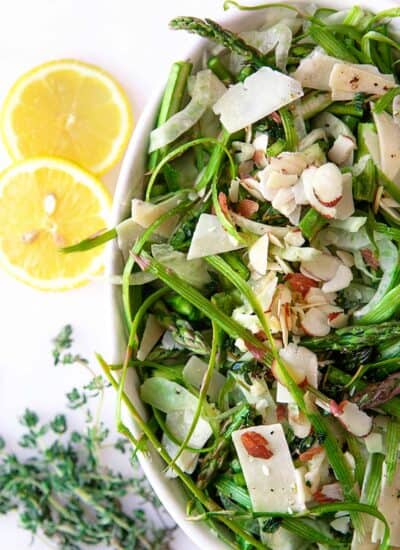
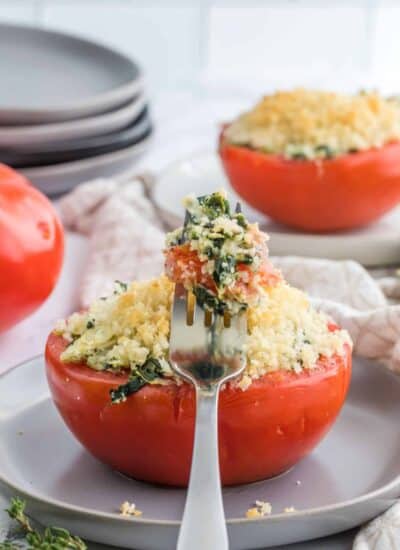
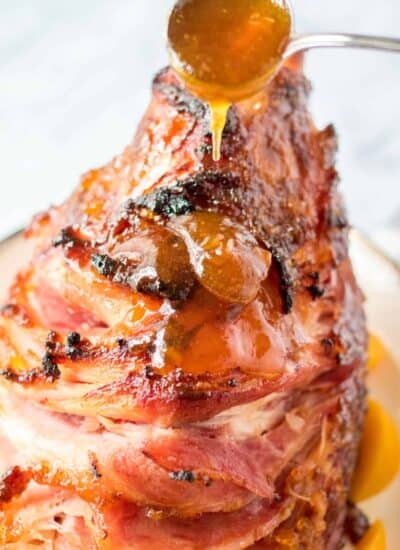
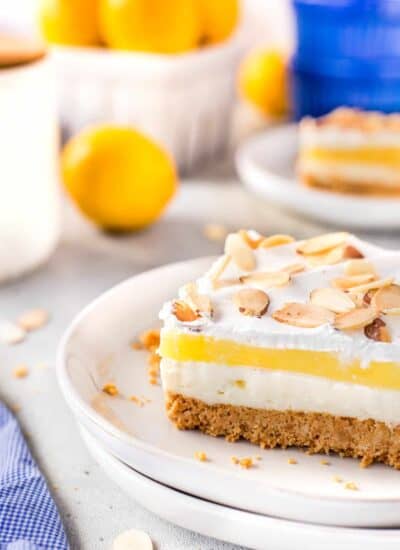
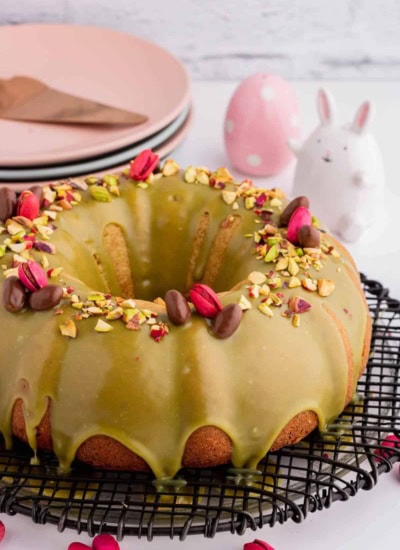
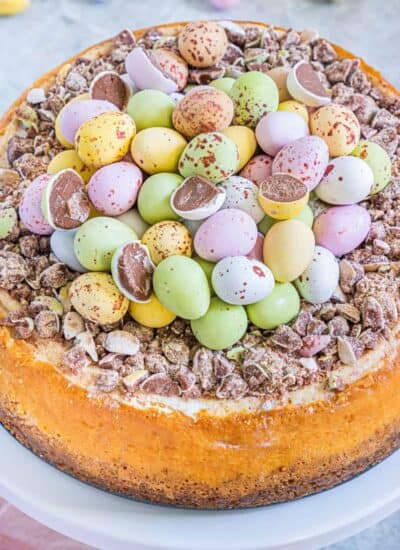
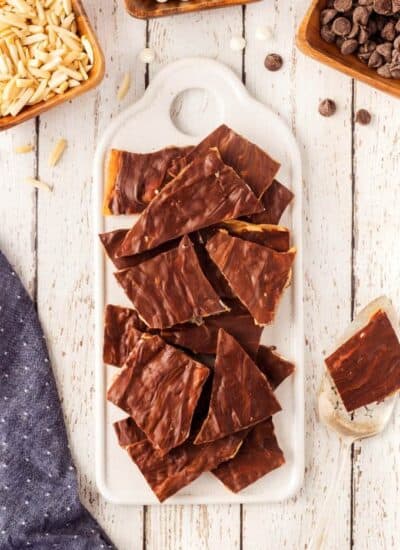
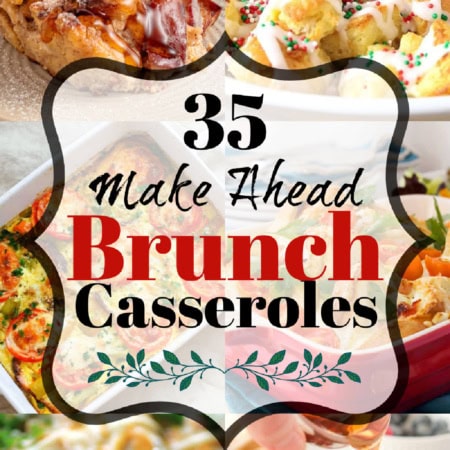
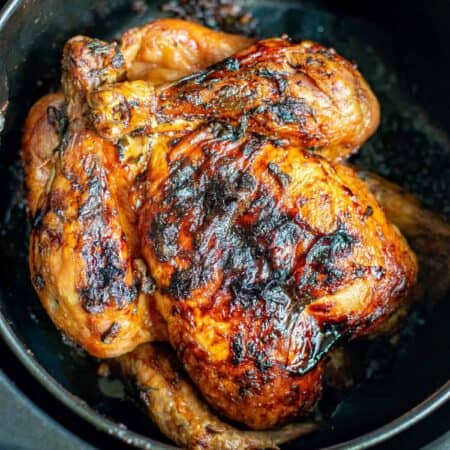
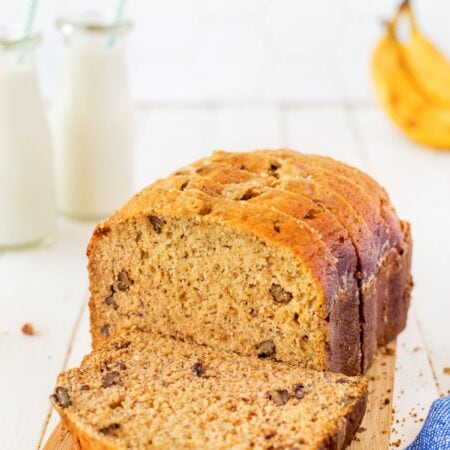
Easter is another holiday that centers around food. We have great recipes for easy dinner ideas, scrumptious desserts and treats, plus wonderful brunch dishes too!
Cooking + sharing what we love
Easter is another holiday that centers around food. We have great recipes for easy dinner ideas, scrumptious desserts and treats, plus wonderful brunch dishes too!