Cooking + sharing what we love
Snack Recipes
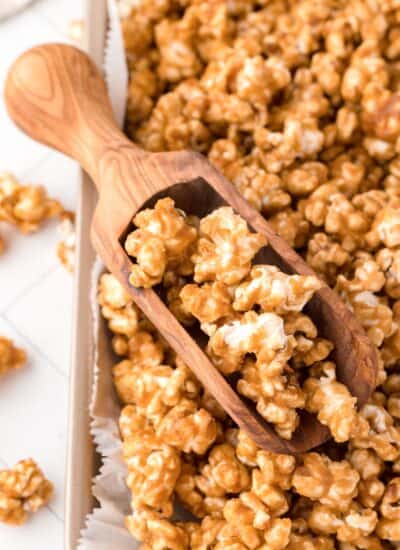
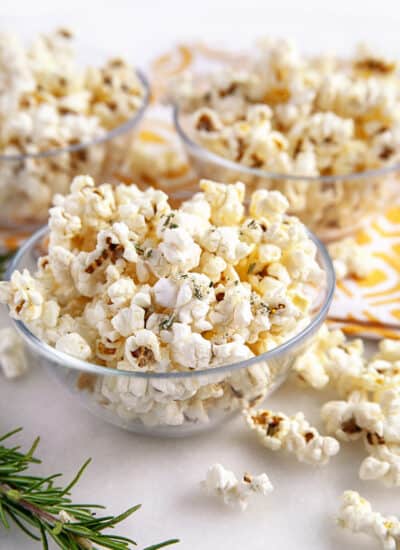
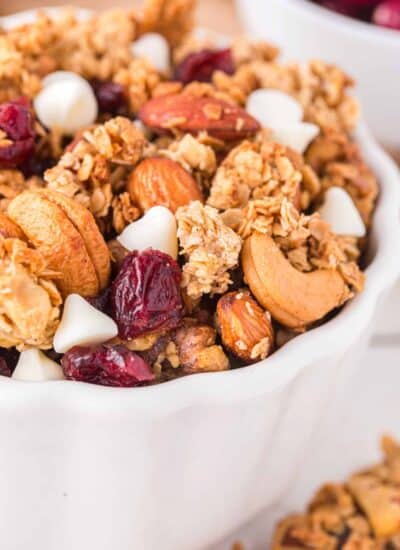
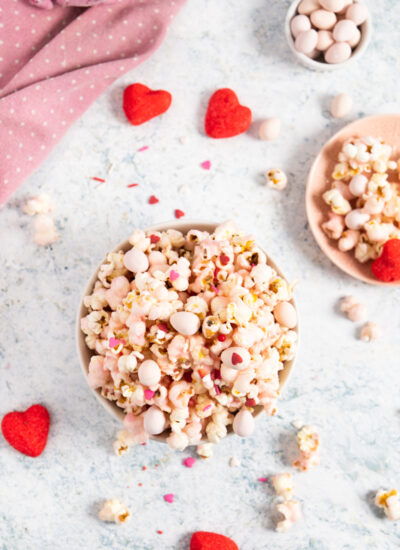
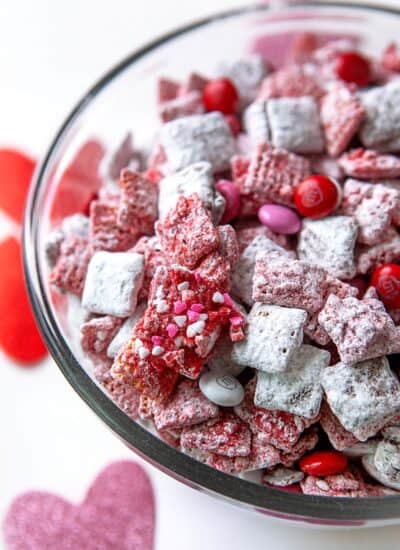
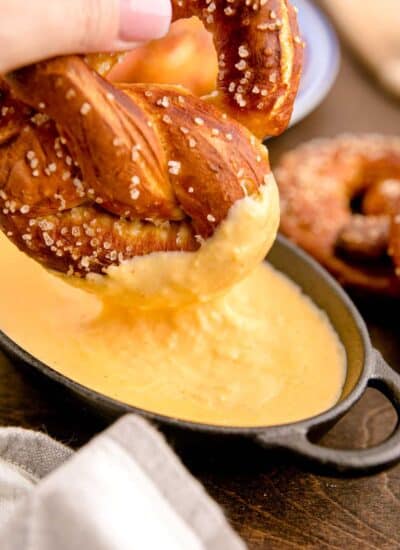
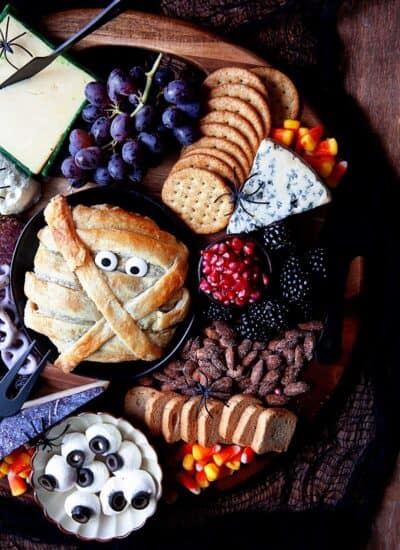
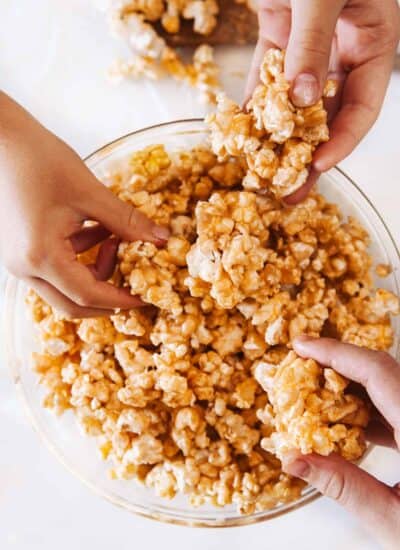
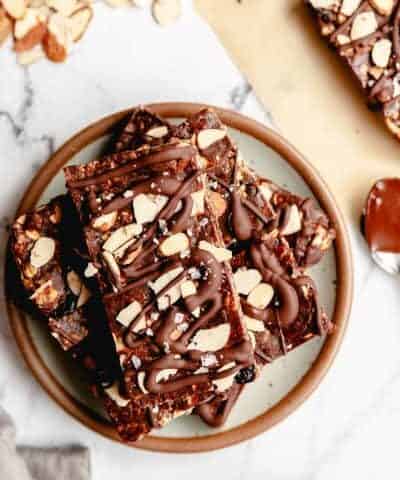
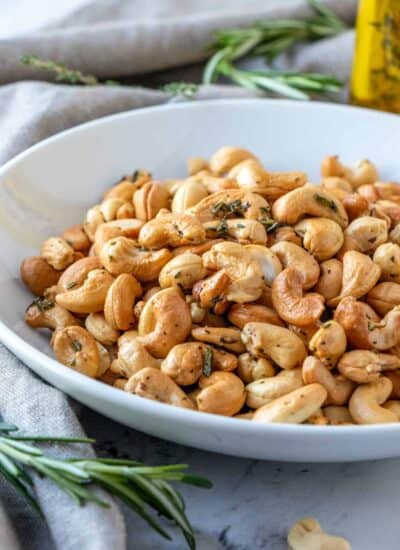
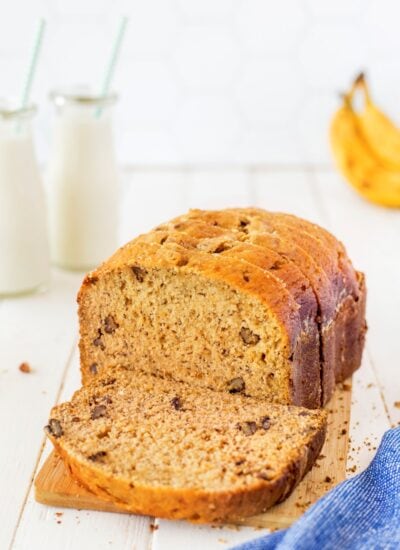
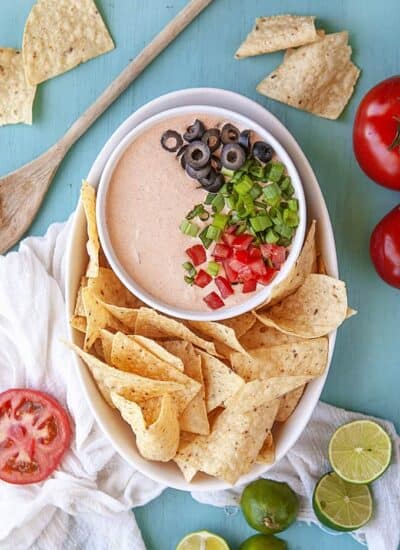
Do you like to munch in the afternoon or evening? Need snacks for kids lunches? We have popcorn, protein balls, appetizers, and salty and sweet treats, something for everyone!
Cooking + sharing what we love
Do you like to munch in the afternoon or evening? Need snacks for kids lunches? We have popcorn, protein balls, appetizers, and salty and sweet treats, something for everyone!