Cooking + sharing what we love
Bars and Squares
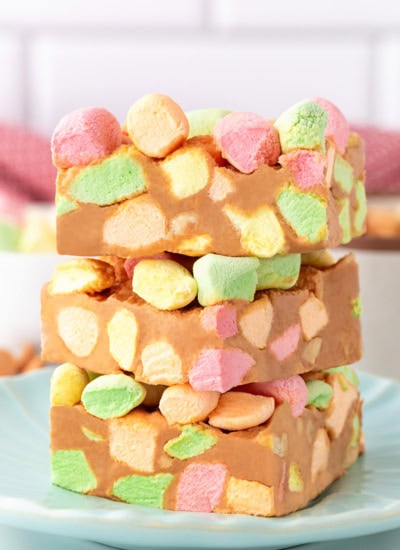
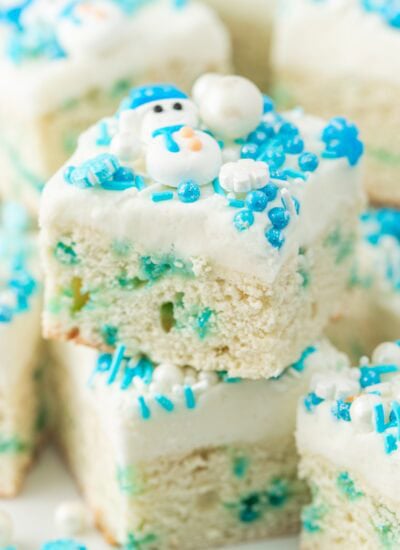
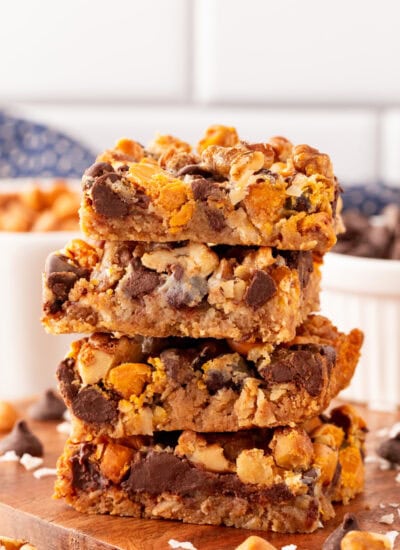
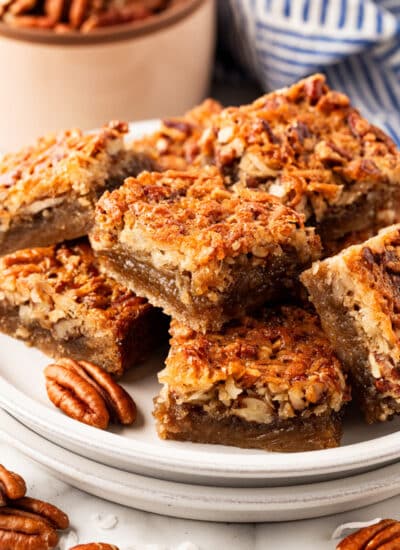
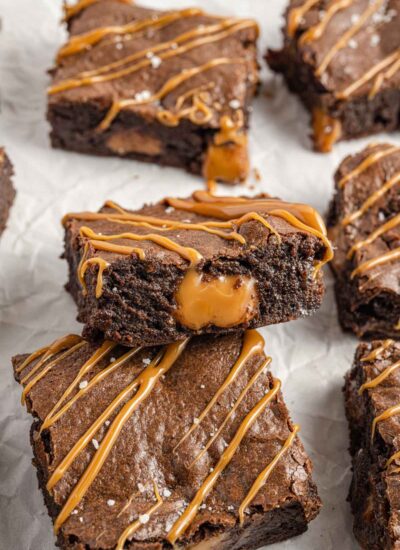
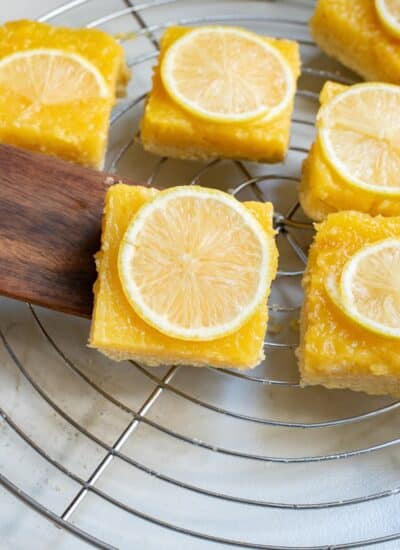
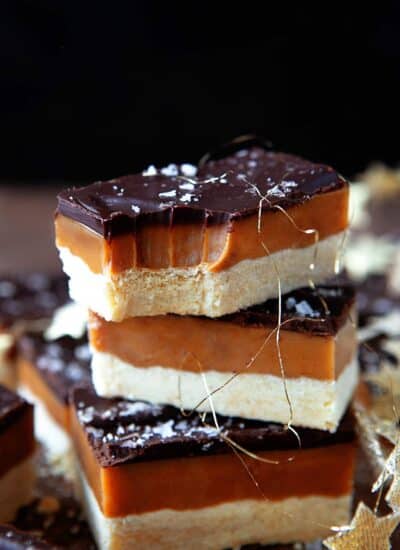
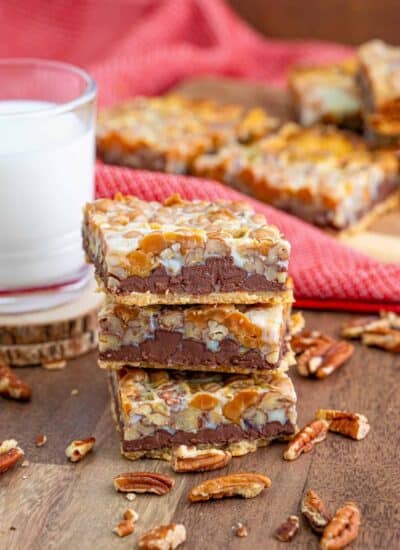
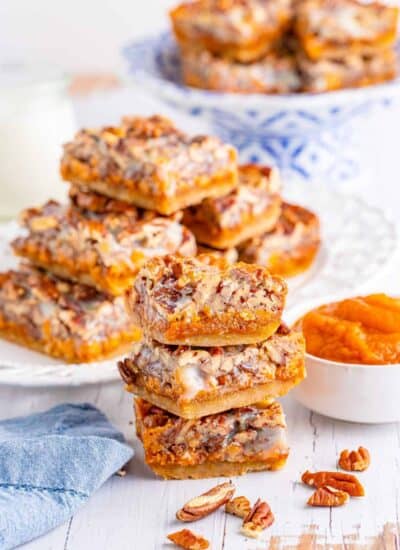
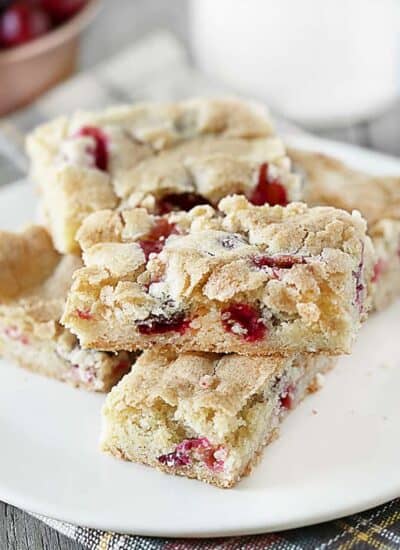
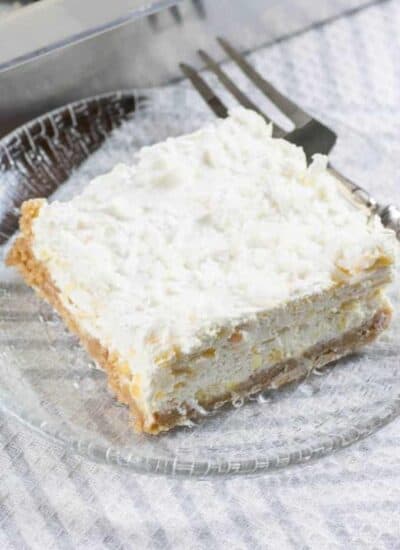
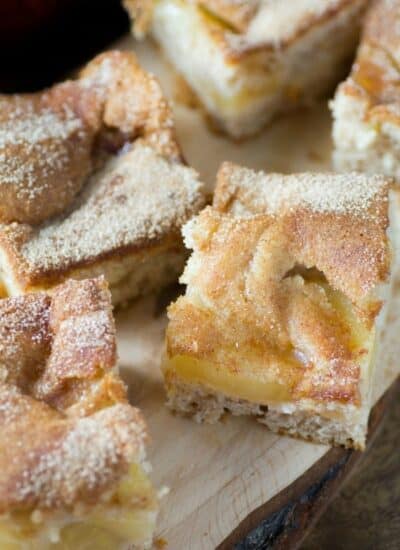
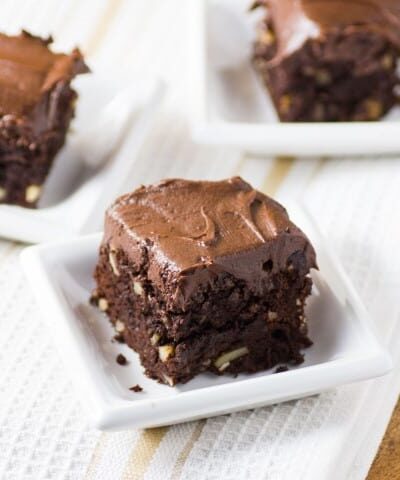
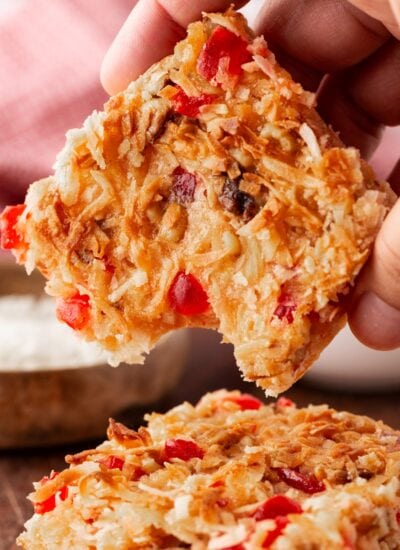
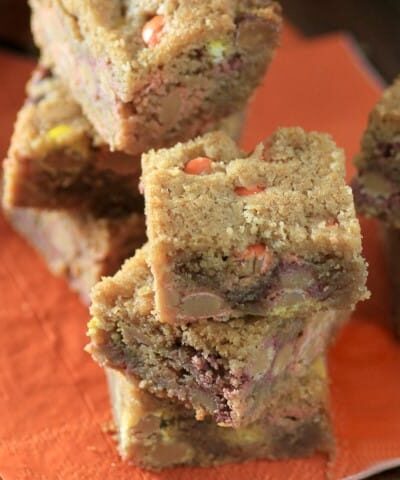
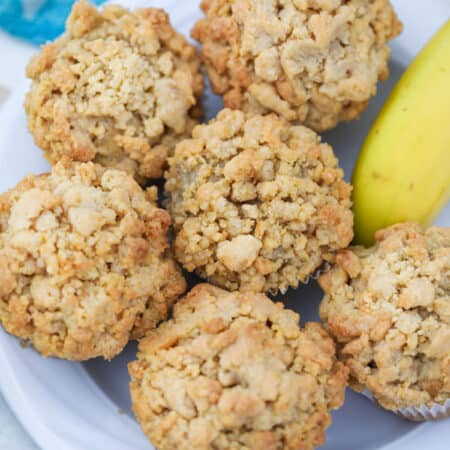
These best dessert bars and squares are easy to make, easier than cookies. We have recipes for any and all seasons with chocolate, rhubarb, pineapple, apple, butterscotch, coconut, lemon and more!
Cooking + sharing what we love
These best dessert bars and squares are easy to make, easier than cookies. We have recipes for any and all seasons with chocolate, rhubarb, pineapple, apple, butterscotch, coconut, lemon and more!