Cooking + sharing what we love
Lunch Recipes
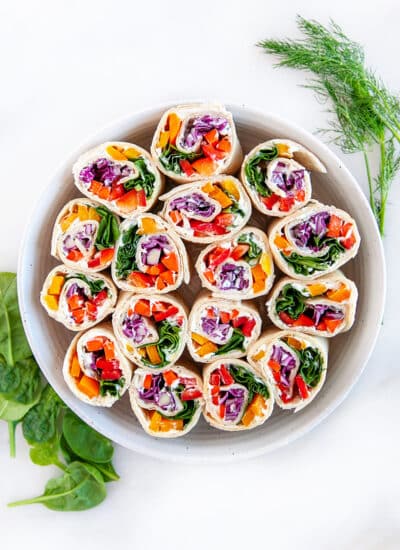
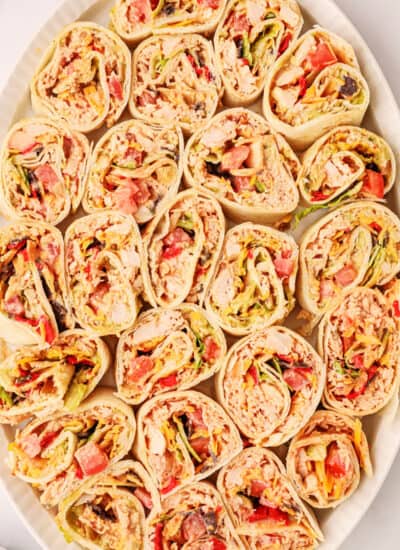
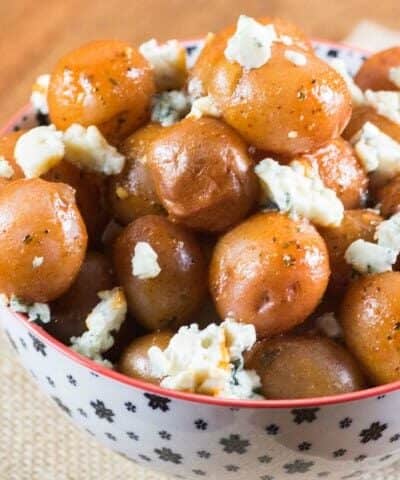
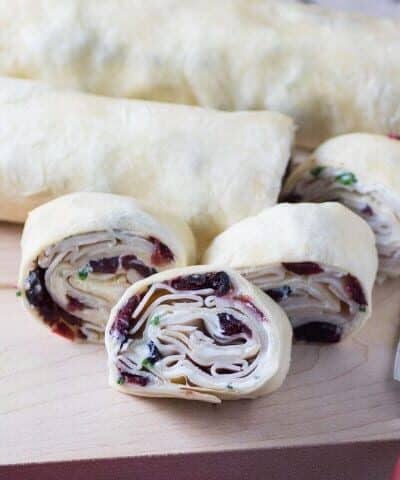
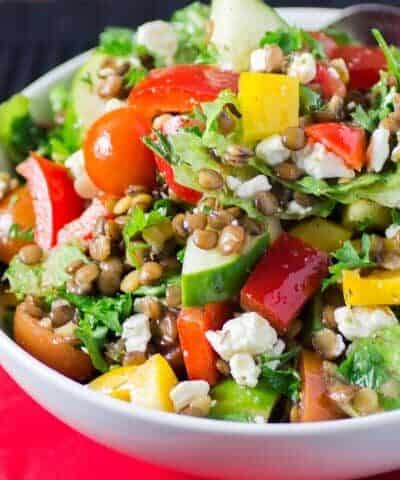
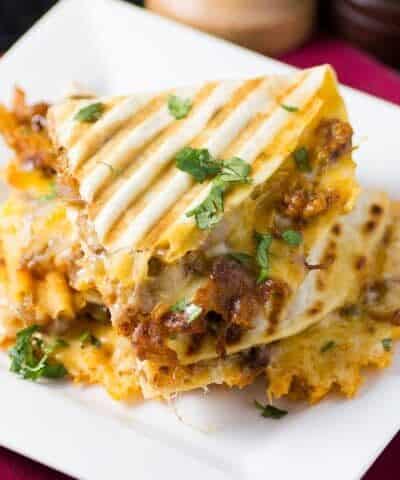
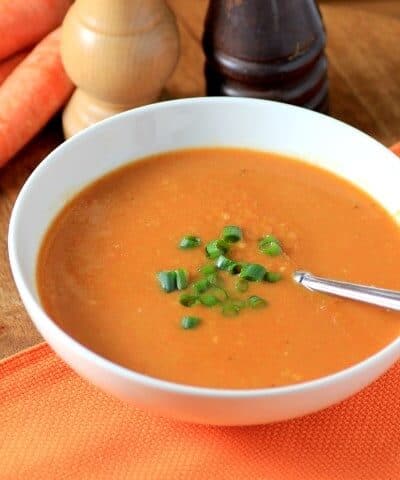
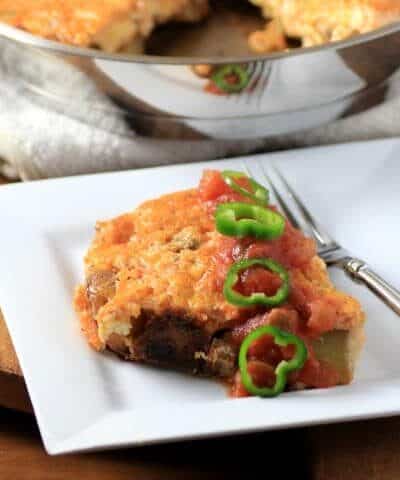
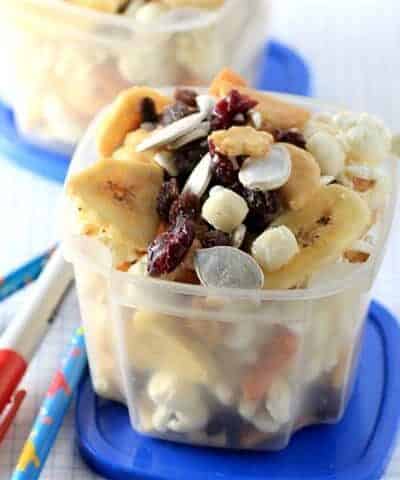
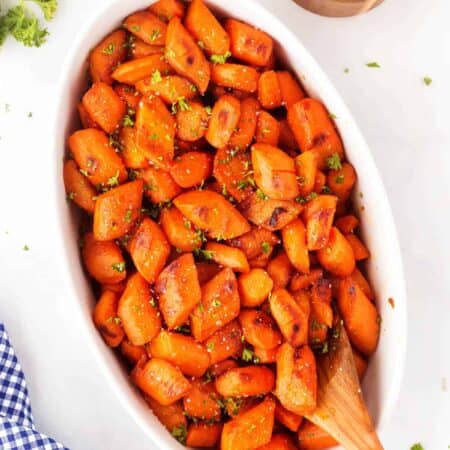
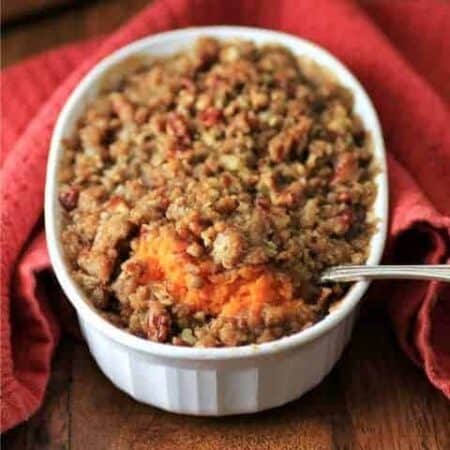
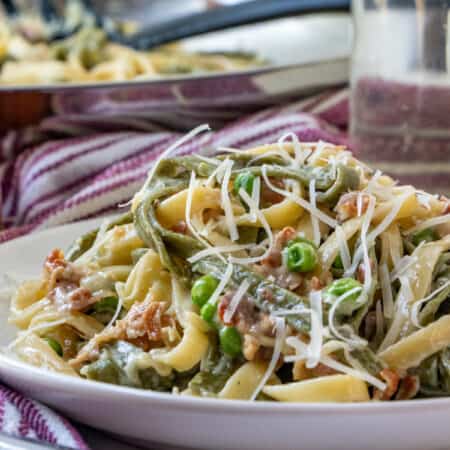
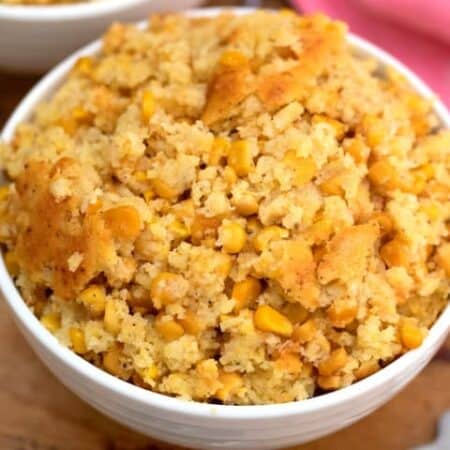
Do you need some great ideas for quick and easy lunch recipes? We have lot of selection with sandwiches, meal prep, soups, salad, eggs, hot dogs, burgers and more!
Cooking + sharing what we love
Do you need some great ideas for quick and easy lunch recipes? We have lot of selection with sandwiches, meal prep, soups, salad, eggs, hot dogs, burgers and more!